


Table Runner Jewelry Organizer

by
Rachel
3 Materials
$10
2 Hours
Easy
I know, right? Table runner jewelry organizer. You heard me right. :)
I have wanted to make myself a jewelry organizer for quite some time now, but all the jewelry organizers I liked use chicken-wire. And for a newbie DIYer who is terrified of cutting herself with metal- that would not work for me.
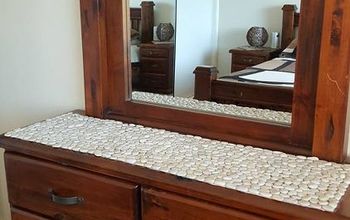
After going to the dollar store to get some inspiration, it hit me; use a table runner.
It's sturdy, easy to work with, has perfectly sized holes to hang jewelry with- it was perfect!
Let the table runner jewelry organizer begin!
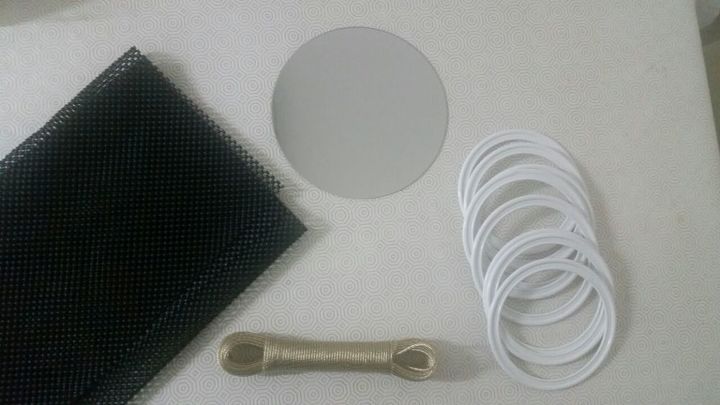
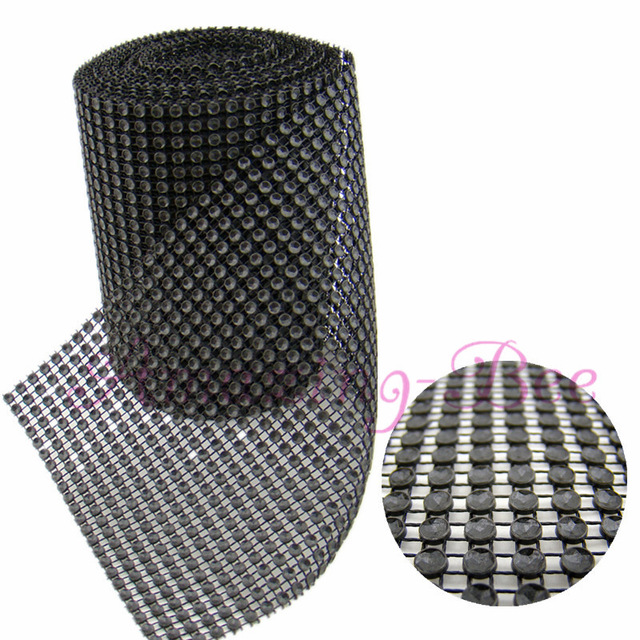
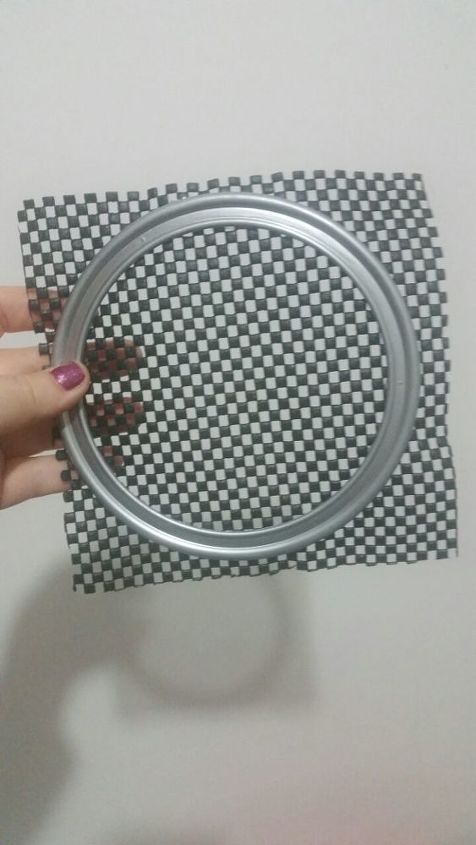
I started off with a black table runner, white plastic hoops I found at the dollar store, a mirror and wire (later realizing I would not use the last two items mentioned, but this was the original plan)
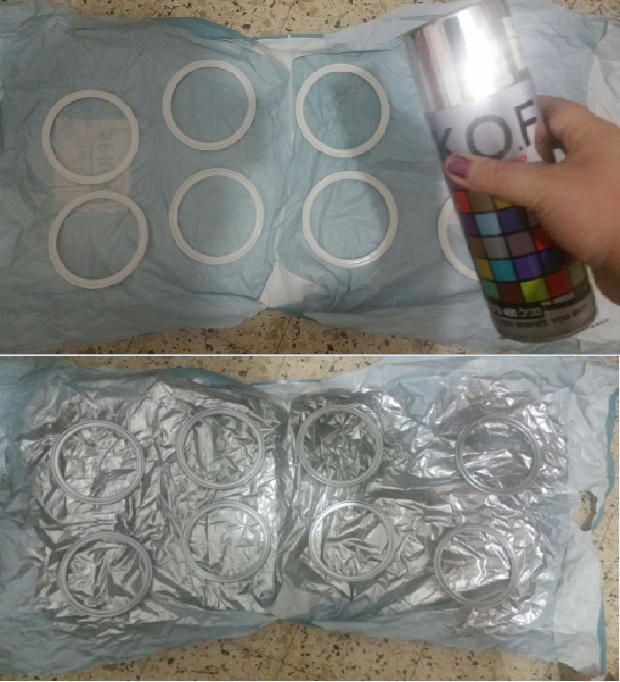
First step- cover the white hoops! I love how silver and black look together, so spray-painting the white hoops with a silver spray paint was the first must-have step.
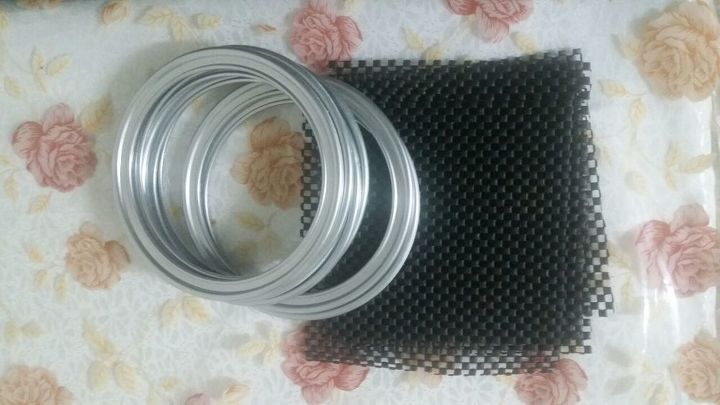
Next I cut the black table runner into squares bigger than the hoop.
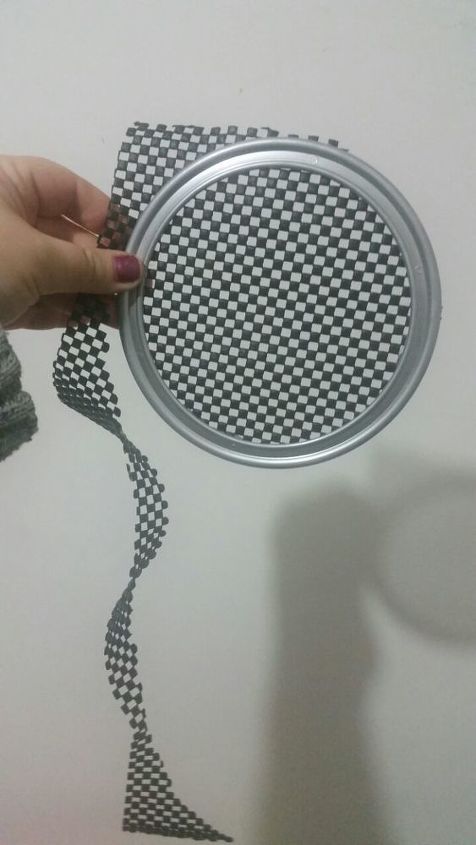
Glued the black squares using hot glue onto the silver hoops, and cut off the excess.
I found this easier to do instead of cutting the black table runner into circles, because this way I didn't have to be exact and had more room for measurement errors.

Next I needed a stick (you will see why soon).
My dog was the perfect companion to help me find one

Here is just a fun picture of my dog, since he wasn't cooperating so well in the stick-picture. 
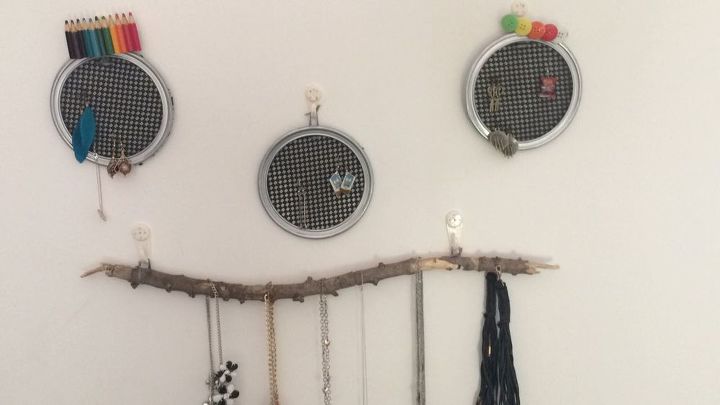
Some hooks, string and jewelry later- this was the end result!  .
.
. I used the stick I found with my dog as a great "rustic" looking addition to the jeweler organizer circles.
I ended up not using the wire featured in the first pic, because it ended up being too hard to work with. I also didn't use the mirror because I no longer felt it matched the look I was going for.
My husband and I agreed this was pretty, but not fully "done".
We had such a huge white space, and with this stuck on the wall, we felt like it got lost in the huge white wall.

So, we decided to add- a frame!
I cut-up some cardboard, spray painted it the same silver color and hung it around the jewelry organizer section, to help bring more focus towards my DIY creation.
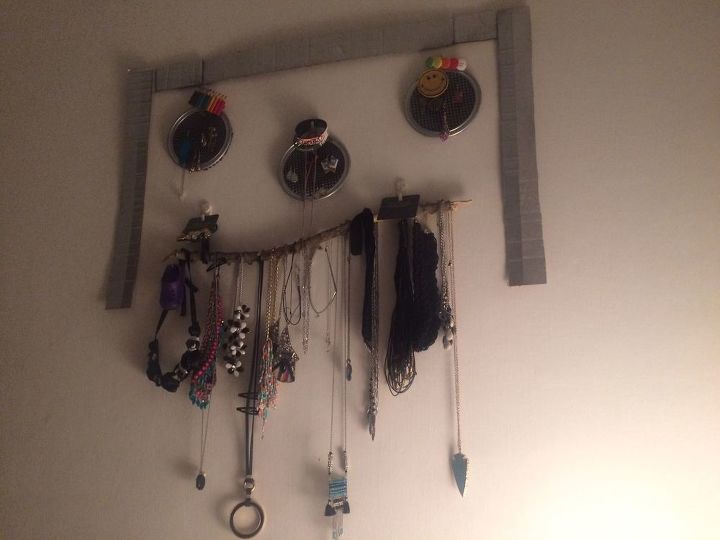
And here is the FINAL result. (in very cool lighting might I add).
Its been a whole week since this was hung up in my bedroom, and I have to say- I love it.
I've been able to see all my jewelry using a beautiful display. It is super easy to hang items, and super fun to look at.
Hope you enjoyed reading my first ever DIY project! 
And here is to many more 
Comments
Join the conversation
2 of 12 comments
-
Beautiful project :)
-
A beautiful creation! And Thanks for the inspiration!! ♥️


Frequently asked questions
Have a question about this project?
this is great! where did you get the table runner from?
Great project! how did you hang this up?