


Old Shipping Box Turned Into Display for Gun Shop!

by
Lisa Cain
3 Materials
$20.00
3 Days
Medium
A cheap wooden box came into my work with a part in it for our shop. I took one look at this box and KNEW I could do something great with it. I had just received a CHALLENGE from HEIRLOOM TRADITIONS PAINT to use THEIR wonderful chalk paint, make something beautiful, and post it on HOMETALK! THIS my friends, was the perfect box for the project. The only thing I didn't know....is what it was going to end up being used for. (hint: Our Plant manager opened it carefully so he didn't mar it, saved it for me and he owns a gun shop as a side business).
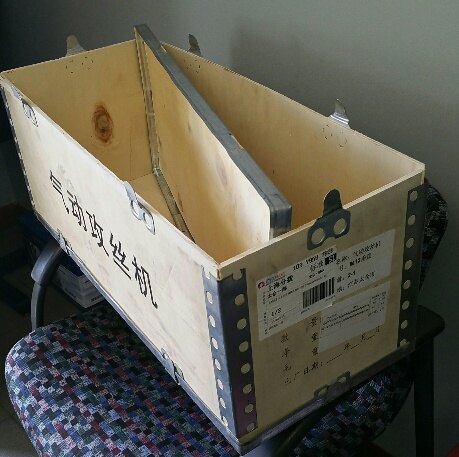
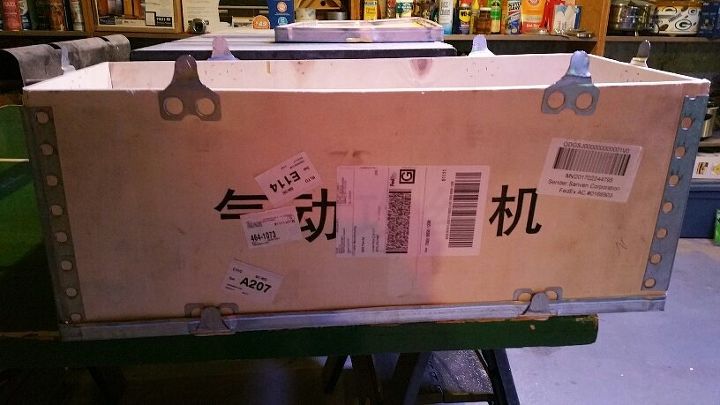
THIS my friends is the box...the cheap wooden box that was shipped from China. But I knew, she was going to be reborn, and no trace of what she was to begin with. First things first, time to decide what needed to be taken off, take off the stickers, and sand everything, sides, top and insides.
Those little metal things on top had to be taken off. They were just used to hold the top during shipping. But the top could no longer sit evenly on the box after it was opened. Now just HOW was I going to take them off. I tried prying, but they would not budge.
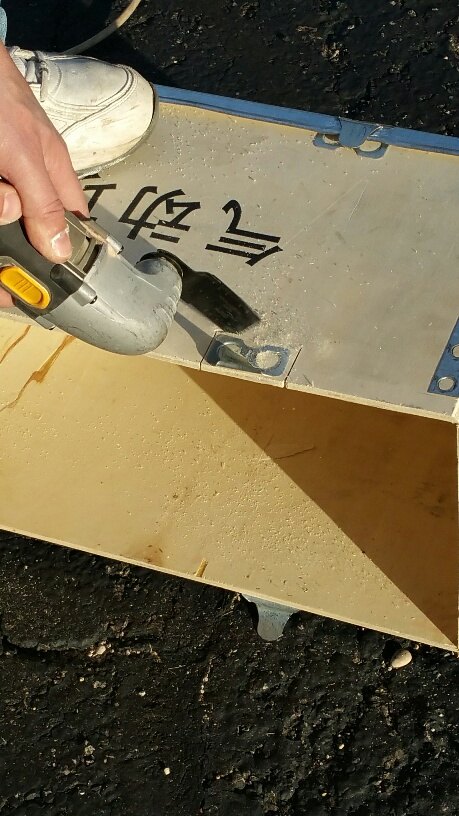
I ended up having to cut them off. I knew it would leave some holes in the box, but it was the only way. Small saw to the rescue...and they were gone. On to the next steps.
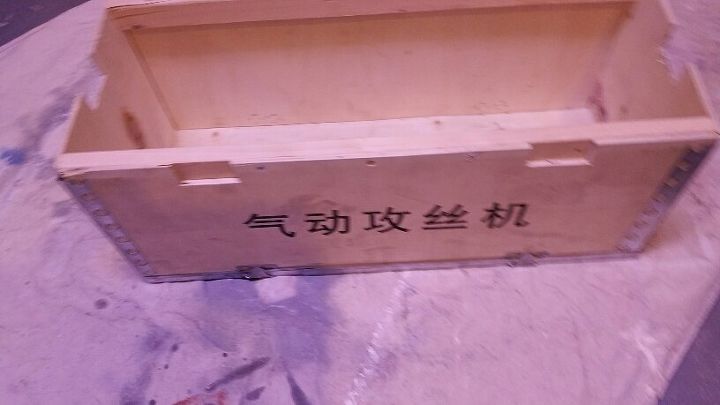
The box had also bowed, so the top could not sit evenly on it for that reason as well. I had to put some 1 x 2's on each side, from one end to the next, and nail the box to the 1x2's so it would pull the sides tight. It not only did the job, but also covered up the holes that I sawed to get the metal holders off. Double win!
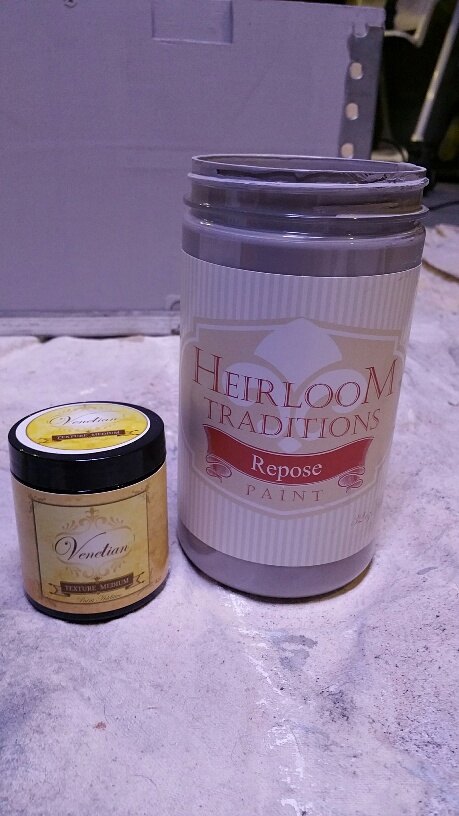
The color I picked from Heirloom Traditions Paint was "Repose" which is a great soft gray color. I painted the entire box with this gray, and it was beautiful, but needed something, just a little to flat for the wood used. I added this VenetianTexture Medium (love it and is also by HTP) to add texture to the paint, and put it on all sides of the box. It added such a great texture to the wood and was just what it needed.
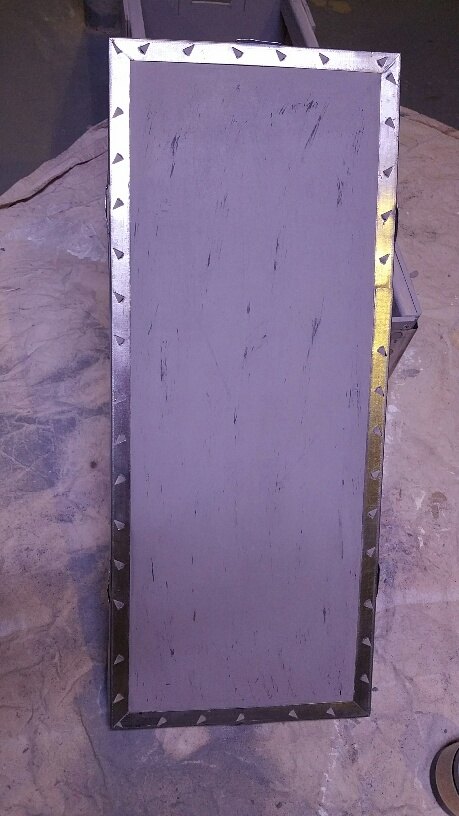
I then decided it looked like a gun box, so added some black paint on the sides and top, just kind of dry brushed it with a bristle brush here and there to make it look a little distressed. This is one of the sides after adding the black paint. Can't tell really well by this picture, but it turned out just how I wanted it.
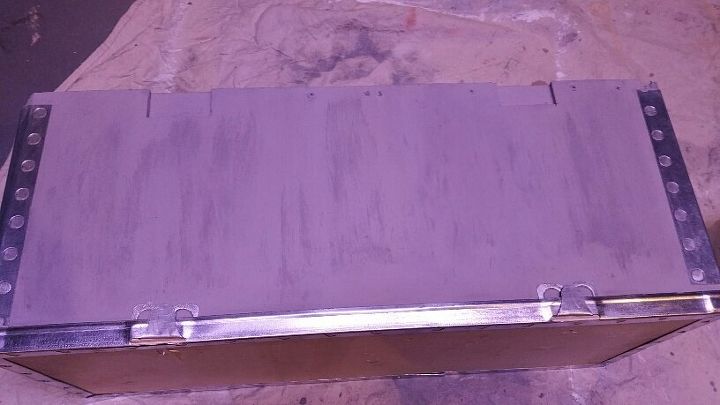
I also did the black to the top. You can see it a little better as the top was just painted with the REPOSE color only, no texture added. Looking more and more like a distressed box, and the silver brackets that came on it, just added even more flair to the Gray color, texture, and distressing. Oh, I did clean up the silver brackets with some soap and water too, just to keep them shiny.
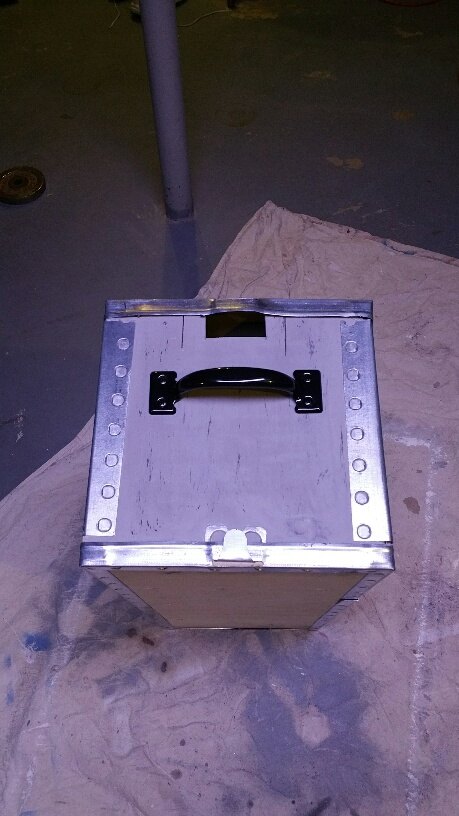
Every box needs some handles. I didn't want rope handles on this, I needed it to look more manly, so used some BIG chunky black handles. These ones, against the gray and silver, were just the perfect match. LOVE!!!
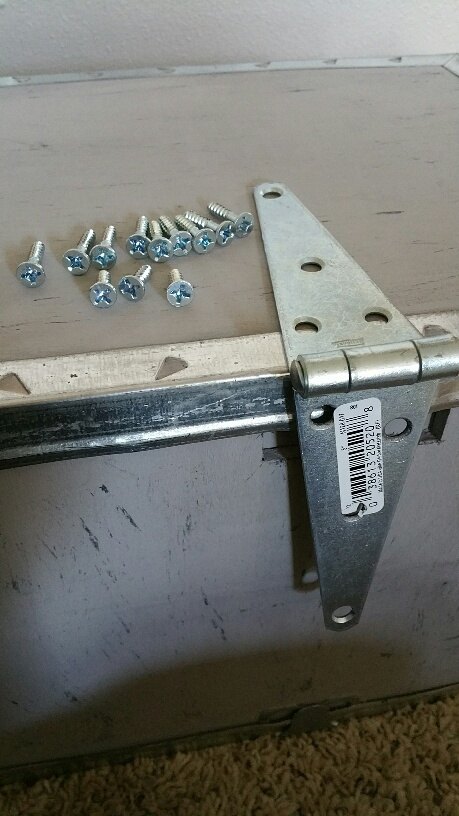
Now it needed some hinges, so the top could be opened and stay open, without having to take it completely off. I did have to take some of the silver bracket off to make it work correctly, and my friend came and helped me with that, because this girl didn't have all the right tools, and sometimes, you just need help! Thanks PAT!

Time to make it KNOWN what this box was going to be used for. I decided since our plant manager had been so nice to be so careful with this box and save it for me, and he owns a Gun Shop, I would make it for him. So I used my Sihouette Cameo, and traced his Shop Logo for the front of the box, and then traced the Smith & Wesson logo to put inside the top, so when raised, it would show. I used the vinyl as stencils, and painted all of it. Some of it hand painted too. I think it turned out lovely...well, maybe that's not the word for an Ammo box, how about MANLY...and rugged...and....well just dang well COOL!
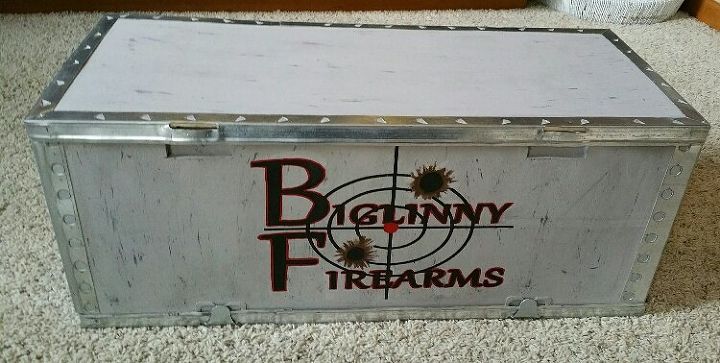
Lastly I used WAX over the whole piece to seal the chalk paint. I personally think all chalk paint projects need to be sealed whether they are placed inside or outside. Here is a better shot of the front and his logo. Love the black marks over the gray, reminds me of the look of being USED...like the box has been places.
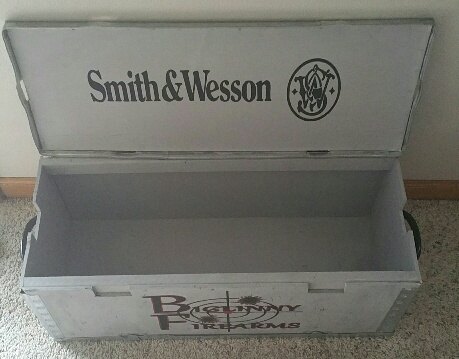
And here it is open, top, outside, inside and front. Man, I'm just in love with how it turned out from the piece of cheap wood box it started out as. Just goes to show you, a little creativity, a GREAT PAINT (Heirloom Traditions Paint) a few tools and sometimes a bit of help from a friend, can make anything better. I showed it to the gun shop owner, and he is so excited to get it, and put ammo in it for display in his shop! I'm pretty proud of myself for this one!!!!! BOOM!


Any price and availability information displayed on [relevant Amazon Site(s), as applicable] at the time of purchase will apply to the purchase of this product.
Hometalk may collect a small share of sales from the links on this page.More info
Comments
Join the conversation
4 of 6 comments
-
This is outrageous! It came out perfect! Looks great and a great job!
-
So impressive!!! It turned out awesome!


Frequently asked questions
Have a question about this project?