


Quick and Easy DIY for an Inexpensive Kitchen Makeover


Comments
Join the conversation
-
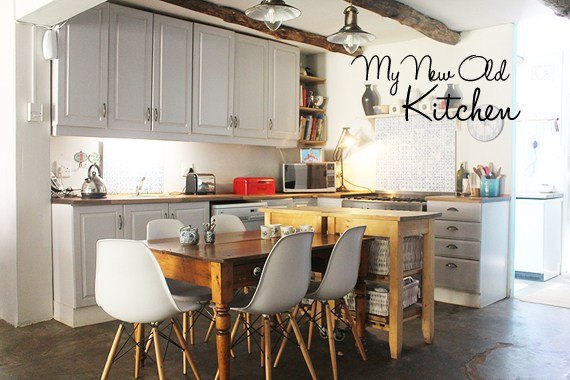
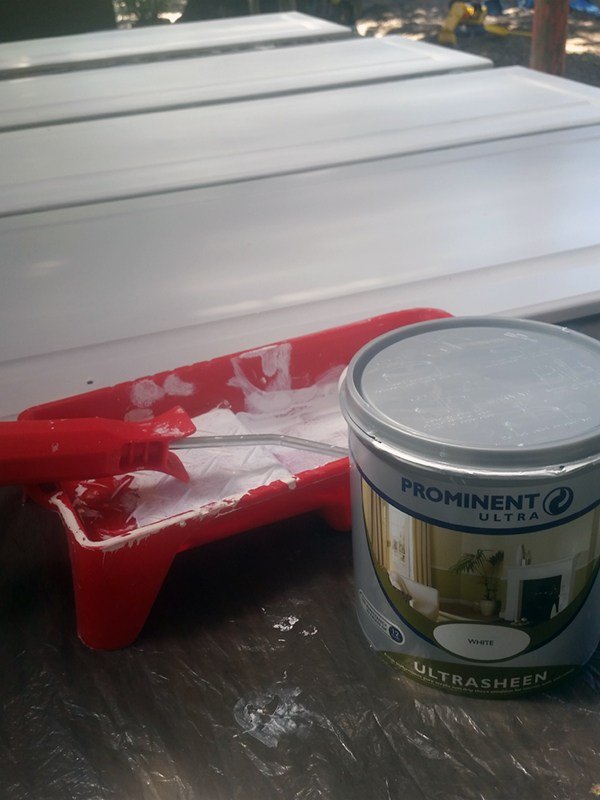
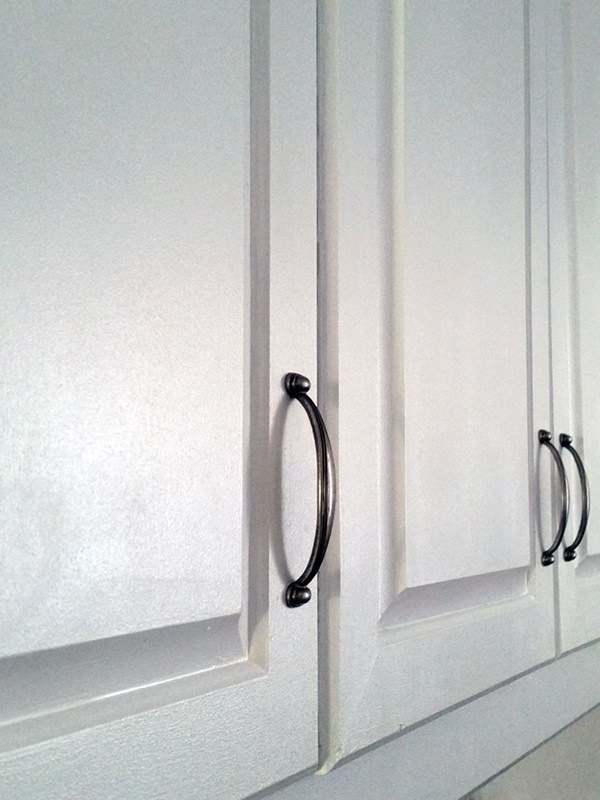
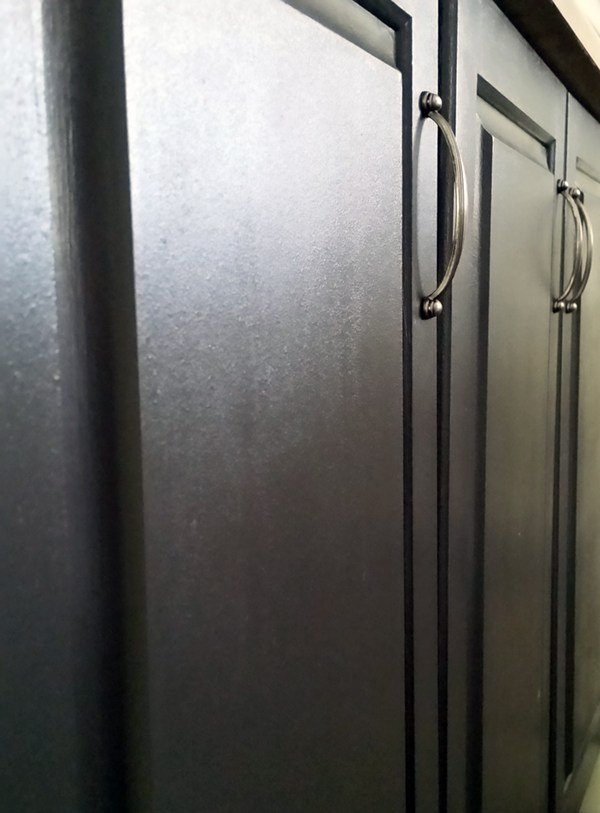
Just finished my kitchen,white uppers med gray below! I brushed my paint on,but to get that smooth no brush marks look,try thinning the paint with water! Lightly sand between coates and you may need to do an extra coat or two with the thinner paint,but...no streaks!!
-
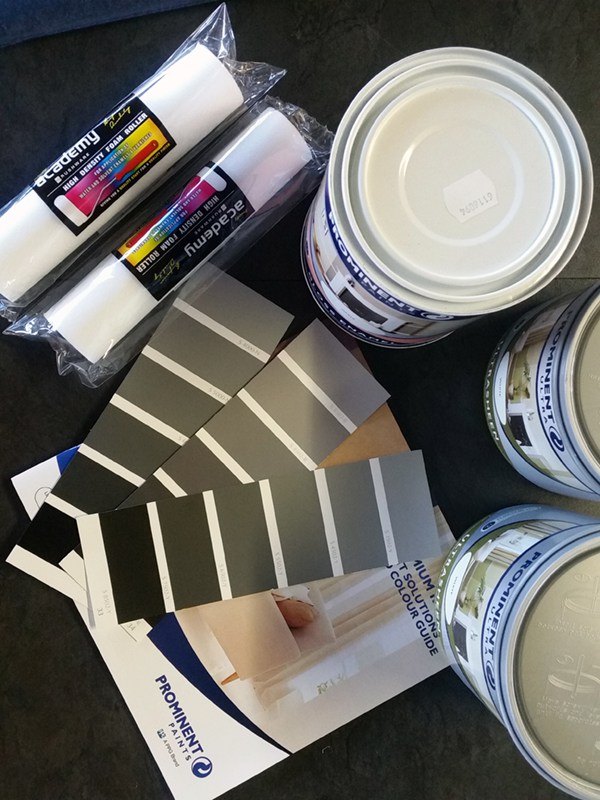
We picked out a pretty gray paint for the kitchen in our new, first home. Since neither of us had ever owned a home before, we had not ever done much painting. We put the paint on the walls and quickly realized that it looked far more purple than gray, lol 😳We ended up having to buy a different color because we just couldn't live with it. It was called French Gray, but on the wall it was lavender. The Dessert Sand that we bought for the living room and hallways(we were going for a shade of taupe), was a very bright peach on the walls, lolol. We learned the most valuable lesson...ALWAYS buy testers and try them on the wall before purchasing an entire gallon(or four😮)!!


Frequently asked questions
Have a question about this project?
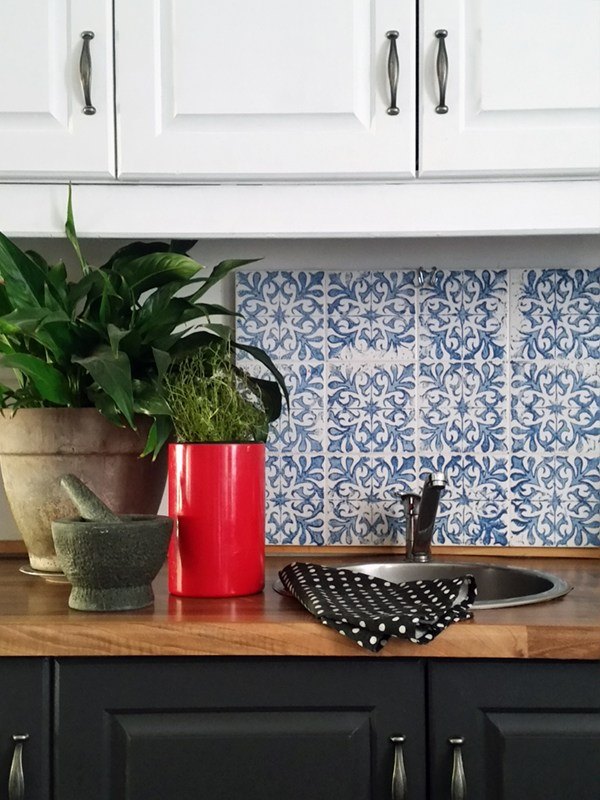
Cool; very nice!! I like the two colored - upper/bottom cabinets. Does the black paint make fingerprints Stand out? Love this. I may follow your lead. My dreary Old kitchen is in need of updating. 😀😀😀😀
What was the grit of the sandpaper. I am in the process and my brush strokes show.