


From Brassy To Classy - Mailbox Makeover

by
Holly Grace
$25
4 Hours
Easy
Ok, so my mailbox wasn't the worst mailbox in the world, but I have this thing about brass fixtures… and by “thing”, I mean I hate them.
When I got the email from the lovely Hometalk ladies letting me know that this week's hot hashtag is MailboxMakover... I thought, there's no time like the present to makeover this baby.
So... let's dig right in!
This one is super easy to do, guys!
I got this Oil Rubbed Bronze spray paint from Home Depot. I love this stuff. It works wonders on Brass fixtures.
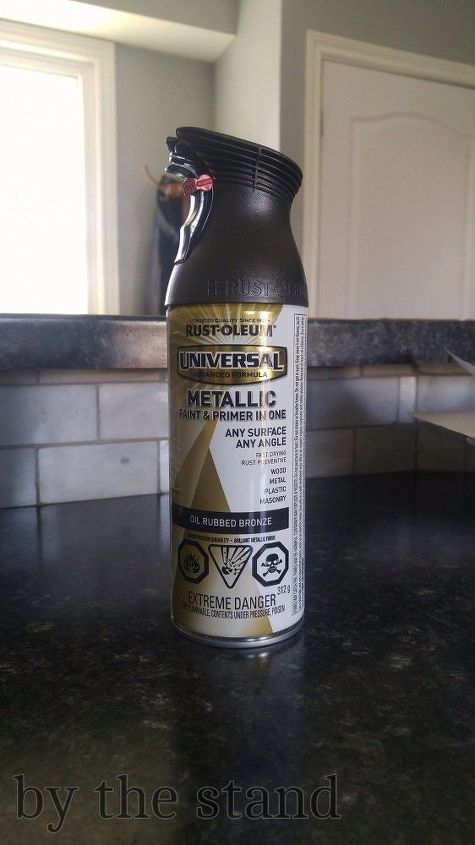
You can use this on metal, plastic, wood — it works great!
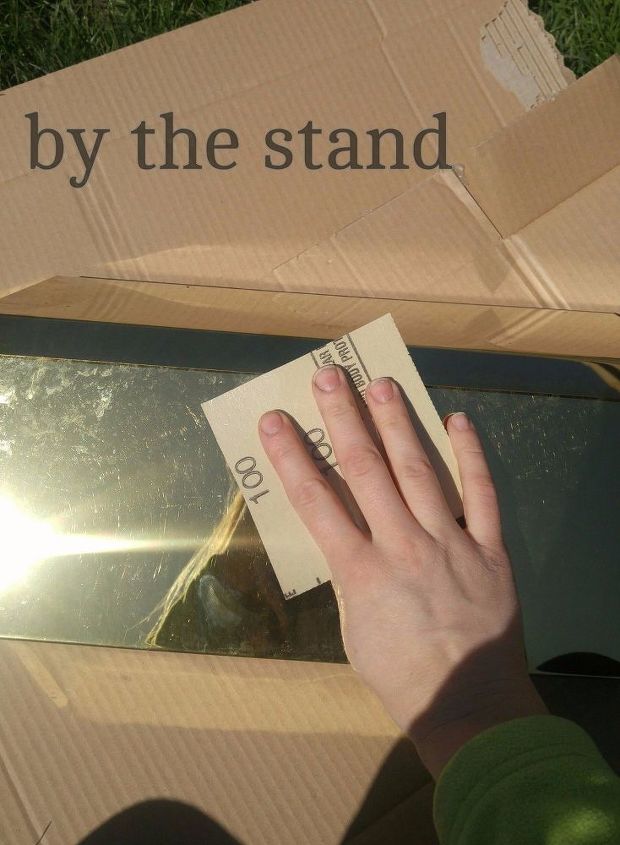
First things first, I had to lightly go over the mailbox with a bit of 100 grit sandpaper. This is just to ensure that the spray paint would get the best coverage.
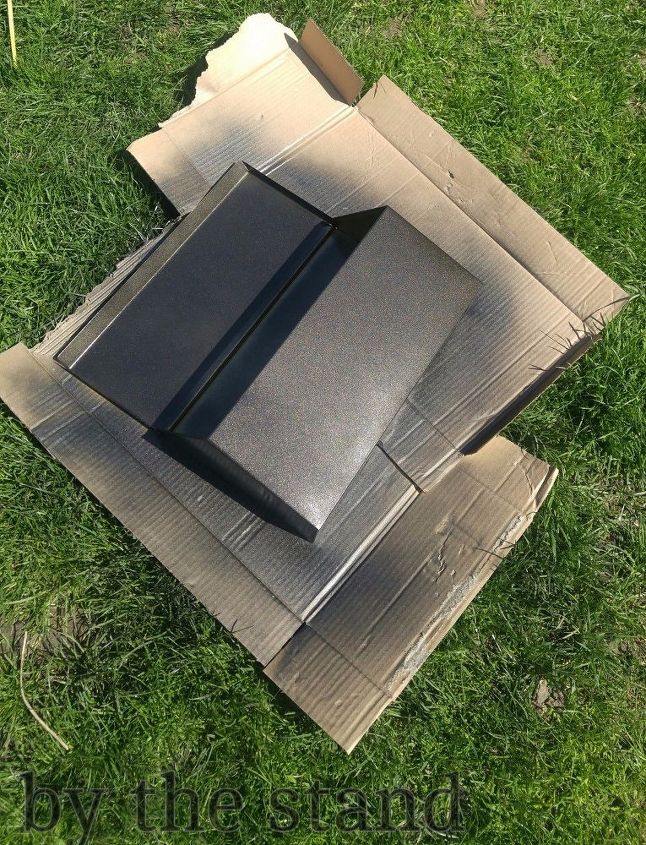
Then I did two light coats of spray paint. Remember, when you are working with spray paint, light and even coats are the way to go.
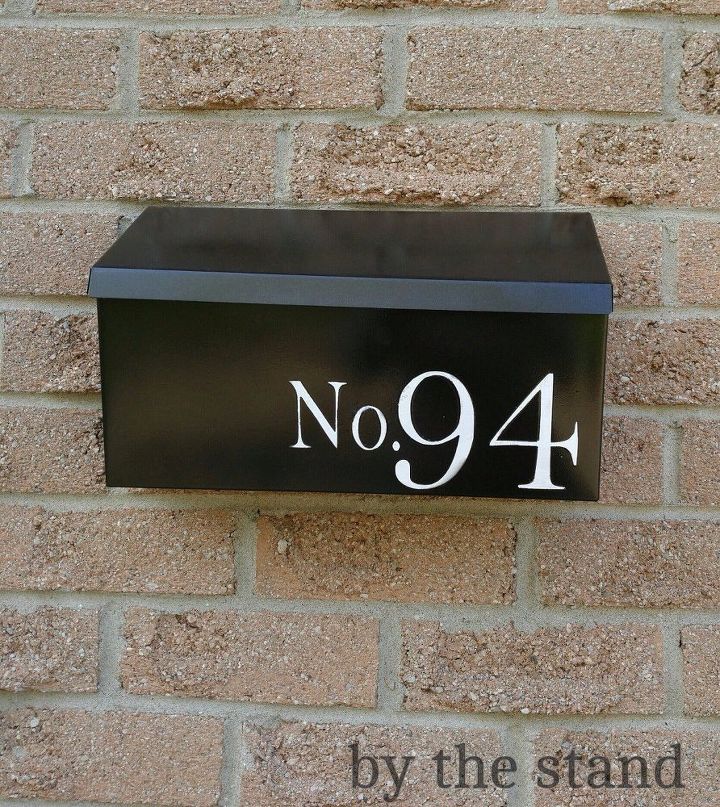
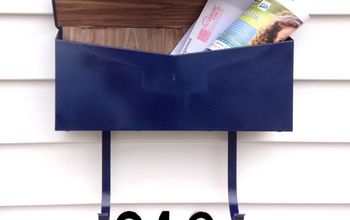
While the paint was drying, I headed down to my craft room to make a stencil with my Cricut. I used the negative cut as a stencil to number my mailbox.
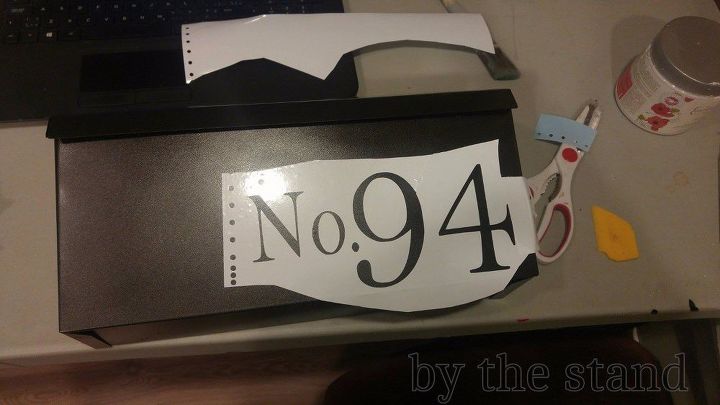
I wanted to make sure the numbers would really pop and be visible from the road so I went with a nice vivid white paint. As you can see, you can still see the Oil Rubbed Bronze a bit so I did two coats of the white paint.
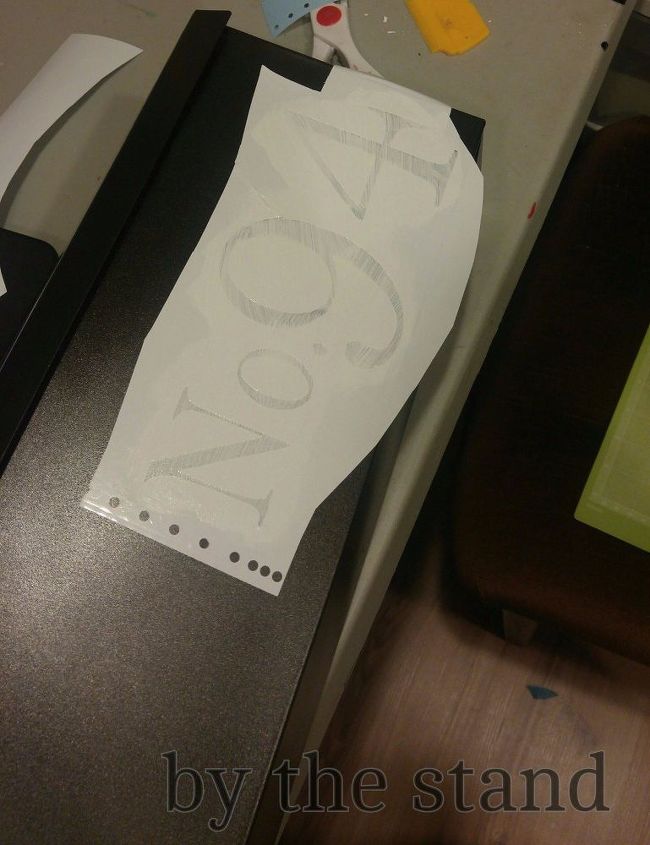
Once the white paint had dried, I removed my stencil and then I sealed the white paint with a clear coat spray.
And….

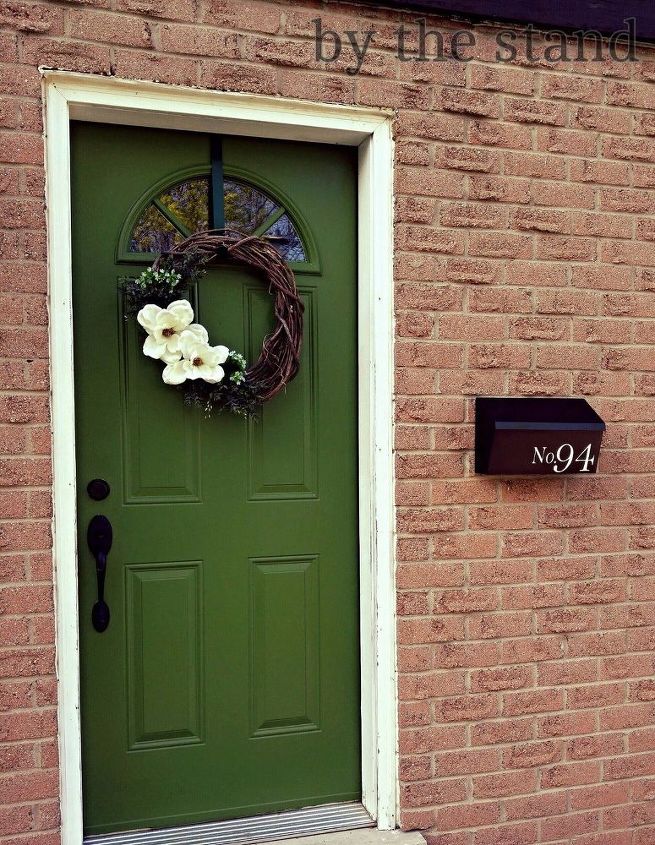
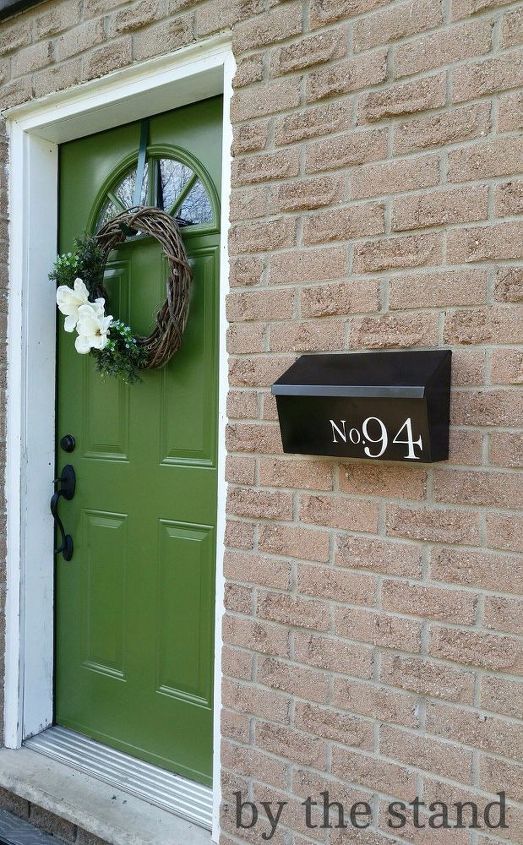
Like it?? I sure do!!
Want to see the whole new look…
Let me know what you think by commenting below! If you want to see the whole front porch transformation, check out my full post on my blog. The link is below!
Want more details about this and other DIY projects? Check out my blog post!
Comments
Join the conversation
2 comments
-
Looks stunning!!
-
I love it. Your entrance is very inviting.


Frequently asked questions
Have a question about this project?