


Marbleized Terra Cotta Pots Painted With Shaving Cream
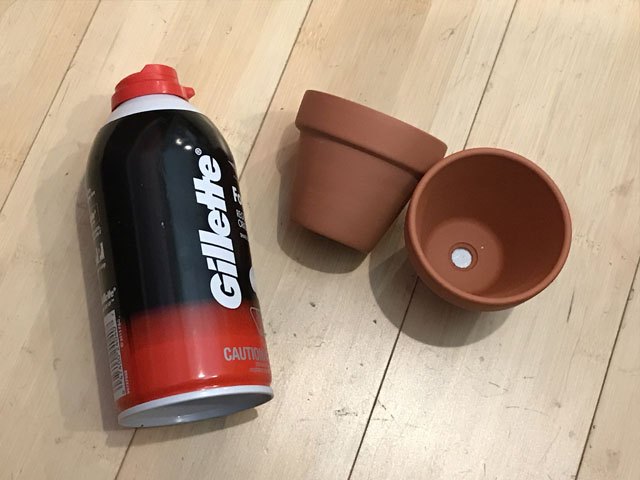
4 Materials
Terra cotta pots are a staple of outdoor gardening, but let’s face it, they can be a little dull. While there are many ways you can dress them up, here is a painting technique that creates a marbleized pattern thanks to good ol’ shaving cream.
I've used this shaving cream technique for Easter eggs to make swirled color eggs, so I thought I'd try it with terra cotta pots too.
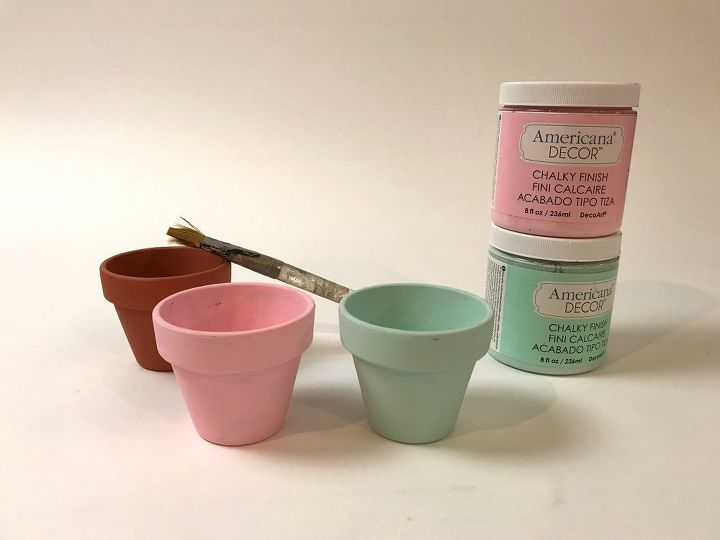
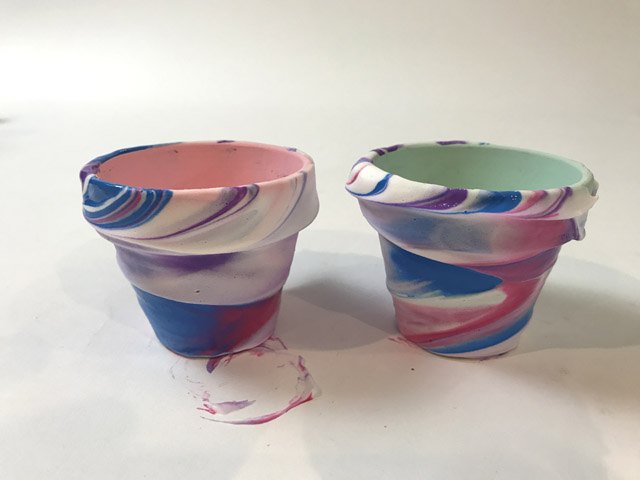
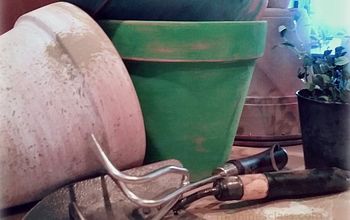
Paint a base coat of any color on the clay pots using chalky finish paint, and let it dry for at least an hour. Chalky finish paint does not require a primer and dries to a matte finish. The matte finish is important because the paint that will later be applied will rub off if the finish is glossy.
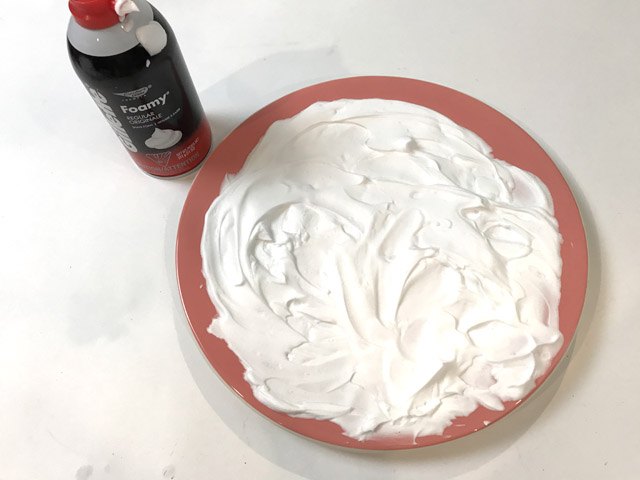
Apply shaving cream to a large plate or baking dish, and spread it out with your fingers. You don’t need too much. The layer of shaving cream should only be about a half inch thick.
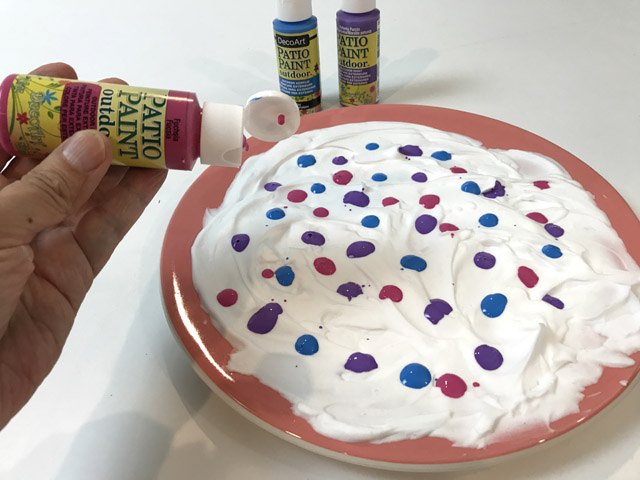
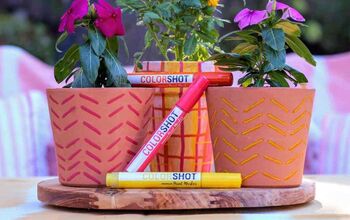
Place drops of acrylic paint randomly on top of the shaving cream. I use paint specifically designed for outdoor patios because it withstands the elements, and it is actually sold in crafts stores right next to the clay pots. Choose two to three colors.

Dip a skewer into the shaving cream and run it through the paint vertically and horizontally to create swirls in the paint. Don’t swirl the paint too much. You want to create distinct swirls rather than have the paint mix and become muddled.
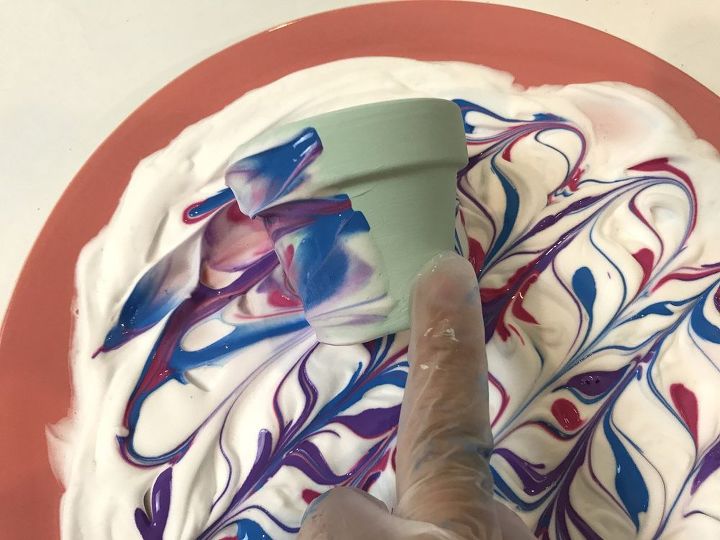
Place the clay pot at one end of the plate and roll it across the shaving cream and paint. The shaving cream acts like a “cloud” to support the pot as it rolls and picks up the paint. Wear plastic gloves to avoid getting paint all over your hands.
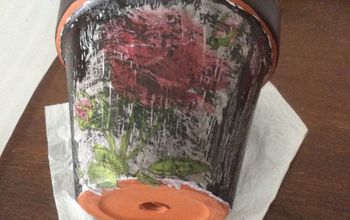
After the pot is covered in shaving cream and paint, let it sit for about an hour so the paint that's touching the pot becomes set.
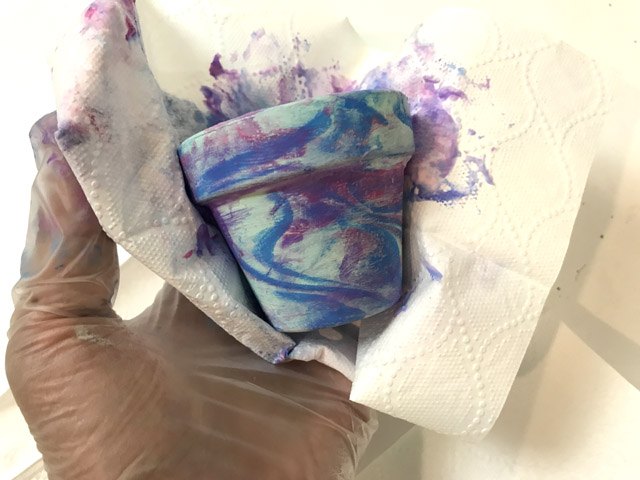
Blot off any excess shaving cream with a paper towel. Try to use clean towels as you blot so that the excess paint that has transferred to the towels does not go back on to the pot.
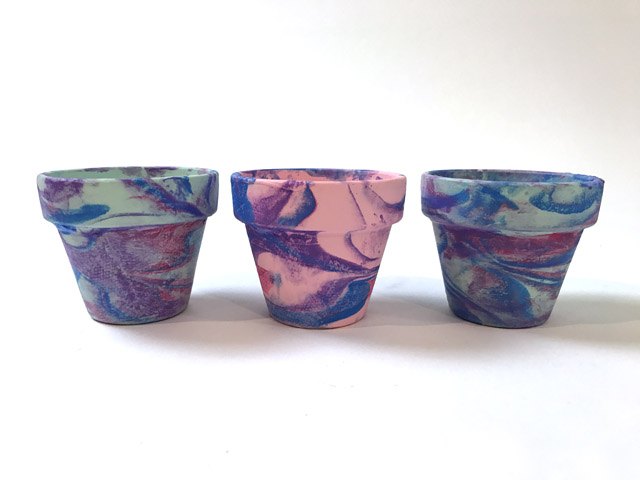
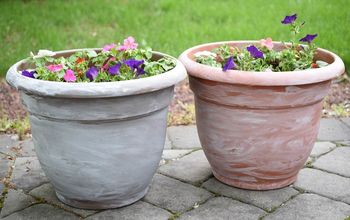
Let the marbled pots dry for about two hours before handling and using them.
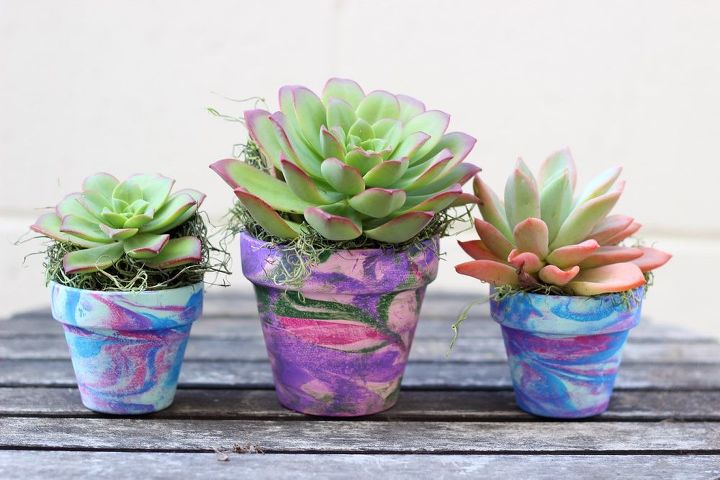
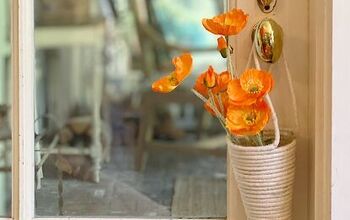
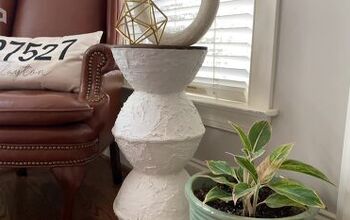
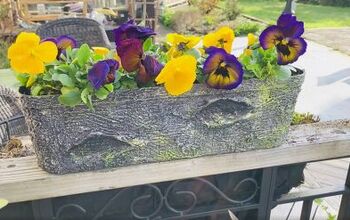
You can use them as planters for succulents.
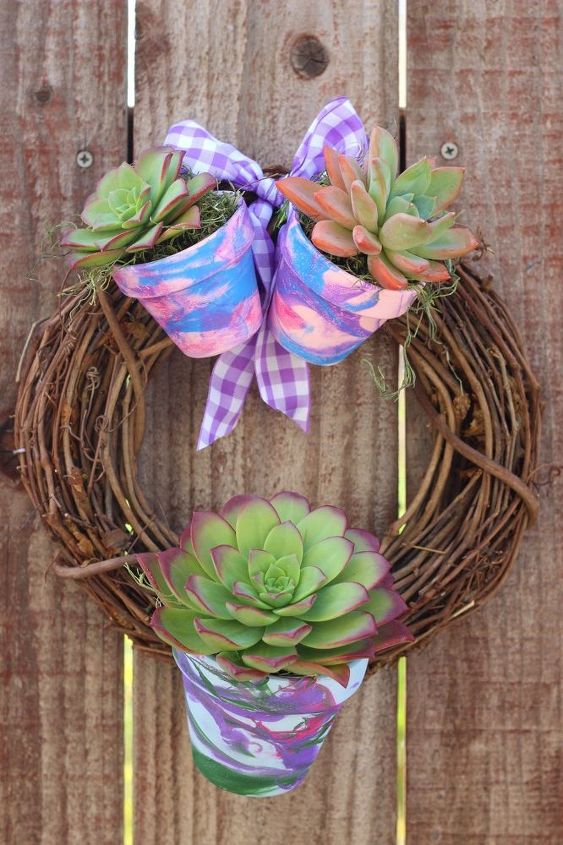
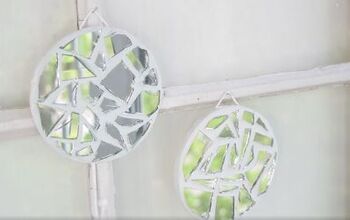
Or wire the pots to a wreath form for a gorgeous succulent wreath.
Resources for this project:
See all materials


Any price and availability information displayed on [relevant Amazon Site(s), as applicable] at the time of purchase will apply to the purchase of this product.
Hometalk may collect a small share of sales from the links on this page.More info

Want more details about this and other DIY projects? Check out my blog post!
Comments
Join the conversation
2 of 162 comments
-
I did one and came out good, not marbeled but interesting.
I tryed it again on a plastic pot, did not dry as the first one and
will have to do it again. oh well. have to try it again. Thanks
-
Wonderful idea! Love it ❤️ Every other marbling technique involved spray paint & a pan of water. This so much easier. Somewhat like making marble pound cake, but with paints. I will try this 😉


Frequently asked questions
Have a question about this project?
I checked the link to the nail polish version. Is it necessary to paint the interior of the pot? Is it to protect plants from the chemicals in nail polish or the sealant?
I painted some clay pots and even painted the inside to help prevent the dirty water from bleeding through after I water my plants. The dirty water stain still bled through to the outside. Shouldn't you paint something on the inside of the pots to prevent this from happening?
hi. I like this idea and will try it.
Do I barnish after?
Thanks