


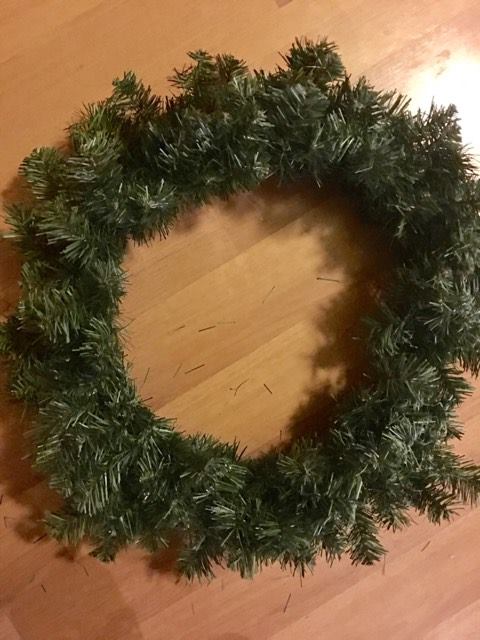
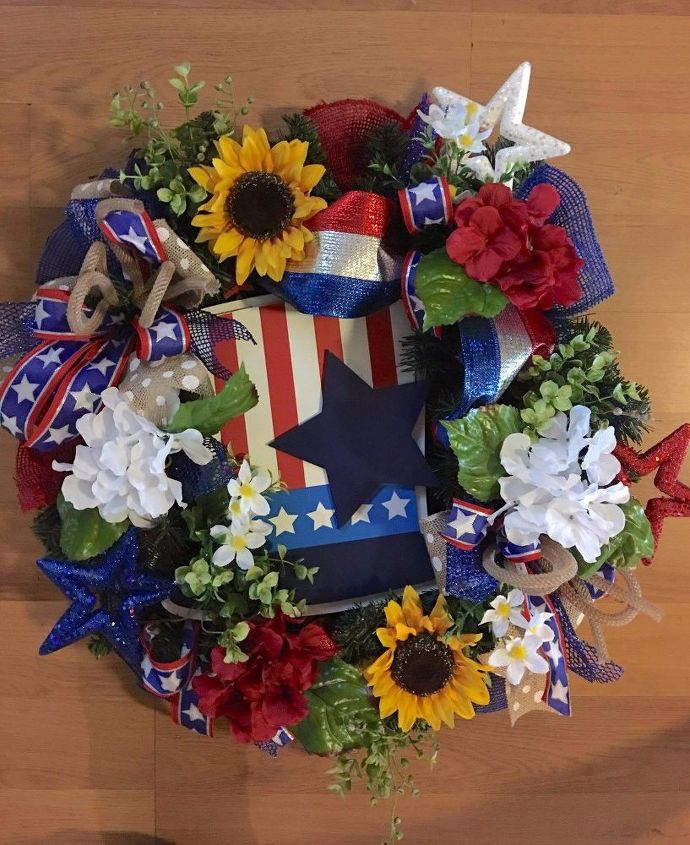
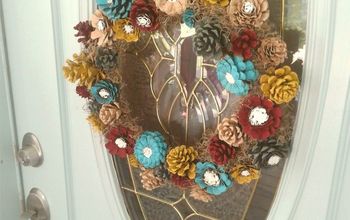
Turn a Pine Wreath Into a Patriotic Wreath


Comments
Join the conversation
-
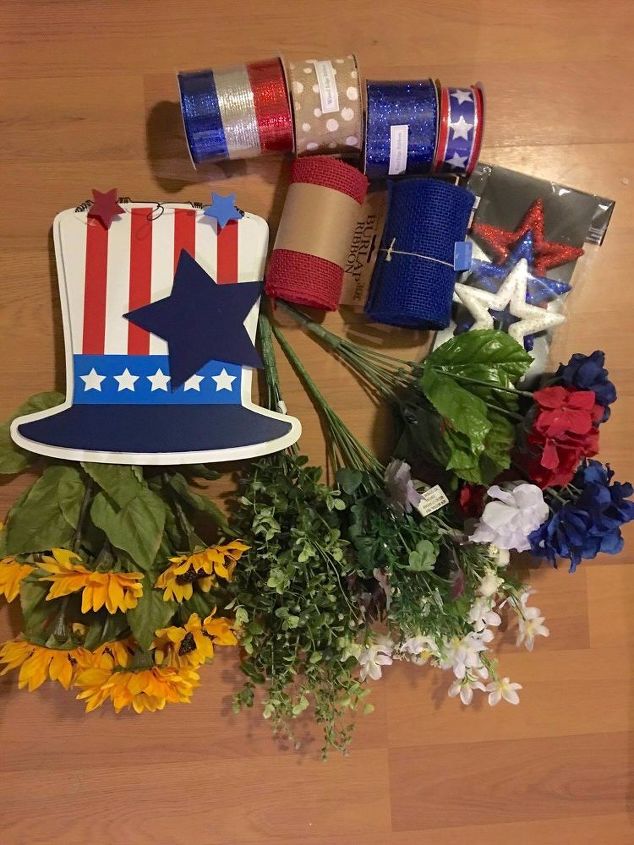
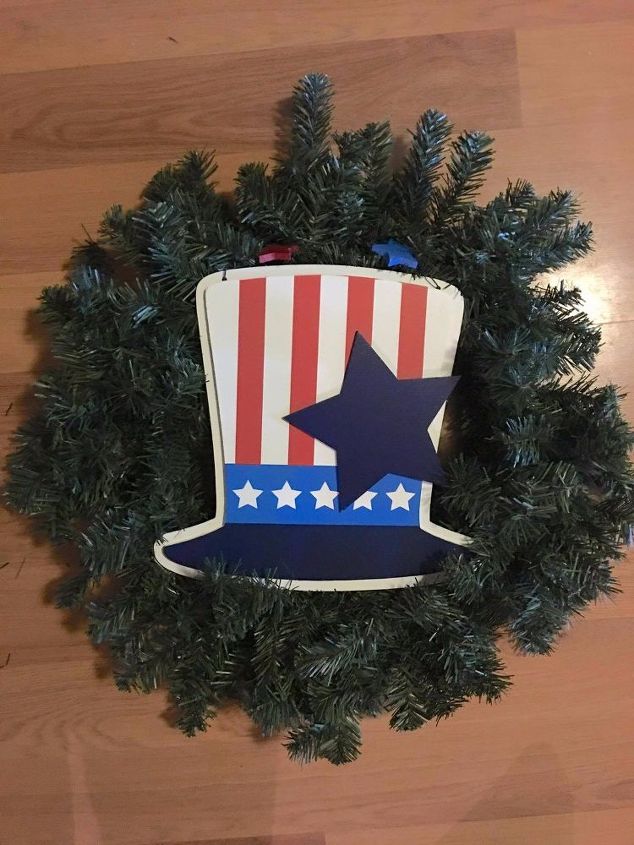
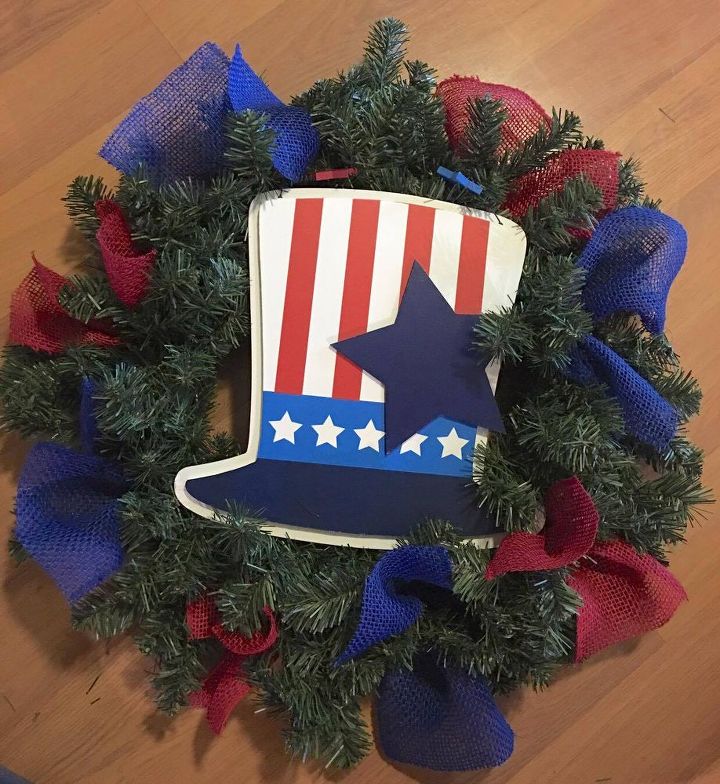
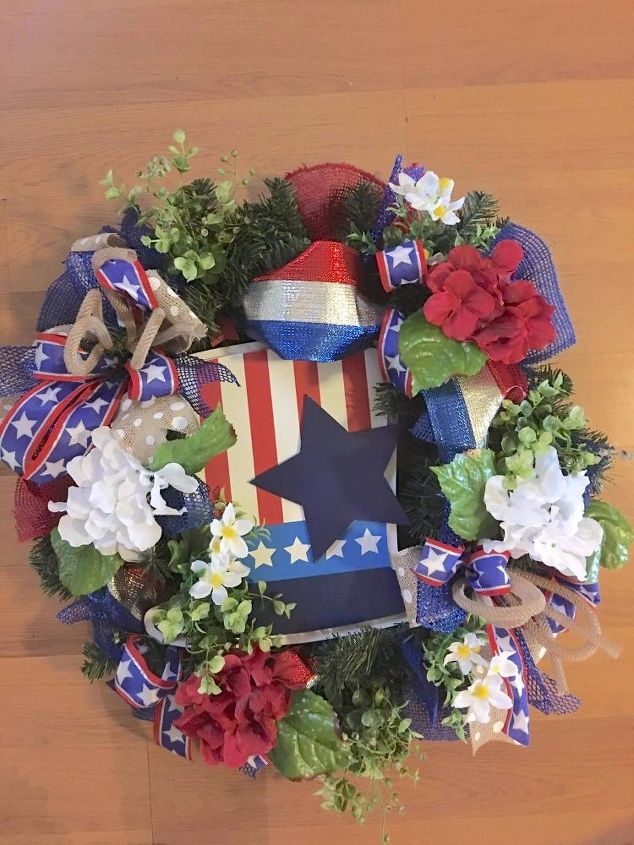
Oh, my, I thought the wreath was PERFECT with just the red, white, and blue! I liked your ribbon choices, including the ones made with net, the three glittery stars in three colors were pretty, and the Uncle Sam hat was cool! Maybe you could add a shiny circle of stars (don't use the whole thing, just cut to size) and weave it in and out as it is bendable and made for weaving. A bigger wreath could perhaps handle some little flags. And, why not stop there? You've done what you set out to do and it's patriotic which everyone knows by your color choices. Do you really need the addition of the flowers, especially the big ones and the ones that weren't with your theme's colors? The greenery on them looks cheap - why not let the richness of the green on the wreath show? If this is a patriotic theme, shouldn't the eye be drawn to the red, white, and blue? Wondering if you've ever shopped for seasonal decorations at Dollar Tree? You know, they just buy leftover stuff from other stores and sell it for less. It is not cheap stuff. Really. I decorate our "Christmas" tree for the various seasons - some are religious seasons, like Easter and Lent, some are seasons of the year. There are many choices, like a birthday party or a graduation party. With the exception of some items, almost everything is from Dollar Tree. I try to keep the cost per tree to around $20.00; but, of course lights and bulbs are more and I buy them elsewhere. What is nice is that some items are interchangeable and can be used year after year. Decorations are stored in plastic see-through bins, not large, so you know what you have without opening the boxes. I've collected angels since 1962 - I am now 74. Some times we do an angel tree, usually in pinks and whites, with hanging angels. Please don't have hurt feelings as I'm not criticizing what you've created, just sharing some ideas with other crafters. Every person has his/her idea when creating and that's part of what makes it so fun. We can pick and choose what we want to do to make it our own. Thank you for creating and sharing! My name is Ruth Marie Witte-Wagner and I live in Grand Blanc, MI.
-
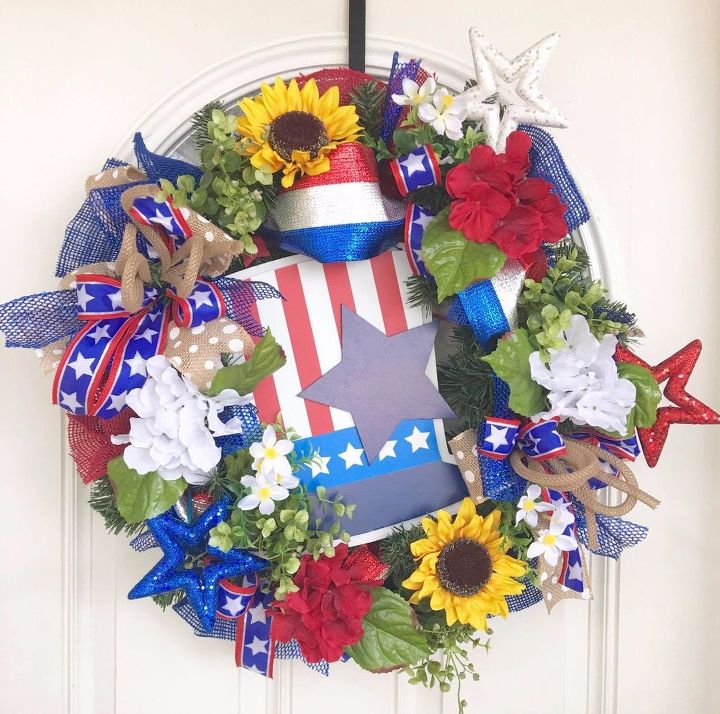
Front Door / Linda Craig Malvern, Arkansas (why does this heading say Chicago?)


Frequently asked questions
Have a question about this project?
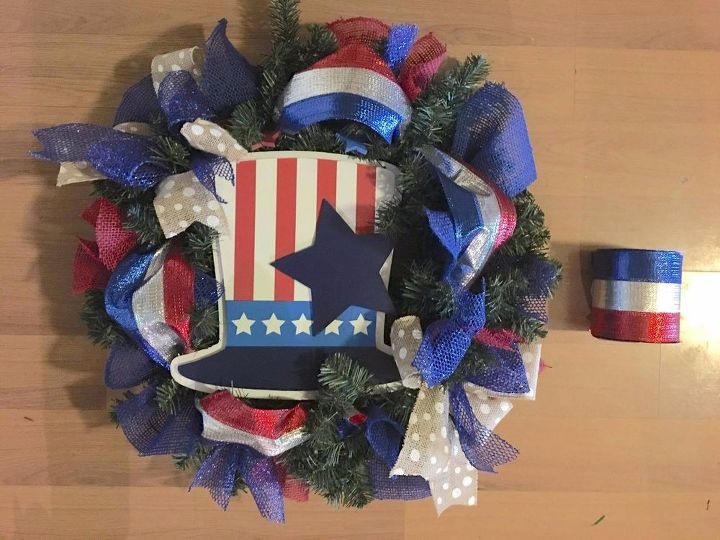
No question. Many of the decorations used can be purchased at dollor stores. Save a little money. I can purchase three full stems for $1.00, where elsewhere would be $3-4.00 at Wal-Mart or Michael's, and just as full.
No question. This is beautiful and creative! Thank you for sharing.
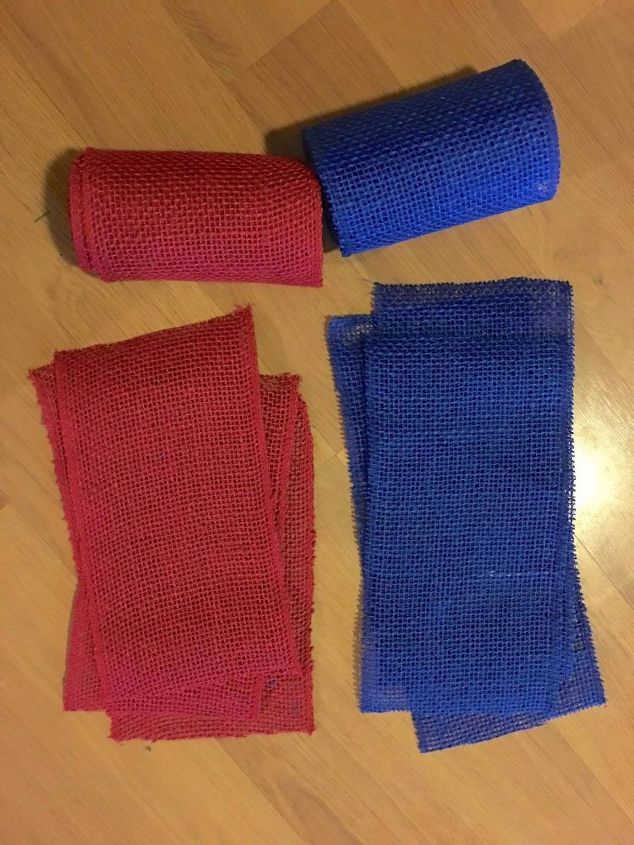
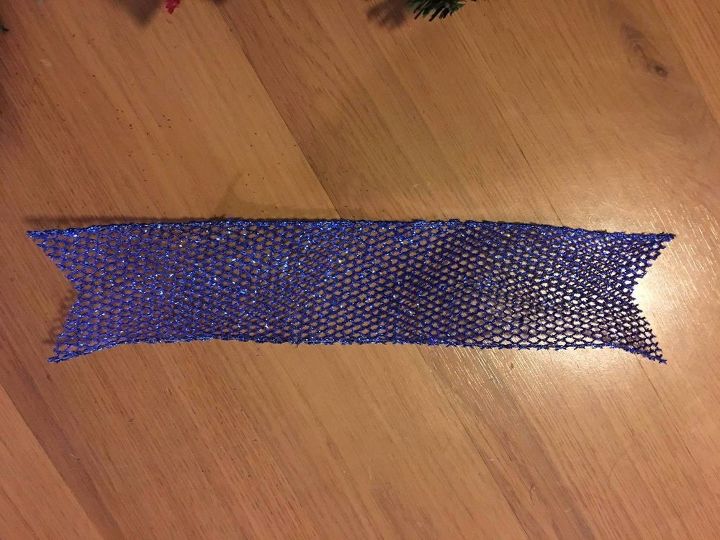
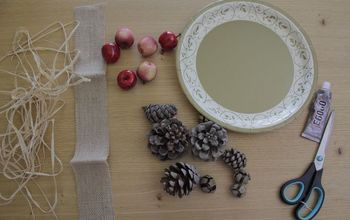
The length you cut burlap?