


How to Update Your Laundry Closet With Only $100
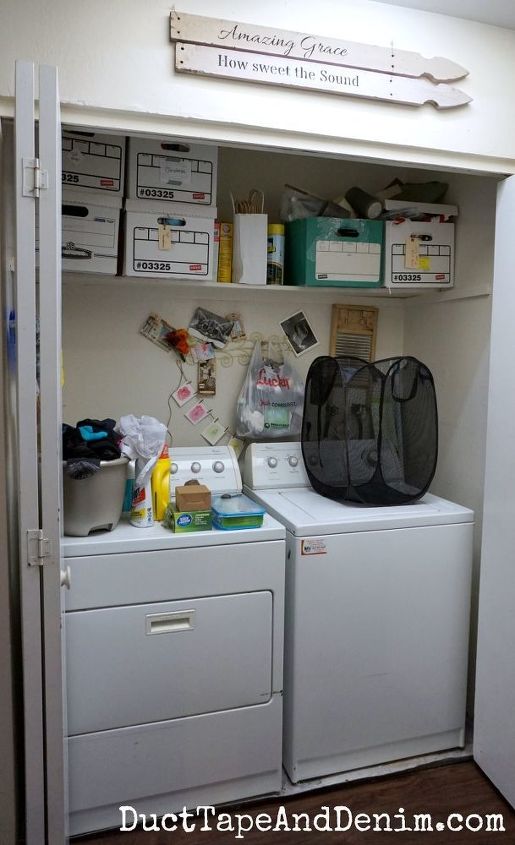
I was recently challenged by some of my blogging friends to make over a room with only a $100 budget. My laundry "room" really needed some work so that's the room I chose. This was my sad little laundry closet BEFORE the makeover!
My inspiration came from several laundry rooms with brick walls that I saw on Fixer Upper and other websites. Unfortunately, we have no exposed brick walls in our home so I came up with a way to fake it.
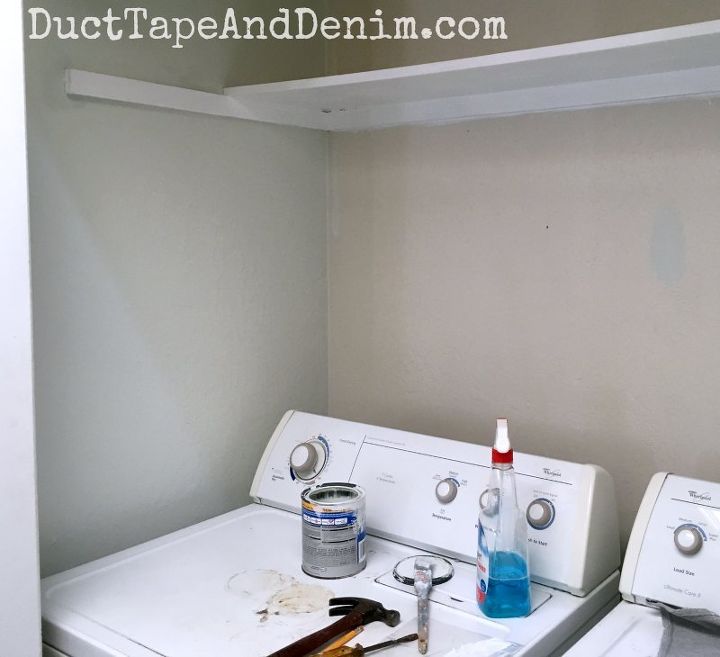
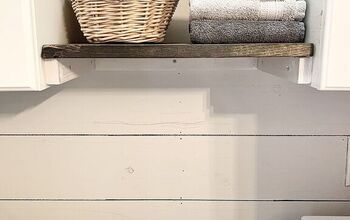
But first I painted the shelf, two side walls, and the back wall above the shelf. I just used paint leftover from other projects. $0 so far.
Here’s where it starts to get interesting. This is NOT regular wallpaper. It’s {{{affiliate link}}} peel and stick wall decor! That means if I hang it up crooked, I can peel it off and fix it! It was amazingly easy to work with. I just measured, cut, started peeling off the paper at the top, stuck it on, and smoothed it down. I used that bright green plastic tool laying on the dryer.
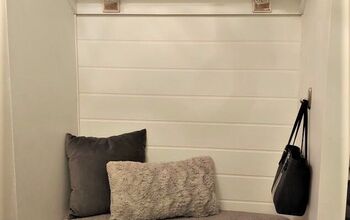
Ta da! I now have an exposed brick wall in my laundry closet! Tip: Since no one will ever see behind my washing machine and dryer, I didn’t take the brick all the way down to the floor. The only tricky part was around the faucets.
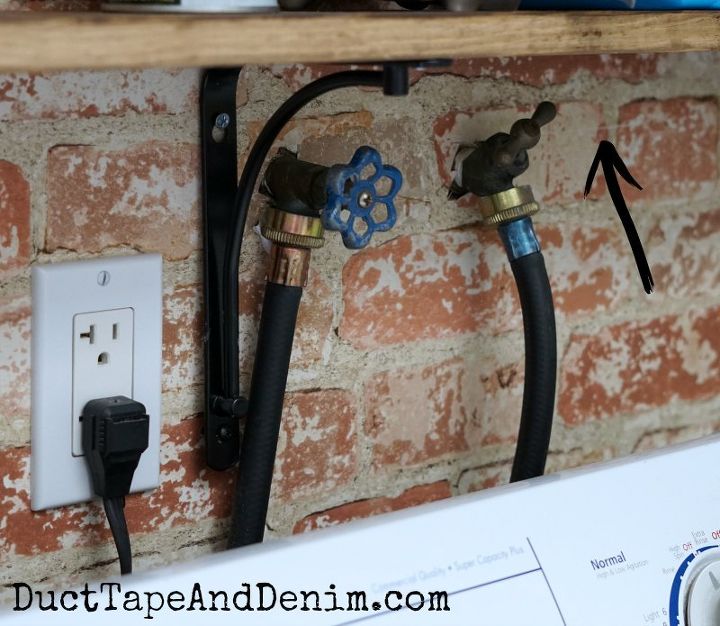
The shelf was made with a 1″ x 6″ from our local hardware store. I stained it with stain from another project but the brackets are new.
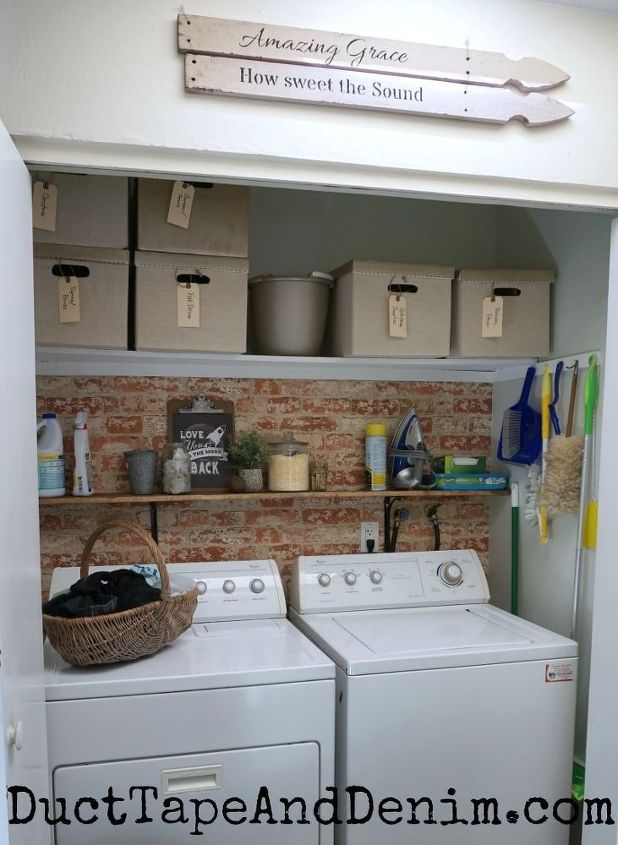
Here’s the finished “room”. It’s VERY hard to get a good photo of my laundry area because it’s in an upstairs hall. I couldn’t stand directly in front of it and get a photo of the whole room.
Click over to my blog to get the complete list of supplies and their sources. Thanks for reading!

Want more details about this and other DIY projects? Check out my blog post!


Frequently asked questions
Have a question about this project?