


DIY Organizational Room Decor - Message Boards & Polaroid Display

by
Sharon Saw
$40
2 Hours
Medium
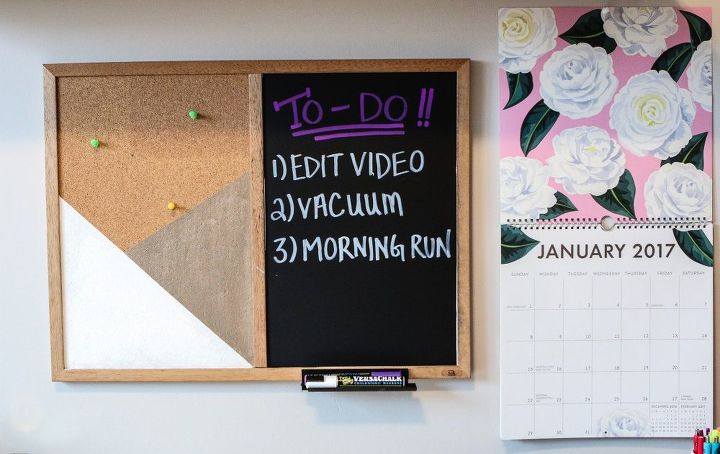
If you're someone like me who is obsessed with creating room decor that not only looks great but serves a purpose, then you're going to love this. Here's a step-by-step tutorial on how to make, not one...not two...but THREE organizational room decor projects - a personalized cork board, a whiteboard turned chalkboard, and a super hip polaroid display. You got your Crafting Cap on? Good. LET'S BEGIN!
I had this cork/dry erase combination board for the longest time and I was ready for a change. If you don't have an old combination board like this one to repurpose, you can definitely use these DIYs to repurpose separate boards you may already own!
MATERIALS - MESSAGE BOARD
- corkboard/whiteboard
- chalkboard contact paper
- paintbrush
- X-ACTO knife
- rubbing alcohol + paper towel
- acrylic paint
- masking/painter's tape
- ruler
Here is a link to a kit I made that shows you where you can get each item and the cost of everything: https://kit.com/SharonBeMakinStuff/diy-organizational-room-decor
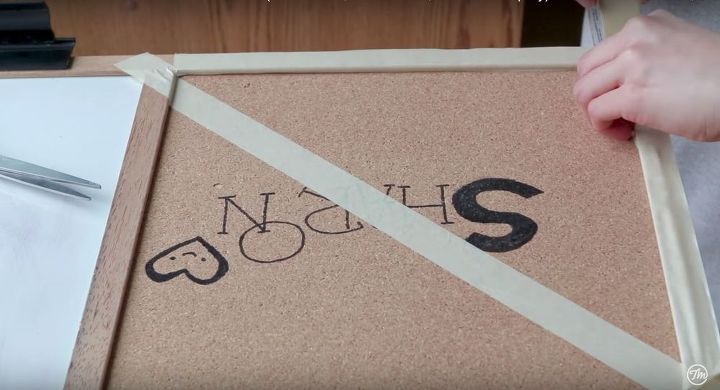
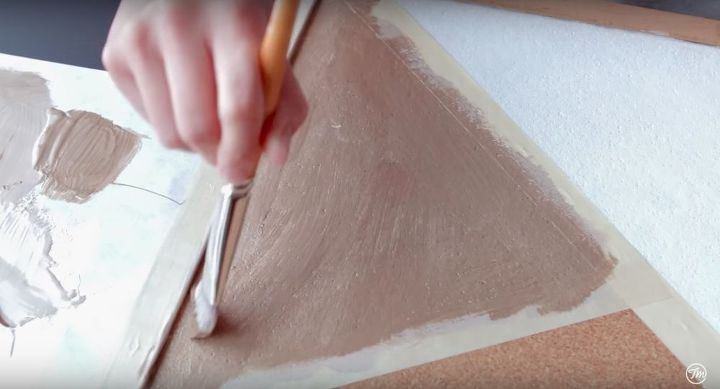
For the cork side of your message board, tape off the section you want to paint, including the borders. Use your scissors to cut off the excess tape. I decided to go for a simple geometric pattern but you're free to create whatever kind of pattern your creative little heart desires.
*PRO TIP: bold yet simple designs work best for this project!
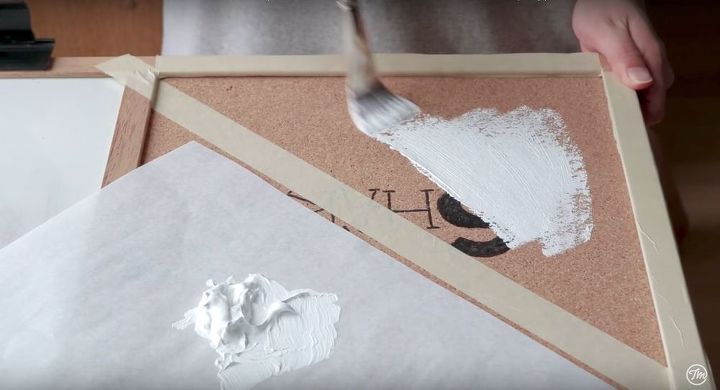
Using acrylic paint and your brush, paint in the sections you taped off to create your design. Since I had some writing on my corkboard, I needed two layers to cover it up, although one layer should suffice. Let it dry for about 15 minutes between the layers.
*PRO TIP: choose colours that match the theme of your room or choose bold colours if you want it to stand out as an art piece!
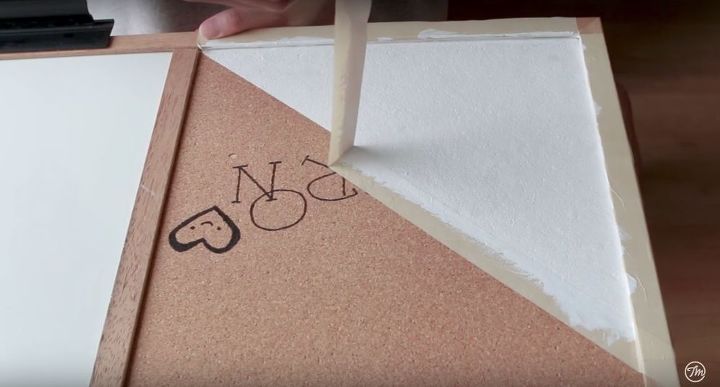
When your paint is still wet, carefully remove the tape...this part is always so satisfying!
Once your first section has dried, tape off the second section you want to paint, including the borders. It's okay to tape over the first section you just painted. When your paint is still wet, peel away!
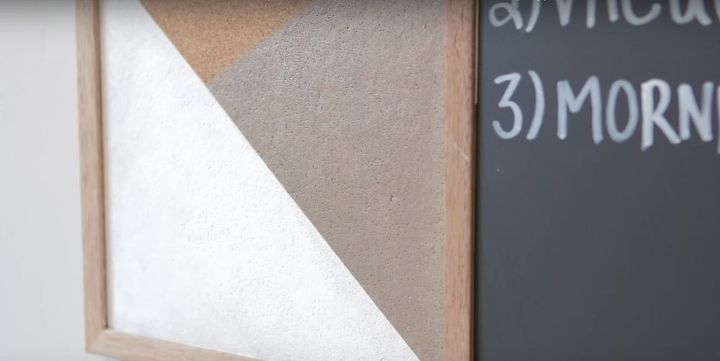
TA-DA! Our corkboard section is complete. Now you can pin up your memo notes in fashion. Let's move on to the whiteboard section.
Dampen a paper towel with rubbing alcohol and clean off your whiteboard to remove any leftover residue from the dry erase markers.
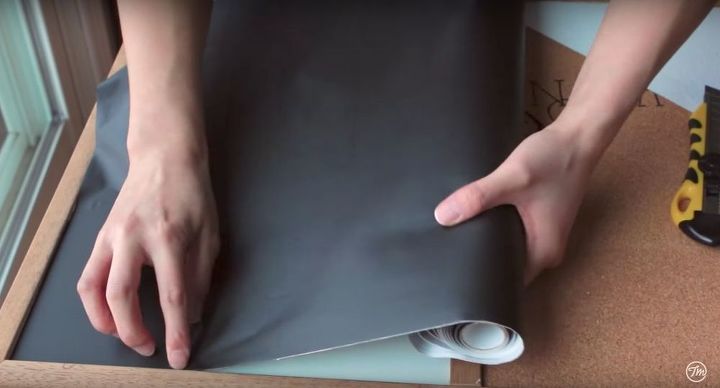
Now it's time to apply the chalkboard contact paper. Start at one corner of the whiteboard and work your way towards the middle while smoothing out any air bubbles with your hand. When applying the contact paper, don't stretch it out too much otherwise you'll end up with weird creases and stretch marks - that's a big no-no!
*PRO TIP: work slowly and peel off the backing in small sections at a time.
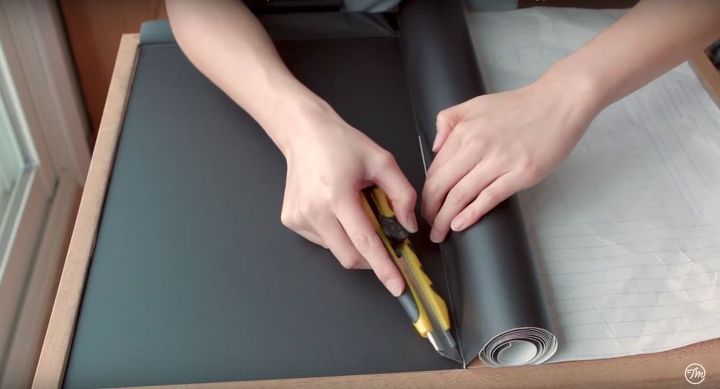
Using your ruler, run it along the edges to ensure that the contact paper is securely adhered. Cut off the excess with your X-ACTO knife and you are done! HOORAH!
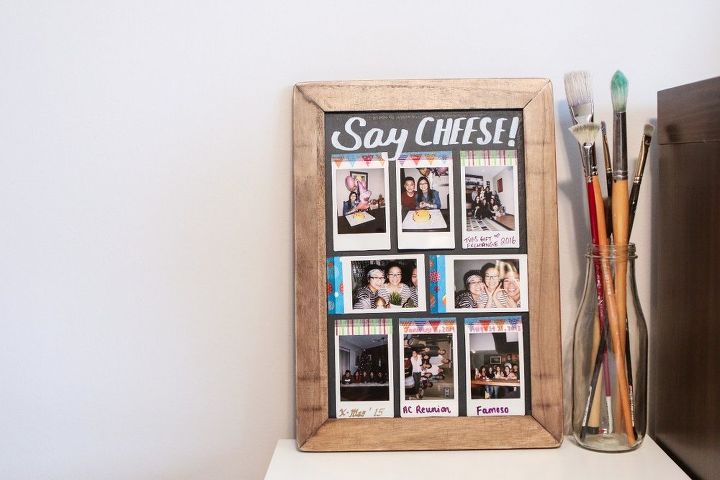
This is a fun way to display your polaroid pictures with a customizable message.
MATERIALS - POLAROID DISPLAY
- mini chalkboard/wooden frame slate board
- polaroids
- washi tape
- scissors
- chalkboard markers/chalk
Here is a link to a kit I made that shows you where you can get each item and the cost of everything: https://kit.com/SharonBeMakinStuff/diy-organizational-room-decor
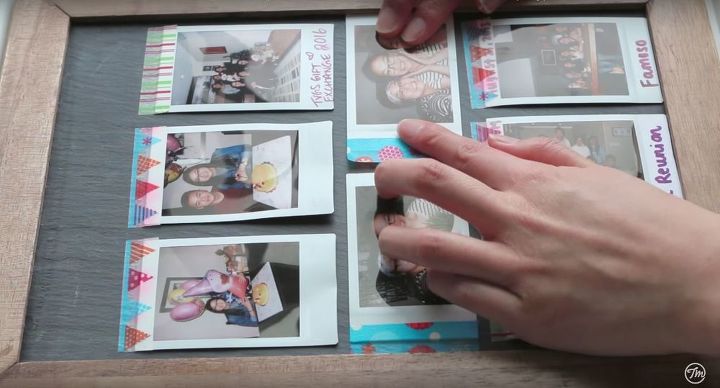
Begin by arranging your polaroids until you are satisfied with the placement of them, leaving some room at the top to write a message. Using your washi tape, adhere the polaroids down onto the chalkboard.

If you want a more polished look, trim off the excess edges.
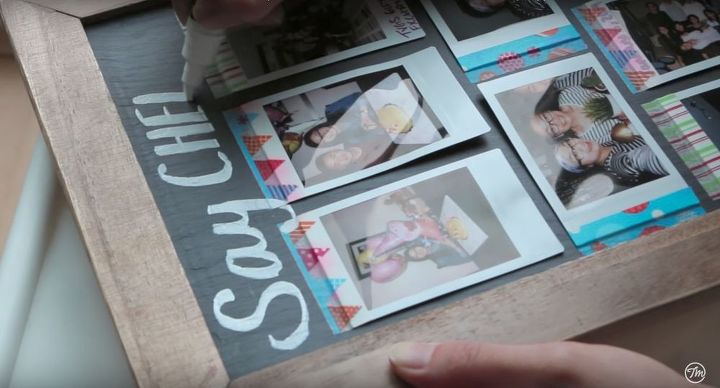
Lastly, using chalk markers, write a personalized message at the top of your chalkboard. Your super hip polaroid display is complete and ready to be shared with family and friends!
{
"id": "3895436",
"alt": "",
"title": "",
"video_link": "https://www.youtube.com/embed/zUTXQaCQ06Q",
"youtube_video_id": "zUTXQaCQ06Q"
}
{
"width": 634,
"height": 357,
"showRelated": true
}
From cork boards, to chalkboards, to polaroid displays, I hope you enjoyed these ideas for adding a personalized touch to your room while staying organized! Check out the full video tutorial above!
Comments
Join the conversation
2 of 5 comments
-
Looks great, thanks for sharing
-
I think I will try this idea for my granddaughter's bedroom. thank you for sharing.


Frequently asked questions
Have a question about this project?