


IKEA MALM Dresser Hack

2 Materials
$35
2 Hours
Easy
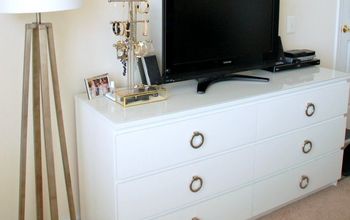
We had two IKEA dressers that were looking kinda plain and giving off a “I got this for my first apartment” vibe. So, inspired by a West Elm dresser with knobs on the top drawer and pulls on the rest, we found $35 in hardware (per dresser) to give our dressers a little extra oomph.
{
"id": "4001840",
"alt": "",
"title": "",
"video_link": "https://www.youtube.com/embed/mqOm4W5OP8s",
"youtube_video_id": "mqOm4W5OP8s"
}
{
"width": 634,
"height": 357,
"showRelated": true
}
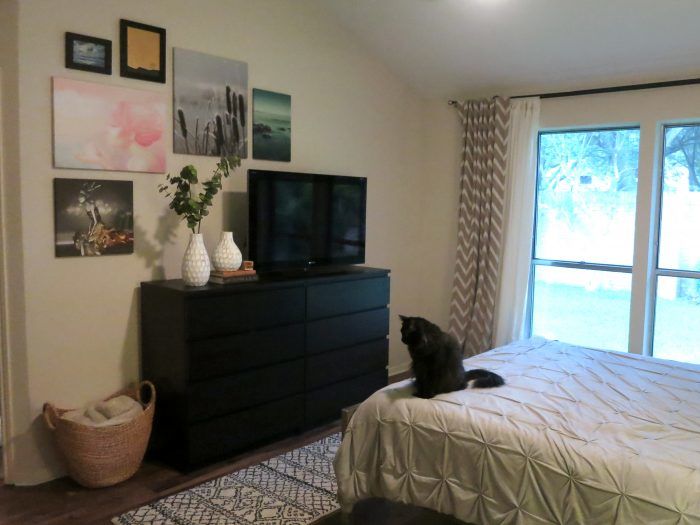
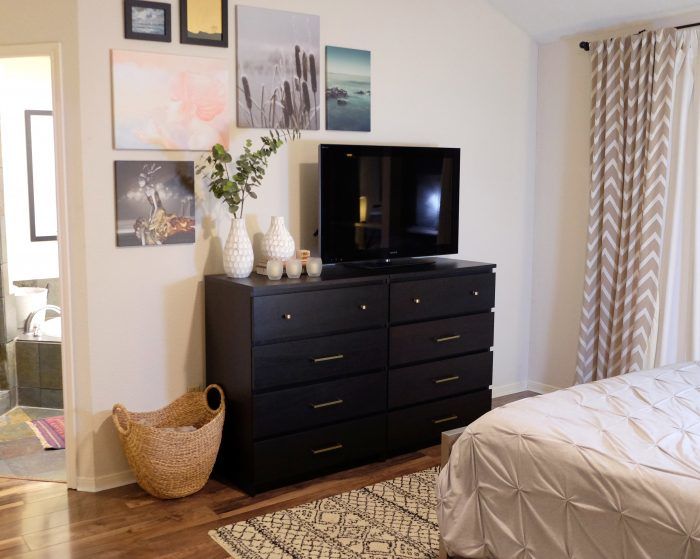
Before Photo
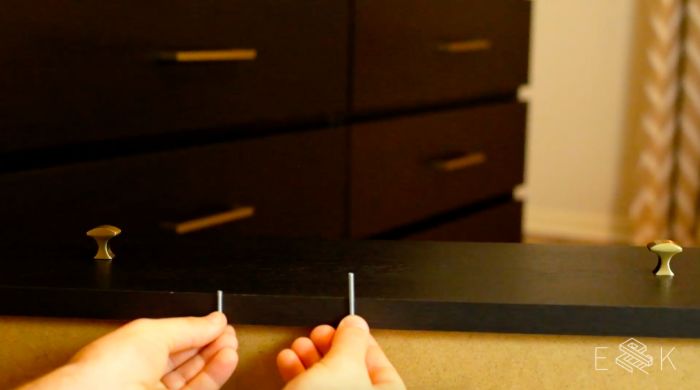
First, you’ll need to measure your drawers and mark each spot to drill for your hardware. Double check your measurements because having a bunch of mistake-holes in your dresser is a good way to ruin it.
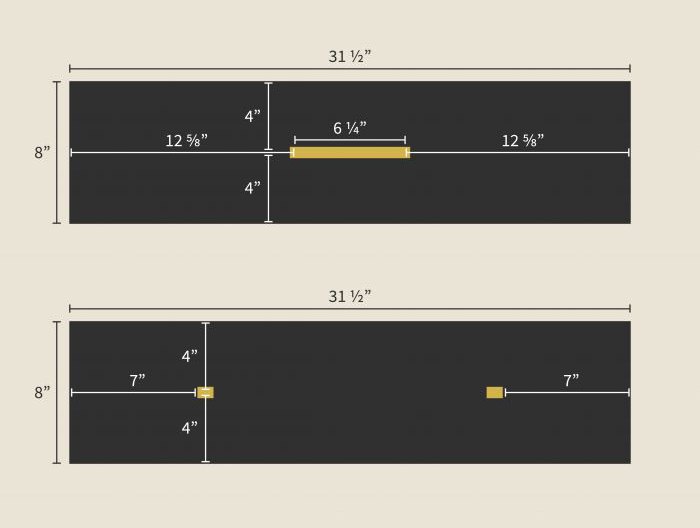
For the pulls, we measured the width of the drawer front, then the width between the two holes in each pull. We subtracted the pull-width from the drawer-width and divided that number in two, which told us how far we needed to measure from each side of our drawer. We centered those marks vertically.
The knobs were easier. We just eyeballed what positioning looked good, made sure they were equally spaced width-wise from the outside edge of the drawer, and centered those vertically too.

After you’ve double checked your measurements, it’s time to bust out the drill.
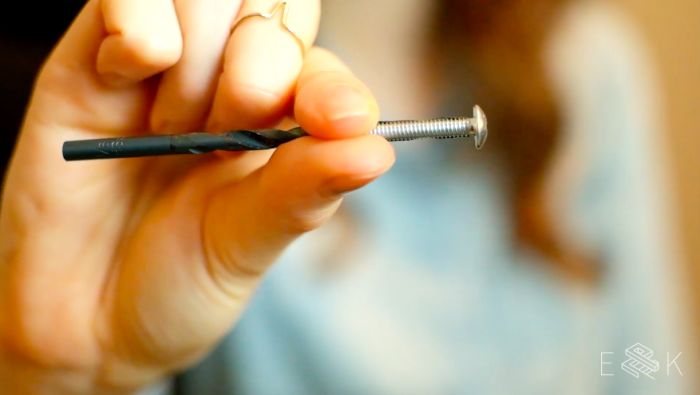
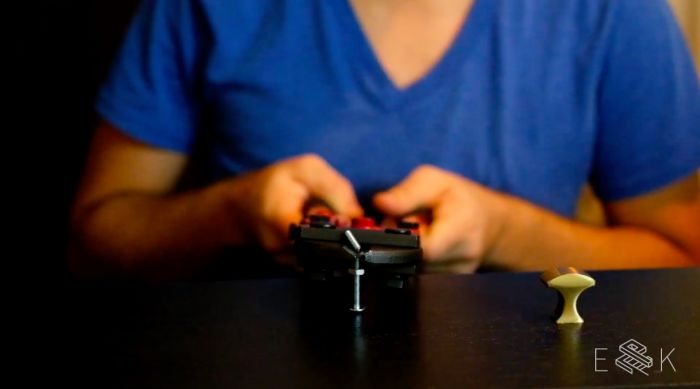
To pick the right bit size, you can hold your screw up to several different sized bits and pick one that is just a hair thicker than your screw.
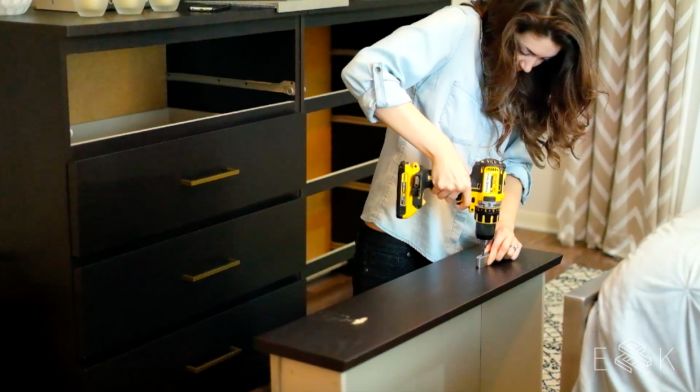
We really like using a drill guide (that little metal bar we’re drilling through) to help us drill straight down (instead of at an angle). If you’re nervous about drilling through perfectly good furniture, I highly recommend getting one of these little guys.
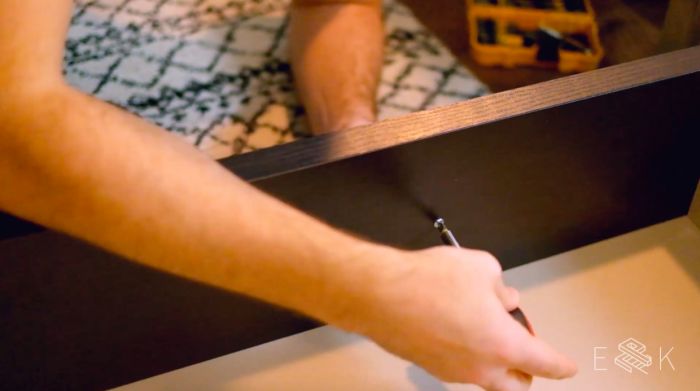
After drilling, we did hit a bit of a snag. See, hardware will typically come with screws, and ours came with two different screw size options. But sadly, we had a Goldilocks moment and one was too long and one was too short, but neither was juuuust right.
This is a common issue to run into, so we shared a little tip in the video (it’s easier to explain in video form than text-form)
The next step is to simply attach your hardware with your screws. You can use a normal screwdriver or a powered screwdriver depending on what you have.
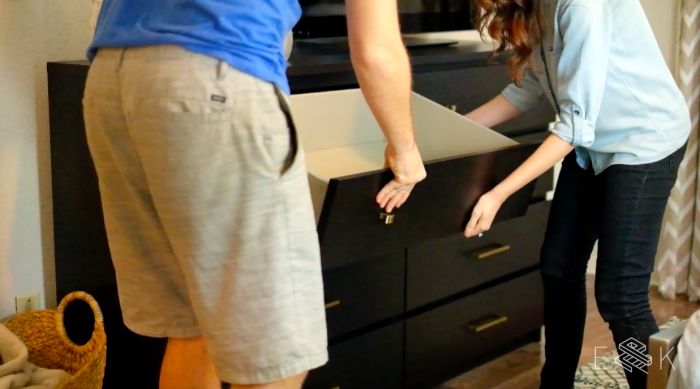
Then just add your drawers (I guess you can put your clothes back now too) and give yourself a high five because you’re done!
This project really was super easy, and it ended up only costing us $35 per dresser. In my book, that is WAY better than dishing out hundreds (or even thousands!) on something new.
Tools
- Power drill - http://amzn.to/2iB1fGV
- Phillips screwdriver - http://amzn.to/2jD7dYw
- Drill guide (optional, but it makes drilling straight down much easier) - http://amzn.to/2iFeLat
Comments
Join the conversation
3 of 29 comments
-
Love your fluffy black cat! The dresser is awesome as well.
-
Thanks! Haha we love her too, but we are biased


Frequently asked questions
Have a question about this project?