


Look At What She Does With These Plain Wood Slabs!

by
Maura White
4 Materials
$20
1 Hour
Easy
Wood slabs and mason jars - the current well known 2010's decor trends!
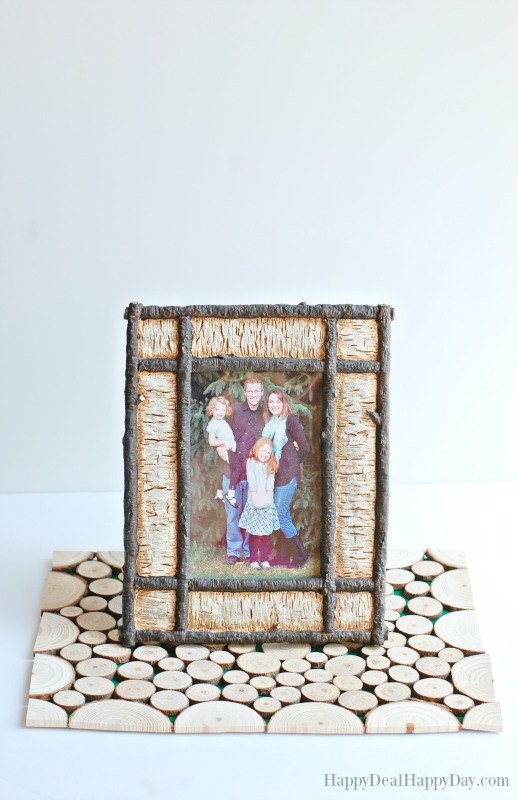
I'll admit that my personality really fits this rustic decor trend! I'm a country girl at heart that loves a rustic or cabin feel to any room. So personally, I'm just thrilled that you find mason jars and wood slabs all over right now! I have a fun craft for you today that is really easy to make - using small wood slabs that you can use as a placemat, centerpiece that can hold a mason jar with flowers, or under a photo as I'm using it!
Materials needed:
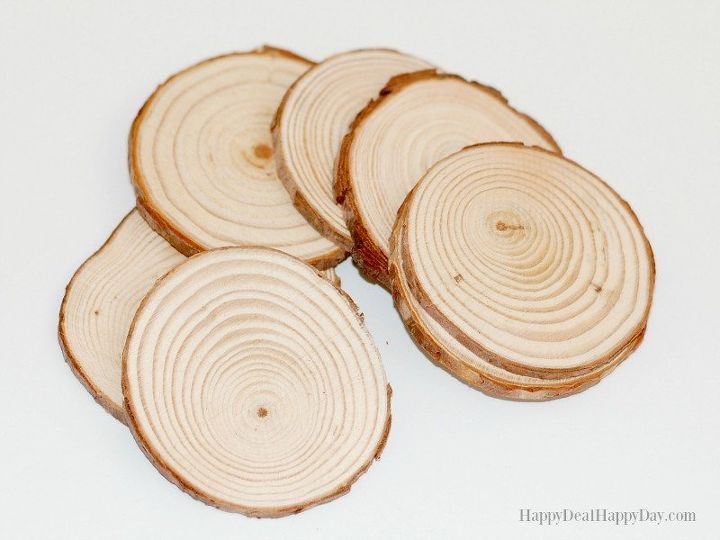
Wood Slices for DIY Crafts Wedding Decor (you may need 2 packages of this size to get enough smaller slabs to fill your mat)
2.5"-2.8" Unfinished Natural Wood Slices
8X12 piece of felt
Hot glue gun
Chop or Miter saw
Cabin Style Photo frame (I found mine on clearance at Walmart)
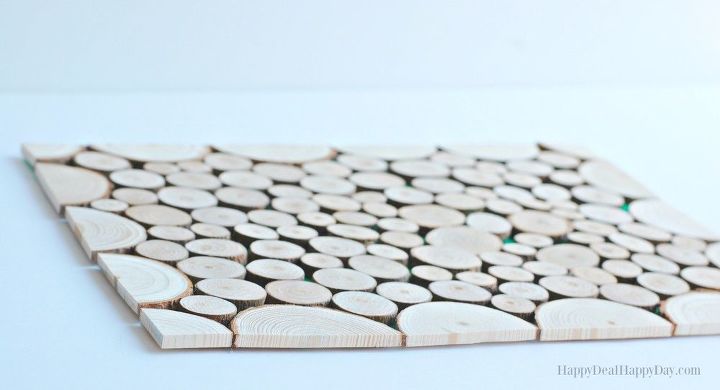
Start by taking your larger 2.5-2.8" wood slab sizes and cutting them in half. I used a chop saw for this. (well actually, my husband wouldn't let me touch it and he sawed these for me. ;)
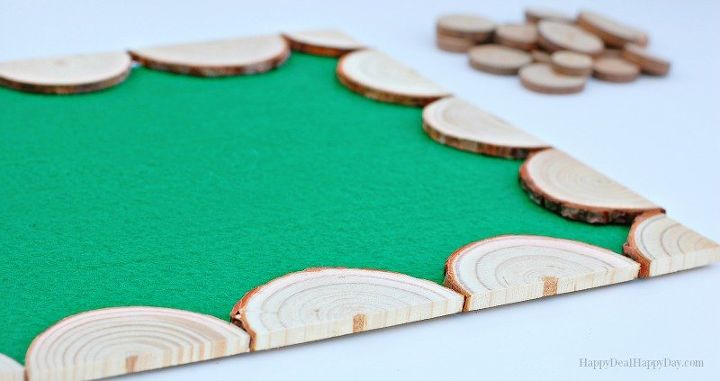
You will use these bigger pieces as your border. You need to cut a few of the halves also in half to create quarter size pieces. Those will be used for the 4 corner pieces.
Next, lay out all of your border pieces first before you glue. You will have to move pieces around a bit like a puzzle to make sure it all fits just right and you may go over the edge a bit off of the felt. The wood pieces can hang over the felt a bit, just as long as there is a bit of felt to glue the slab on. You won't need much hot glue on each piece to stick - just a dab or two on each piece is fine.
I used the color green for my felt, but honestly wish I had gray or brown so that it would blend better with the wood. If you have a color in your room you want to bring out a bit, then go ahead and use that!
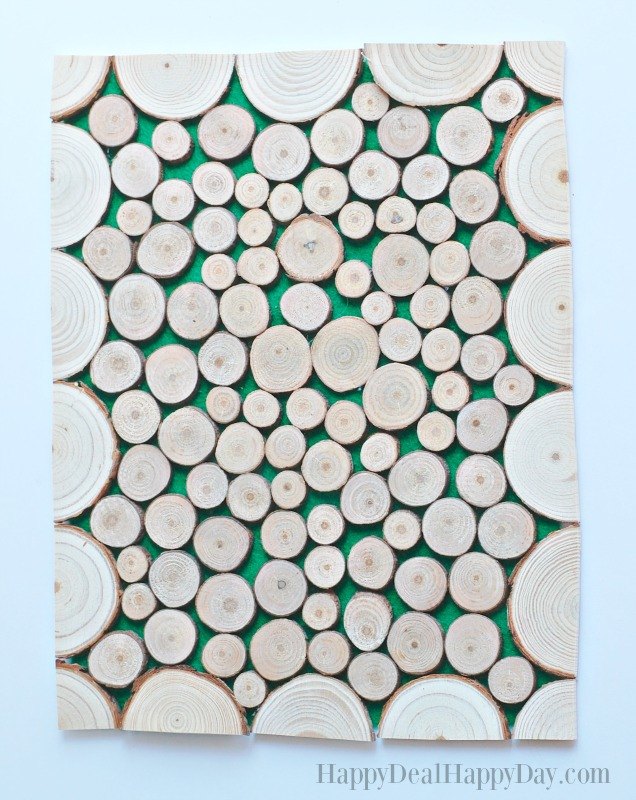
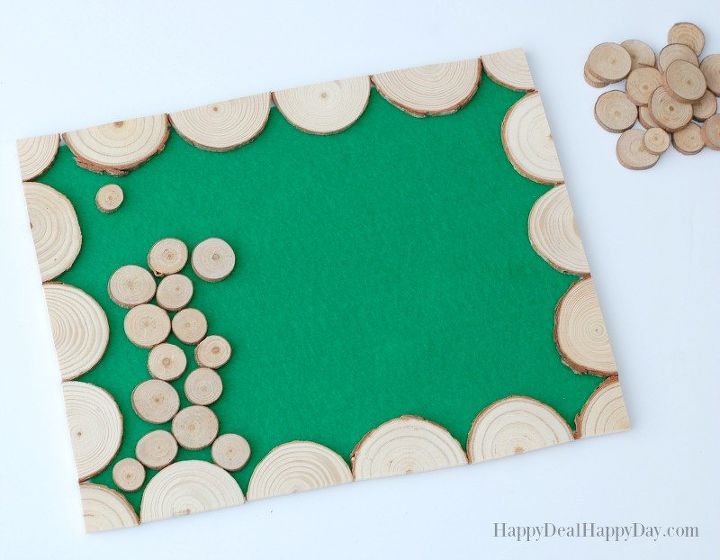
The next step requires more piecing together of a puzzle so to speak, gluing on smaller wood slab pieces into the center until it fits. Again, I recommend placing and arranging a few down at a time before gluing them to be sure it fits correctly. I wish the bag of Wood Slices for DIY Crafts Wedding Decor came with a few more really small slabs, like less than a 1.5cm, to make filling in the smaller places a bit easier. I ended up purchasing two bags of these so that I could get enough of the smaller sizes (the sizes vary in each bag from 1.5 - 3cm) to fill in the smaller spaces.
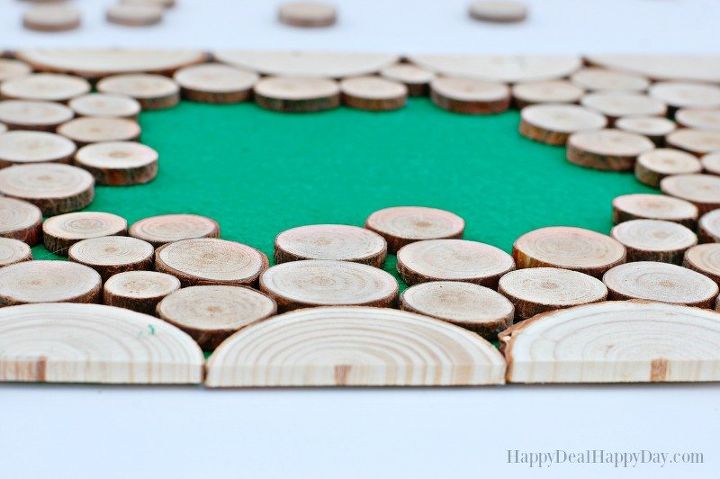
It's a great feeling when you get all of the pieces to fit just right and they are each glued in place. This is a fun and relaxing rainy afternoon kind of craft that brings a bit more of nature into the home!
I love my "cabin" style photo frame that I'm placing my wood slab mat under. They go together beautifully and look great in my rustic, cabin style family room!

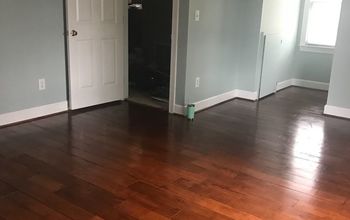
Looking for more rustic decor DIY ideas? Check this out:
Want more details about this and other DIY projects? Check out my blog post!


Frequently asked questions
Have a question about this project?