


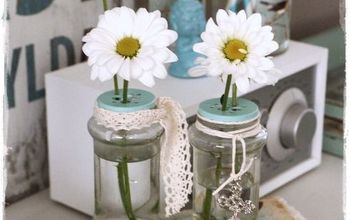
Mason Jar Hanging Vase

7 Materials
$25
2 Hours
Medium
Check out this tutorial to learn how you can build your own DIY shabby chic hanging vase.
To watch us make this project, watch our live video here: http://www.facebook.com/HometalkTelevision/videos/764890793682517

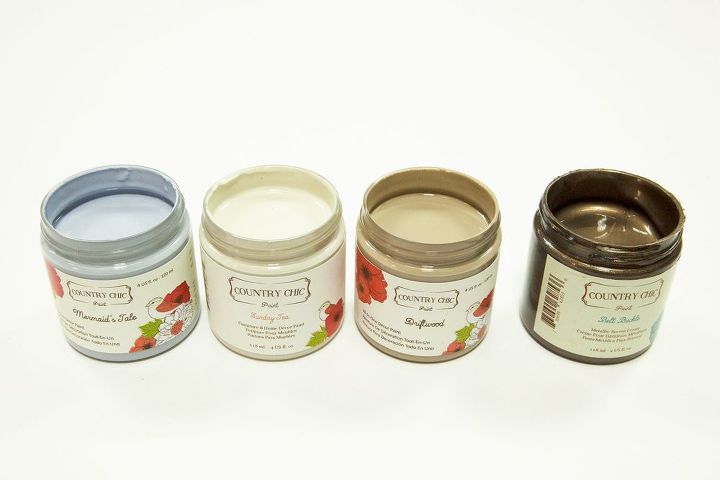
Before you dive in you'll want to choose the colors you'll be working with. We chose two layering colors for the backing (Driftwood and Sunday Tea), plus our lovely purple, Mermaid's Tale for the mason jar and some Belt Buckle metallic cream to add a hint of sparkle.
The back board we used for this project is 8x12" and made of MDF. You could use a piece of pallet wood or plywood if you prefer!
You'll want to drill a hole near the top of the board for your hanging hardware to go in later on. Our hole was drilled directly in the middle of our board, 1" from the top.
For the back board, we're creating a crackled finish so you'll want to choose two different colors that compliment each other nicely.
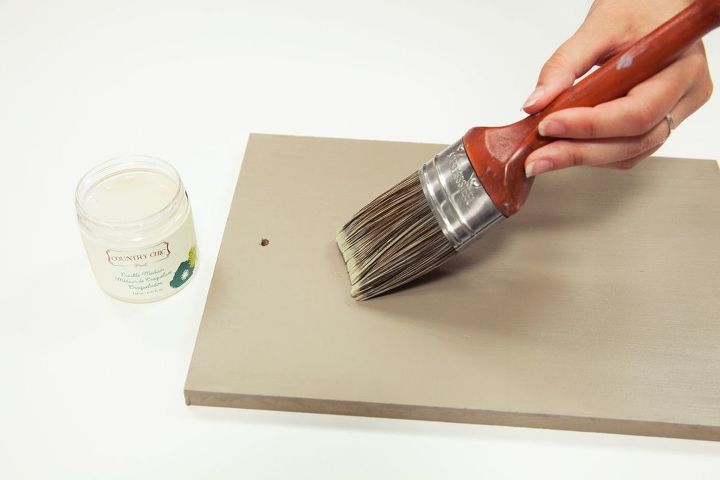
To start with, apply 1-2 coats of your base color to your board. We chose Driftwood for this step. Keep in mind that this color will be mostly covered up later on but will be visible through the cracks you create. It's best to wait at least 1-2 hours before moving on to the next step.
When your paint is fully dry, use a synthetic-bristle brush to apply an even coat of Crackle Medium making sure that you do not over-brush. Allow this coat to fully dry (~12 hours). Letting the Crackle Medium dry completely is critical as without sufficient dry times no cracking will occur.
After you've let the Crackle Medium dry for at least 12 hours, you're ready to make some magic happen!
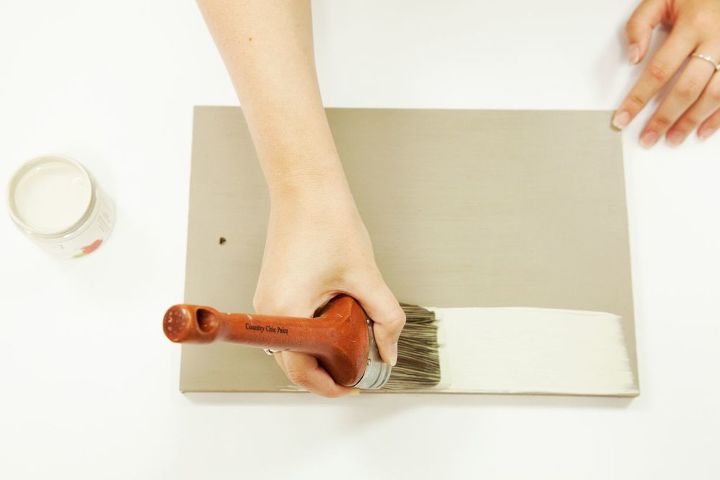
Apply your top coat of Country Chic Paint. If you chose to use a base coat of paint, make sure this coat is in a contrasting color. Do not over-brush. As the paint begins to dry, you'll see cracks start to appear in the finish.
Tips: To produce larger, more prominent cracks apply the top coat in a thicker layer. (Keep in mind that thicker coats of paint will increase dry times.) For finer cracks, apply your top paint coat more thinly. For random and sporadic crackling, vary your brushstrokes and randomly brush the paint on.
You can use a blow dryer set at a moderate temperature to reduce the wait time between each step. If you over-brush your crackle or top coat, it can create either very fine cracks or no cracks at all, so just apply and then leave it alone.
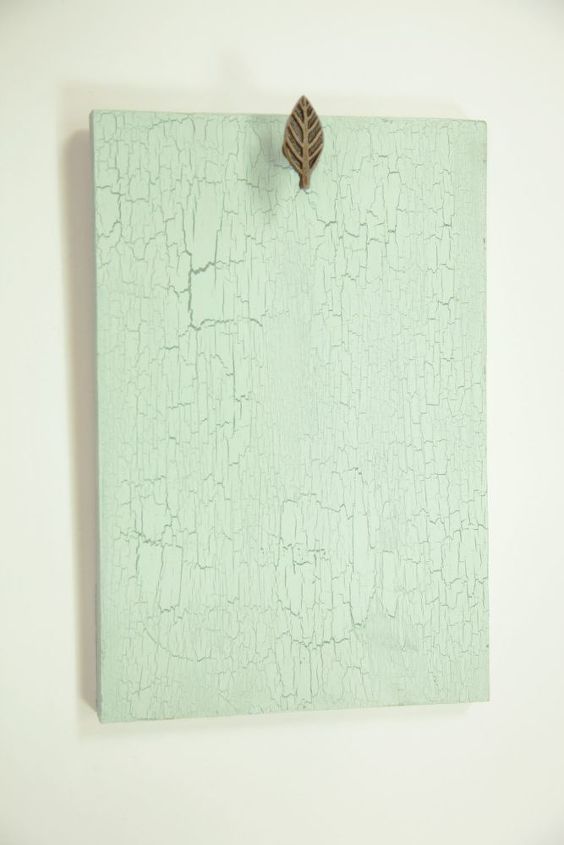
Don't you just love this beautiful, shabby chic effect?
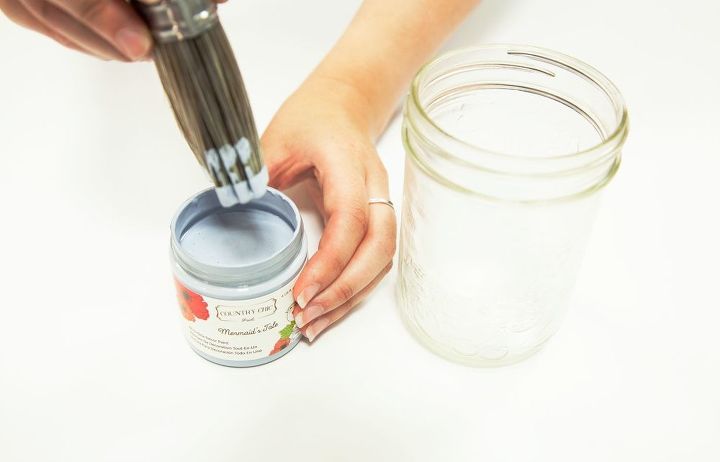
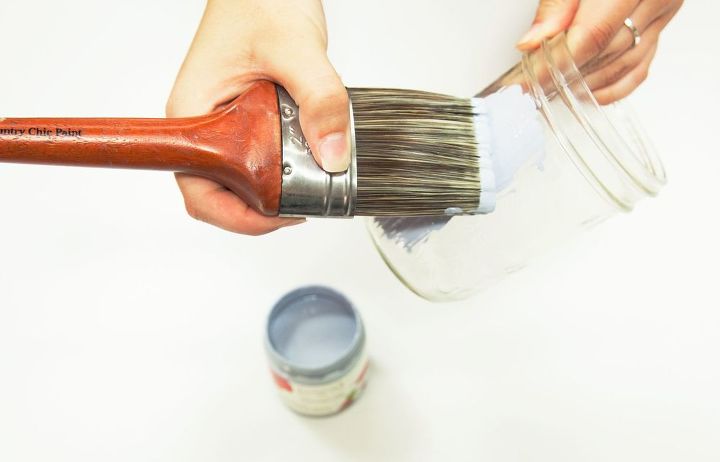
Now that your back board is done, you can move on to your mason jar. Make sure the surface is clean and dry, and try not to touch the exterior of the jar as your fingers can leave oily residue that will prevent the paint from adhering.
Apply 1-2 coats of paint to your jar until you're happy with the opacity.
For more tips on how to paint glass surfaces, check out our tutorial here: www.countrychicpaint.com/pages/how-to-paint-glass-and-metal
If you'd like to add a little more intrigue to your mason jar, you can try using sandpaper to distress it a bit, or apply a coat of metallic cream like we did.
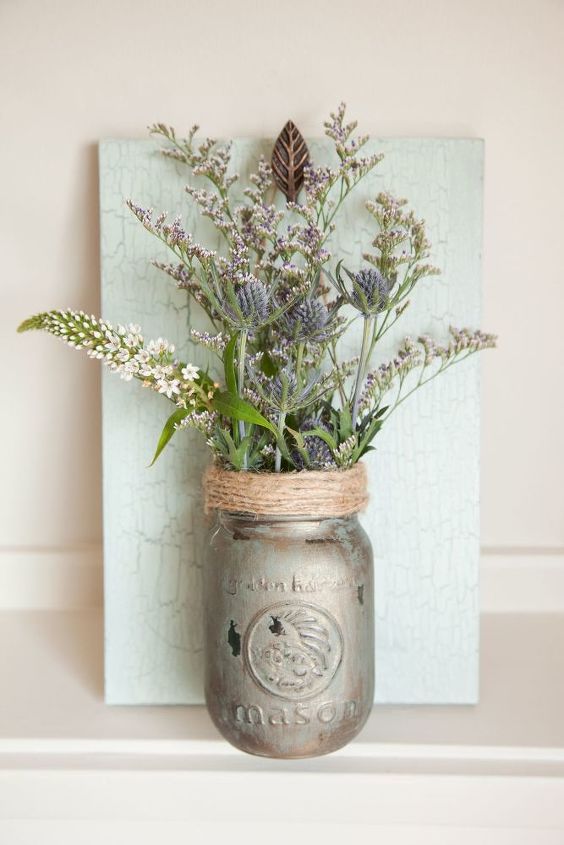
To hang your vase, add a pretty knob to the top of your board and use a glue gun to attach some twin. We first glued on one piece of thin twine to create the handle, then wrapped twine around the top of the jar to help secure things.
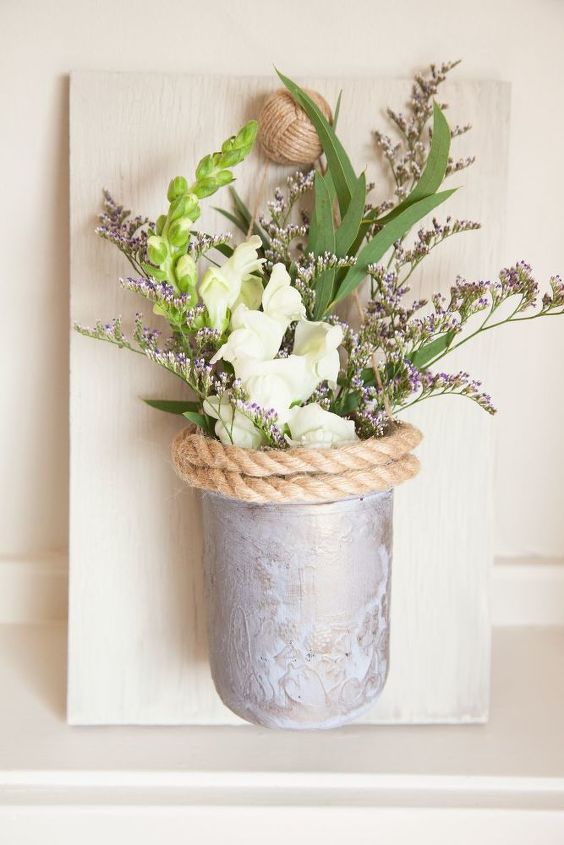
Isn't it cute? Comment below to let us know what you think!


Frequently asked questions
Have a question about this project?