


SEAT BELT BUCKLE KEY HOLDER

by
Eamon Walsh
$5
1 Day
Medium
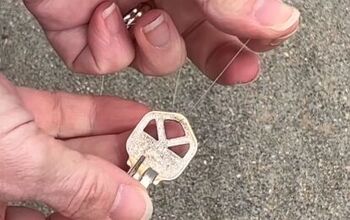
Here I show how to make a key holder from an old car seat belt buckle. It’s quite an easy project to do. (with a few tools) Apart from being a great place to store your keys, it can also prevent your keys from being stolen! There has been a large increase in the number of car key “fishing” cases in recent years. It’s where thieves use fishing rods or telescopic poles to fish out your keys through your letter or mail box and then steal your car.
If you unfamiliar with the term check out these links for more info:
http://www.autokey.ie/stolen-keys/
http://www.irishtimes.com/news/ireland/irish-news/car-thieves-using-fishing-rods-to-access-keys-through-letterbox-1.2177254
{
"id": "4120013",
"alt": "",
"title": "",
"video_link": "https://www.youtube.com/embed/2crJ_vWWNao",
"youtube_video_id": "2crJ_vWWNao"
}
{
"width": 634,
"height": 357,
"showRelated": true
}
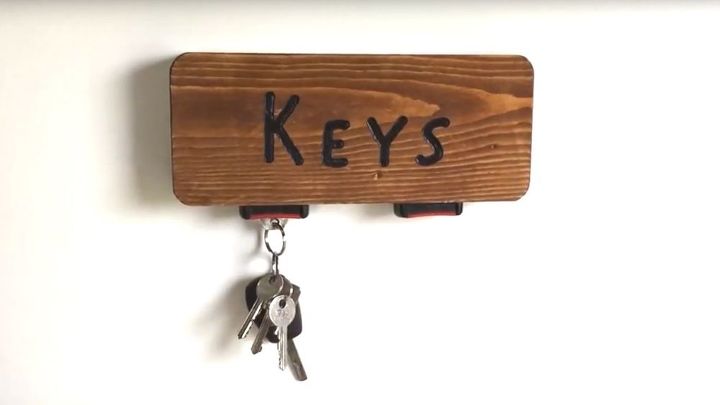
Have a look at the video above to see how I made it or follow the guide below. The finished size of the holder is 10 inches (254 mm) x 4 inches (102 mm) x 1 3/8 inches (35 mm)
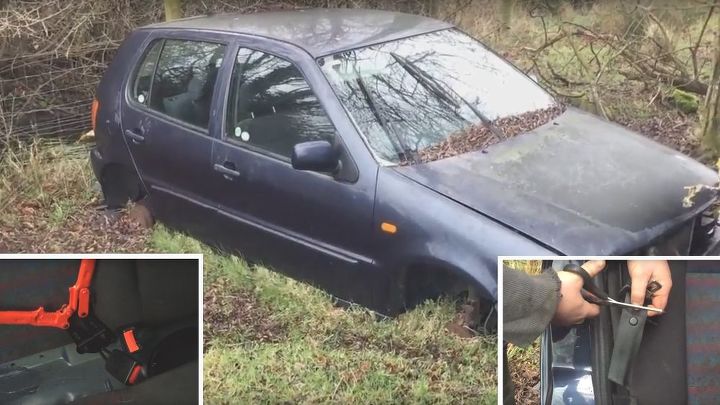
Locate an old car and cut out two of the belt buckles and latches. I used bolt cutters to cut them out and a scissors to cut the strap.
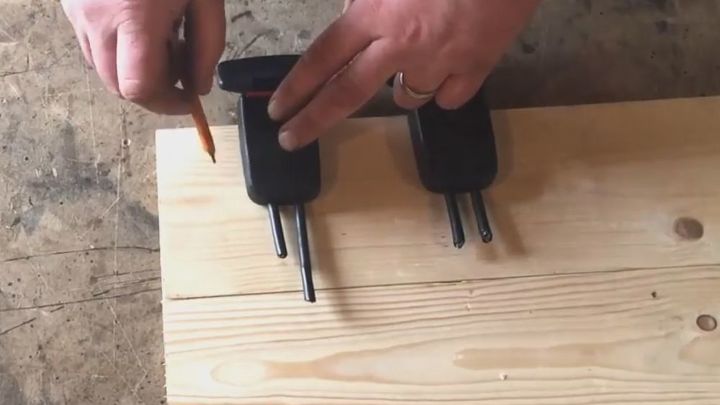
Using a pencil I marked the shape of the buckles onto a piece of wood which was about 5 inches wide (125 mm) and ¾ inch (18 mm) thick.
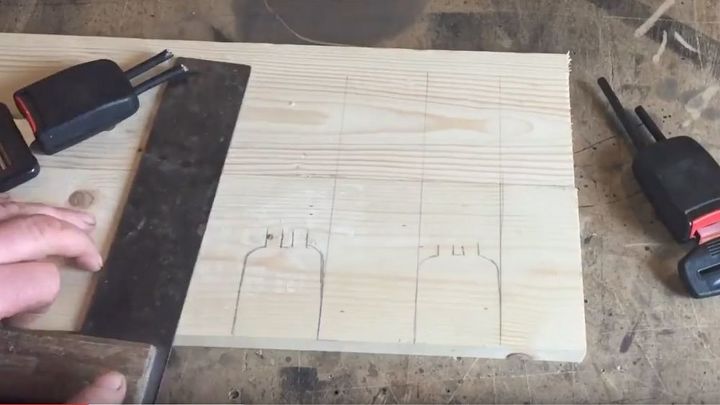
Using a square transfer the lines over to a second piece of wood (the same size as before) and mark the shape of the buckle again.
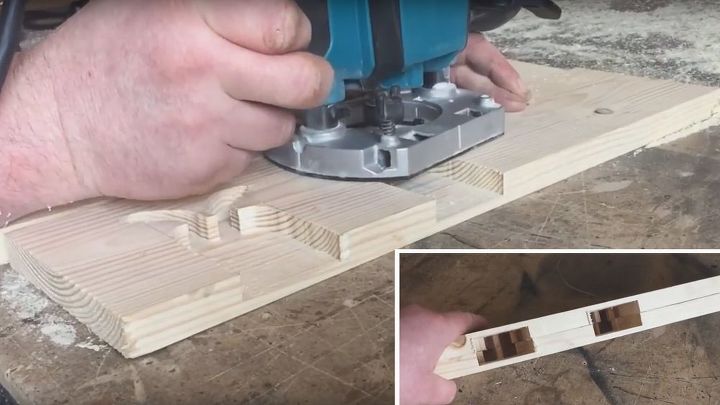
I used a router (could be done by hand with chisels) to remove half the thickness of the buckle on each piece of wood.
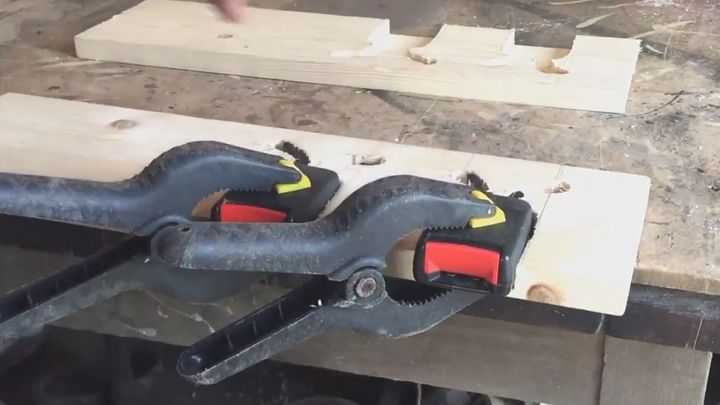
I glued the buckles to one piece of the wood using an expanding glue and clamped it in place until cured. See link for the glue i used: http://www.gorillatough.com/gorilla-glue
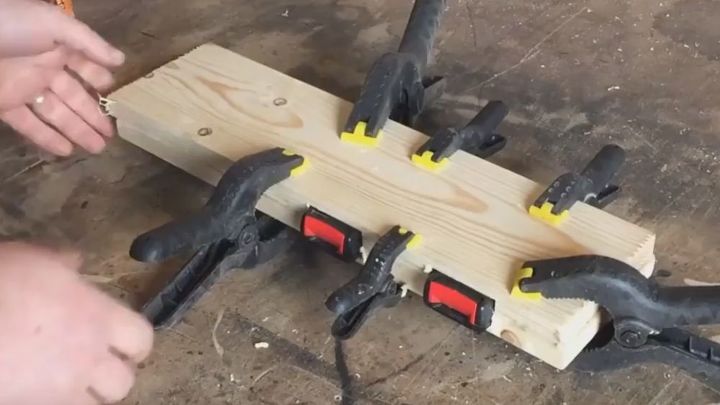
Then applying more of the expanding glue and some wood glue I glued and clamped the two pieces of wood together. See link for the wood glue I used: http://www.gorillatough.com/gorilla-wood-glue
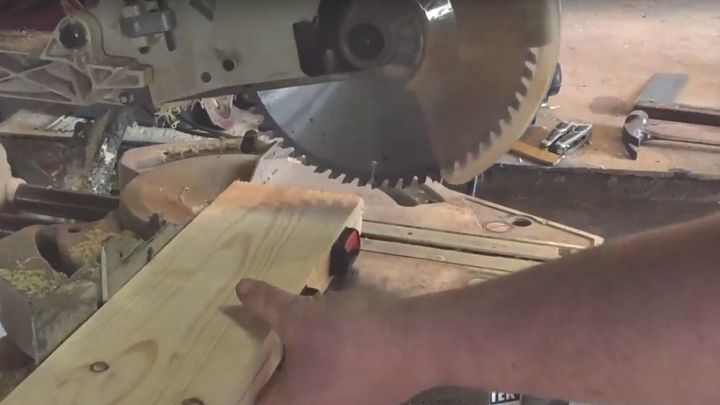
After the glue had dried I cut the holder to the size I wanted. Doing it this way allows for a more seamless glue joint in the wood.
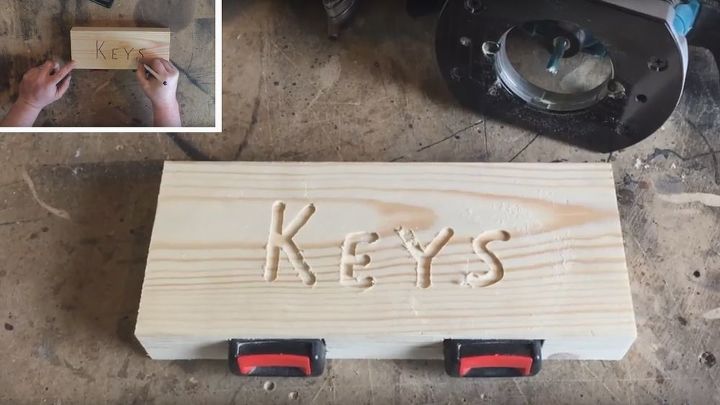
Then with a marker I wrote the word”keys” on the face of the holder and with a ¼ inch bit in my router I cut out the word freehand. It goes about ¼ inch into the wood.
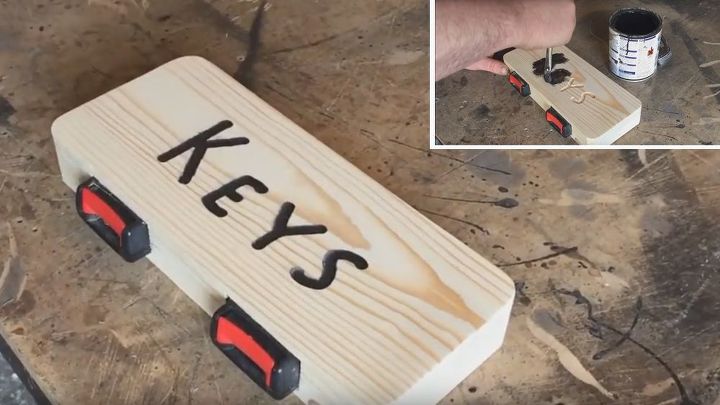
Using black paint I painted the letters. After the paint dried I sanded the wood to give the letters clean edges.
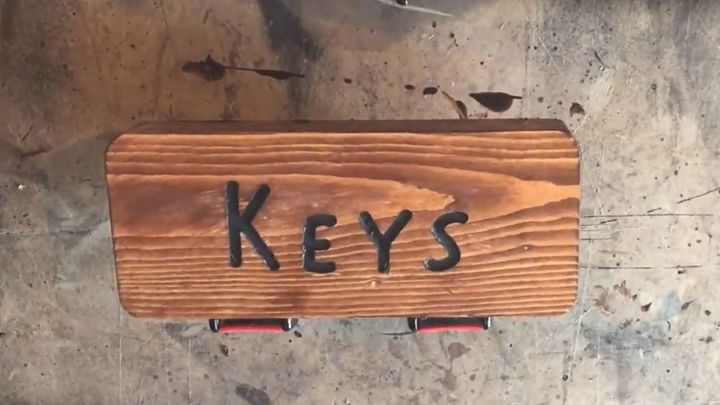
I thought the wood looked light in colour so I applied a stain and then a few coats of varnish as a finish.
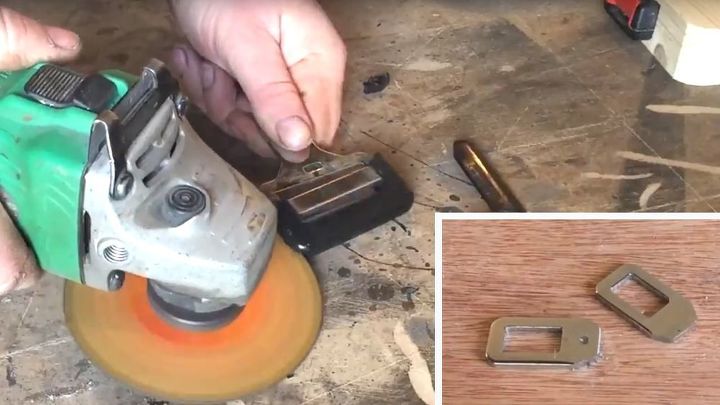
I used an angle grinder to the cover on the latch and cut it to size.
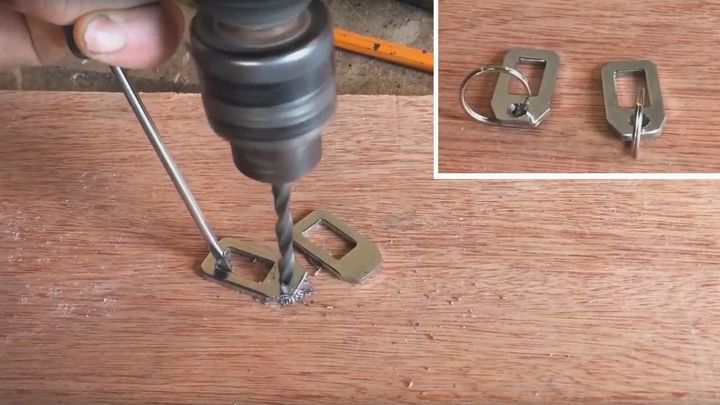
I drilled a hole with a metal bit to attach the key ring. Be careful to hold it firmly when doing this as it can spin.
Attach your keys and away you go! That’s it. You could always make it bigger by adding more buckles and using a longer piece of wood. Hope you enjoyed it and if you would like to see more projects from me you can subscribe to my channel by clicking on the link below. Thanks.


Frequently asked questions
Have a question about this project?