


DIY $10 Corrugated Metal Awning
3 Materials
$10
3 Hours
Medium
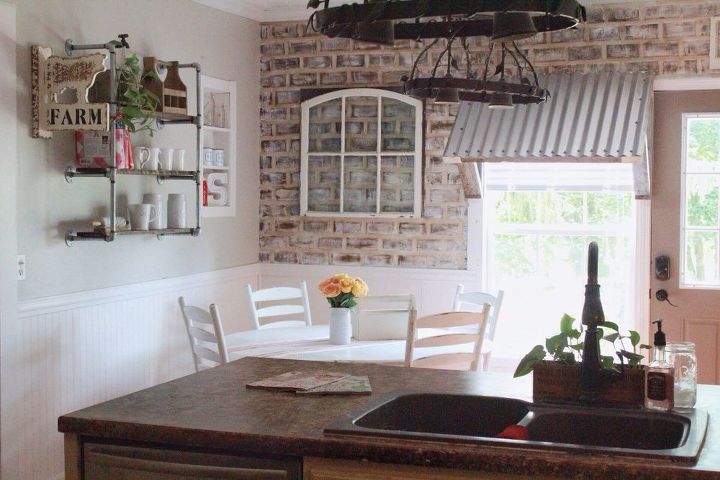
I am so excited to finally share this project with you hometalkers! This has been an idea in my head for a while and thanks to my hubby, it is now a reality! I saw an awning like this one on pinterest one day and knew it would be perfect in our kitchen. Especially since we were missing part of the trim above the window, I knew this awning would cover it up and boast the look I was going for. This was so cheap since we decided to use reclaimed 2x4's. They were actually from our nursery renovation. We saved the studs since they were from the 1800's and were actual nominal lumber. The only part of this project needed for purchase was the corrugated metal. We bought (2) 2x3 sheets for $4 each and a box of corrugated metal to wood screws for $3.
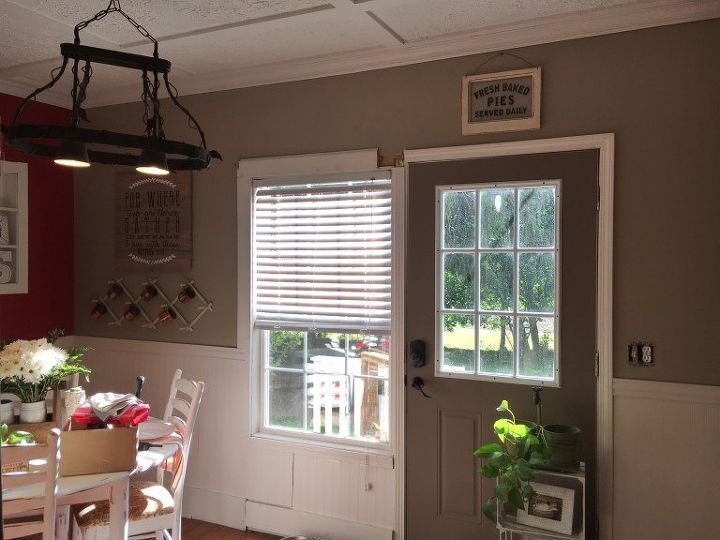
Here is our lovely before. See that missing piece of trim?! And yes, I know we could have just put a new piece of trim there but I wanted my awning and this was the only way to convince the hubby it was NEEDED! If you want to see step by step instructions WITH pictures, head to my blog and follow the links!
STEP 1: Cut the wood pieces to create the back of the frame that sits against the window/wall. Make sure to cut your long back piece wider than the window so that the awning frames the window. I attach the side pieces to the back long piece using pocket holes and screws but if you don't mind your screws being visible then you don't need to invest in these (although I highly recommend it). You can see our prefinished awning in the picture below. This was during the installation so please forgive the mess and terrible nighttime lighting.

STEP 2: Next you need to cut the two side pieces that come out on a 45 degree angle. Your length is going to depend on how low you want your awning to sit. One end needs to have a 45 degree cut and the ends sticking out we put a 45 degree decorative cut on. You can see we ended up cutting off this decorative cut though because it just didn't fit. Attach these to the top long piece from the last step using screws.
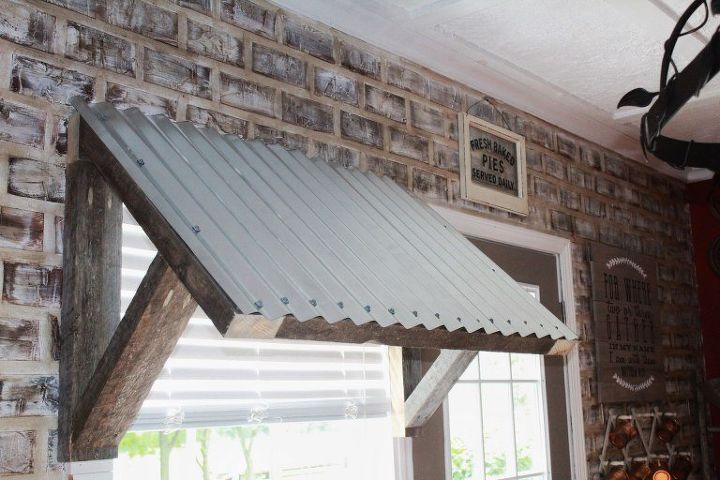
STEP 3: Measure between the two front angled pieces, and cut a piece to fit in between. I installed this piece using pocket holes as well. This is going to be what you screw your corrugated metal to.
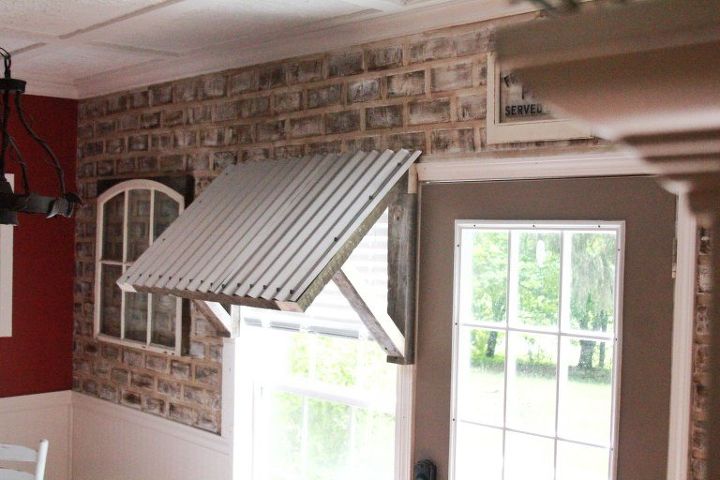
STEP 4: Install the corrugated metal to your frame using corrugated metal to wood screws (yes they are a real thing). We actually waited to do this part until we had the frame attached to the wall. That's up to you but I promise it's easier. And safer. The metal is sharp. We also used tin snips to cut the metal to size. This step is much harder than it appears. In hindsight, we should have just bought a larger piece of corrugated metal instead of two small pieces.

Want more details about this and other DIY projects? Check out my blog post!
Comments
Join the conversation
2 of 145 comments
-
Love it
-
I am sooo......going to do this. I have an empty space over the window above the sink. This idea is perfect for my already bistro themed kitchen. Thank you so much for sharing.


Frequently asked questions
Have a question about this project?
Could you adopt after Outdoors for hurricane?
That light over the table tho!! So beautiful!!!
I made one for my back patio!