


Window Pane Door Turned Picture Frame

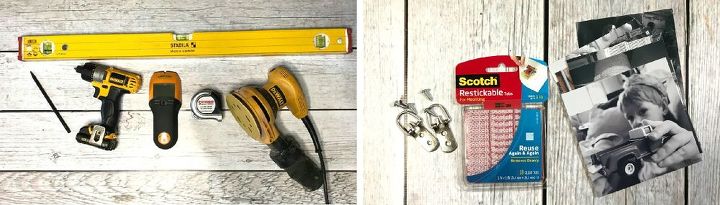
12 Materials
$5
3 Hours
Easy
One man's trash is another man's treasure. That quote pretty much sums up mine and Rob's life lately! A few months ago we had a new neighbor move in across the street who apparently did some sort of renovation on the inside of their house. Over the span of a few weeks, we'd see interior doors and other things piled up on the street corner. One day, Rob came home with an old Dutch door from the street corner that I was hoping we'd be able to refinish and use for our kitchen/side door but unfortunately it wasn't the correct size. Instead of putting it back out by the road, Rob kept talking about making the top part of the door (the window pane portion) into a giant picture frame--I wasn't in the mood to deal with refinishing the wood at the time but now I'm so glad that I took a stab at it. The picture frame turned out so good and I didn't even touch a paint brush (of course the final look isn't for everyone but we love the shabby chicness of it).
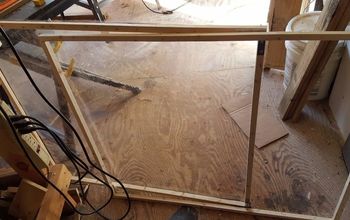
Here's one side of the top of the Dutch door. I originally thought I would go with the red side but after seeing the other side (you'll see it later in the steps...it's the white side) and how the sander nicely chipped the paint to give it a shabby chic look, I decided to stick with the other side.

STEP 1: REMOVE HARDWARE AND METAL WEATHER STRIP
First, I removed all hardware from the reclaimed window pane door. I used a screw gun/drill to remove the hinges and a few other pieces of hardware. You can replace them once you’re finished sanding if you feel they will add character to your picture frame.
If you have a weather strip on your window pane door, watch the video to see one option of removing it.
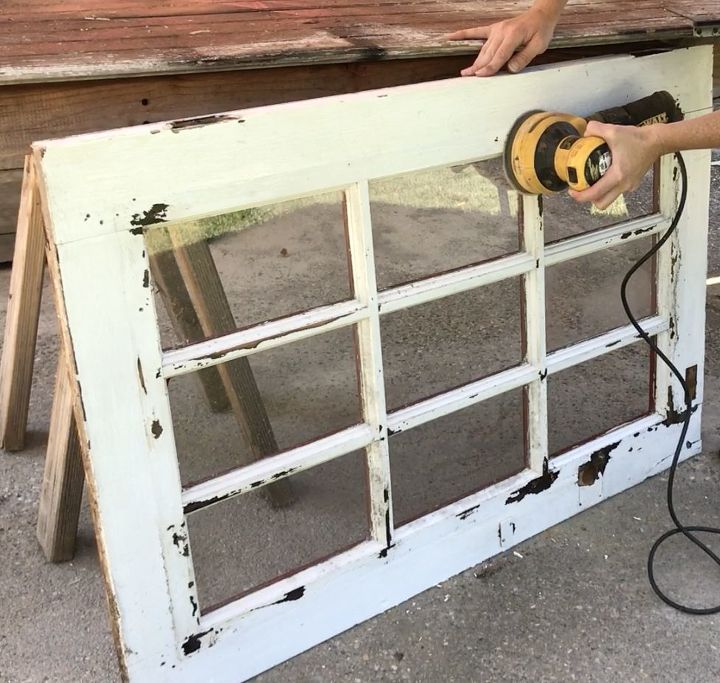
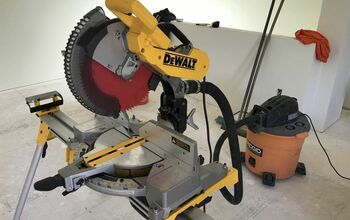
STEP 2: SAND
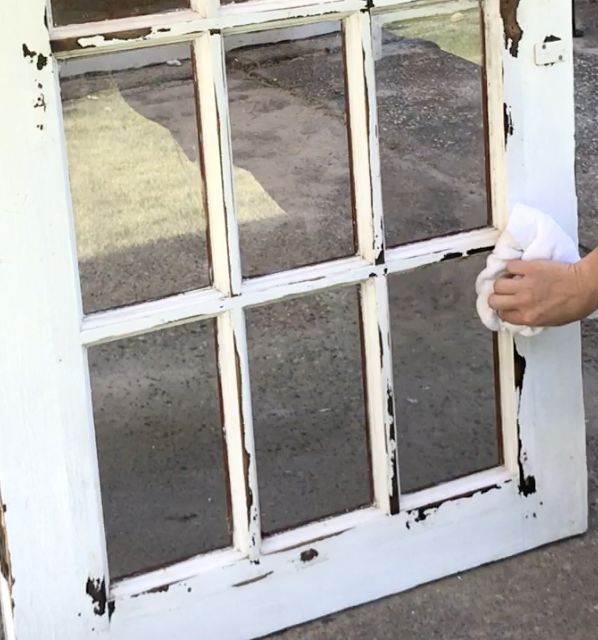
Next, I used a DeWalt orbital sander to sand both sides of the door. The previous owner had painted one side of the door red and the other was white. I originally thought I’d just rough up the red side a bit and keep it red but once I got to sanding, I liked the white side much better. You can really add character with the sander so just roll with it—I went along the edges of the door and panes and chipped off areas of the paint to give a worn look. If you’re not a fan of rustic and worn, simply sand the window and paint it with whatever color you like—I would recommend Behr Primer/Paint. You’ll want to use painter’s tape to block off the glass before you paint.
STEP 4: ADD PHOTOS
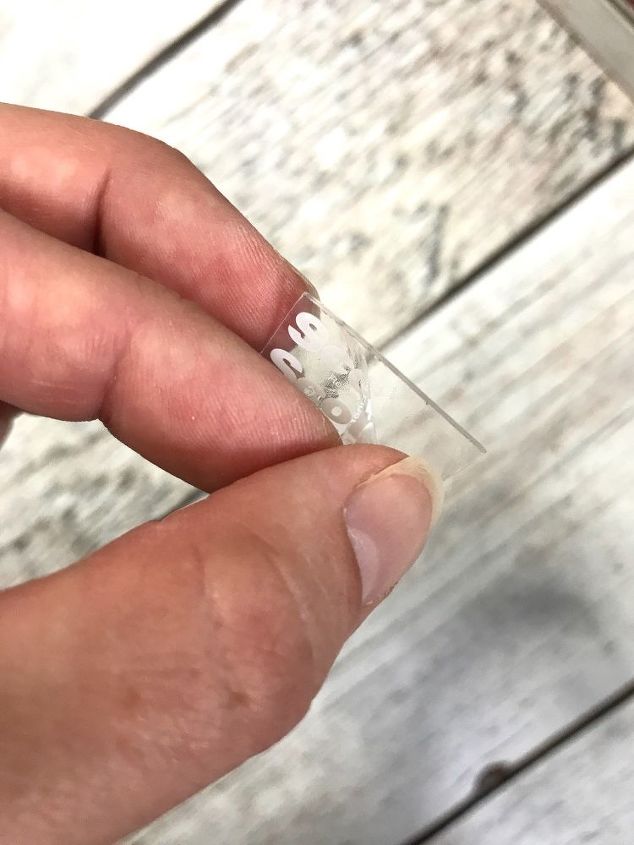
Finally, it was time to add photos to my reclaimed frame. From the back of the frame, I placed my photos in the center of each pane and used restickable tabs to secure them to the glass.
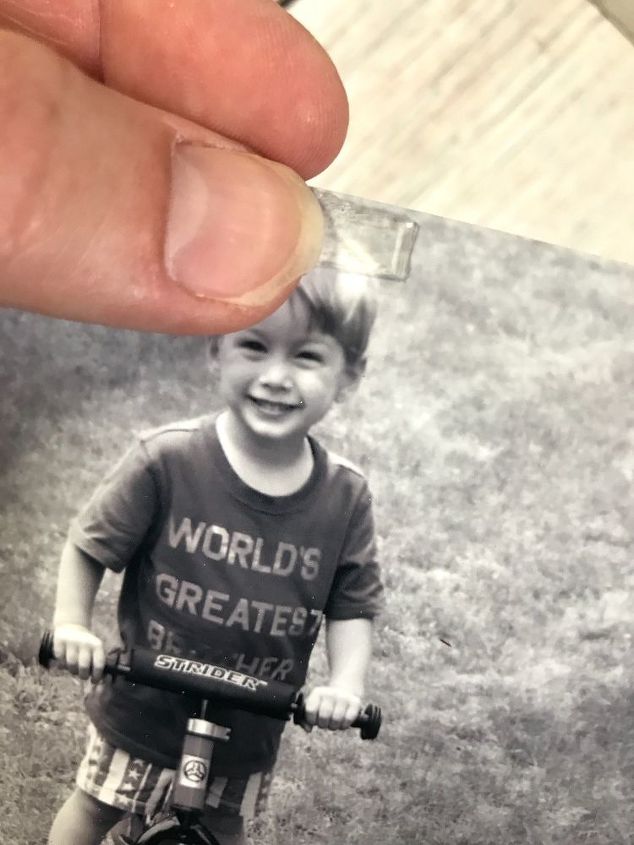
Because of the weird size of the panes, you could also put the photos down and then use scrapbooking paper to fill in the rest of the glass behind the photos. You can still use invisible tape or restickable tabs for the photos themselves and then mounting spray to adhered the scrapbooking paper.
A helpful tip to follow would be to mock up where you want your photos first before flipping your frame over and placing them with the tabs. Check out how I solve the problem of a missing glass pane in the video below!
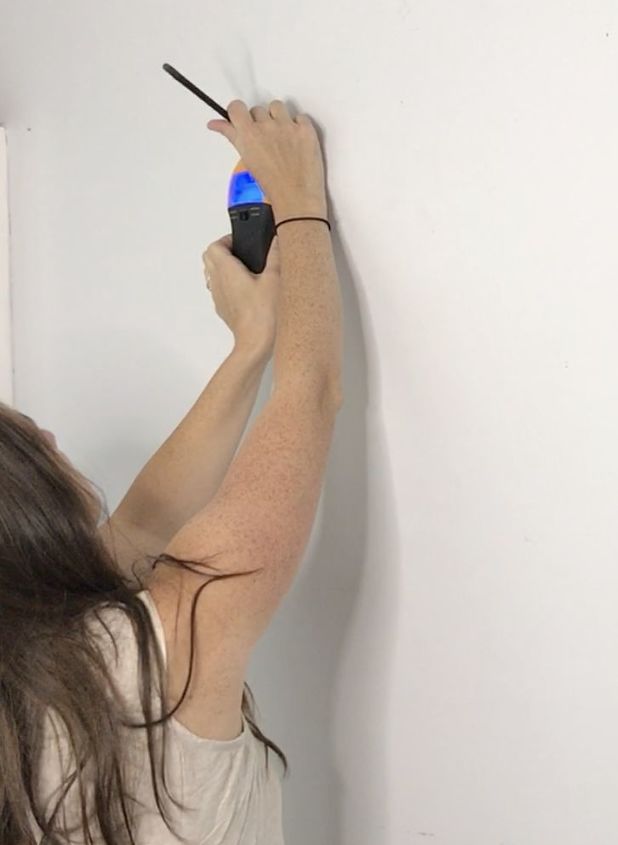
I took the measurement I got between the two studs and marked the back of my picture frame, then installed two D-rings where those mark were made.
{
"id": "4158577",
"alt": "",
"title": "",
"video_library_id": "7718",
"thumbnail": "https://cdn-fastly.hometalk.com/media/2017/08/17/4158577/window-pane-door-turned-picture-frame.jpg"
}
{
"width": 634,
"height": 357,
"showRelated": true,
"noautoplay": ""
}

Here's how it came out!
Resources for this project:
See all materials


Any price and availability information displayed on [relevant Amazon Site(s), as applicable] at the time of purchase will apply to the purchase of this product.
Hometalk may collect a small share of sales from the links on this page.More info
Comments
Join the conversation
2 of 36 comments
-
I love this idea can’t wait to try it myself
thank you
-
Great idea if only I could find one!


Frequently asked questions
Have a question about this project?
but you can do other things with window?
just bought 5at garage sale and one I sanded but left all hardware on and put mirrors in window panes. stained and put a flower box at bottom with artifical
flowers it is just perfect
i Have a perfect window but it smells musty. Any way I can get rid of smell?
what exactly did you use to hang the door on the wall?