


Save Time & Money With This Woodworking Tip
5 Minutes
Easy
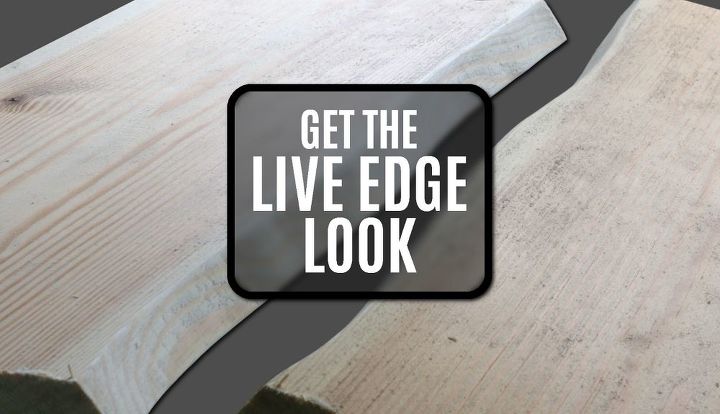
I'm currently working on a project that I thought would look great with a live edge walnut board. I couldn't source a board that I was happy with though. Live edge boards can be very expensive even when you are able to source them so this tip should save you some time and money.
{
"id": "4158690",
"alt": "",
"title": "",
"video_link": "https://www.youtube.com/embed/mtcFtlSOnLI",
"youtube_video_id": "mtcFtlSOnLI"
}
{
"width": 634,
"height": 357,
"showRelated": true
}
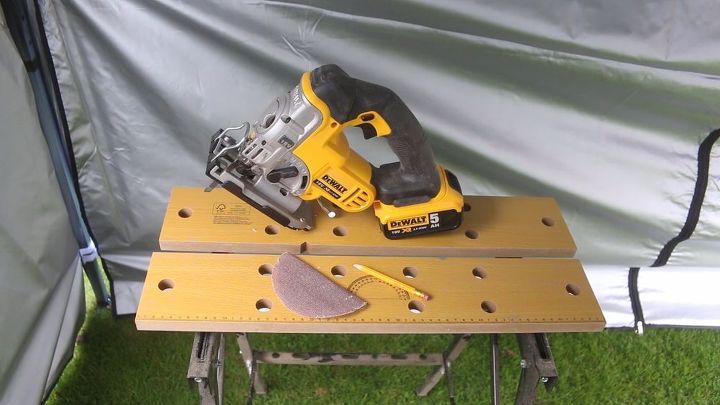
The only tools you will need is a Jigsaw, a piece of sandpaper and a pencil.

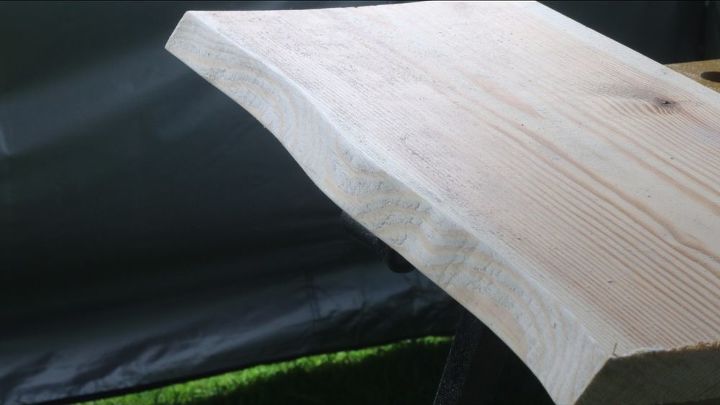
I'm using a scrap piece of redwood to demonstrate this technique but it can be applied to any kind of wood you like.The first step is to draw a guideline. This is probably the most difficult part of the process. You want the line to look natural which is often hard to achieve. Try not to make it too symmetrical and also keep it subtle. I went a bit over the top with my line but I thought it would work well to show the technique.
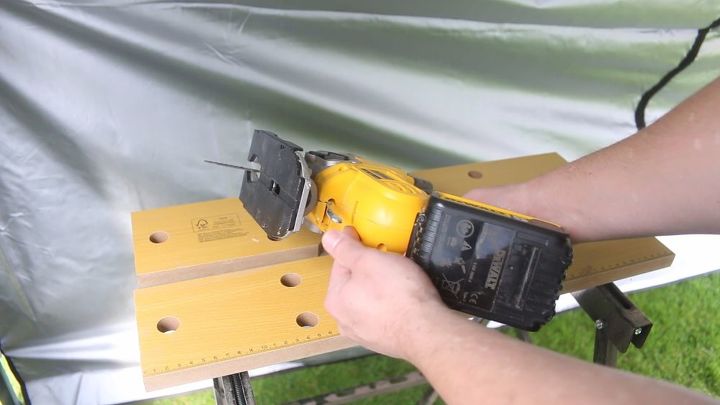
Before you cut the board you will need to tilt the base to your jigsaw. I tilted my base to 30 degrees but the angle is just personal preference. I would say an angle of at least 20 degrees is a good rule of thumb. A more aggressive angle of 45 degrees could look great too.
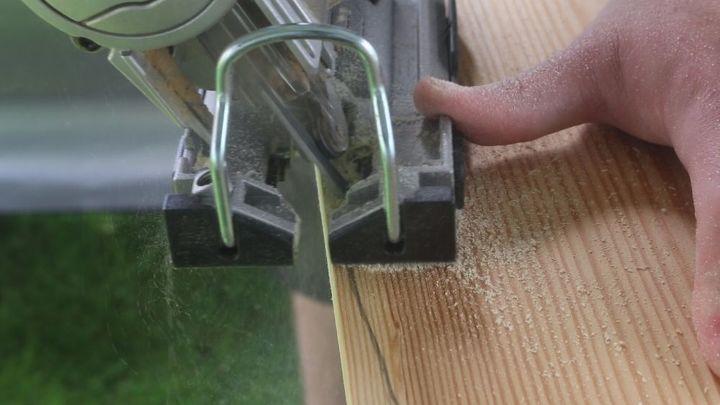
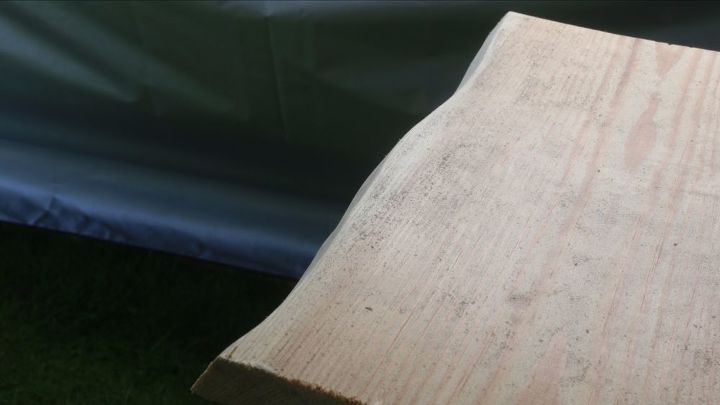
With the angle set its time to cut the board. Make your cut with the blade of the jigsaw tilted in towards the board, not away. If you cut with it tilted away from the board there is a chance you could get too close to the edge and that would create a flat patch.
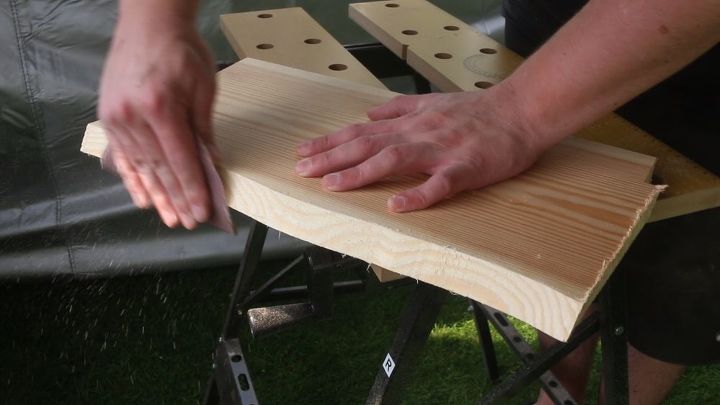
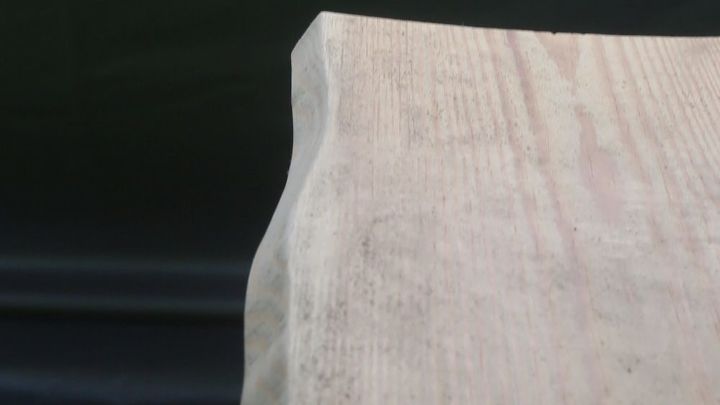
Now its just a case of sanding the edge. This removes any roughness form the jigsaw. It also helps the overall look because slightly rounding over the sharp edges really adds to the effect.
I hope you found this simple tip helpful.

Want more details about this and other DIY projects? Check out my blog post!


Frequently asked questions
Have a question about this project?