


DIY Jewelry Organizers

by
Sharon Saw
$20
2 Hours
Medium
Chic, modern, and simple. In this step-by-step tutorial, I share with you 2 easy ways to DIY your own trendy jewelry/accessory organizers to keep everything tangle-free and in one place; tangled necklaces and bracelets and missing earring backs and rings are finally no more! You got your Crafting Cap on? Good. LET'S BEGIN!
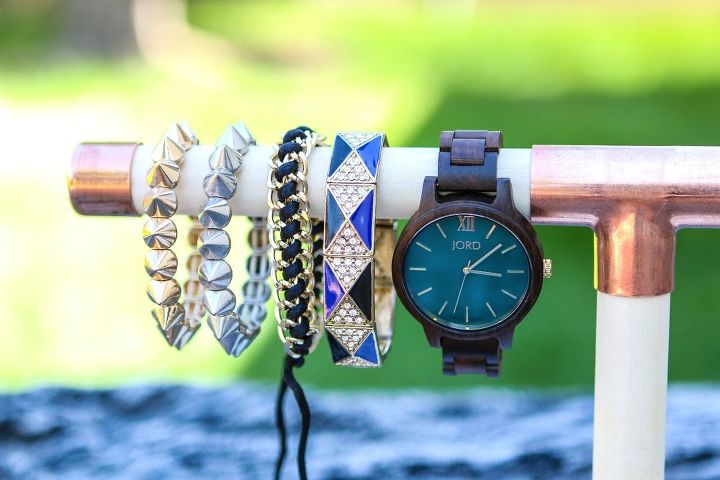
This jewelry stand is literally perfect for all your watches, bracelets and even necklaces. The contrast between the copper, wood, and faux marble gives it a very rustic, yet chic and modern look.
MATERIALS - JEWELRY STAND
- 18 x 12 cm wooden block (I recommend scouring the scraps bin in the wood section of hardware stores first to find free ones that are already cut for you)
- 16 cm 1" wooden dowels (3)
- 1 " copper tee
- 1" copper tube cap (2)
- flat-headed screw
- Krazy glue/carpenter's wood glue/E6000 (any type of strong adhesive that can bond wood to metal will do)
- marble contact paper
- screwdriver (although I would recommend using a drill instead for efficiency sake)
- scissors
- pencil
- measuring tape
- saw
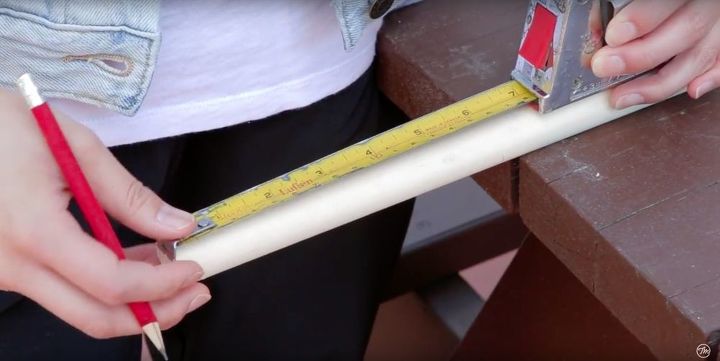
Using your measuring tape, measure out 16cm on your wooden dowel, make a mark with your pencil, and cut off the measured piece with your saw. Repeat two more times so you end up with 3 pieces at the end.
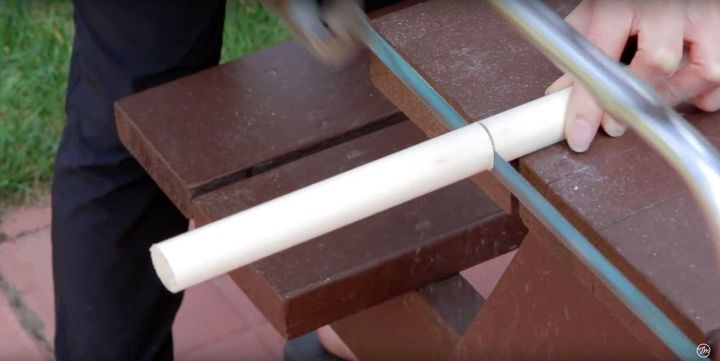
*PRO TIP: only saw on a stable surface and apply light pressure so the teeth don't constantly get stuck in the wood.
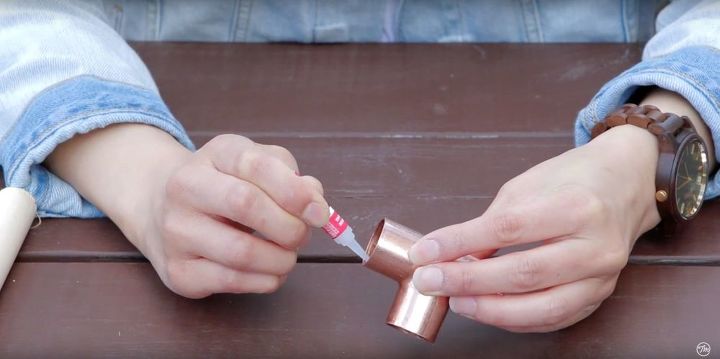
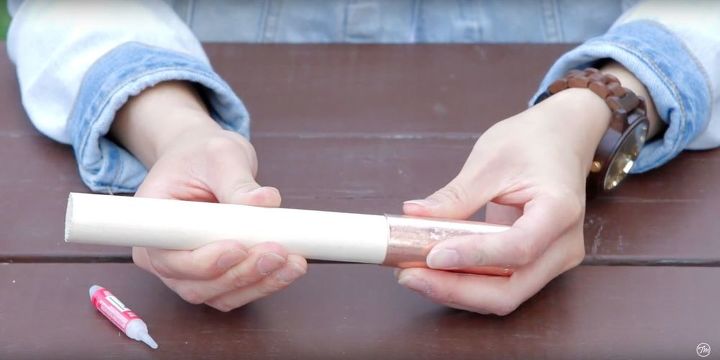
After sawing, apply just enough glue to coat the edges of the openings of your copper tee and fit the wooden dowels into them, one at a time.
*PRO TIP: I used Krazy glue, which was very liquidity, so I only needed a little bit. You are free to use other adhesives that are able to bond wood and metal together but just remember to read the labels and instructions to ensure you are using them accordingly.
Hold the pieces together after glueing to allow the materials some time to bond and the glue to set properly.
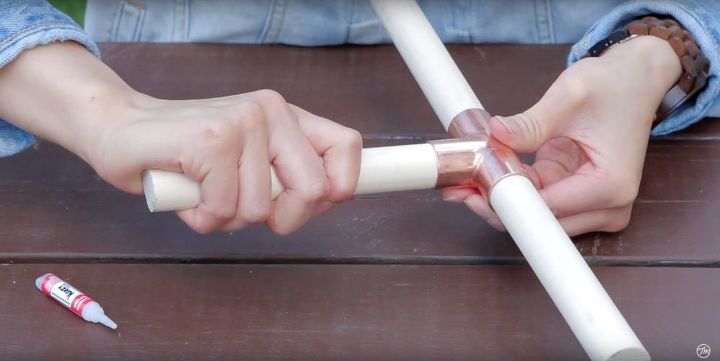
Repeat for all three wooden dowels.
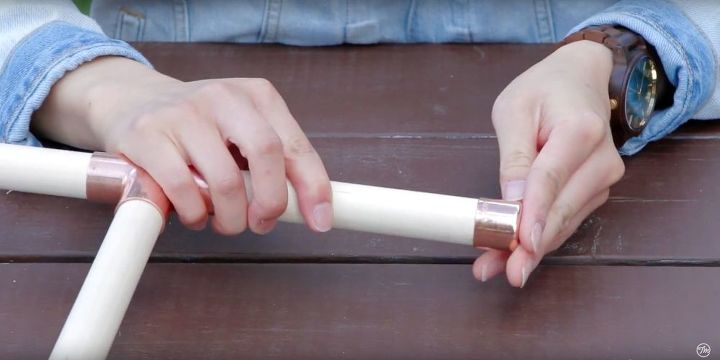
To add a nice finishing touch, apply glue to the copper tube caps (same way as you did for the copper tee) and fit them onto the two opposite ends of the wooden "T" to complete it!
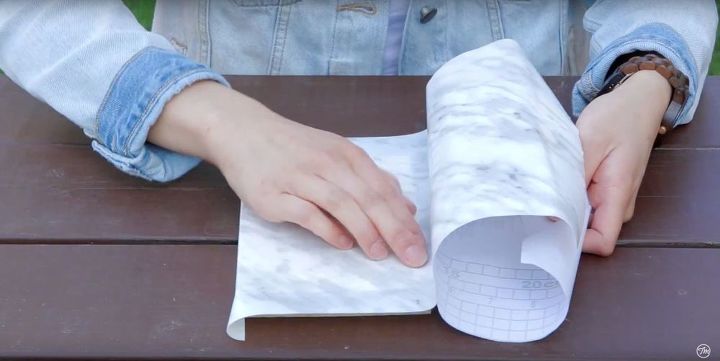
For the base of the jewelry stand, we are going to wrap the wooden black in some marble contact paper. This is no different than wrapping a box with gift wrap. Measure out a sheet of contact paper that is big enough to wrap completely around the wooden block. To start, remove the adhesive backing and start at the edge of the block. Completely wrap the contact paper all the way around and move on to the sides. Fold in the sides as you would with folding any gift.
*PRO TIP: work slowly while folding crisp lines and smoothing out any air bubbles as you go, because we want to somewhat... kind of...sorta...try to...make it look like real marble. ( ;
Using your measuring tape again, determine the centre of your wooden block by measuring the length and width and dividing those two numbers in half.
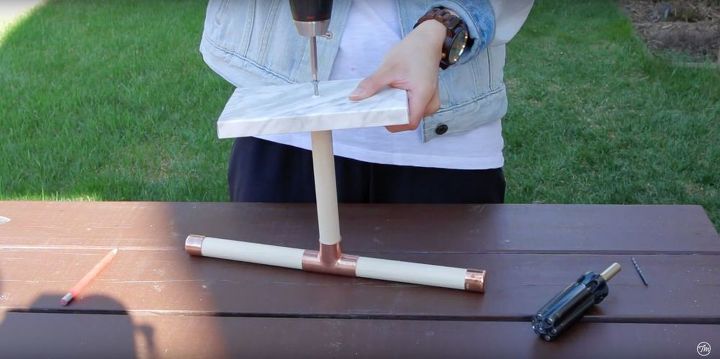
Using your drill, drill a hole in the centre of the bottom of your wooden "T" to prevent the wooden from splitting or cracking. Now you are ready to drill in your flat-headed screw to secure the wooden block to the wooden "T."
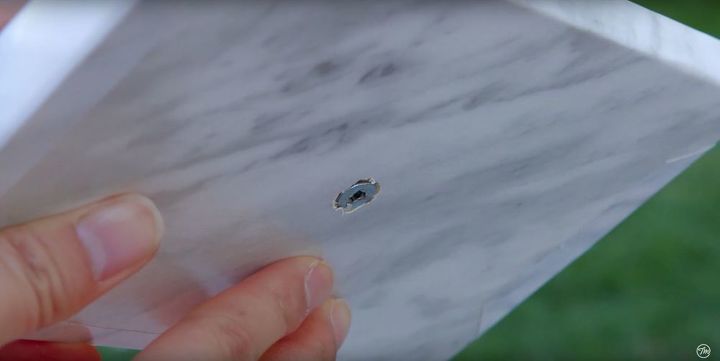
Make sure that the screw is completely flush with your wooden block so that it is stable when you stand it up. The last thing you want is a wobbly jewelry stand!
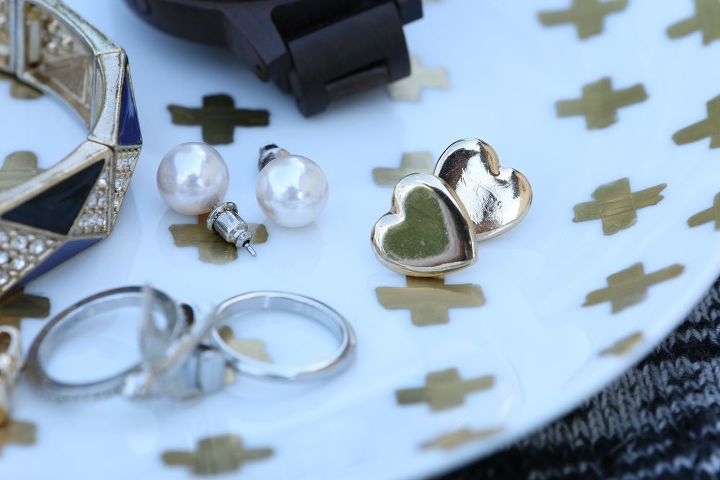
This jewelry dish is perfect for those of us that lose literally all of our rings and earrings. All. The. Time. That's why Sharon is here to provide you with a cheap, yet practical solution.
MATERIALS - JEWELRY DISH
- Any size white dish (got mine for a $1 in the kitchenware section @ the Dollar Store!)
- Oil based, gold Sharpie paint pen
- rubbing alcohol
- paper towels
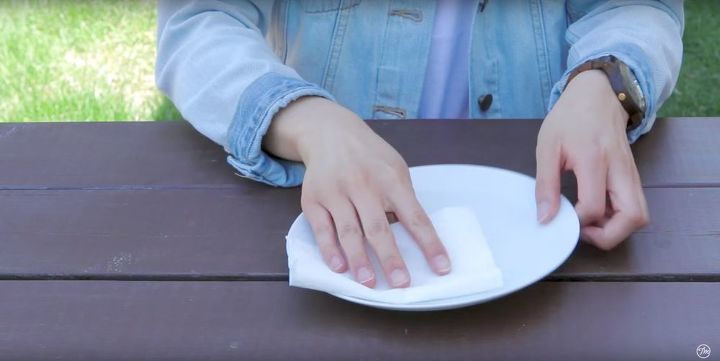
Start off by pouring a little bit of rubbing alcohol onto a paper towel and cleaning off your dish. We want to get rid of any sticky residue from the stickers and ensure we are working with a clean surface.
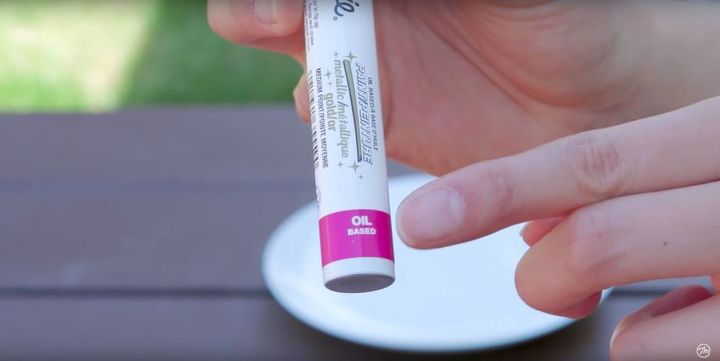
Using a gold, oil-based Sharpie paint pen, start drawing on rows of plus signs, starting from the centre and working your way outwards.
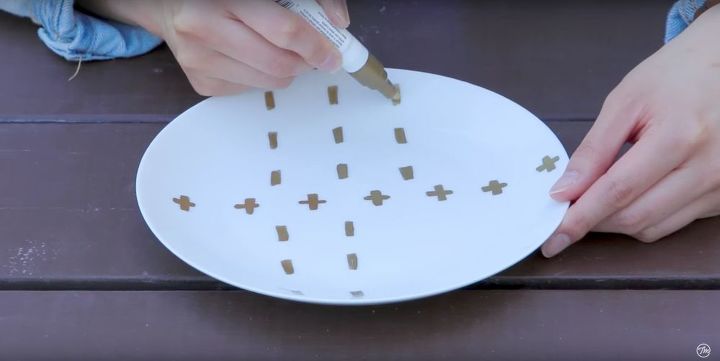
The easiest way to approach this is to just make little rectangles going one way and then flipping the dish and do the exact same thing to finish off the plus signs. To give it a completed look, go all the way up to the edges...and VOILA!
{
"id": "4155489",
"alt": "",
"title": "",
"video_link": "https://www.youtube.com/embed/1FtvWOfu3zI",
"youtube_video_id": "1FtvWOfu3zI"
}
{
"width": 634,
"height": 357,
"showRelated": true
}
I hope that you guys found these ideas useful and that picking out your jewelry for the day is a lot less hassle-free now. If you need any clarification, check out the full video tutorial above!


Frequently asked questions
Have a question about this project?