


DIY Menu Board
4 Materials
$15
1 Hour
Easy
This year, I am trying to focus on dining out less frequently & preparing meals at home more often. To help make my meal prep at home more streamlined and efficient, I created a fabulous DIY Menu Board.
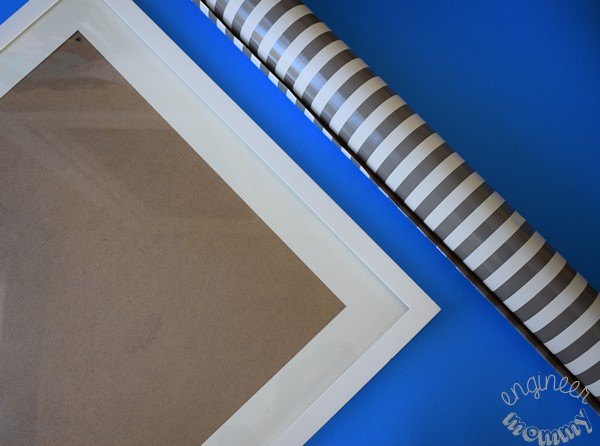
Want to make your own menu board to organize your meals? Here is how this easy project comes together. Start by gathering a large picture frame (mine is 16″x24″) and some wrapping paper. I like the modern, clean lines of this gray-striped paper.
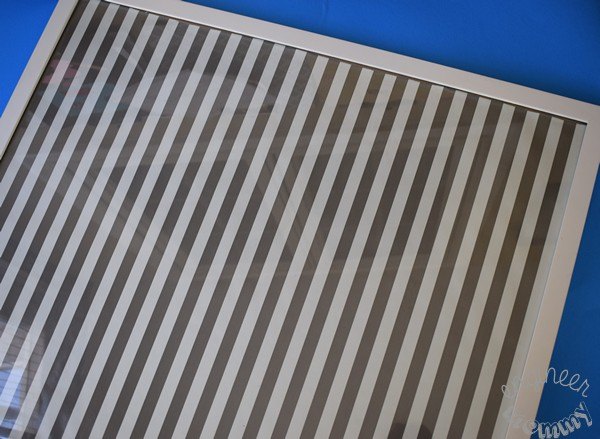
Cut the wrapping paper and place inside the frame. Don’t have wrapping paper you love? You could also use a large piece of fabric or multiple sheets of scrapbook paper.
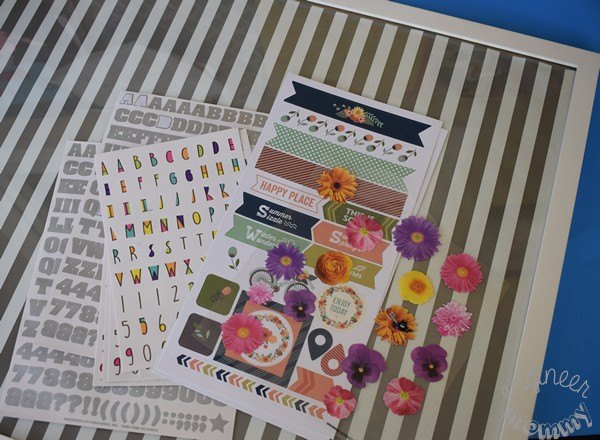
Next, gather some scrapbook stickers. It’s time to boost the pretty factor of this frame- and yes, that’s a technical term!
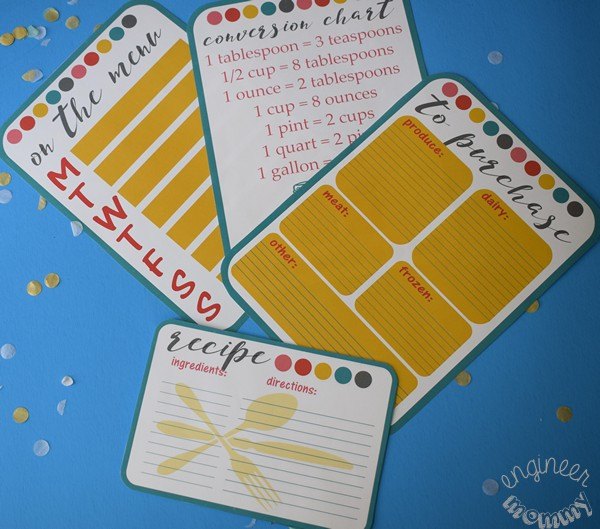
Next, I printed out some meal planning worksheets. I printed out Recipe Cards, Grocery Shopping Lists, Meal Planning Guides, and Conversion Charts. I'm offering these free printables as downloads on my site. To get them, simply visit the blog post here.
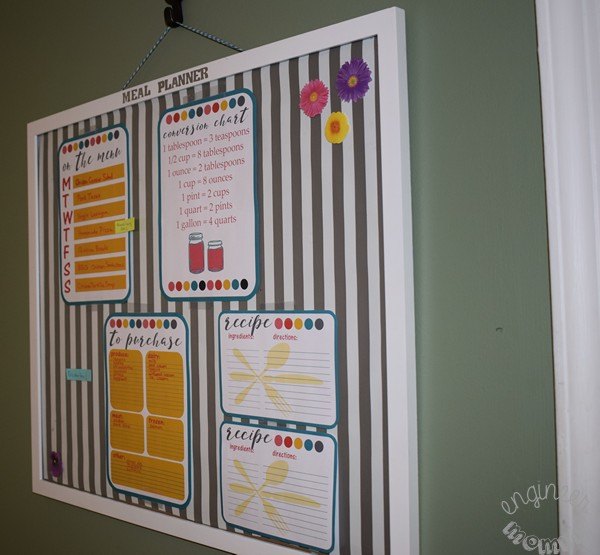
Here is the Menu Board hanging on the wall in my kitchen. I love that it’s both cute and functional for keeping track of my goals throughout the school year. Plus, the top of the frame doubles as a spot for holding my pen. I think this project was a success- I really love the way it came out.

Want more details about this and other DIY projects? Check out my blog post!


Frequently asked questions
Have a question about this project?