


Paint Your Concrete Patio!

by
Joy
2 Materials
$200
4 Days
Easy
Have a driveway or patio that is in need of a update? Learn how easy it is to paint concrete yourself in just a few easy steps.
Today is the day to decide to paint your concrete! It is so super easy to do – when you have the right products.
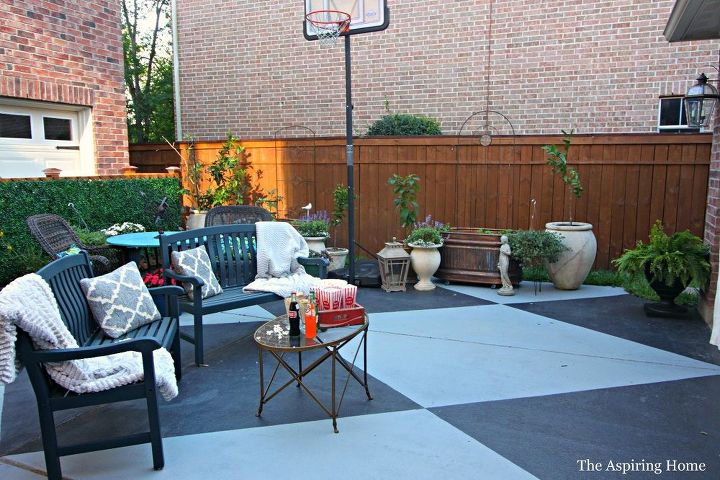
We took on the task of upgrading our little unassuming motor court area during the One Room Challenge. The painted concrete turned a mundane “pass through” into a small paradise. It’s been a few weeks since our big reveal and the painted concrete still makes me smile.
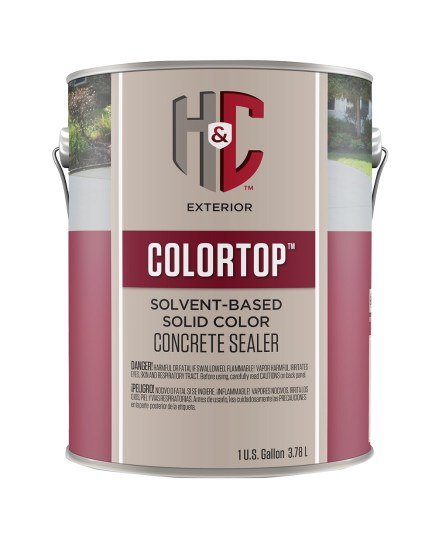
When I was dreaming of how to make this space a reality, I set out to search for the perfect paint. My search led me to Sherwin Williams. At first I thought I would just walk in and purchase a couple of gallons of porch paint and presto painted porch. The store manager took the time to talk to me about our project. In fact, the store manager and the paint expert came out to our abode to take a look at the potential project! I love that they will do this for anyone in the interest of making sure projects go smoothly for homeowners – how great is that?!?
I am so glad they took the time to educate us on different options.
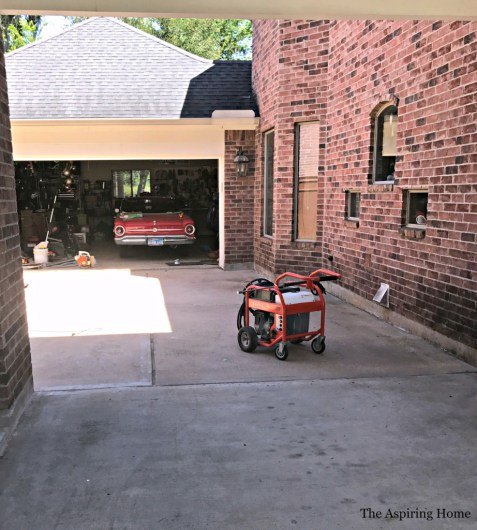
Using regular concrete paint would have been the wrong answer for the motor court for the simple reason that is a motor court. We usually park our cars in the driveway but I have this sweet little ’63 Ford Falcon Sprint Convertible that I like to take for a spin from time to time. Regular porch paint would just peel up with hot tires. I don’t know about you but if I am going to take the time to paint, I don’t want it to peel up.
BIG HINT: Make sure you have several great weather days. Rain is not a friend to this project.
STEP 1: WE BEGAN BY SELECTING THE COLORS.
I love being able to choose from a ton of colors. Bohemian Black and Pearl Grey were the colors of choice.
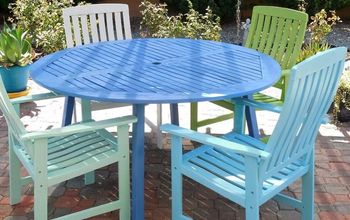
The Pearl Grey turned out to have a slight blue hue which worked well for us considering the accent colors are Aquaverde and Underseas.
STEP 2: GRAB THE RIGHT TOOLS.
You will need a variety of small and larger rollers. HUGE TIP here thanks to the store manager, with this particular product you will need rollers that can handle the Xylene based paint product. Any other roller will fall a part due to the xylene attacking the adhesive. You will need tape to create the pattern (we used Frog Tape for ours).
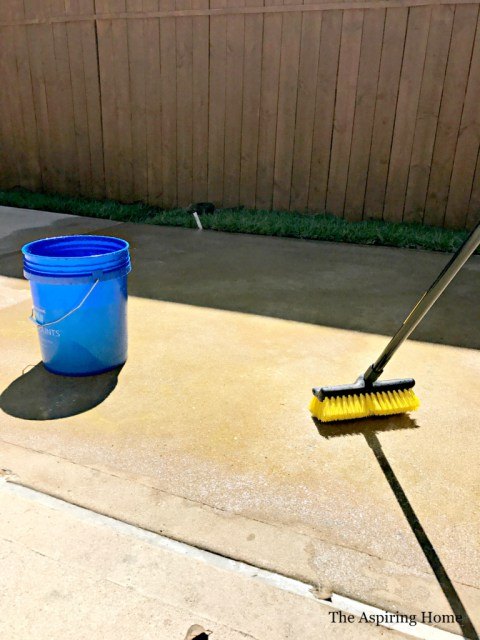
STEP 3: CLEAN, CLEAN, CLEAN.
Hey, did I mention you need to clean? Pressure wash your surface and then dilute muriatic acid, 3 parts water to 1 part acid. Scrub with a stiff bristled brush. Power wash again.
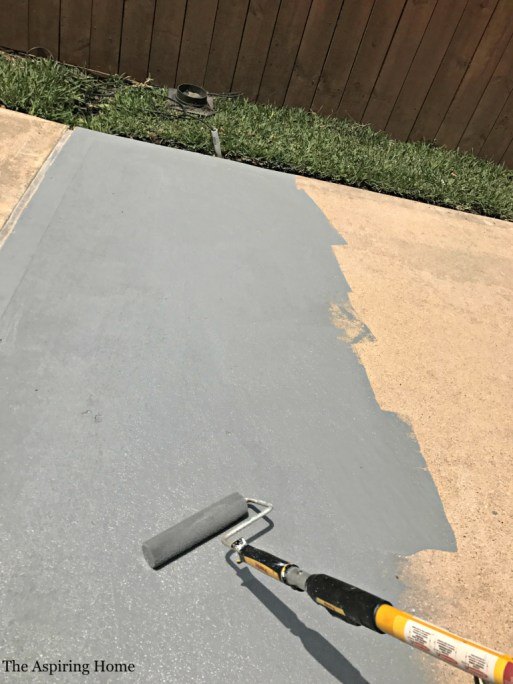
STEP 4: BEGIN ROLLING OUT YOUR BASE COLOR.
Pearl Grey was chosen as the base, this paint stretches farther when rolled in two different directions. You will need to roll on two coats. So, roll the first coat in one direction then after adequate drying time rotate 90 degrees and apply the second coat. Follow the instructions on the can for drying times.
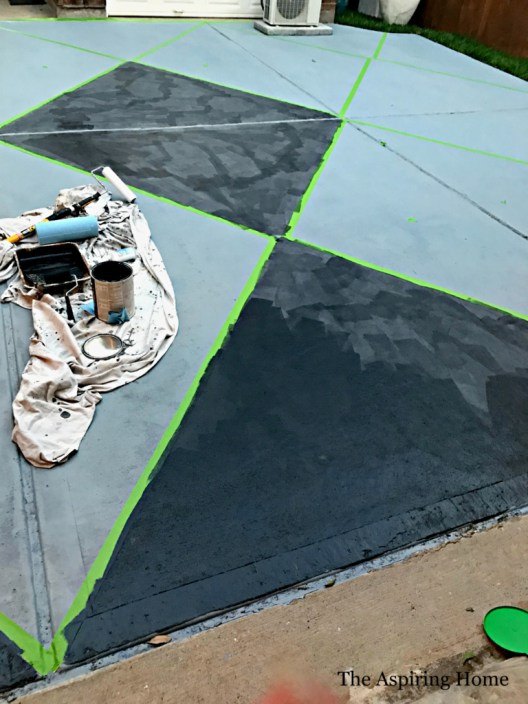
STEP 5: CREATE A PATTERN (OPTIONAL).
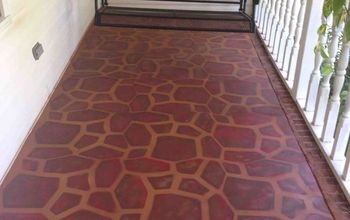
We used a handy dandy chalk line mark the diamond pattern. When we began drawing out the pattern, we got a little too complex and just couldn’t get the pattern to cooperate. After about 2 1/2 hours of messing with the pattern… we decided to go simple. That whole forest for the trees thing. Our area is divided up into 9 sections that are relatively the same size. We simply found the center of each section and popped a chalk line corner to corner. The 9 “X”s created a large diamond pattern. We then decided what color we wanted the center diamond to be and marked every other one to be painted with the Bohemian black. HINT: Tape on the OUTSIDE of the diamonds to keep the pattern cohesive and all the diamonds will be the same size.
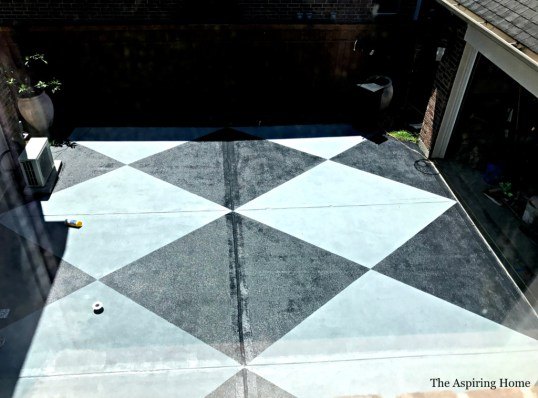
STEP 6: WAIT ABOUT 30 MINUTES TO PULL UP THE TAPE.
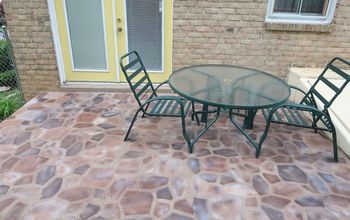
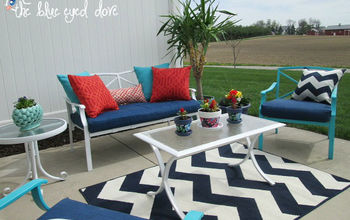
Touch up any “bleed over” areas. I was holding my breath that the pattern would look ok. It ended up bigger than I originally thought but after pulling up the tape and imagining the furniture and garden troughs – I was really happy with the bigger pattern. The space feels less busy and calmer to me, which is what a courtyard should strive to be, right?!? IF I do change my mind and want to add more diamonds, I can. Probably won’t. 
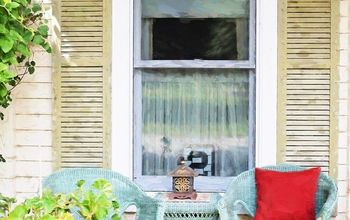
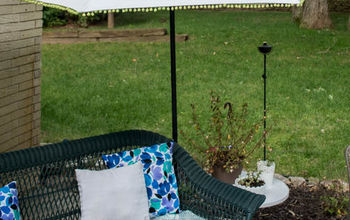
STEP 7: ACCESSORIZE THE FRESHLY PAINTED CONCRETE! AGAIN, READ THE LABEL FOR DRY TIMES.

The whole process was simple and so gratifying. In fact, we are toying with the idea of painting the pool deck! Guess what? Sherwin Williams has a product for that too! You know where we will be heading!
Till Later Friends,
Joy
Want more details about this and other DIY projects? Check out my blog post!
Comments
Join the conversation
2 of 13 comments
-
Fantastic! I see lots of relaxing time and bunches of fun parties! Great share. 💖
-
I'm a Chevy and then a Mopar guy, but I love all classics and it doesn't matter. Looks like a cool car.


Frequently asked questions
Have a question about this project?
Do you follow the same steps if you are painting over existing paint?
Can and should you seal the painted concrete patio to help with the texas heat and help to be stain resistant?
I live in a sub tropical area and the rain chips the paint of the porch floor. We use concrete paint but it still chips off. Do you have any suggestions. Would polyurethane help to protect.