


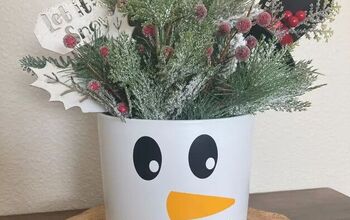
Don’t Put Those Pumpkins Away Just yet; You Have a Snowman to Make!

by
Ann M
8 Materials
$1
90 Minutes
Easy
I was beginning to put away my Halloween items after the big day, including my crafting pumpkins that were leftover from my “Faux Velvety pumpkins with a real twist” tutorial when I noticed that the three different sizes assimilated a snowman.
And then behold, a repurpose challenge came my way. So this is what I did.....
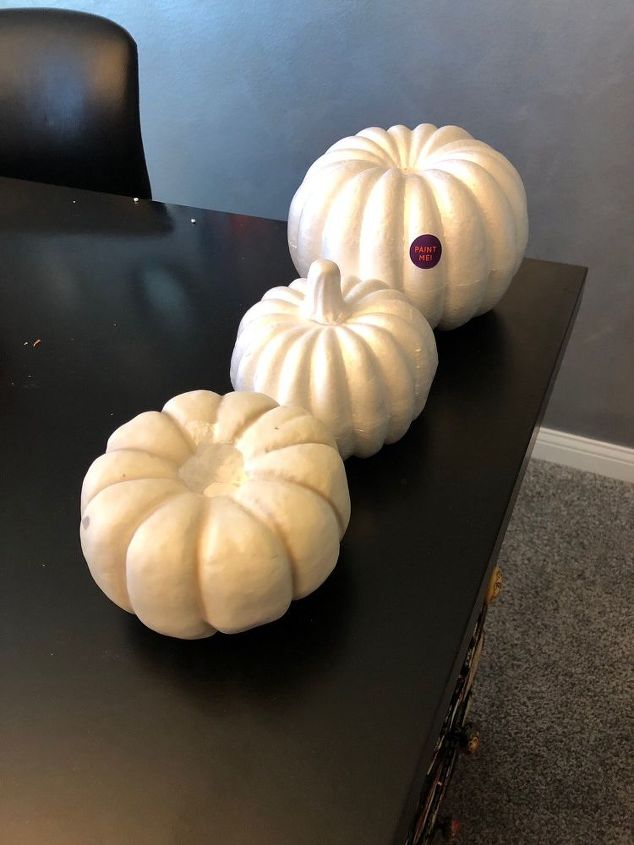
3 sizes could be a snowman!
I began with cutting out the centers of these pumpkins and proceeded with the exact same instructions as my velvety pumpkins. I kept the one stem shown. It will become its nose!
I took the leftover white panne fabric purchased at Joanne’s on sale for $3.99 per yard and covered each pumpkin stretching the fabric tight. At this point a real pumpkin stem is all you needed for the previous tutorial but let’s just keep going with this one!
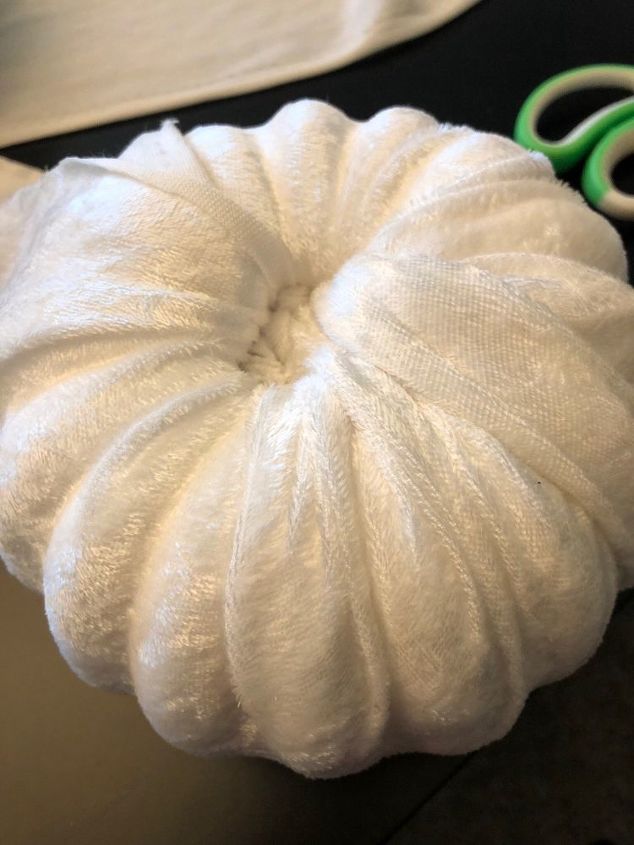
Fabric stretched over pumpkin
Take the foam stem and carve it into the shape of a carrot or whatever shape you end up with! TIP: I preferred the rough look of the carved nose but if you want to smooth it out, put it on a toothpick and using the edge of your hot glue gun tip, moving quickly, you can melt it into a smooth nose. Now paint it orange.
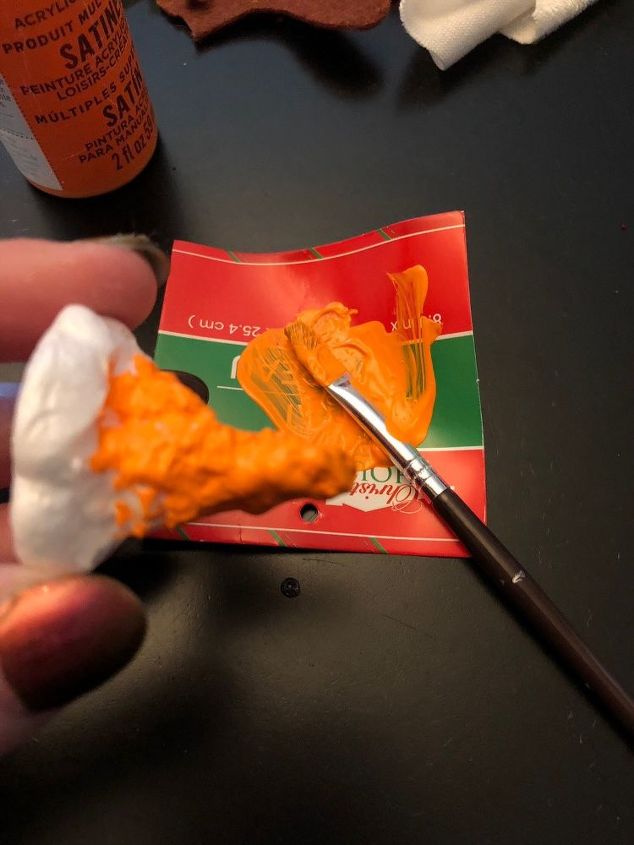
Painting the nose orange.
Now go thru your buttons and look for black buttons. You will need large ones for the body, 2 medium for eyes and 7 or 8 for its smile.
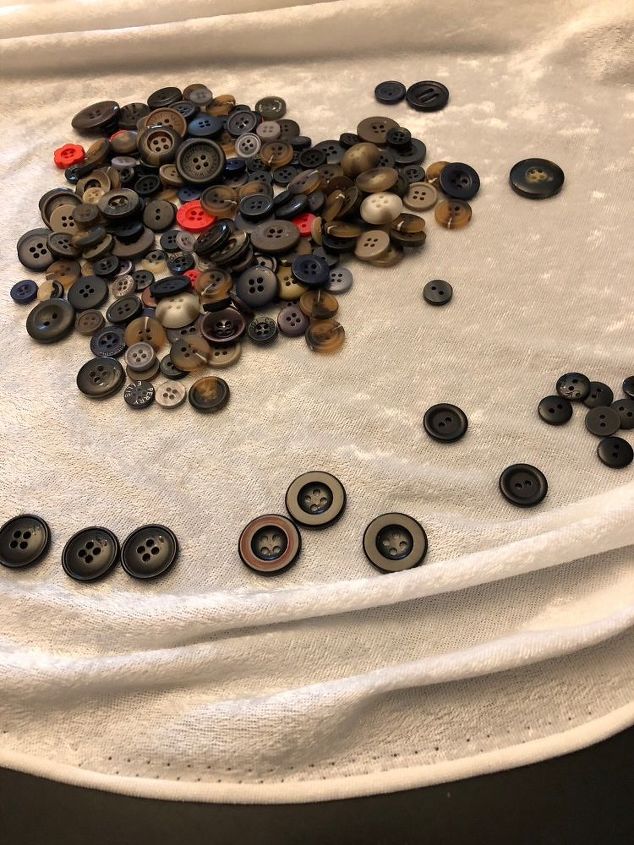
Choose buttons.
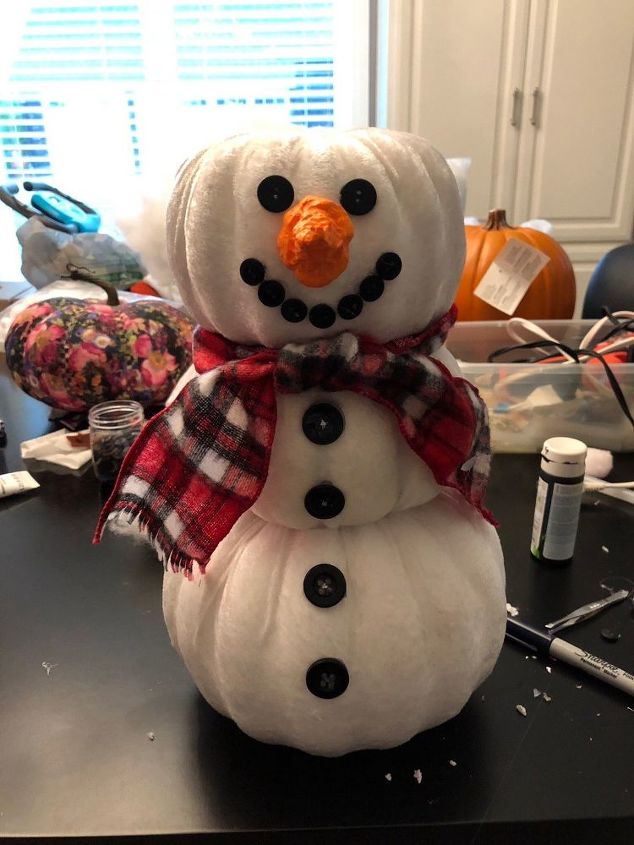
Now I took my hot glue gun, glueing each pumpkin to each other. I decided to turn my middle one upside down because I thought it looked better this way. Make sure they’re all centered before gluing down.
Now you can decide if you want your snowman to wear a hat. At first I thought a top hat would look cute but I didn’t feel like making one and then I thought a stocking cap would look good but it’s head was too large to make one from a sock so off to the Dollar Tree I went. Look at this darling “Elmer Fudd” hat I found! It actually had antlers and pompoms on it which I decided to cut off. In fact once I put it on its head it was too tall so I ended up hot glueing it down in the back but then it needed some fluffing so I filled it out with fiberfill. TIP: make all your hat adjustments before you do the face. That way the eyes won’t be covered by mistake.
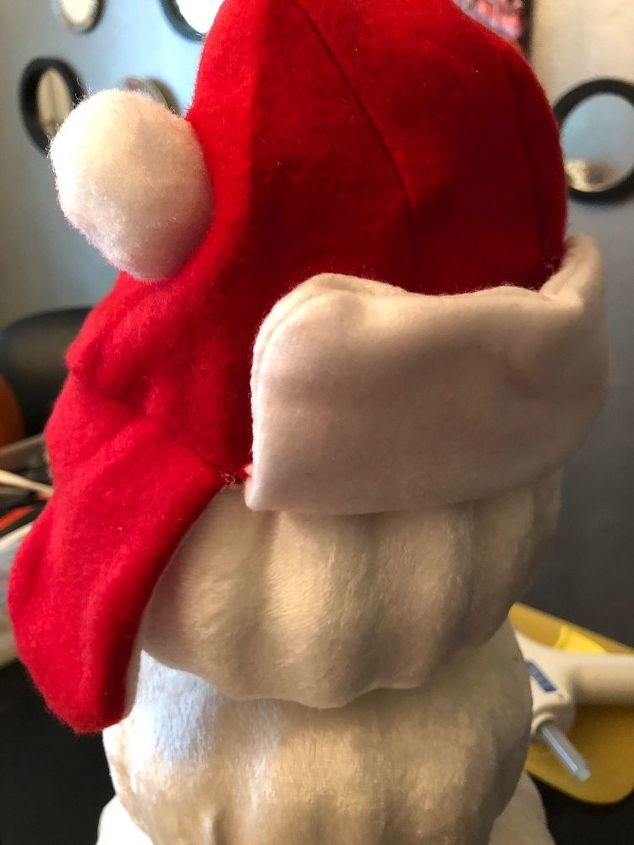
Make adjustments to the hat
It will also need a scarf. You could use felt or burlap but I was so excited because I had purchased this great ribbon for half price(4.99) last month at Joanns. It actually is scarf material and is wired. I had no idea at the time what I would use it for but I’m so glad I bought it.!
Make a nice scarf with a great knot and with sharp scissors cut into each end every 1/8 inch or so creating fringe.
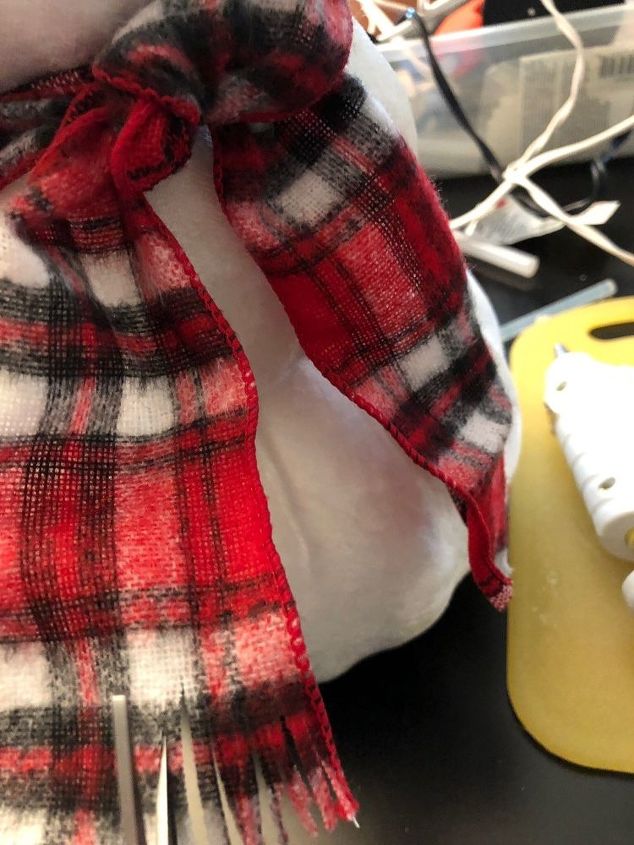
Cut fringe on scarf ends.
Now for its face! I placed the completed hat on its head to get the correct placement for its nose and eyes. Taking a toothpick, prick through the fabric where you will place the nose, insert it into the nose and on the backside of the nose use hot glue to adhere to the head.
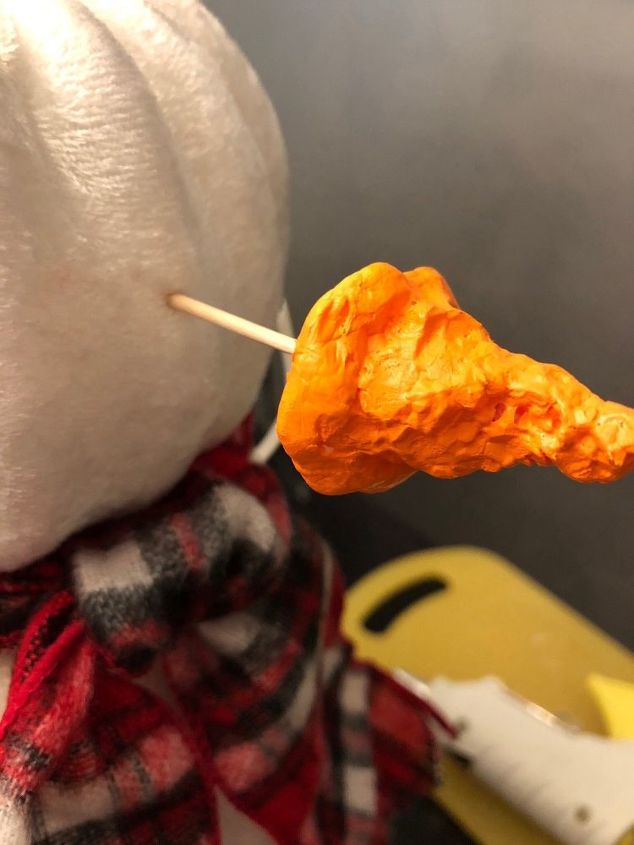
Adhere nose to head.
Next, place eyes. I like them close to the nose. Then add your smile. Start below the nose in the middle, then curving up from there on each side creating a smile. I used hot glue for all the buttons. TIP: Make sure when placing all your buttons to direct the button holes in all the same direction. It gives it more of a finished look.
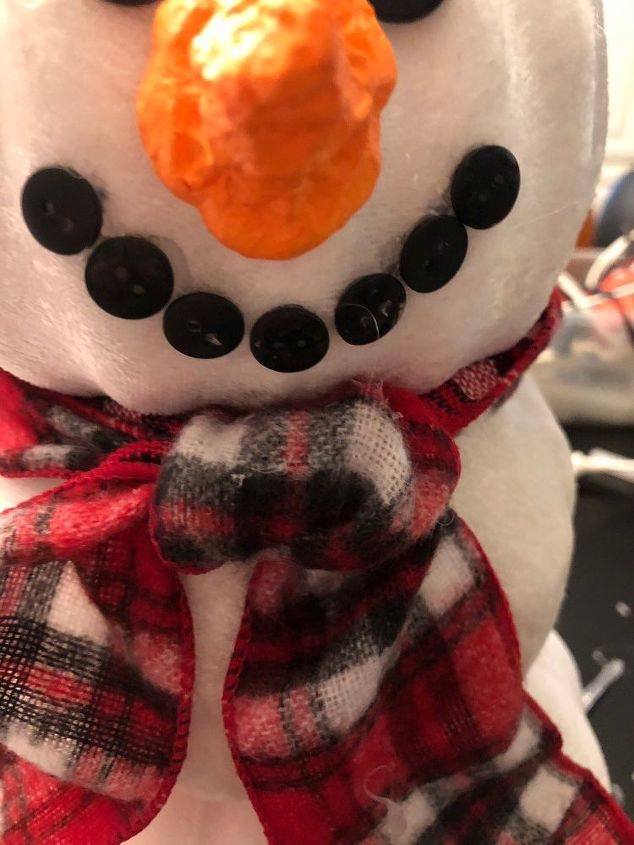
Smile!
Now to finish up, use the remaining large buttons to create its coat buttons down the front. TIP: The scarf was placed first so it gives you a clearer idea of where you will place your buttons.
Remove hat if you wish
I thought I was finished but then I thought he’d look good with some black shoes. So I brought out my craft felt which is heavier than the felt on the bolt. Make a pattern with cardstock, trace 4 pieces and cut out. Glue 2 together to make even more rigid.
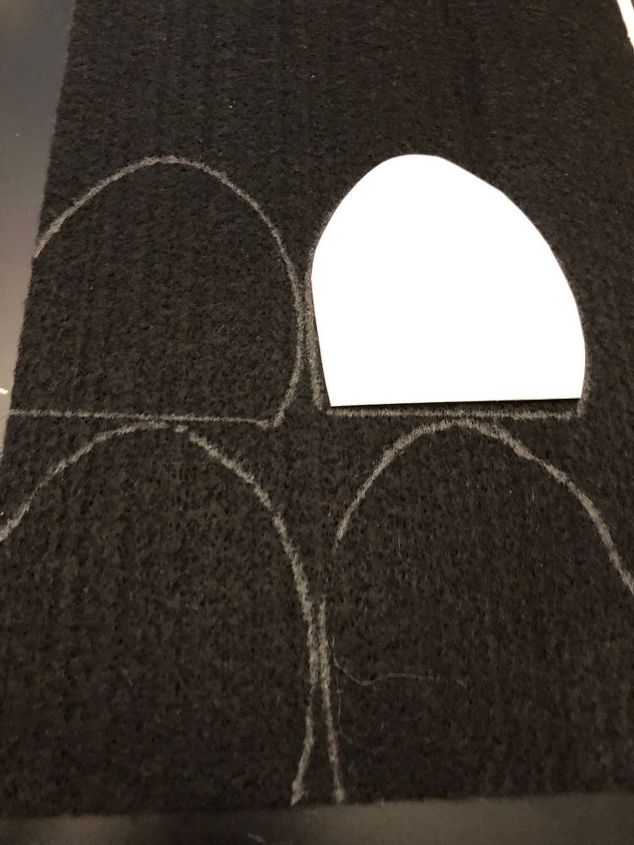
Cut out and glue 2 together.
I used a siver Sharpie and made crossed laces and loose strings on the felt before gluing to body.
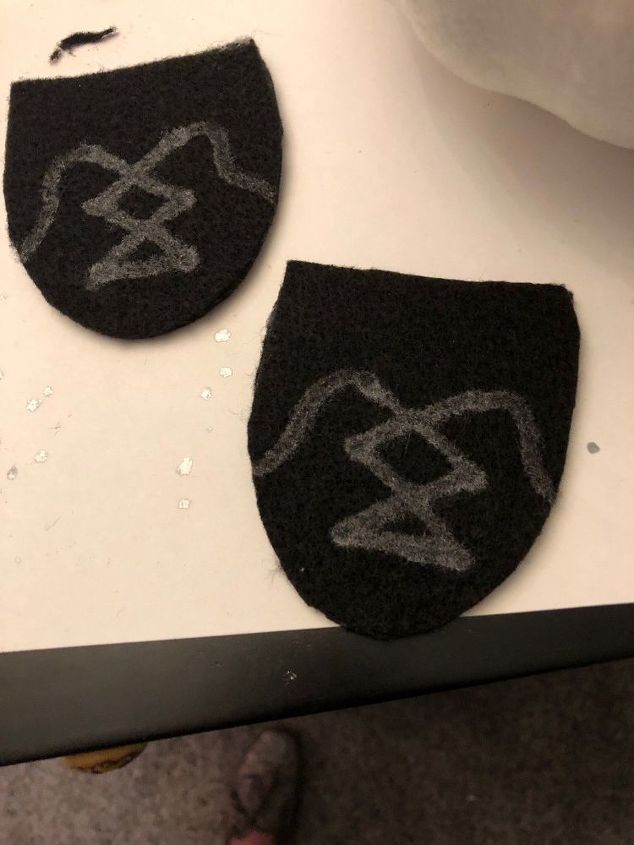
Ready to glue
Place the shoes under the body, turning them at a cute angle. One you’re happy with placement remove body but keep shoes in same spot. Now hot glue tops of shoes and place the body back where it was pushing body against them to adhere.
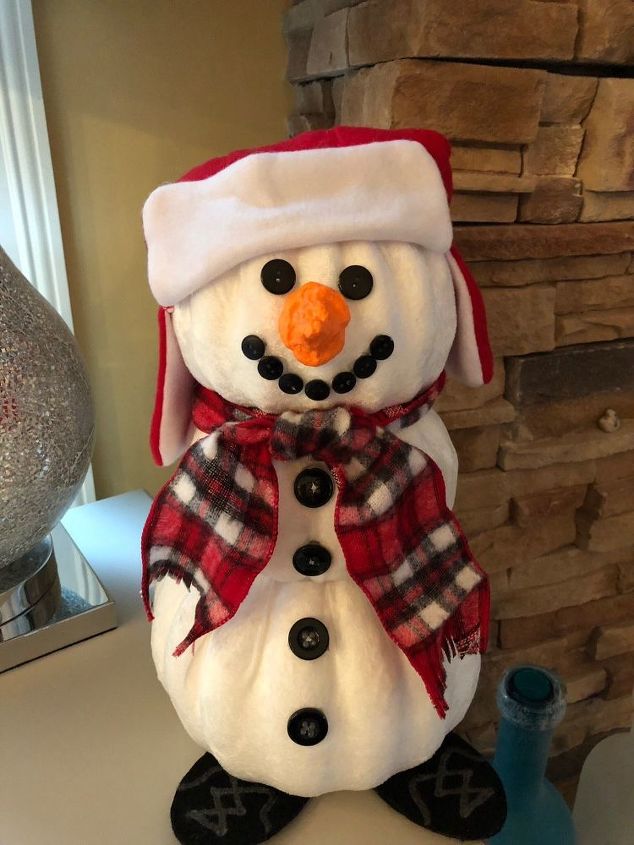
All I need is a name!
I love his hat and shoes and I may even Velcro the ear flaps so they can remain up against his ears! And I also like that I can remove his hat at a whim. Does anyone have an idea what I can name him?
Comments
Join the conversation
2 of 99 comments
-
Adorable! I’d name him Beanie.
-
So cute! But I think I'd add some twig arms to him. Definitely gonna try this!


Frequently asked questions
Have a question about this project?
What material was used to construct the orange nose?