


Recycled Christmas Card and More

by
Ana Bacallao
2 Materials
$16
3 Hours
Easy
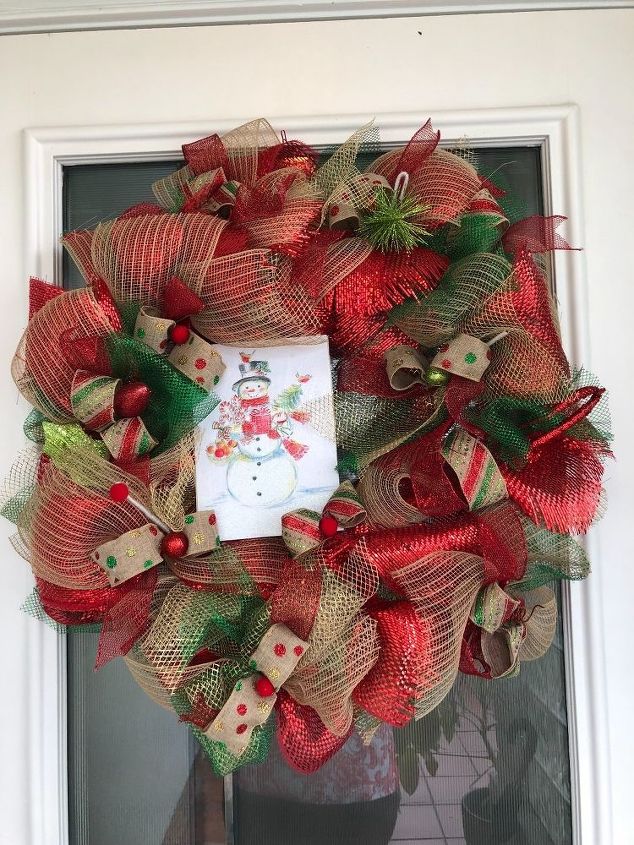
So I have had the same Christmas wreath for years and it was beautiful but oh so heavy! Since we recently installed a new door, I needed to make a lighter one so I decided to do a mesh wreath. I always save the fronts of Christmas cards to use as gift tags but decided to use a pretty one as the accent on the wreath. It is very light weight and very pretty.
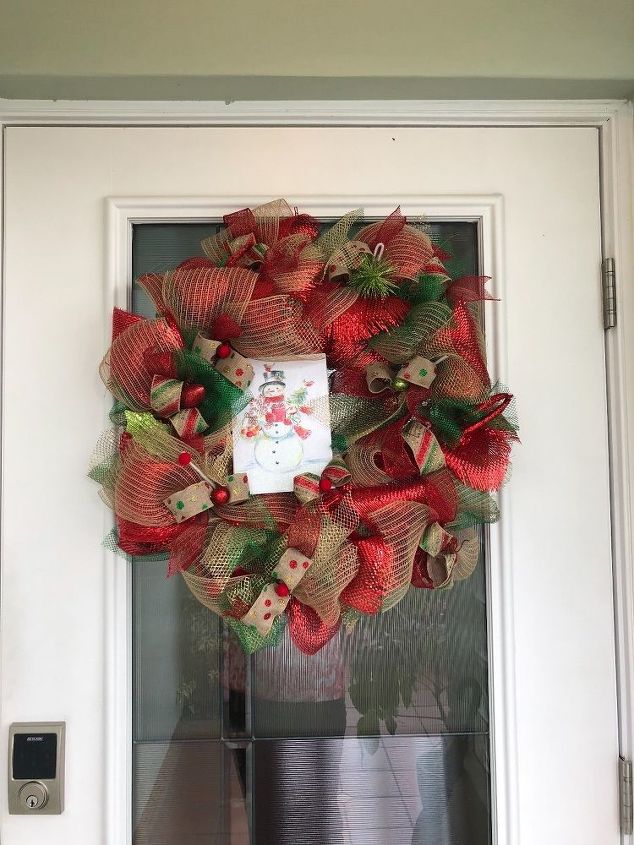
The finished wreath.
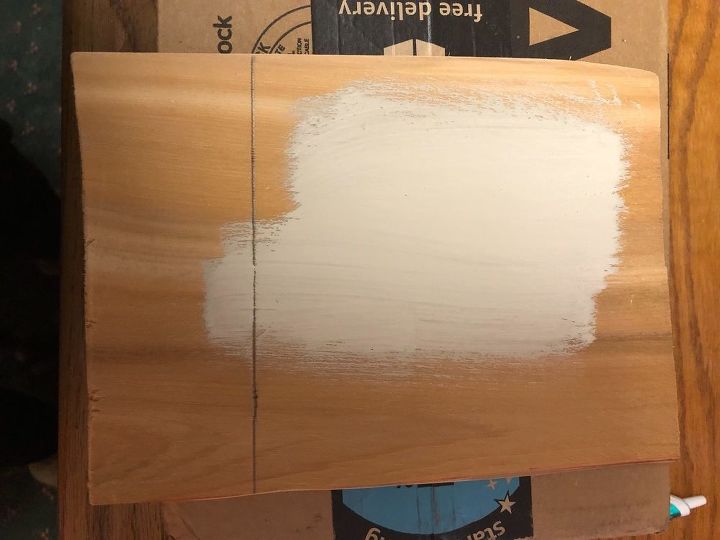
i started off by painting a thin scrap of cedar plank with white paint.
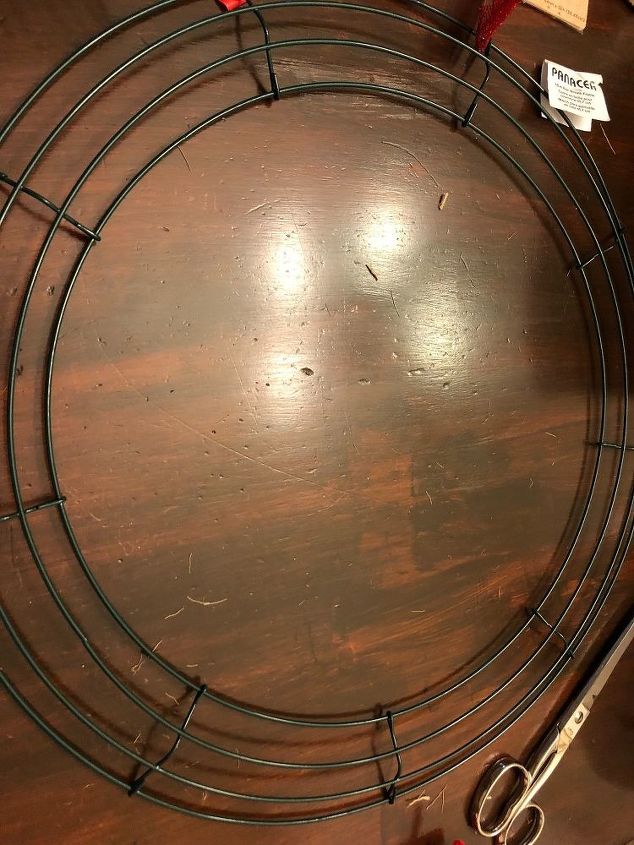
I then applied Modge Podge to the dried board and to the back of the card that I chose and positioned on top. I used a credit card to make sure it was completely adhered and with no bubbles. Next I started preparing the wire wreath form by tying pipe cleaners. Since I did not want a super heavy wreath I only used 2 pipe cleaners per section, one in the outer ring and one on the inside one. Here's the wreath before I started.
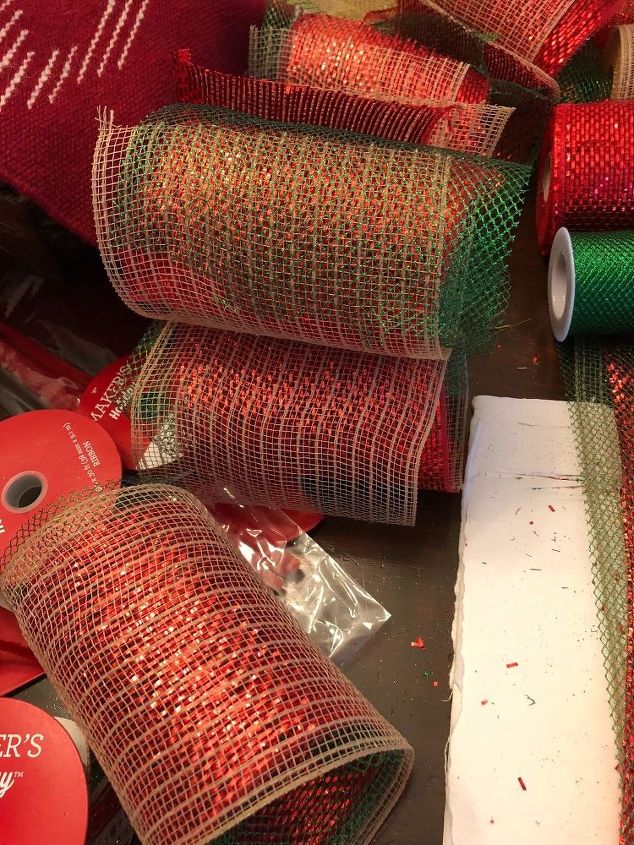
I then began cutting my mesh ribbon in 12" lengths. I used the narrower mesh so that it would not be too weighty. I laid them together to make cutting them easier and proceeded to cut 18 sections of the 3 colors. Side note: for the life of me I could not find my cutting board so I used some thick cardboard, careful because I did run theough a couple of times with my cutter, not too bad though.
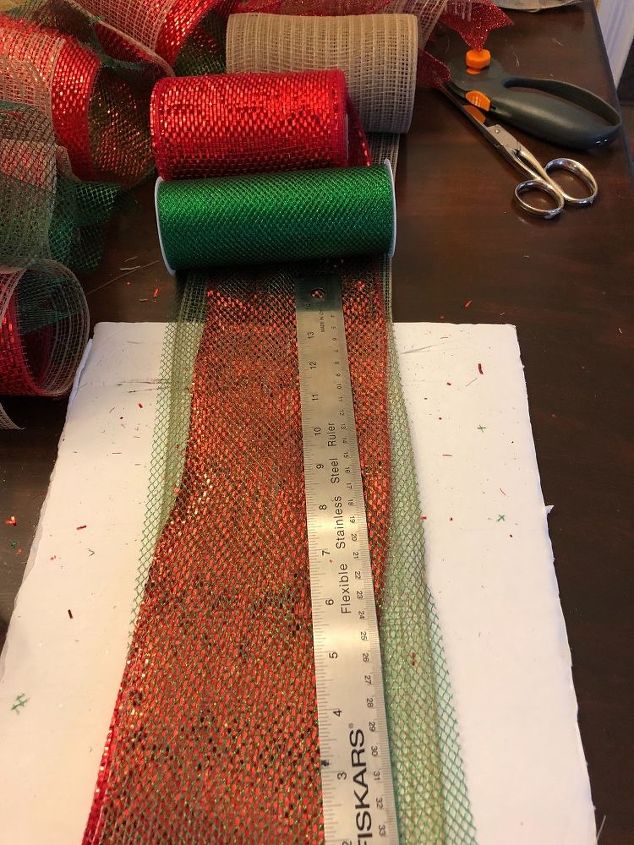
This is what the rolls looked like
I started taking a section at a time and pinching or gathering as you see below and placing on each of the pipe cleaners alternating colors on the outer ring. Do not twist tight as you will be putting the next color on top in the same pipecleaner. Go all around until each section has the 3 pieces of colors making the most of the contrasting. Of course, it would be much easier if you were only using one or two colors. Repeat with the inner ring.
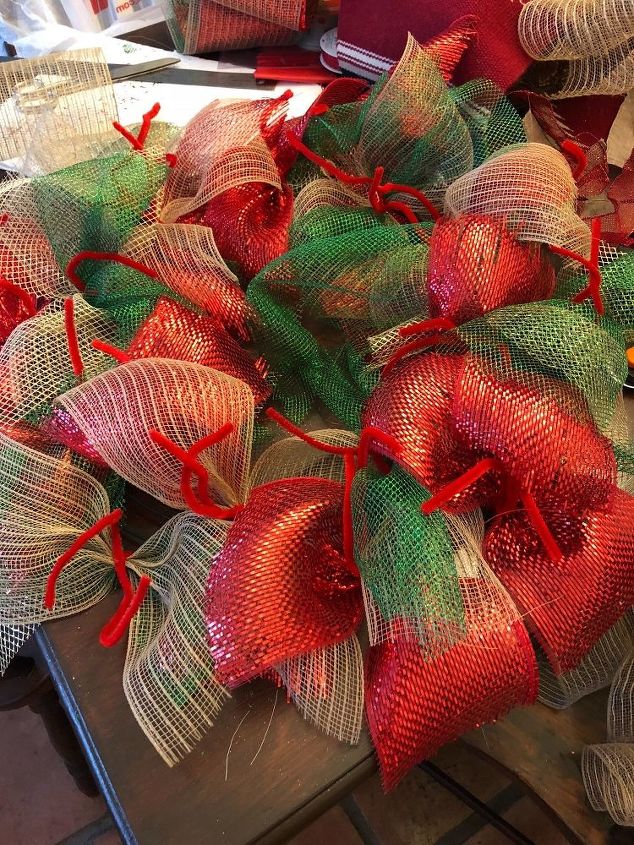
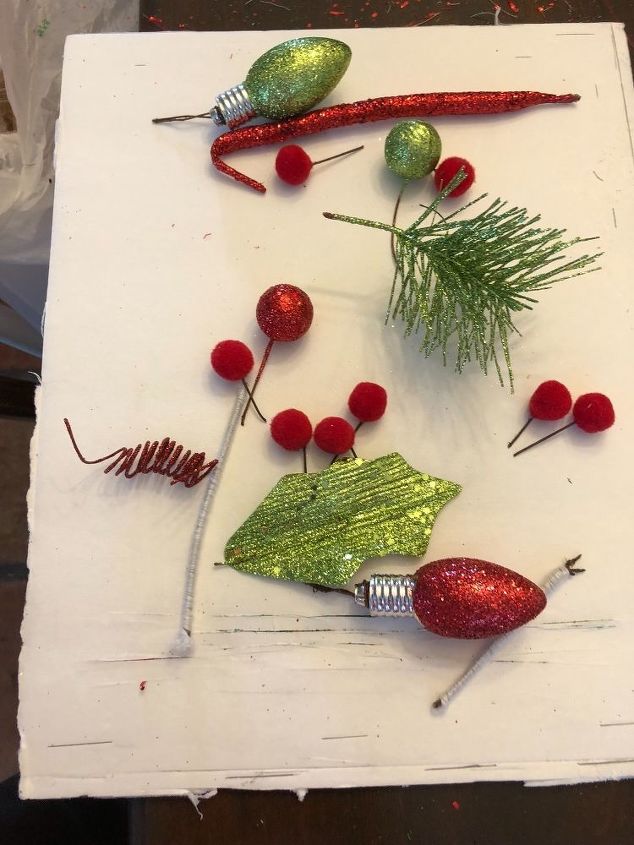
Fluff and start making sure you have no gaps. The fun begins now as you cut pieces of contrasting ribbons, I used 3, a red, a polka dotted one and a striped one. Below are also some picks I took apart to use.
I sort of made loops or bows with the ribbons and applied them to some of the ties. It was the time to hide the ties by putting them to the back f the wreath and twisting securely. Glue gun to the rescue, I started applying the enhancements above and ribbons as I saw fit. Used the scissors to give a better shape to some of the mesh, they do fray! It was then time to add my chosen Christmas card (by the way once it had dried I liberally applied a thick layer of Modge Podge on top and let it dry while I was doing all the other fun stuff.
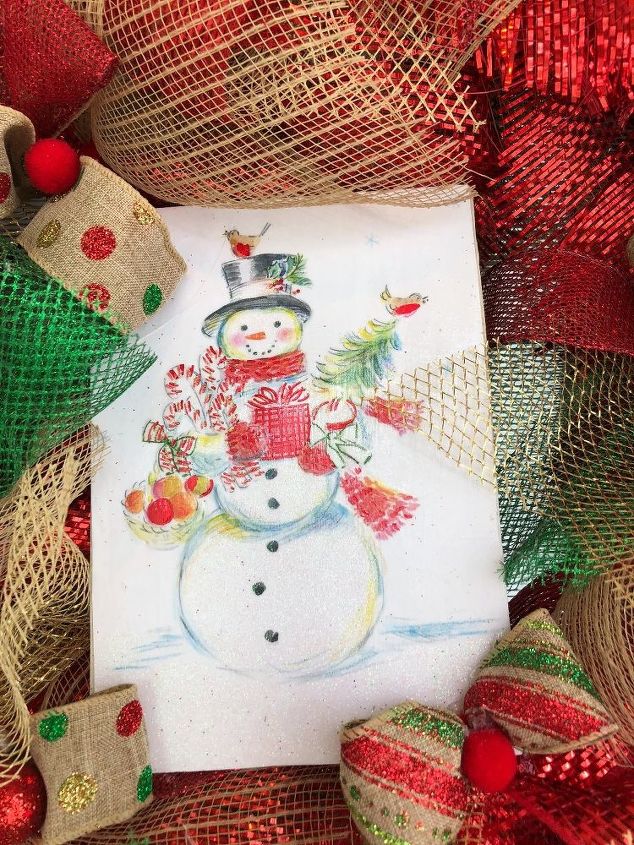
With the trusty glue gun I glued it to the wreath and voila it's done. I can't say that I really enjoy working with mesh but I'm pleased with how light the wreath is since I will only be using a command hook on the glass part of my front door.
Comments
Join the conversation
2 comments
-
A holiday favorite! What a wonderful way to bring in the Christmas spirit!


Frequently asked questions
Have a question about this project?