


Do You Want to Build a Snowman?
7 Materials
$35
1 Hour
Easy
I started making these shatterproof ornament topiaries a couple of Christmases ago after spotting the very expensive ones in catalogs. I knew there had to be a way to recreate the look for a lot less money. The answer was an easy one once I found those oversized ornaments. I shared one of these last year that was all red and gold that you can view at DIY Christmas Ornament Topiary. I decided to expand on that this year and make a snowman topiary!
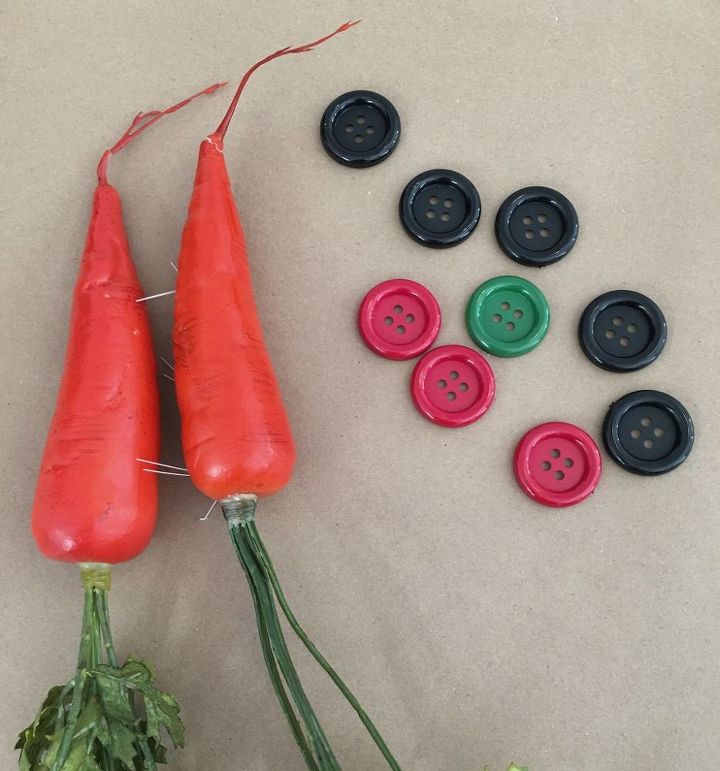
Of course, if you are going to build a snowman, you have to have buttons and carrots! You can use the traditional black like I did or use some green or red ones! I dug these couple of carrots out of my box of Easter decorations.
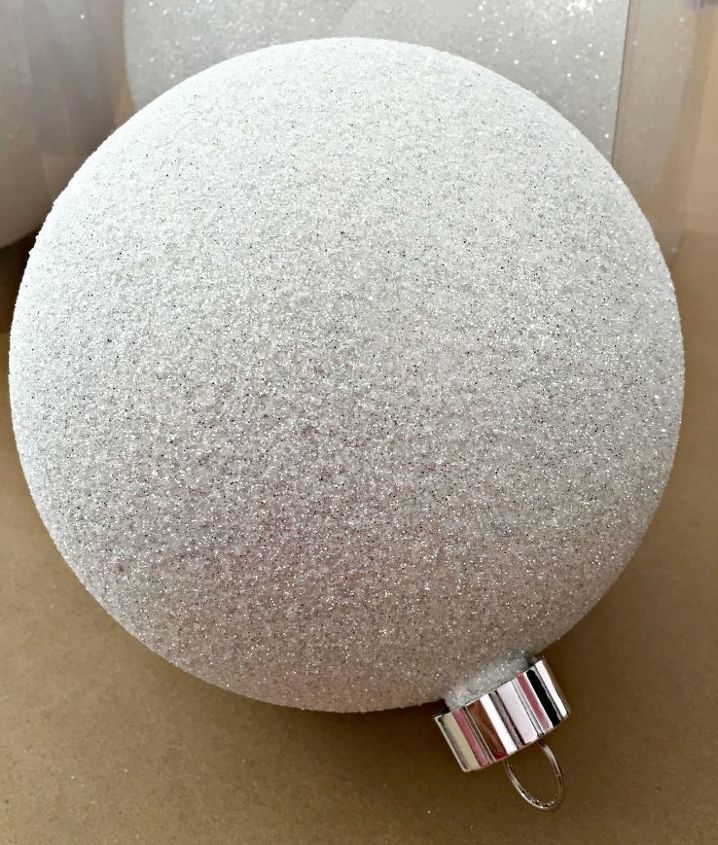
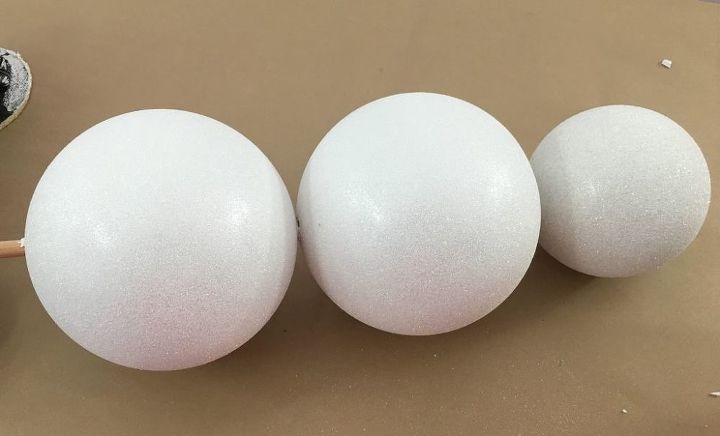
For my snowman I used two ornaments approximately 8″ in diameter and one approximately 6″ in diameter. If you can find a third size, you could use the three graduated sizes instead of just two.
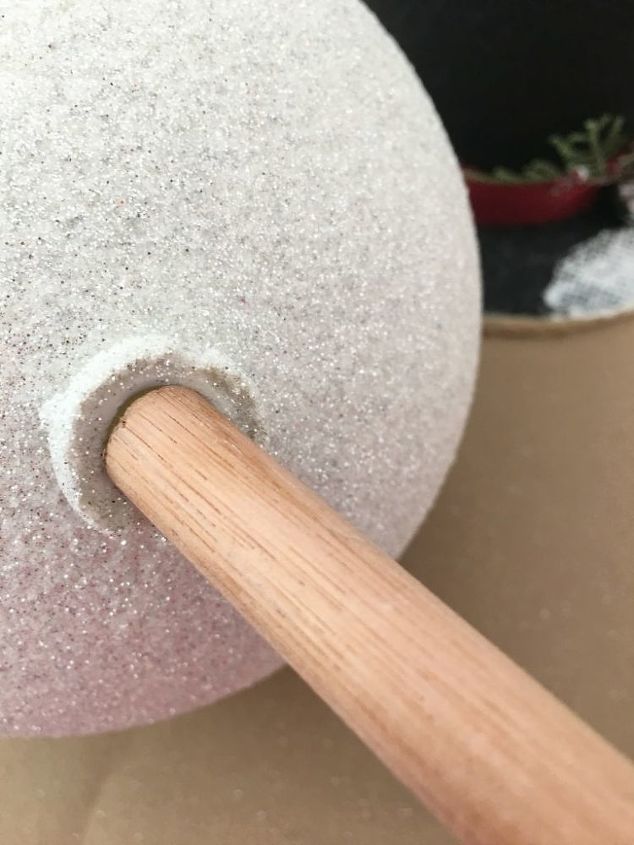
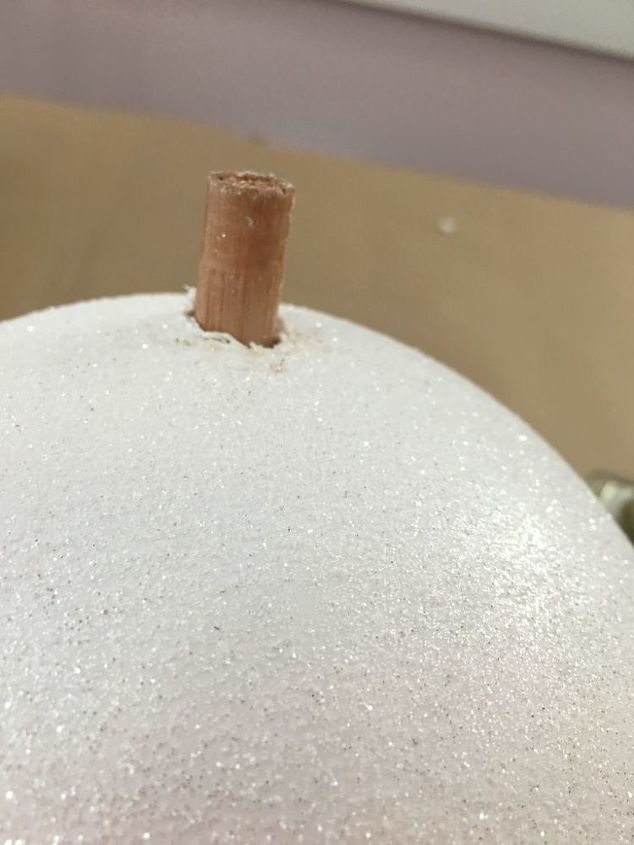
I removed the hanger from the top of each ornament and then used my old hot glue gun to enlarge the hole in the ornament to accommodate a 1/2″ diameter dowel.
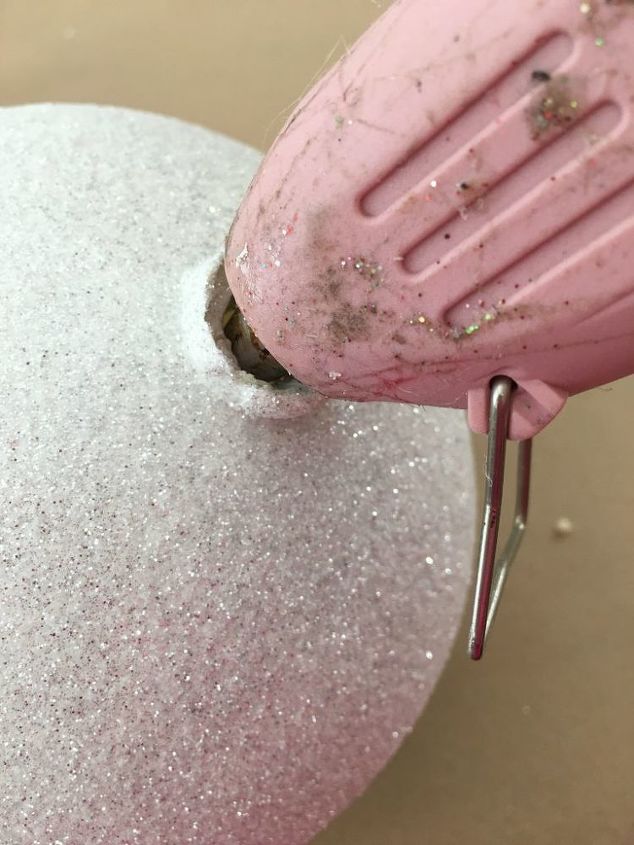
The next step was to repeat the process with all three of the ornaments. The larger two ornaments will then also have holes melted in the side opposite of the first hole. This way the dowel can be threaded through the ornaments. Use a bead of hot glue where the dowel enters and exits the ornaments to secure them.
It is beginning to look a lot like a snowman! Time to trim him up and give him a little personality.

I thought it would be really simple to cut down my styrofoam carrot until my saw hit something I couldn’t get through. I don’t know what this little concrete thing in the middle was, but instead of just gluing my carrot nose to my snowman, I repeated the process and melted a hole in the head of my snowman, pushed that little bit of concrete into the ornament and added a little hot glue to secure it.
For my snowman’s hat, I cut a hole in his hat, melted another hole on the top of the head ornament (and a little off to the side to give him a jaunty look).
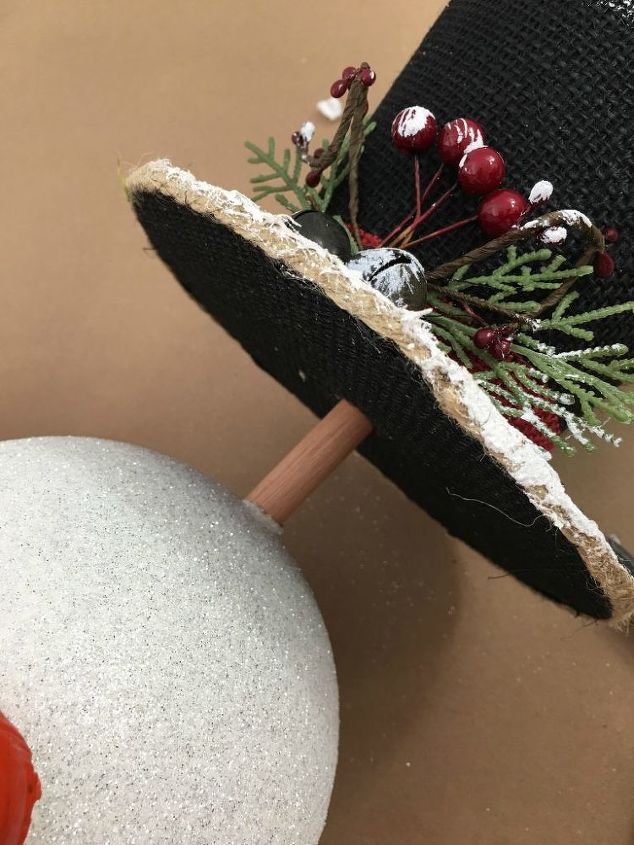
I took a piece of my dowel and stuck it into the head and perched the hat on top of it and secured it with a little hot glue.
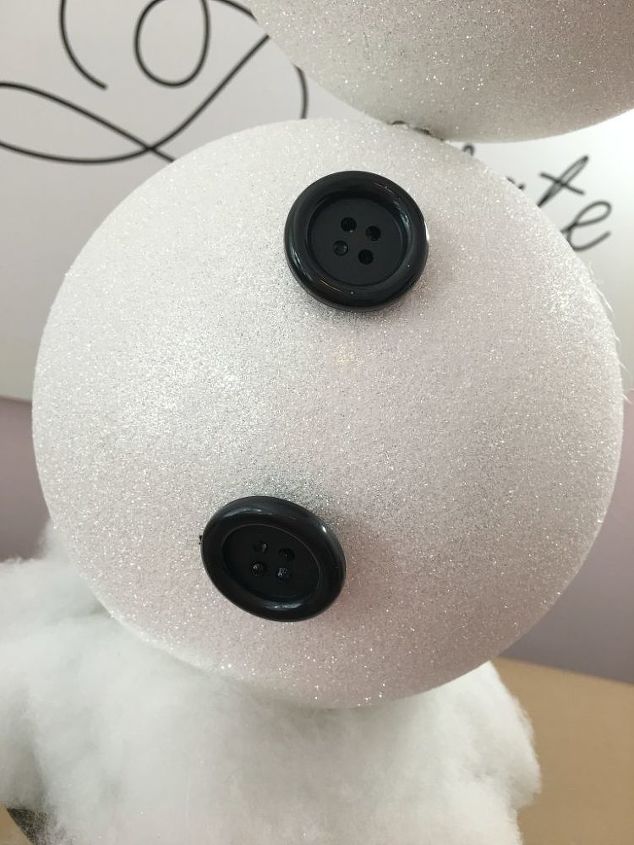
I added some little black buttons with hot glue!
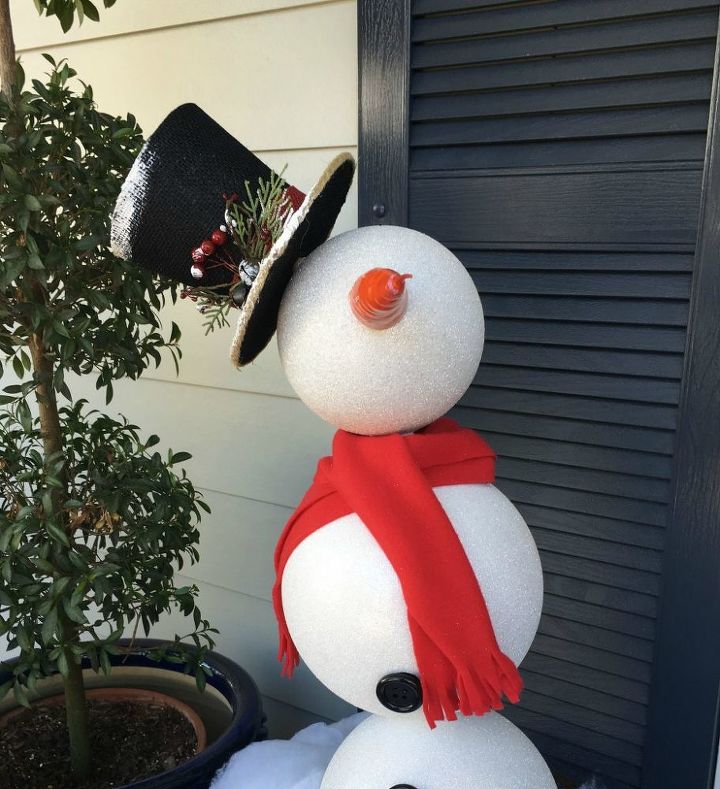
I added a simple scarf cut from a piece of fleece. I secured my snowman in an urn with a large chunk of styrofoam. I topped the styrofoam with a faux snowy blanket for a suitable base.
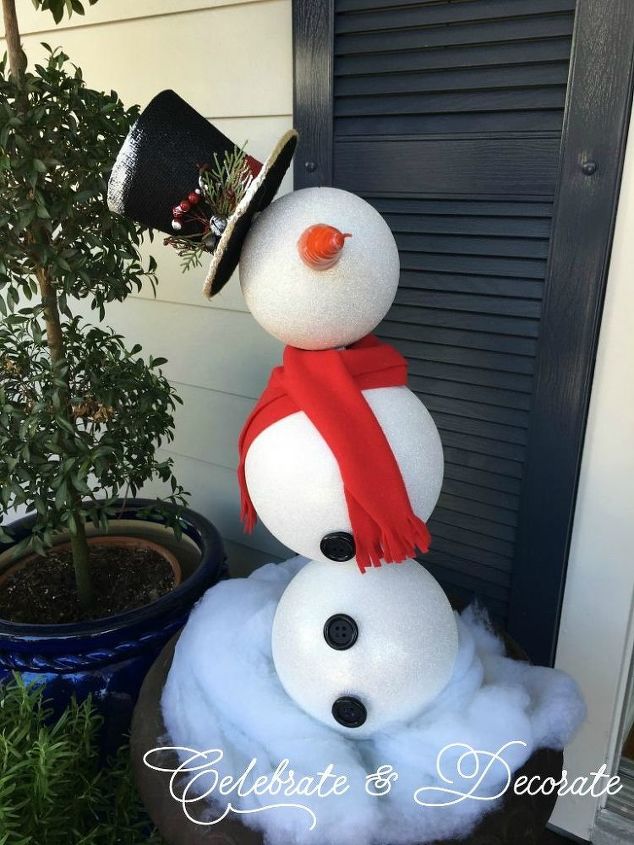
There you have him, a jaunty snowman ready to greet guests! This is such an easy project to make a snowman topiary and the best thing is, he isn’t just for Christmas, he can stay there all winter long!
Resources for this project:
See all materials


Any price and availability information displayed on [relevant Amazon Site(s), as applicable] at the time of purchase will apply to the purchase of this product.
Hometalk may collect a small share of sales from the links on this page.More info

Want more details about this and other DIY projects? Check out my blog post!
Comments
Join the conversation
2 of 66 comments
-
Super cute idea. ❤️
-
Very creative and unique snowman used as an outdoor decoration. I think he should have happy looking eyes and a smiley face to make him have unique qualities. The good point is he won’t melt at the end of winter.


Frequently asked questions
Have a question about this project?
Shouldn't he have facial features? He looks unfinished!
Where did you find the hat? I want to do this. It’s adorable
Why doesn’t he have eyes??