


Make a Glitter Globe Atop a Mason Jar
9 Materials
$5
15 Minutes
Easy
Move over snowglobes! I've got an even better idea -- a glitter globe! And let's put it atop a Mason jar! The best part of this idea is the glitter stays in the globe, not on you AND you get to fill the Mason jar with goodies. This is perfect for all of those "gifts in a jar." Of course, you can also make this as a snowglobe jar! I'll show you how to make both.
For the full tutorial, please visit https://jennifermaker.com/diy-snow-globe-top-mason-jars-rose-glitter/
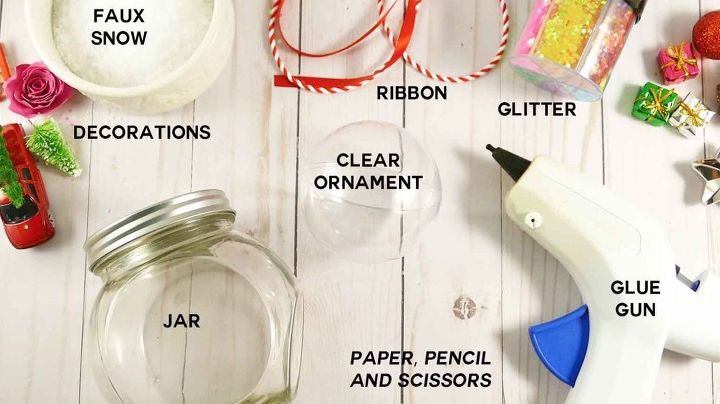
First, gather your materials. You'll want to get clear plastic ornaments (the kind that come apart in halves) and make sure they are the same size as your jars. I found two sizes of jars and two sizes of ornaments, and they fit perfectly.
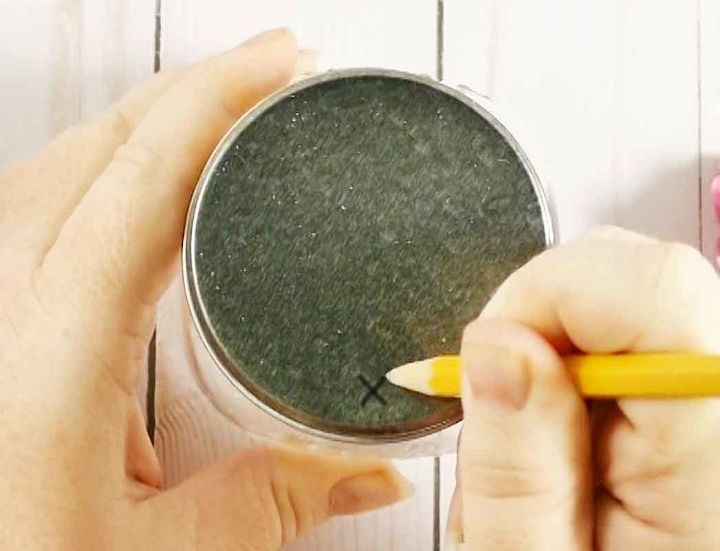
Put the lid on your jar and make a note of the where your lid is when it’s fully screwed on. Mark the front point with a pencil. This is useful if you’re trying to match up a decoration and/or bow with the front of the jar.
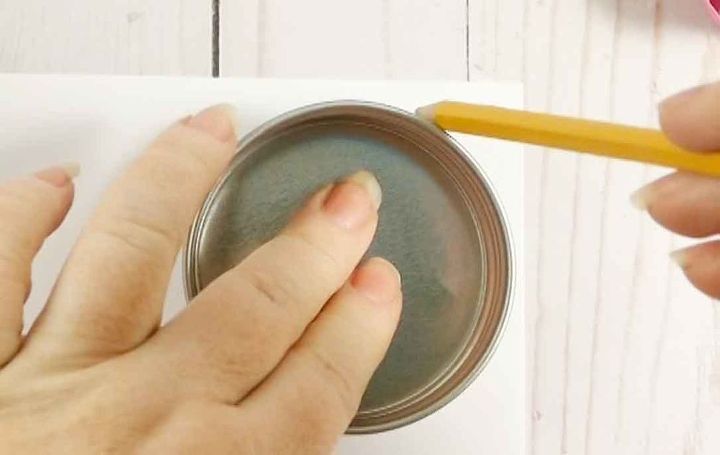
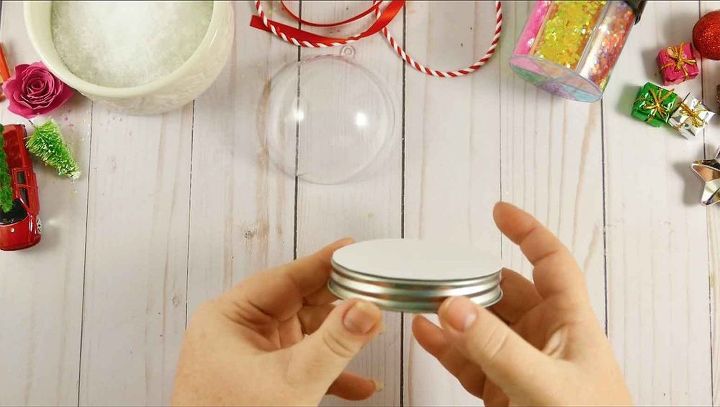
Remove the jar lid and trace it on a piece of paper.
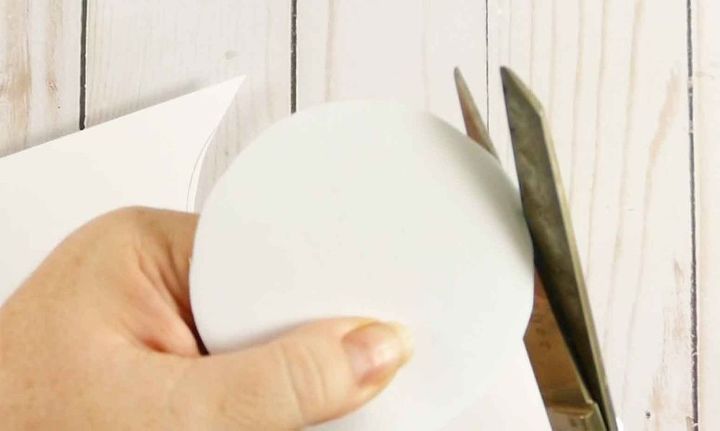
Cut out the paper circle you traced. I used gold glitter paper for the glitter globe jars and white cardstock for the snow globe jars.
Glue the paper to the top of the lid.
Transfer your pencil mark to your paper to identify the front of your lid.
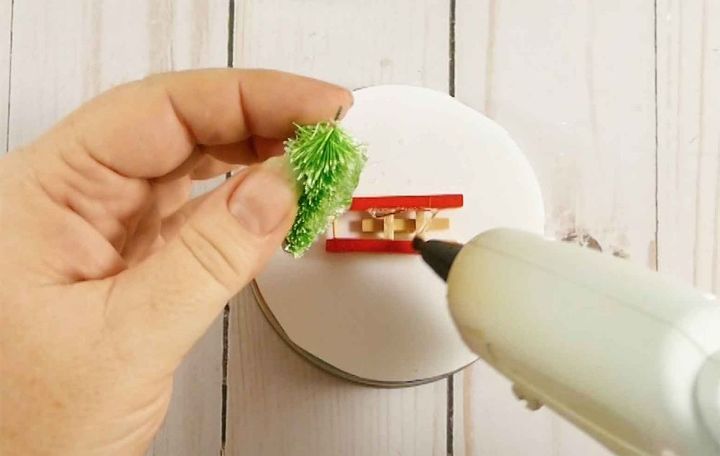
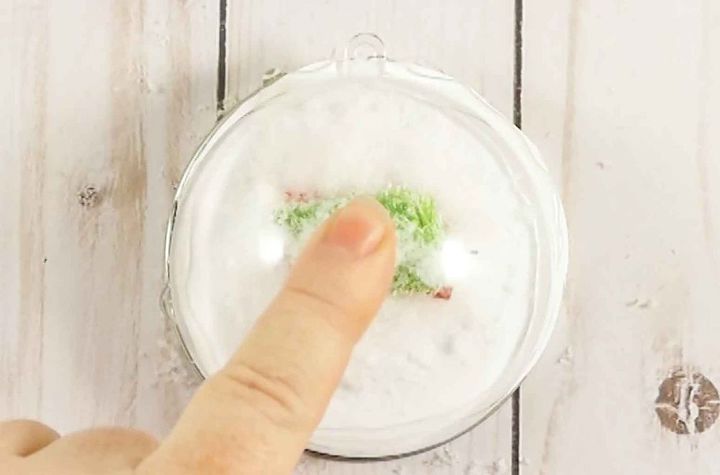
Glue whatever decorations you want to appear inside your glitter globe or snowglobe, paying attention to where the front of your lid is (which you marked earlier). I used a red sled, little Christmas tree, and tiny presents for my snow globes. My glitter globe has a tiny pink rose. You can learn how to make the paper rose here.
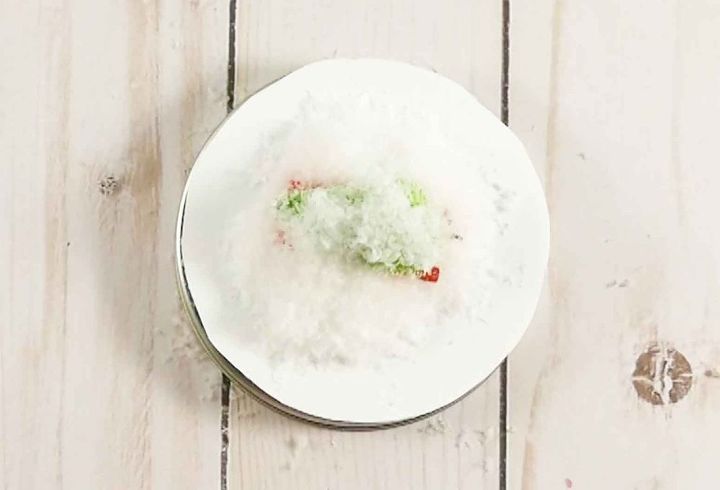
Pour a good portion (maybe 1/8 of a cup) of faux snow or chunk glitter into the center of your lid, right on top of the decorations. Try to keep it centered in there as much as you can for now.
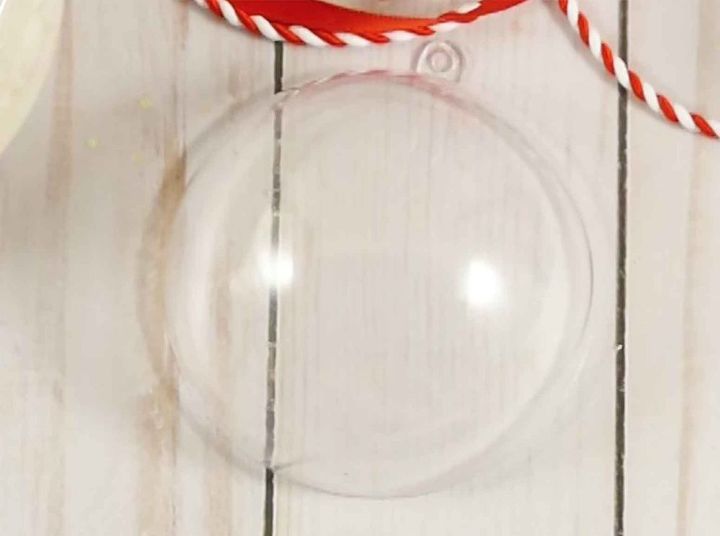
Open your clear ornament so there are two halves. Note that there’s a little plastic tab. I recommend you put that either in the front or the back of your jar, as it will look nicer.
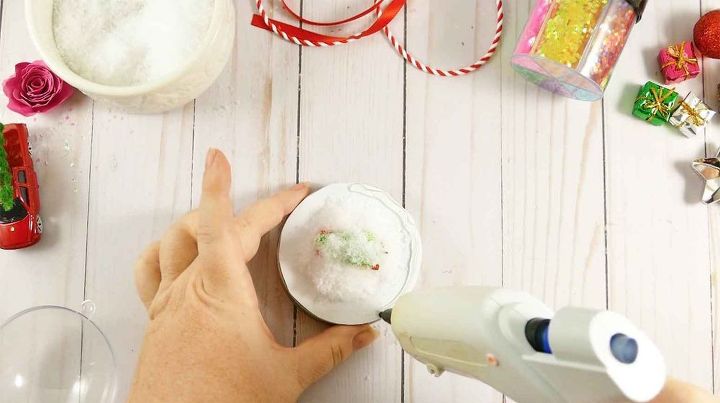
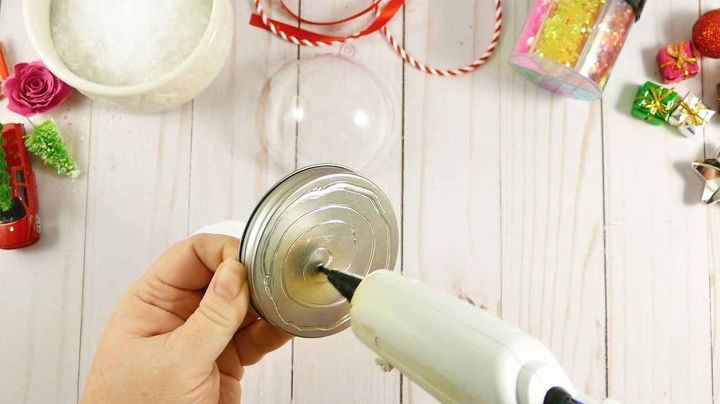
Put hot glue around the outer top edge of your lid.
Press half of one clear ornament into the glue, making sure it is centered on top of the lid. Press and hold for a minute while the glue cools and sets.
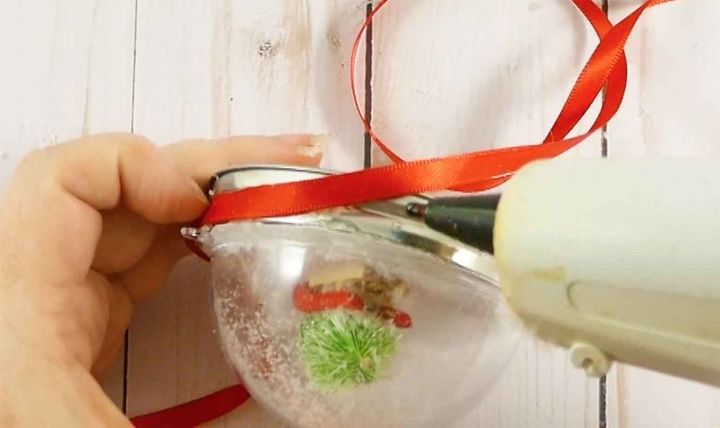
Glue and tie decorations around the rim. You may or may not want to hide any glue that formed at the edge where the plastic meets the lid, depending on how neatly it went on and how much you used. If it got messy, the ribbon helps to hide it.
Tip: To tie a bow so it looks pretty, tie it from the top as I’m doing in the photo below—this encourages the little tails to hang down, instead of at weird angles.
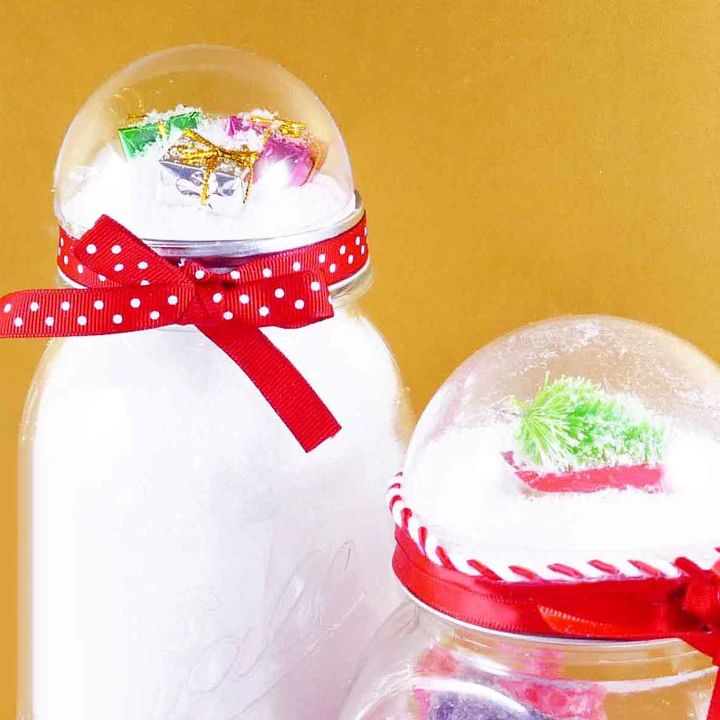
Fill up your jar, screw on your snow globe or glitter globe top, and your’e done! Here are the finished snowglobe jars! I put cotton balls and candy in these.
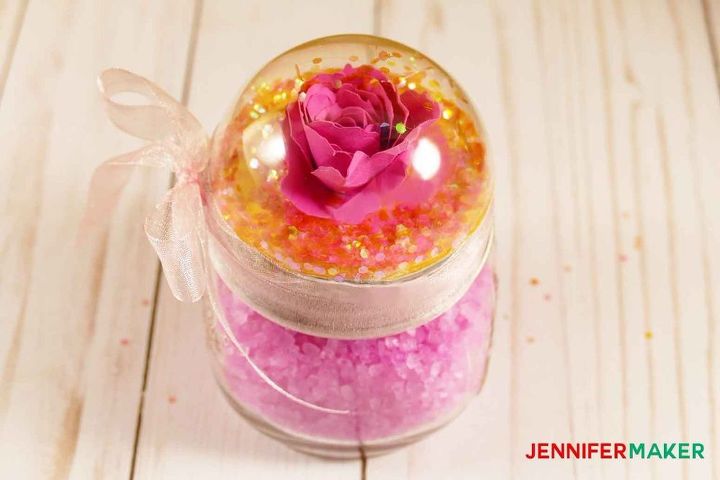
And here's the finished glitter globe jar! I put bath salts in this one.
Resources for this project:
See all materials


Any price and availability information displayed on [relevant Amazon Site(s), as applicable] at the time of purchase will apply to the purchase of this product.
Hometalk may collect a small share of sales from the links on this page.More info

Want more details about this and other DIY projects? Check out my blog post!
Comments
Join the conversation
2 of 5 comments
-
Do you put something liquid inside? I love the idea.
-
I like how you put glitter in the old colored sugar container.


Frequently asked questions
Have a question about this project?