


DIY WALL ART - Make a BIG Impact, With a Small Budget

by
Katie Tennis
5 Materials
$10
1 Hour
Easy
Using $2 Engineer prints from our local office supply store we made large 24x36 wall art using some paint & Mod Podge. It's a technique every crafter should know!
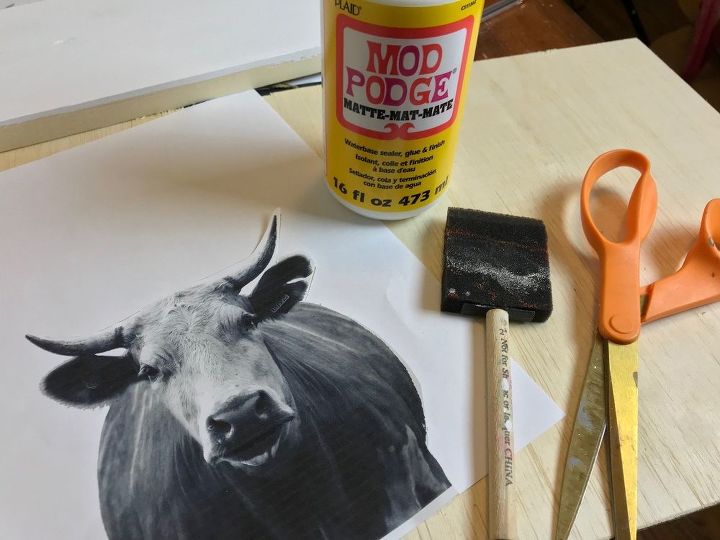
Supplies for this project include
- Printed Black and White Image of your Choice
- Wood base of your choice
- White Paint
- Foam Paint Brush
- Scissors
- Mod Podge
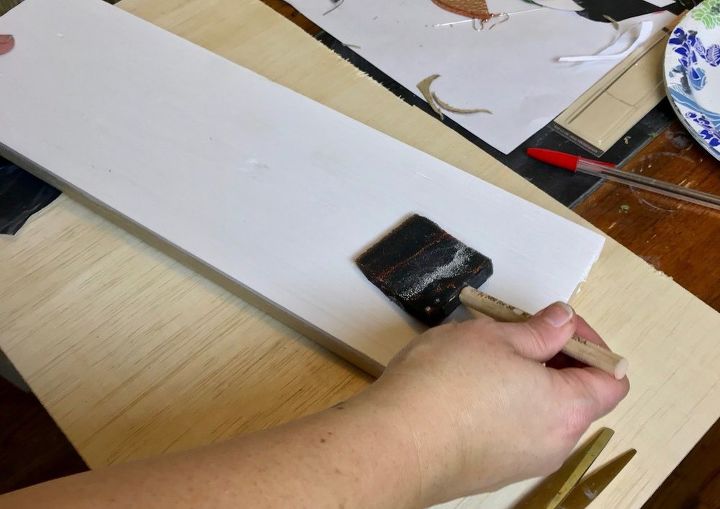
To start this project you will want to paint the wood base you selected white. I used 2 coats of Sherwin Williams, Roman Column to cover our pine board. Then allow to dry.
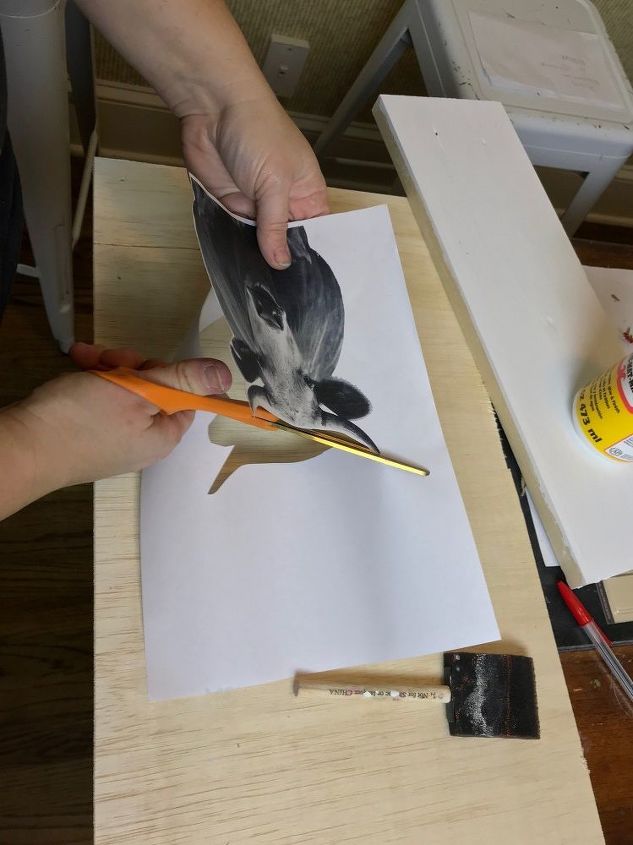
Next you will need to cut around your printed image to remove any excess white paper.
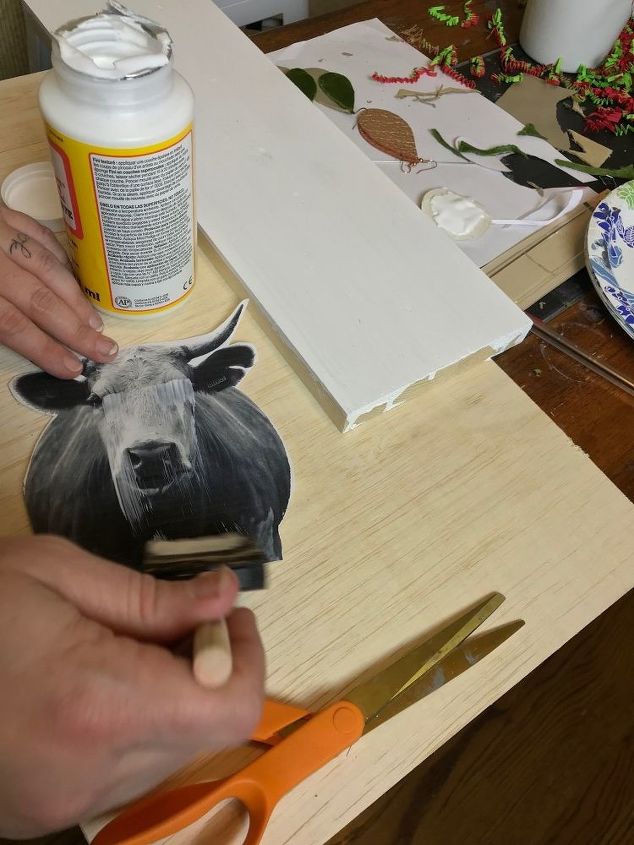
Once your image is cut out you will need to apply a THIN coat of Mod Podge to the top surface from edge to edge.
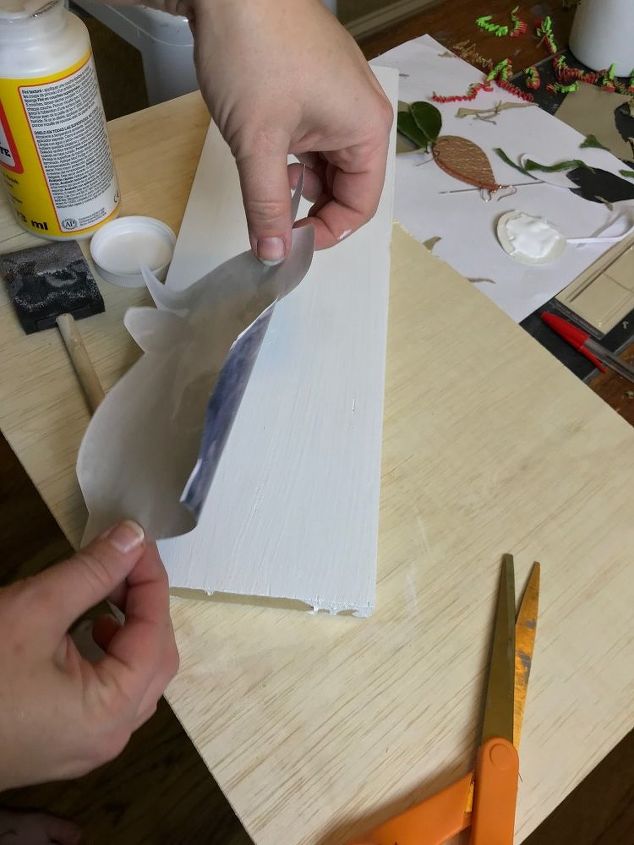
Once your image is coated with Mod Podge you will need to flip the image and apply the Mod Pordged surface to the dried wood board you prepared.
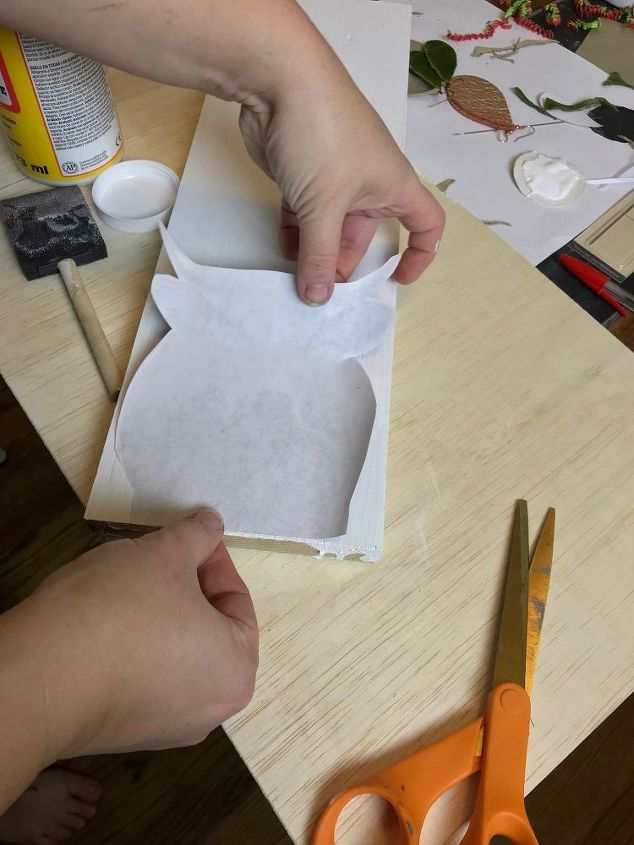

Press firmly with you hands starting from the center to ensure the paper is fully adhered to the wood. Then allow to dry overnight.

In the morning grab a damp sponge and you're ready to reveal the magic that happened overnight.
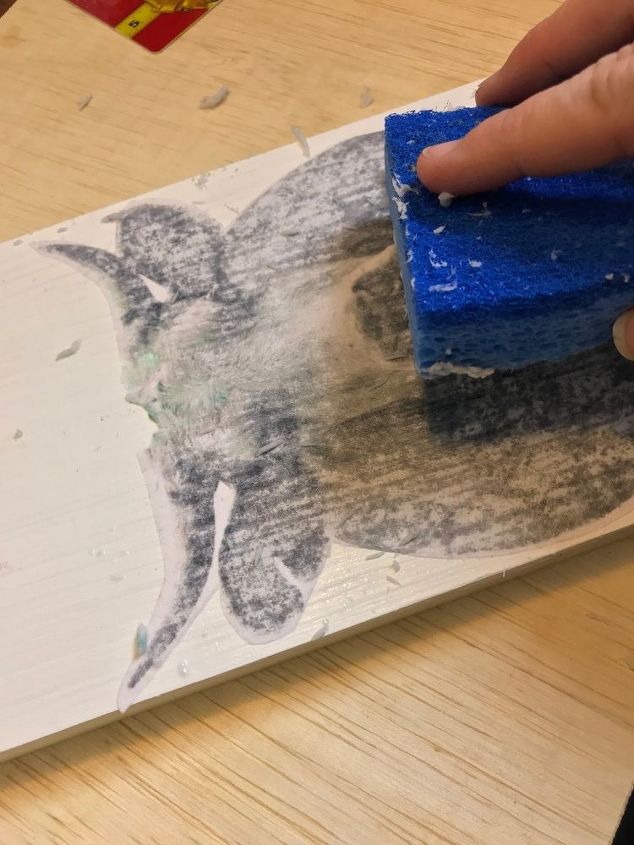
Gently pat the damp sponge over the back of the printed image to wet the surface.
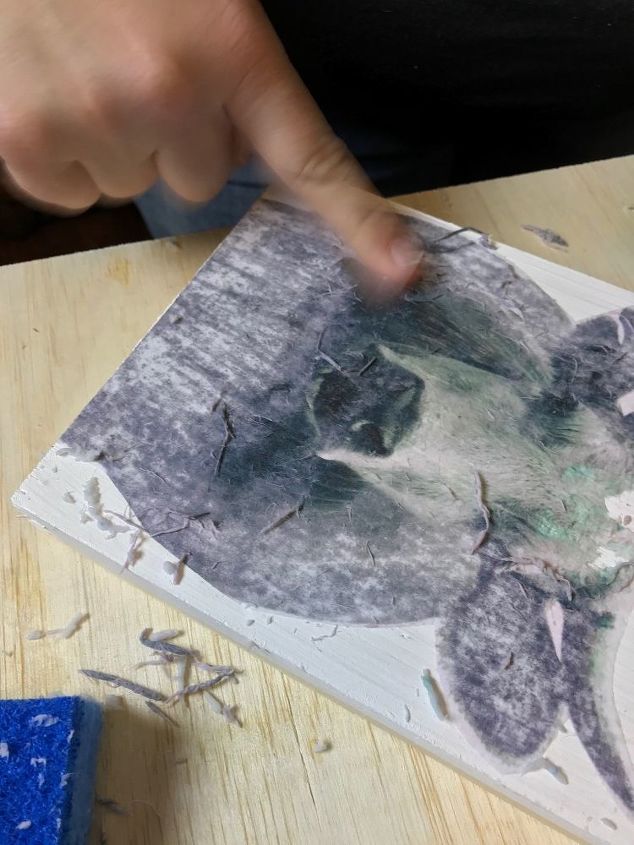
Use your fingers to gently rub off the paper surface which will leave the transferred image on your board.
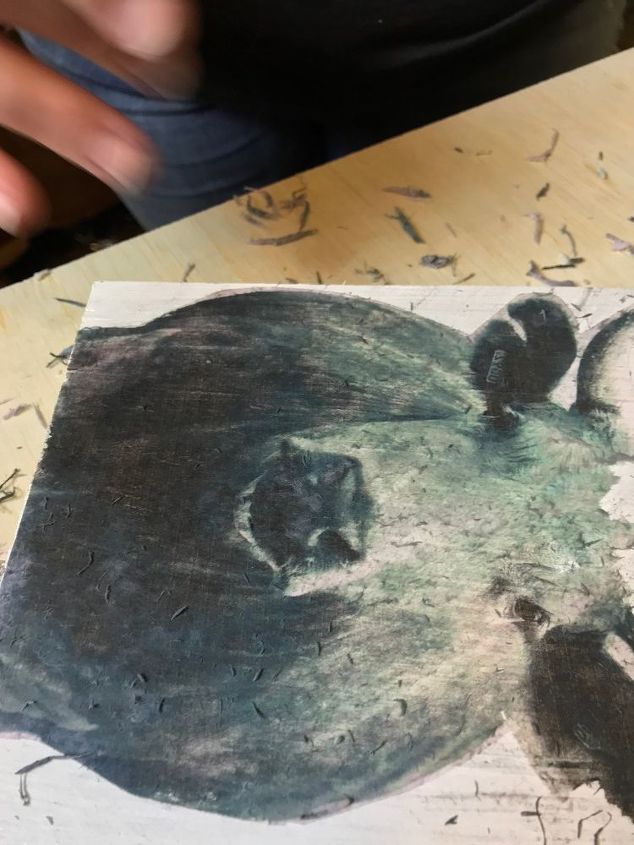
Holy Cow you did it!
Comments
Join the conversation
2 comments
-
What a fantastic technique!
-
Im inspired


Frequently asked questions
Have a question about this project?