


How to Use Dollar Store Bowls to Make Mushroom Solar Lights

Looking for a fun and unique way to add style and ambiance to a walkway or patio area? These solar-powered painted concrete mushroom lights were very simple to create and offer a whimsical alternative to basic walkway lights. Store-bought solar powered walkway lights are susceptible to cracking and breaking but with a few inexpensive supplies, I created sturdy and unique lights that won’t break or succumb to the elements.
Instead of spending a lot of money on lights that may not last, try these Dollar Store molds to make concrete solar-powered lights that stand the test of time.
You Will Need:
- Dollar Store Bowls (One large and one smaller to nest inside)
- Decorative Glass Beads
- Solar-powered LED light set (30 lights)
- Quikrete sand topping mix cement
- Small piece of PEX pipe
- Styrofoam cup (Tall coffee cup size)
- Utility knife
- Spray paint
- Lacquer thinner
- Drill and a masonry bit
- Glue gun and hot glue sticks
- Heat gun
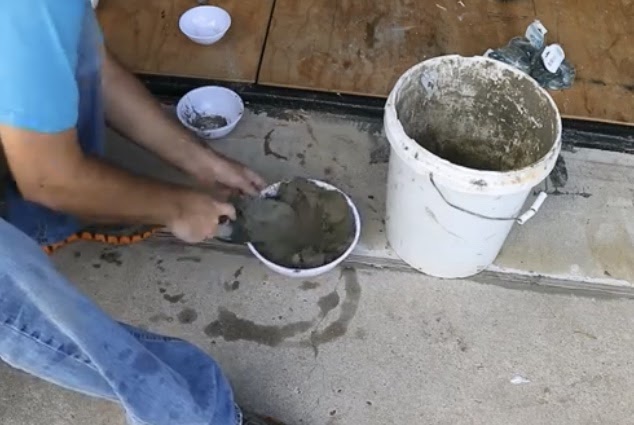
Step 1: Mix the Concrete
I mixed a Quikrete sand/concrete mix to the consistency of thick peanut butter in a 5-gallon bucket and filled the larger of my two Dollar Store bowls. I spread the mixture with a small garden trowel to try to get some of the air out.
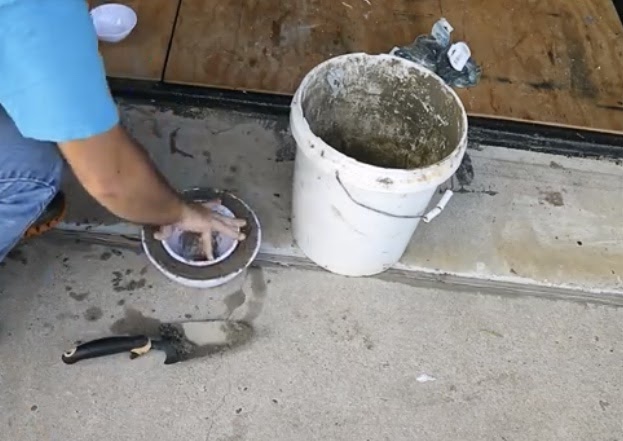
Step 2: Press Smaller Bowl Into Center
I pressed the bottom of the smaller bowl into the wet concrete mixture. Push the bowl firmly down into the concrete and this will get more air out. I placed a board on top to act as a weight. The smaller bowl creates the opening in the mushroom mold created inside the larger bowl for the stem.
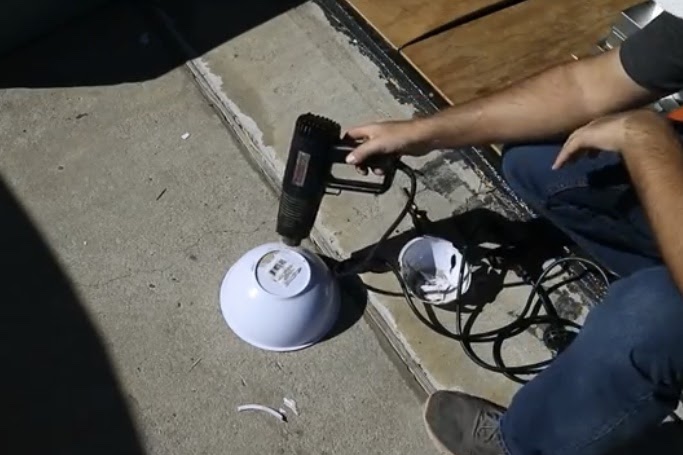
Step 3: Remove Plastic Bowls
When the concrete dried, I removed the plastic bowl molds. I used a heat gun to soften the plastic and peeled it away from the hardened cement. If you wanted to reuse the plastic bowls, you could coat them with cooking oil before filling with the cement.
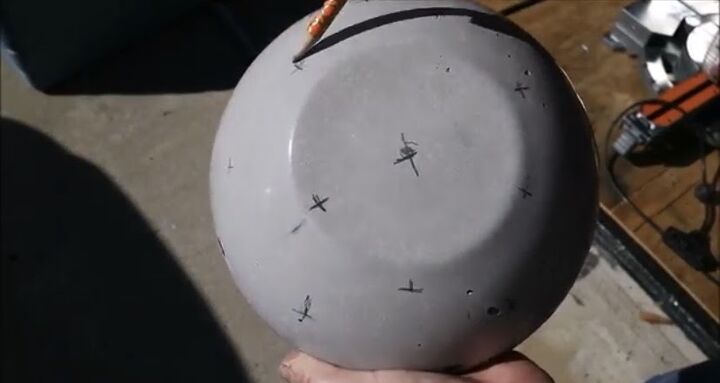
Step 4: Mark Drill Holes
I made marks across the surface of the dome where I wanted to drill light holes. Depending on how many lights are in the set you buy, drill the correct amount of holes.
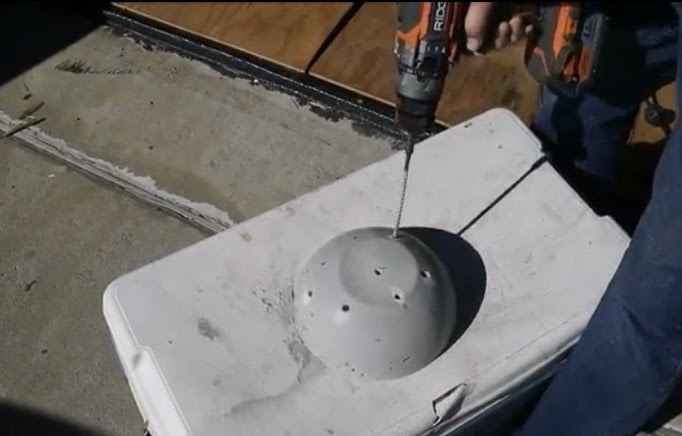
Step 5: Drill Holes for Lights
I used a masonry bit to make drilling into the concrete easier and drilled each place that I marked.
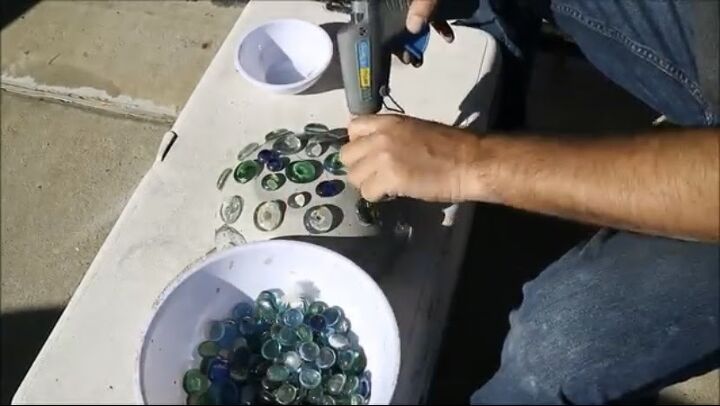
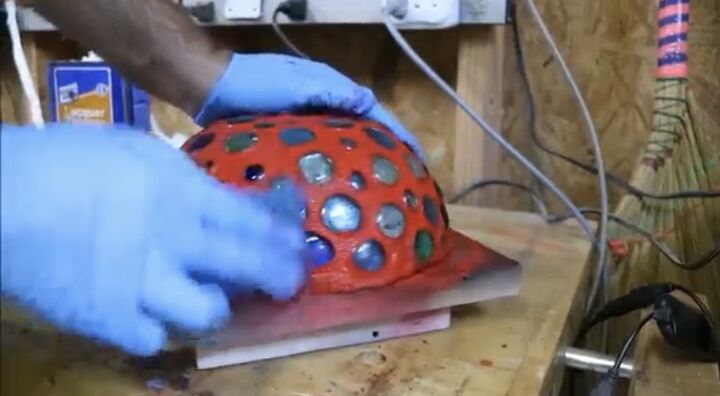
Step 6: Attach Glass Beads
I used a hot glue gun to attach a glass bead over the top of the center of each hole. My beads were from the craft section at the Dollar Store and multicolored, but clear glass beads would also look great. Fill in the gaps between the light holes with smaller glass beads for a more decorative look
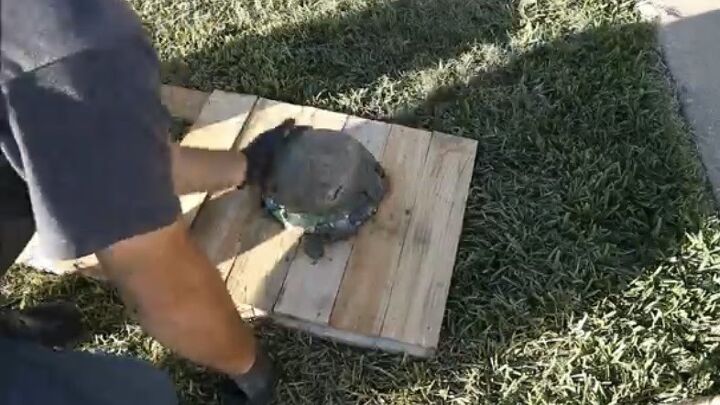
Step 7: Mix and Apply More Concrete
I mixed another small batch of concrete and applied a layer over the entire surface of the mushroom top. Cover the glass beads to firmly anchor them to your surface. Reserve enough concrete to fill the styrofoam cup. Let dry for a few minutes.
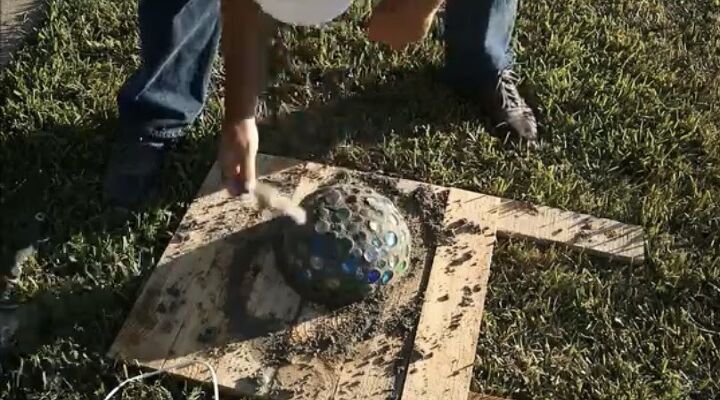
Step 8: Wipe Surface with Sponge
I wiped the excess concrete with a wet sponge from the surface of the decorated mushroom. Clean off all of your glass beads.
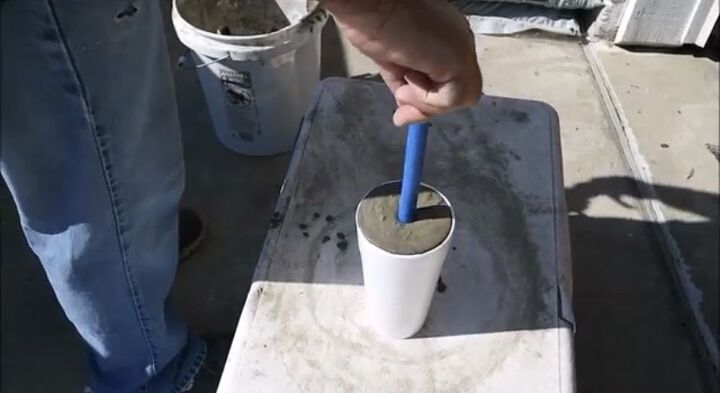
Step 9: Pour Concrete into Cup and Insert Tubing into Center
I filled the styrofoam cup to the top with the leftover concrete and then inserted a scrap piece of PEX tubing into the center. This will create a tunnel through the stem for the string of lights to go through into the light holes in the top.
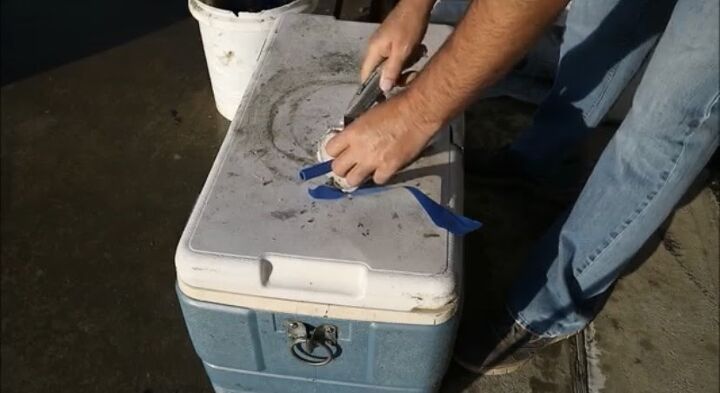
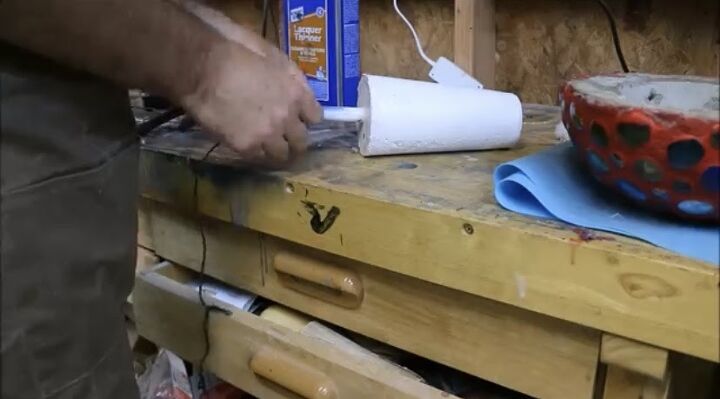
Step 10: Cut Styrofoam Cup Away
Once dry, I cut the styrofoam cup away from the hardened cement using my utility knife.
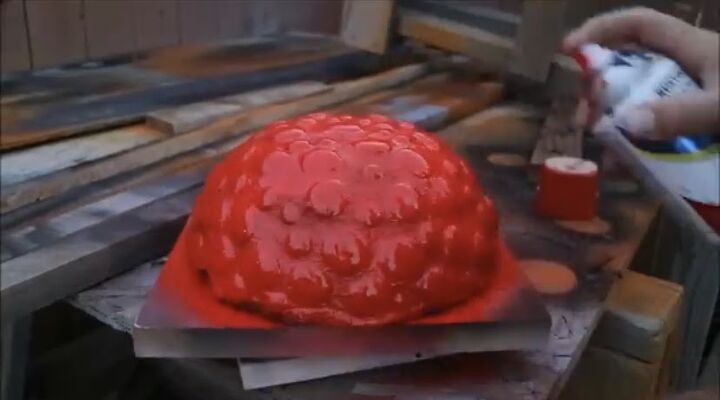
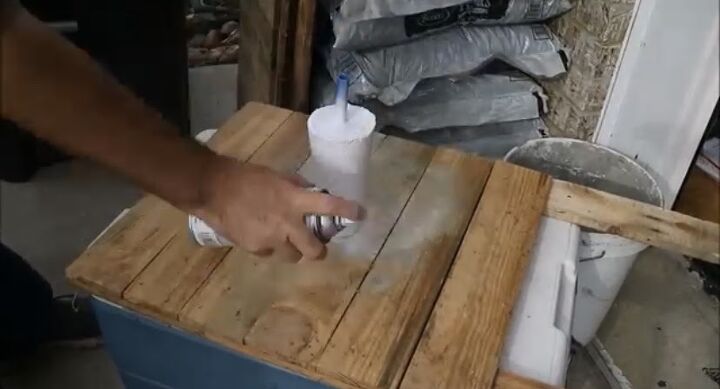
Step 11: Spray Paint
I spray painted the base created using the cup mold a bright white and then sprayed the glass bead decorated top a vibrant red. Spray the entire surface— even the glass— because you will clean it in the next step.

Step 12: Remove Paint from Glass Beads
I used a sponge to clean the beads off with lacquer thinner until all of the red paint was removed from their surface and they were shiny and smooth.
Step 13: Insert Lights
I threaded my strand of lights through the PEX tube in the center of the mushroom base and then placed each light inside the holes that I drilled. The lights should be sitting underneath the glass beads.

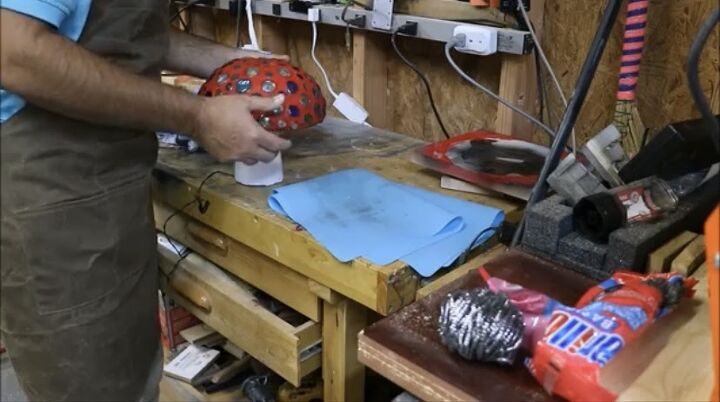
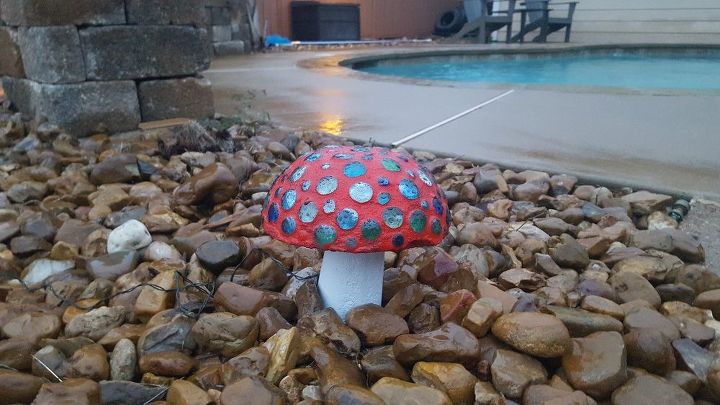
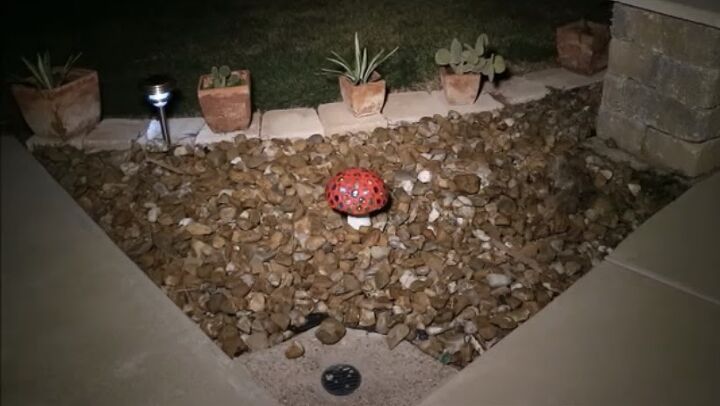
Step 14: Place Top on Base and Display Outdoors
I set the light-filled mushroom cap on top of the stem and placed it in an area of the walkway landscaping. The solar-powered lights meant no worries about hiding an extension cord or placing the mushroom near an outlet.

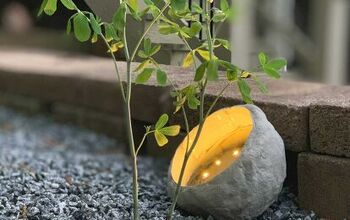
The solar-powered mushroom lights add color, light, interest, and flair to the landscaping and were very easy to make. The Dollar Store bowls were an ideal mold to create the mushroom shape and all of the materials are inexpensive enough to make several lights for the outdoor living spaces. The dome shape would work just as well without the stem as a lighted paver that would be flush to the ground.
Have you used solar powered string lights in areas of your outdoor spaces? Share all of your outdoor decorating ideas and get inspiration for your next DIY project at Hometalk!


Comments
Join the conversation
-
Alright, I admit it...
That's a super cute idea. 🍄
-
wonderful way to make solar adorable, and lasts too, Thank You.


Frequently asked questions
Have a question about this project?
Nice project. could you have used a mortar colorant to save you from having to paint the mushroom and then clean off the glass? how well will heat gun glue sticks hold in the outdoor elements? Could you use silacon instead?
Adorable! Where does the solar panel go?
Could you paint the cement before gluing the stones on?