


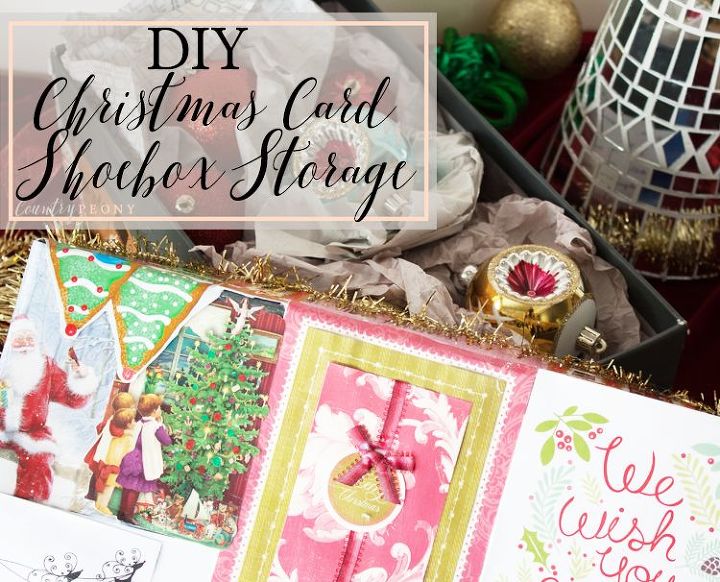
DIY Christmas Card Shoebox Christmas Storage
9 Materials
$10
1 Hour
Easy
Repurpose an old shoebox and cherished Christmas cards into functional storage for Christmas decorations.
One of my favorite Christmas traditions is giving and receiving Christmas cards. I love to display mine above the kitchen sink so I can enjoy them on a daily basis during the holiday season.
I know friends and family spend time and love crafting messages on the cards, and shooting photography sessions for the cards. Instead of placing them in a box to (maybe) admire in years to come, I wanted to repurpose them and put them on display in a functional way. I decided to decoupage my favorite Christmas cards and messages onto an old shoebox that I can also use for Christmas storage. As Christmas is over and I pack up my decorations I look forward to revisiting the decoupaged Christmas card boxes full of Christmas cheer when I unpack next year.
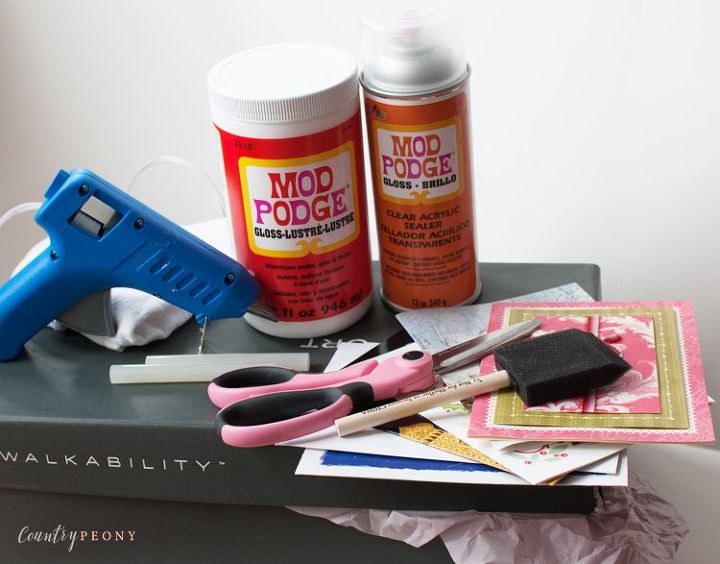
To make your own Christmas card shoebox you will need:
- Old Shoebox or any box you have on hand
- (Affiliate link) Mod Podge
- (Affiliate link) Mod Podge Acrylic Sealer (optional)
- Christmas Cards
- Hot Glue Gun with Glue Sticks
- Scissors
- Foam Brush
- Damp Towel to help with cleanup
- Recycled Paper to act as a drying spot while the decoupage cures
- Tinsel or Ribbon to decorate the bottom of the box lid
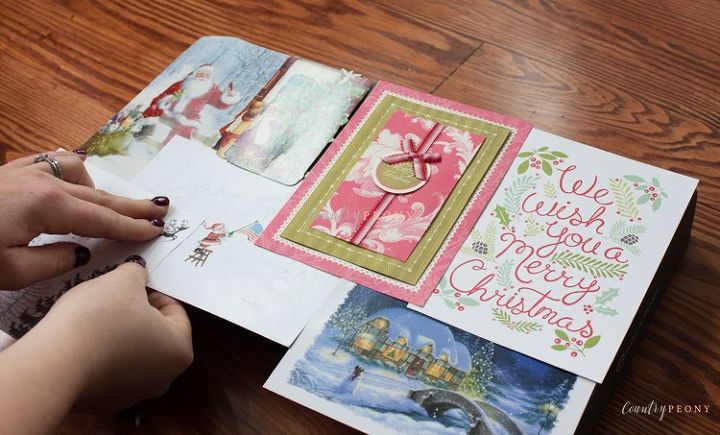
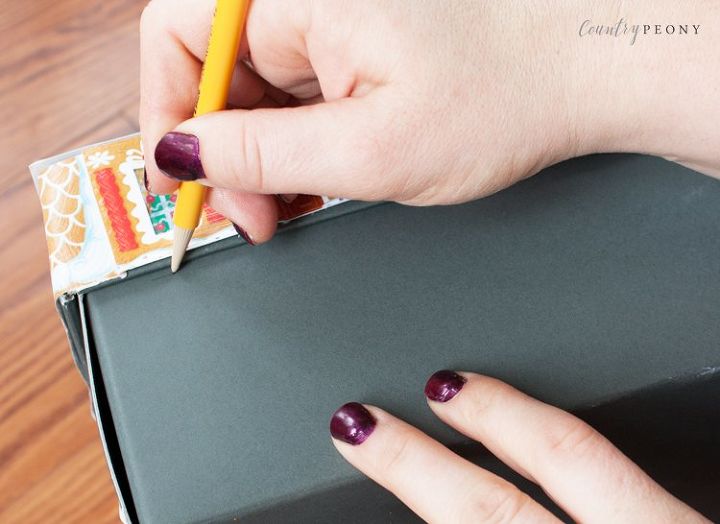
Step 1: I always like to start on the top of the box (box lid) since it is the most visible. Determine the card placement. Note that you may need to cut the cards or bend them over to fit the box.
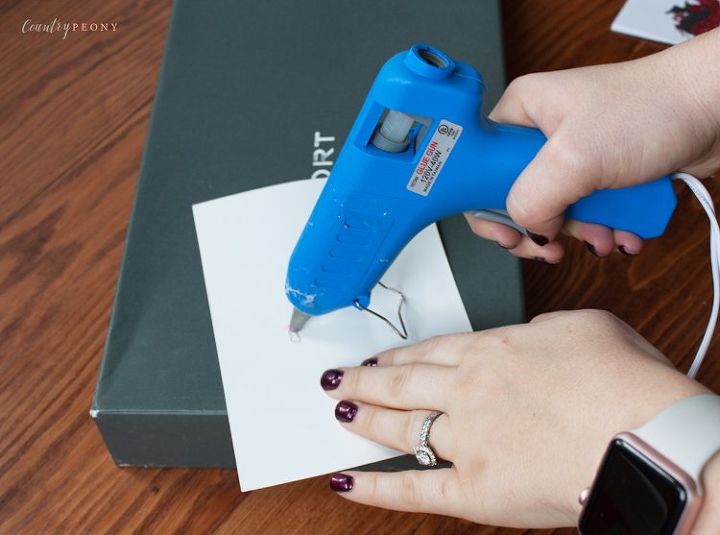
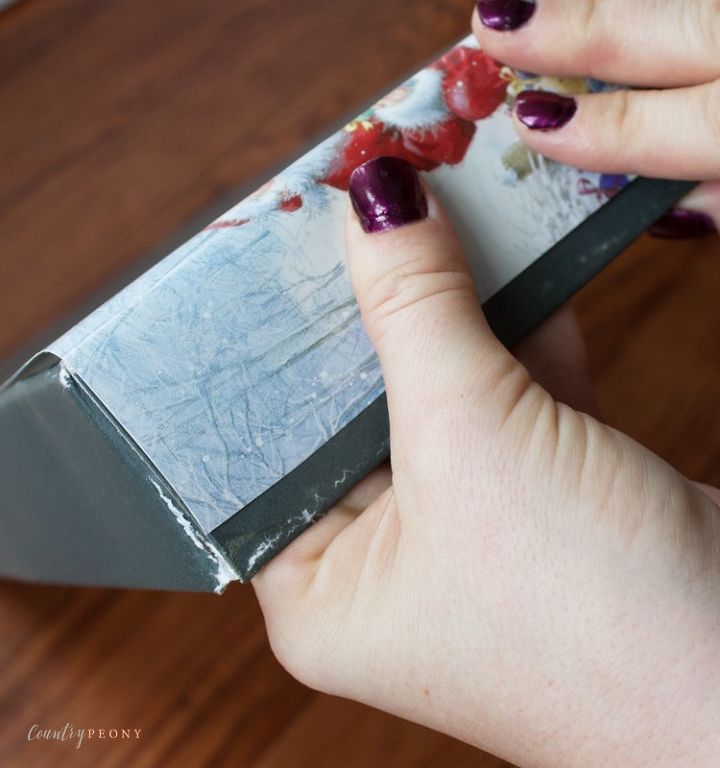
Step 2: Once you are happy with your card placement, hot glue the middle and sides of the back of the card to the box.
Then determine the card placement for the sides of the box lid and hot glue.
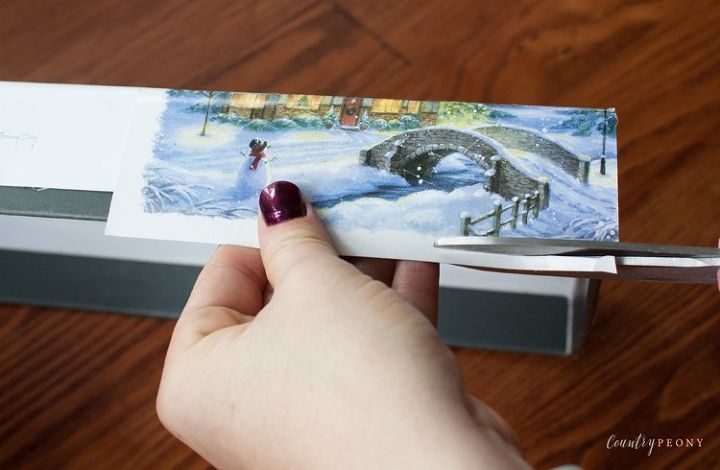

Use card trimmings to fill empty spots on the box.
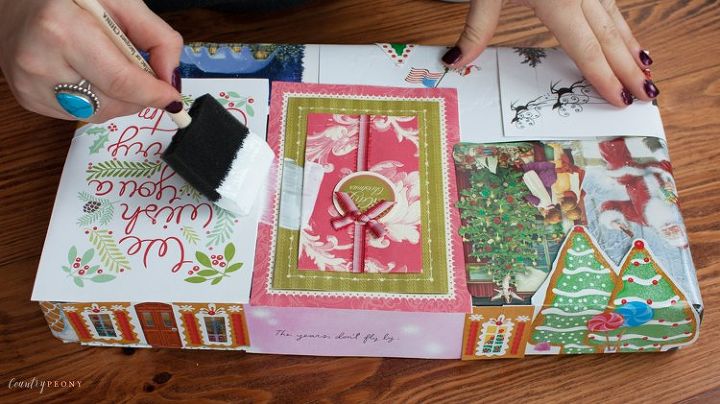
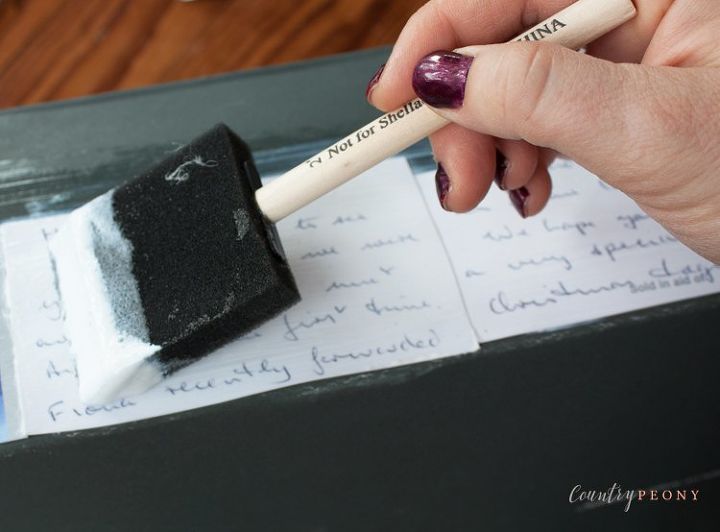
Step 3: Once you have hot glued cards to all of the open spots on the box apply one even layer of decoupage to the top of the Christmas cards with a foam brush.
Step 4: Place the recently decoupaged box onto recycled paper, and let it cure for about an hour until it is dry.
Because the decoupage adds moisture to the cards, the cards may start to come up off the box. After the decoupage dries, you can hot glue the card ends down to ensure they stay put.
Step 5: Before you decoupage the bottom of the box, place the box lid back on and measure where the lid sides hit the box. You don't want to go past this line when you are decoupaging the bottom of the box, because it will become too bulky and you won't be able to close the box.
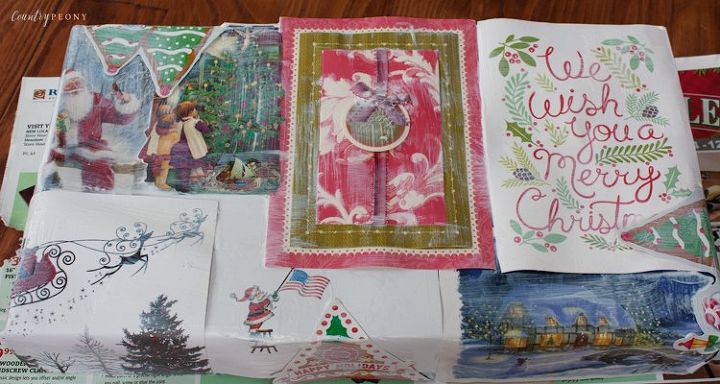
Step 6: Repeat steps 1-4 to decoupage the bottom of the box.
As you can see above, you can use Christmas card photos, drawings or messages from inside of the cards.
Step 7: (Optional) Spray the acrylic sealer (product affiliate link above and below) onto the finished box in a well-ventilated room or outside to protect the piece.
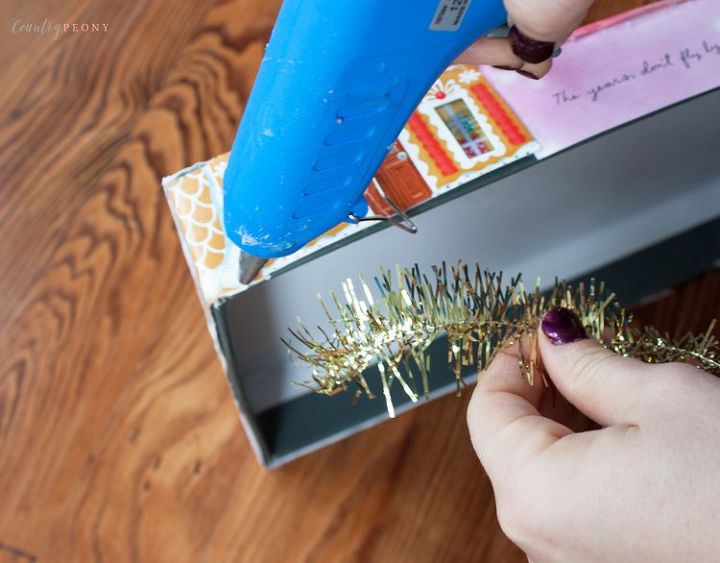
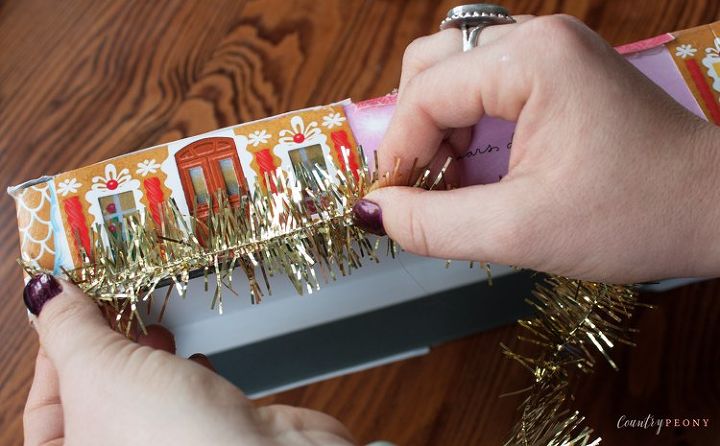
Step 8: Take some wrapping trim like tinsel or ribbon and hot glue it to the bottom of the box lid to finish off the lid.
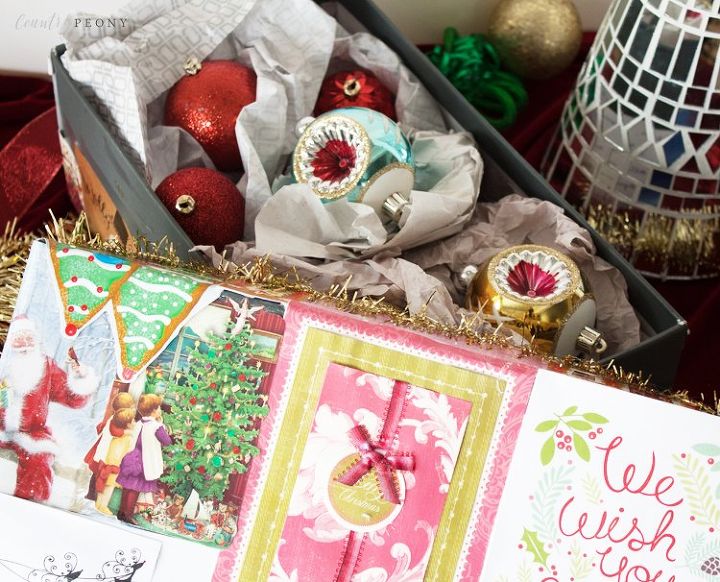
Step 9: Use tissue paper (I reused the tissue paper leftover from the shoe box) and fill the box with your favorite Christmas baubles. Store away and enjoy when you unpack the Christmas decorations next year!
Ensure your storage area doesn't get too hot, because your decoupaged box may start to melt.

I hope you enjoy giving your beloved Christmas cards new life with this functional, yet beautiful project.
Resources for this project:
See all materials


Any price and availability information displayed on [relevant Amazon Site(s), as applicable] at the time of purchase will apply to the purchase of this product.
Hometalk may collect a small share of sales from the links on this page.More info

Want more details about this and other DIY projects? Check out my blog post!
Comments
Join the conversation
2 comments
-
I LUV LUV LUV this idea.... I have Christmas cards from the70's.. I've kept. I'm all over this idea. Brilliant
-
Thank you Kimberly! Hope you enjoy crafting your own!


Frequently asked questions
Have a question about this project?