


Perked up Coffee Table

3 Materials
$50
12 Hours
Medium
Found this coffee table on Letgo for $30.00. It is solid and in great shape except for some very minor chips in the veneer and random scuffing. I knew I wanted a two-toned coffee table and I thought I knew exactly what I was going to do, but plans changed part way through the project.

The table was in pretty good condition- solid with some minor chips and scuffing
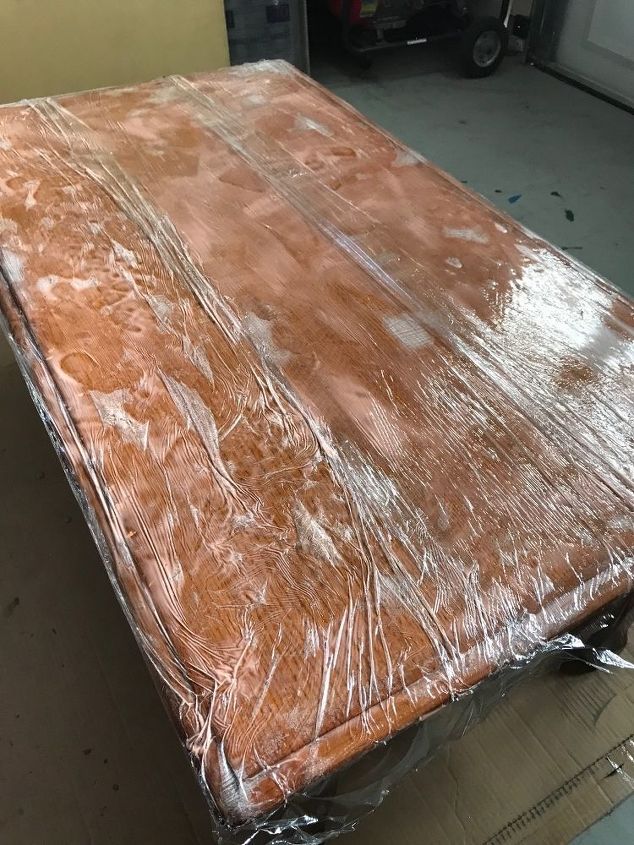
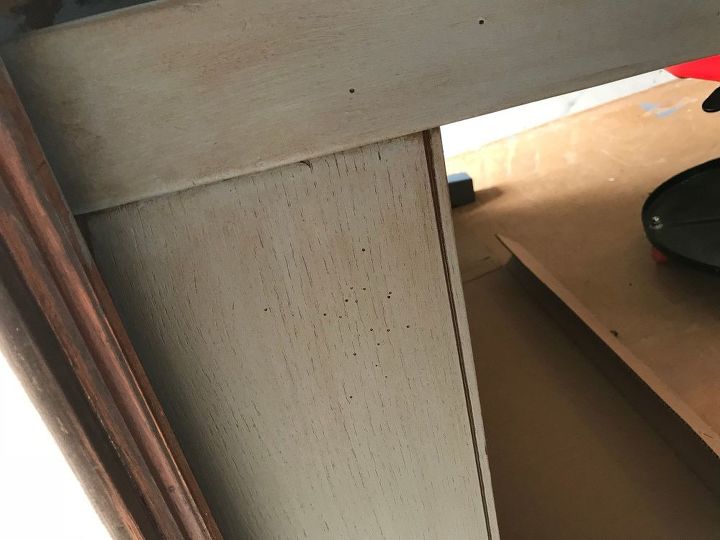
I started by stripping the finish from the top using Citristrip. Using a paintbrush, apply a liberal coating over the entire surface and cover with plastic wrap. Left it for about 8 hours. I used a plastic scraper to remove the bulk of the sludge and wiped off the rest with a rag. I then cleaned it up with some warm soapy water and dried it off.
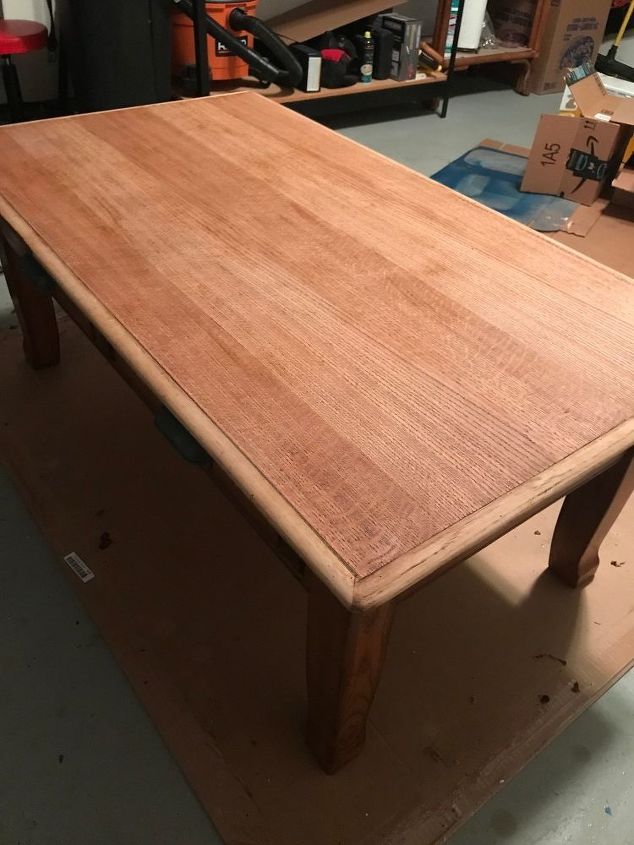
Once it had fully dried, I gave it a light sanding using my palm sander and 150 grit paper.
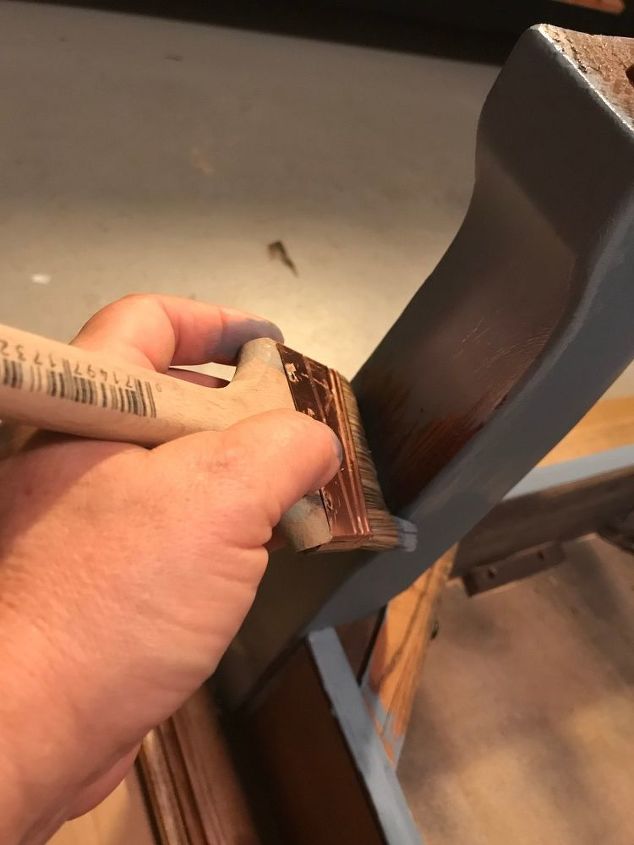
Using chalk paint in Nautical Blue, I gave the base of the coffee table 2 coats.
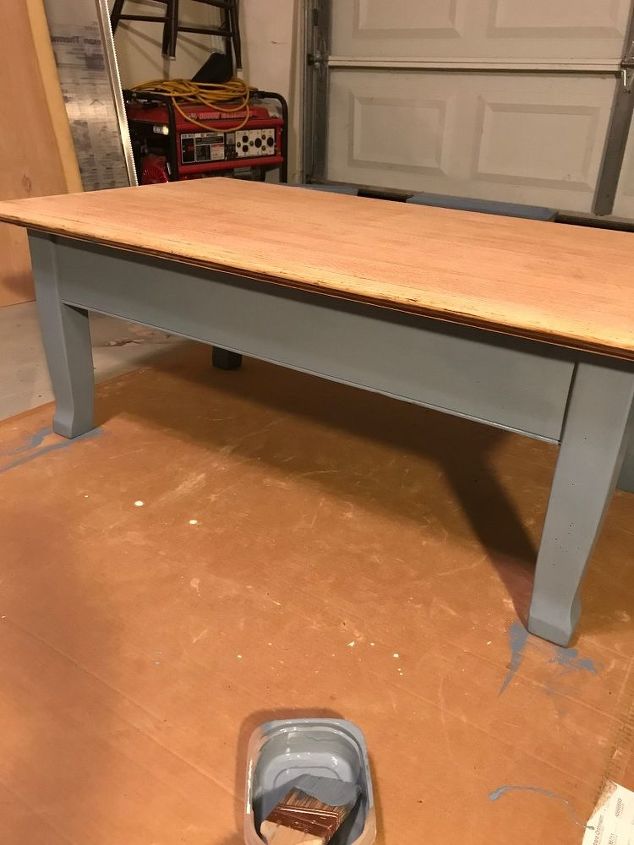
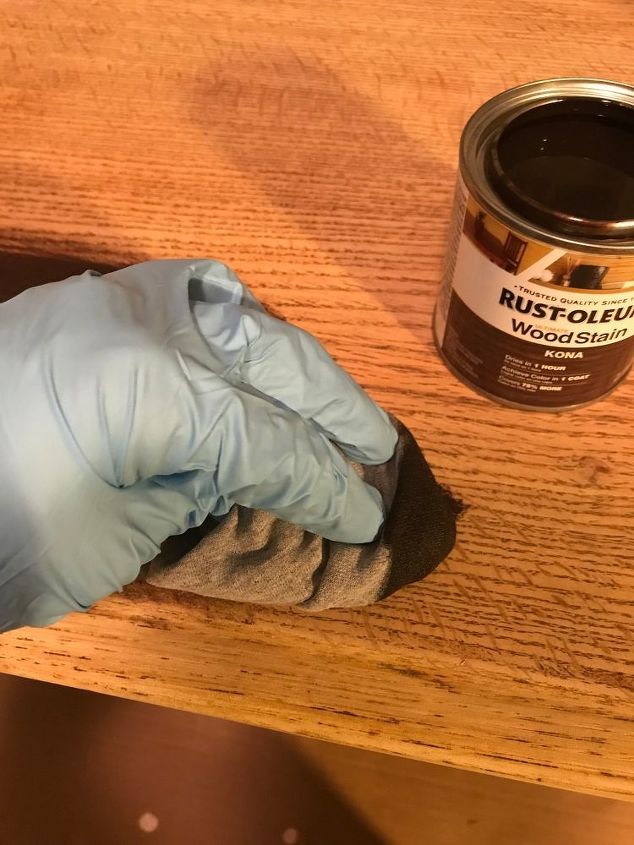
While the paint dried, I stained the top using a rag. I applied Kona for the first coat, which was deep and rich, but not quite dark enough. Fearing a second coat of Kona would be too dark, I went with Dark Walnut instead. Perfect!
I had originally planned to do a wash using watered down black paint over the blue. I used a practice board first, thankfully, because it did not look like I thought it was going to. It just turned everything grey. I then tried a white wash- nope. I tried dry brushing with white and didn't like that either. I finally decided on antiquing wax. When waxing, get your karate kid moves ready because it's all about wax on- wax off. I used 2 rags, one to apply and one to wipe down the excess. Many, probably most, use a waxing brush, but I didn't have one, so I used what I had. I worked small areas at a time. The longer wax sits the harder it is to remove and the darker your end product will be. I could have left the wax finish but decided to top with 1 coat of matte polycrylic.
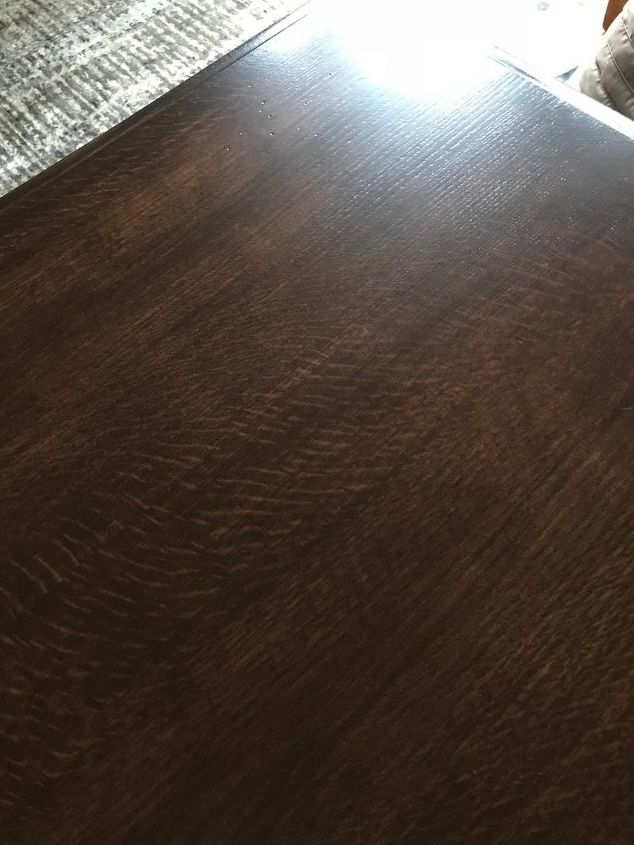
I sealed the top with 3 coats of satin polycrylic, lightly sanding with 220 grit paper between coats. Polycrylic dries really fast. When applying, start in the middle and work out to the sides. Don't over work, and work really fast or you'll get streaks. Watch for drips and smooth out immediately. Your brush should glide smoothly- if you feel even a little drag, its too late to work the poly. Just sand when dry and apply the next layer.
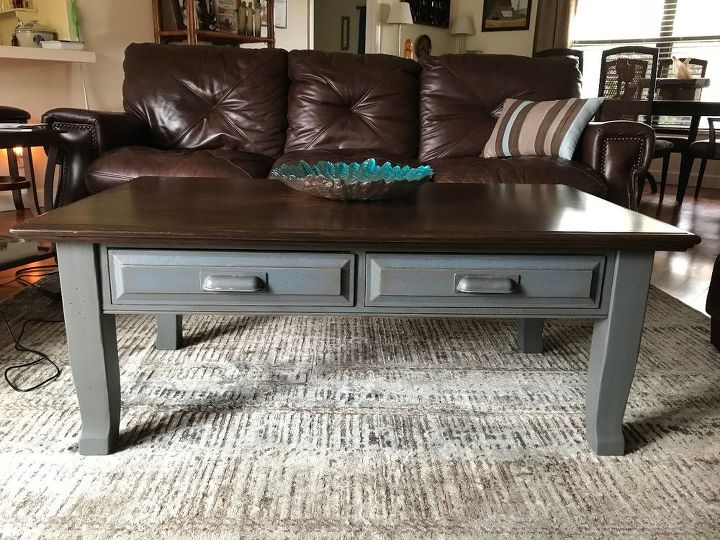
Here is the 'Perked" up coffee table in its new home.


Any price and availability information displayed on [relevant Amazon Site(s), as applicable] at the time of purchase will apply to the purchase of this product.
Hometalk may collect a small share of sales from the links on this page.More info
Comments
Join the conversation
3 of 70 comments
-
Gorgeous


Frequently asked questions
Have a question about this project?
Looks gorgeous!! In regard to the plastic wrap, is that to speed up the process of stripping off the old finish? Thanks...
Can you use the Citristrip inside or is the odor too strong?
Gorgeous!! In the picture, the blue has a gray look. Does the pic depict the color correctly? If so, that would be a color I would love. Again, beautiful job.