


Adding Wood Planks to Our Dining Room and Side Wall

by
Lindsey
9 Materials
$500
5 Hours
Medium
Am I the only one that’s noticed a big shift in popularity of anything wood on a wall? I’m guessing we can thank Joanna Gaines for that! I have to agree though, that adding any sort of wood to a wall adds warmth and architectural detail. I’ll also admit that I’m a huge fan of planked walls (shiplap, board and batten, you name it, I love it). That’s why I’ve decided to plank a few areas in my dining room and show you how I added wood planks to our dining room column and side walls.
Over the past year I have become very familiar with adding different types of wood to my walls. I’ve created a faux shiplap wall with no power tools, an easy DIY board and batten with minimal materials, and now I’ve decided it’s time to use real wood to plank our column and side walls.
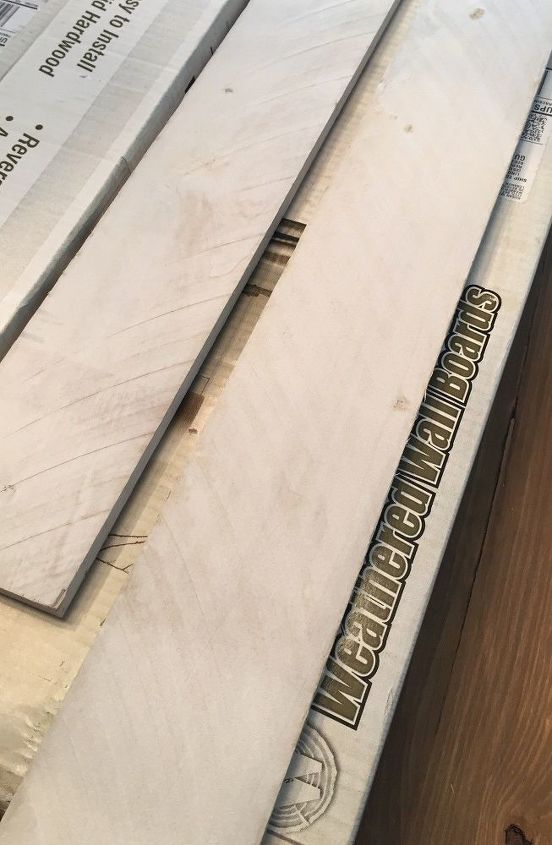
The wood planks I’m using are from Weaber Lumber. Weaber has a great instructional video on how to install the boards HERE. You can see the boards I received HERE.
Let’s start with the materials list:
- Finishing Nailer
- 16 gauge 1-1/2″ nails (made for the nail gun)
- construction adhesive
- caulk gun
- stud finder
- jig saw or any type of saw that will cut your boards
- spackle
- paint to cover up spackle from nail holes (or if you need to paint the planks)
- wood planks
moulding
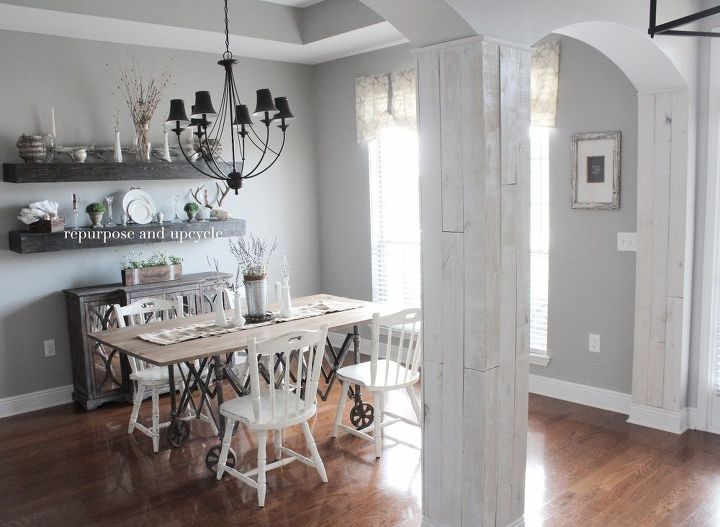
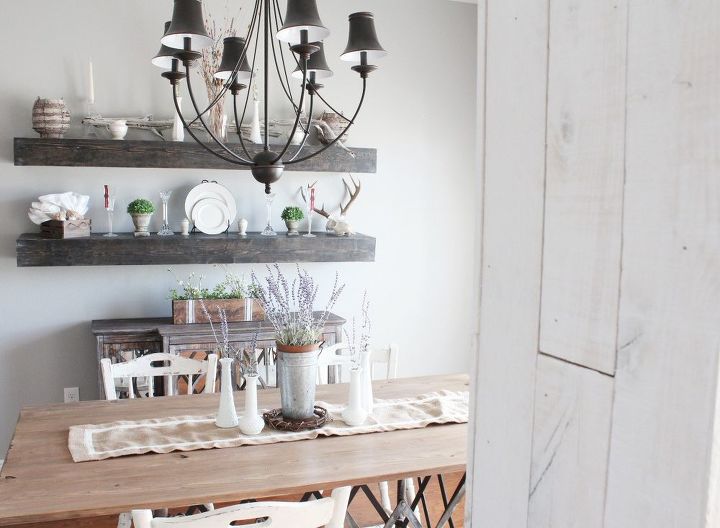
I love the “white washed” look of these wood planks because it matches the rest of my house since I’ve used mainly white and gray colors.
Where do we begin?
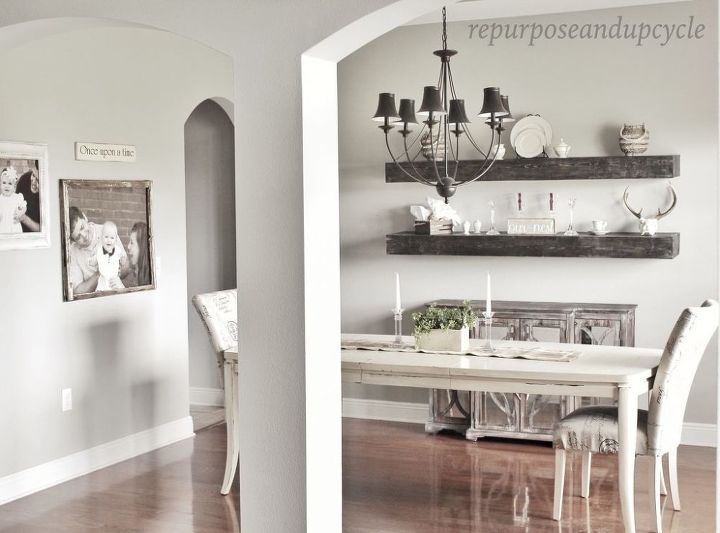
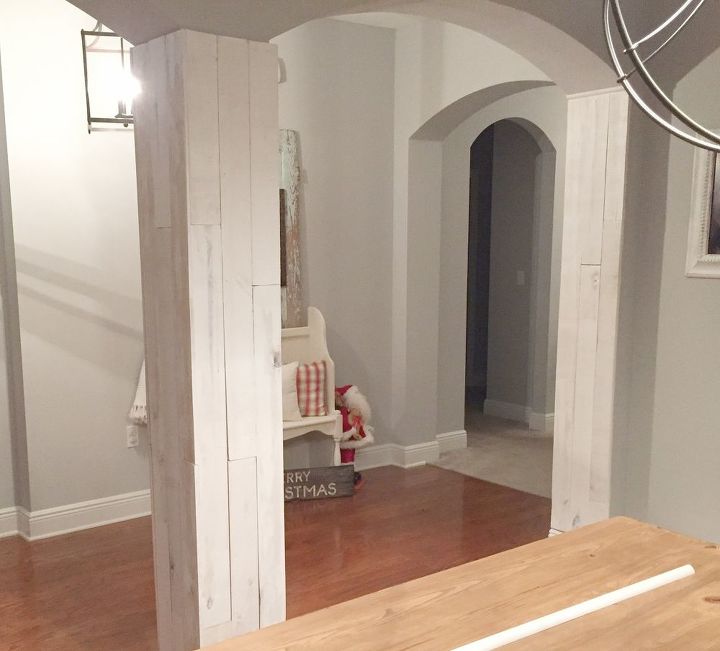
Pictured above was the "before" photo. It looks good, but I wanted to add a little character to the area.
Where do we begin?
First I had to decide where to install the boards. Since I had a little over 50 square feet to work with, I knew planking an entire wall was out of the question.
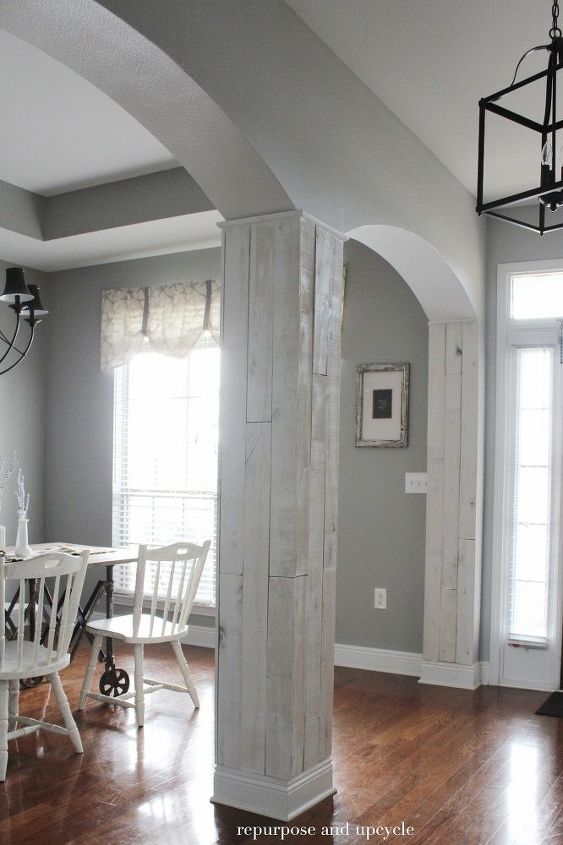
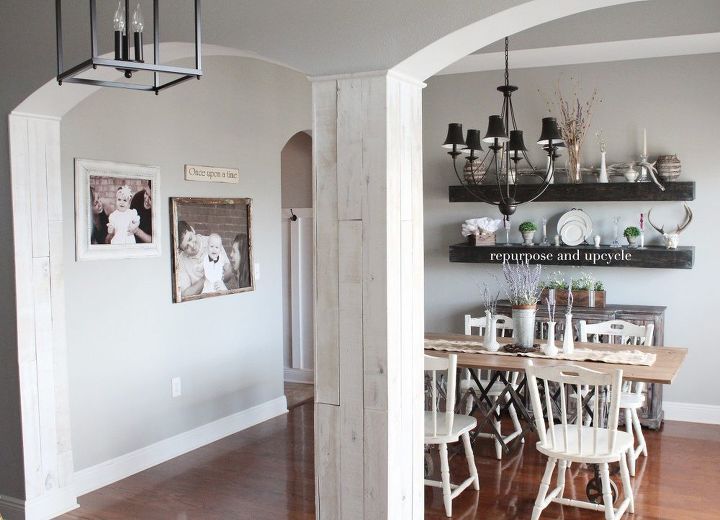
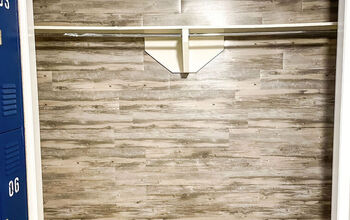
We have a column in our dining room that I’ve always wanted to do something with, but I didn’t know what. So, I decided it was time to wrap the column in rustic white washed wood boards. To tie it all together, and make sure it didn’t look too random, I decided to plank the small walls on each side of the column.
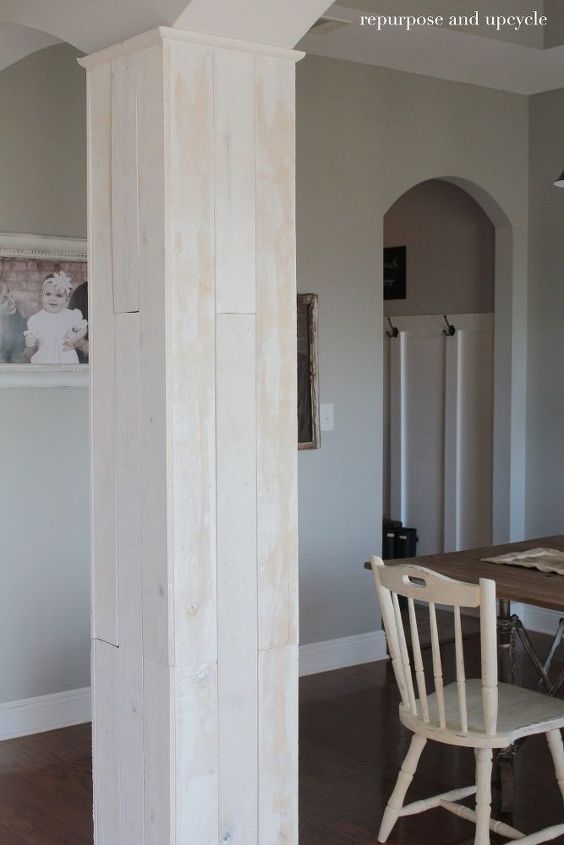
I decided to plank the column and side walls with the wood boards running in a vertical direction rather than horizontal direction. Not to be lazy, but, well, yes it made things A LOT easier to run the wood boards up and down rather than in a horizontal direction. What I really mean is that installing the wood boards up and down required a lot less cuts than if I would have installed the boards in a horizontal direction.
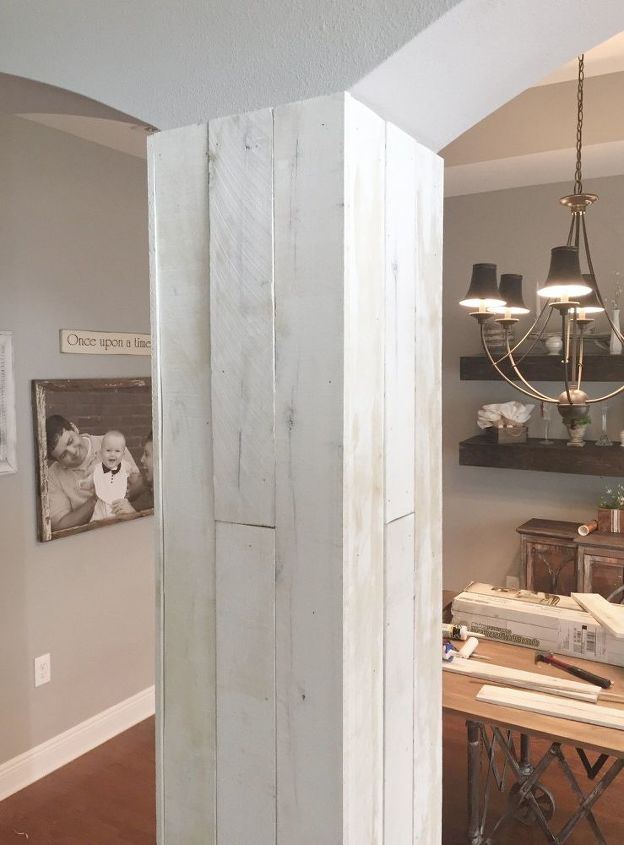
Another great plus by installing the boards in a vertical position is that I did not need to “rip” (cut the width off of any of the boards) any boards because they fit all the walls perfectly! Three boards fit each wall of the column perfectly and left enough space to create the “joint area” on each side of the column.
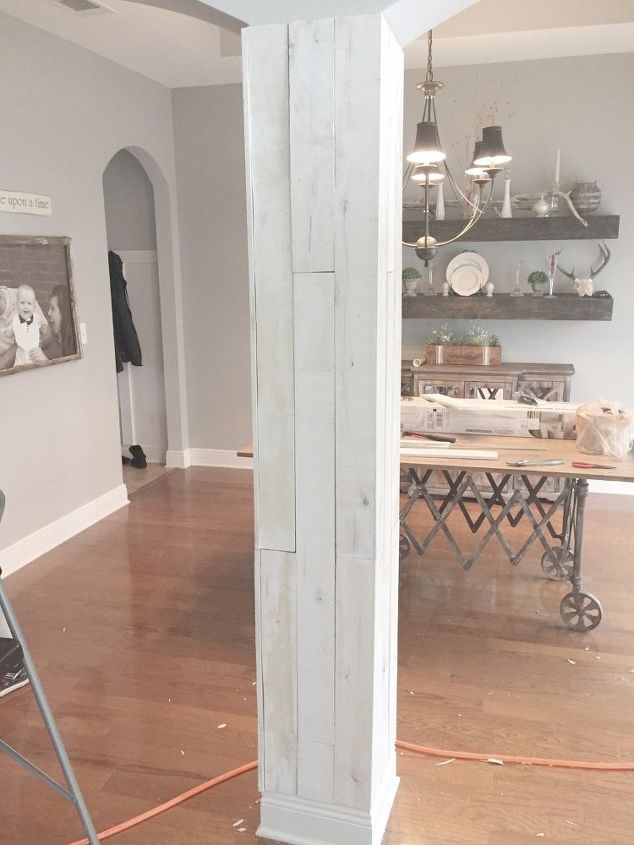
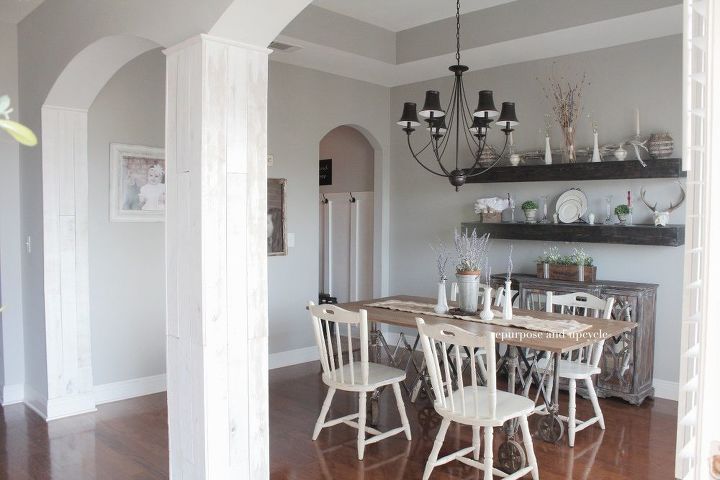
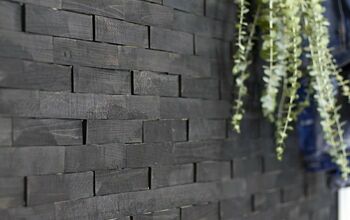
As you can see the boards were not perfectly square or flat, so they look a little more rustic. At first, I thought this might look cheap or unfinished, but I decided to add moulding to finish it off and I think it completed the look.
What do you think?
Little by little we are adding our own modern farmhouse touches to our modern builder grade home. I love the way these white washed wood planks add character to a very boring entryway.
Resources for this project:
See all materials


Any price and availability information displayed on [relevant Amazon Site(s), as applicable] at the time of purchase will apply to the purchase of this product.
Hometalk may collect a small share of sales from the links on this page.More info
Want more details about this and other DIY projects? Check out my blog post!
Comments
Join the conversation
2 of 31 comments
-
Thinking of doing something similar in guest bath of my new home!
-
I love the white washed beams. They are a very nice touch to bring in rustic flair. I would love to see it on the wall behind your table to tie it into the beams. I think that would add a little texture and more the the look you are going for. Beautiful home,,,


Frequently asked questions
Have a question about this project?
Great idea, thanks for sharing your post and LOVE, love your style.
What color is on the walls?
Thank you.
I like it. I think it is starting to look very farm house. But I have to know, where did you find that table? That is the cutest thing I have ever seen.
To attach the top to the base instead of drilling why don't you try rubber caps to keep the top from sliding off.