


New Mail Box

by
Missy Burch
5 Materials
$5
3 Hours
Easy
I'll be loading to 2 projects back to back, since they are part of a front door upgrade. First is my new, painted mail box. My old one was aluminum. I'd already painted it once, to try to salvage it. But having gone through 3 snows this winter(yes 3 in south east Tx- which is a record!) & Hurricane Harvey last year, that sucker is toast! So it's very much time for an upgrade to something more weather hardy. I found a heavy plastic one on clearance at Walmart & decided I would paint it to match my front door. Here is this part of that project. Since I had all the other items on hand, literally all I paid for was the mail box- so talk about a cheap project, with serious curb appeal! I had already planned to paint the front door as soon as the weather warmed up- so why not the mail box too!
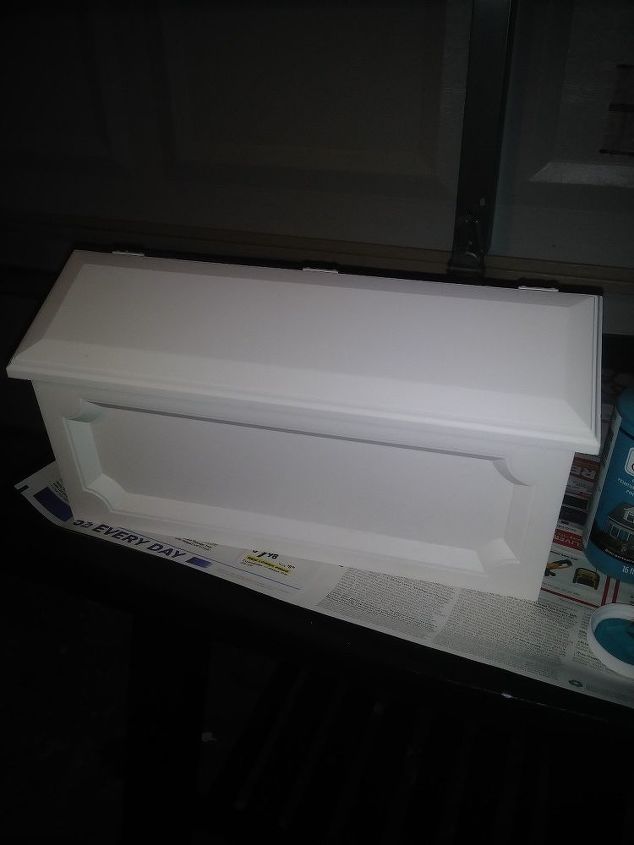
Here is our plain white plastic mail box, ready to be painted.
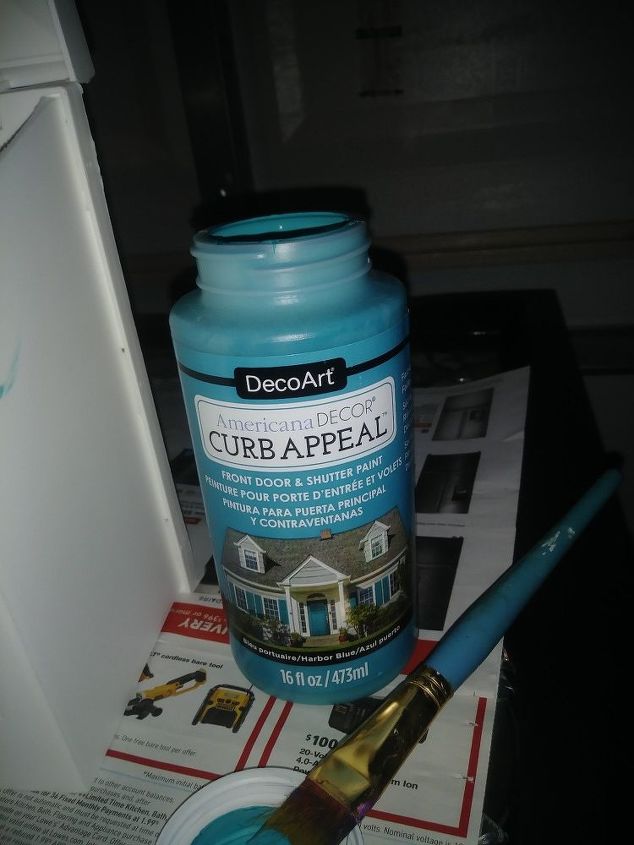
This is the gorgeous color of curb appeal by Deco Art paint I chose for the door & mail box. It required 2 coats for full coverage.
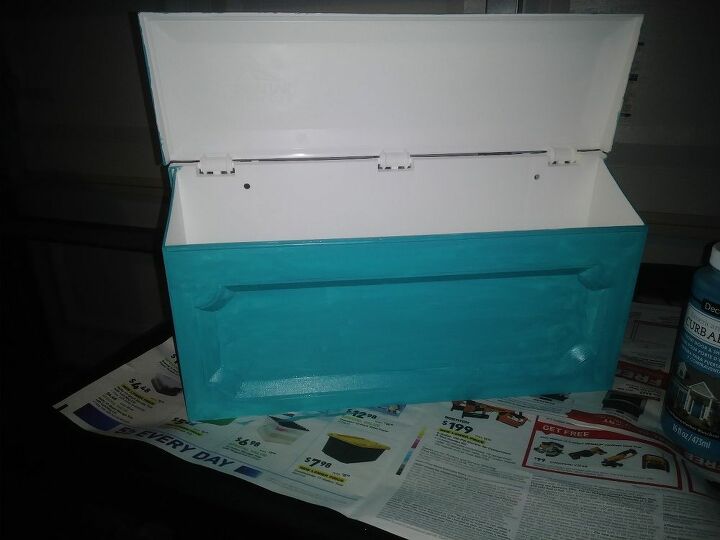
After 2 coats of paint- it's ready for the numbers to be attached.
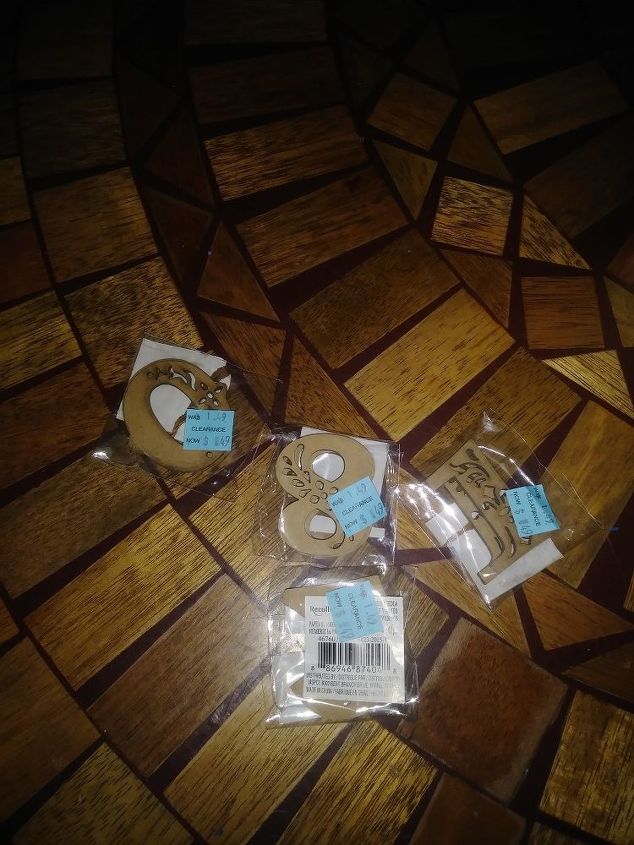
I added new numbers to the box. Here are the unpainted numbers.
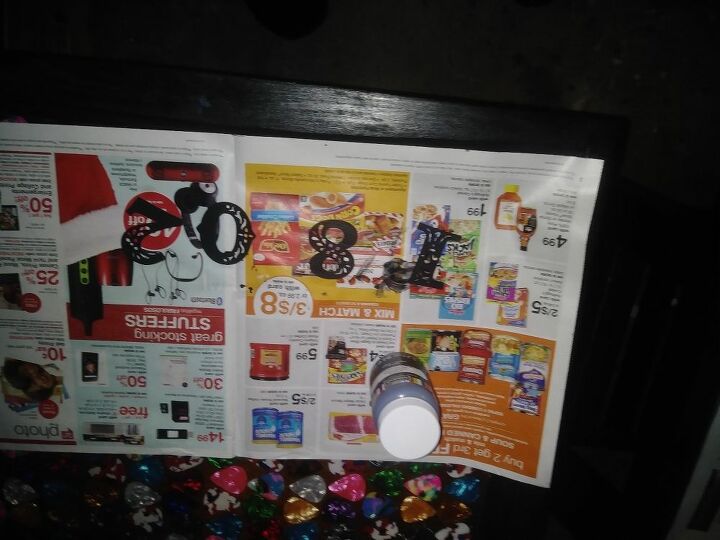
The painted numbers drying.
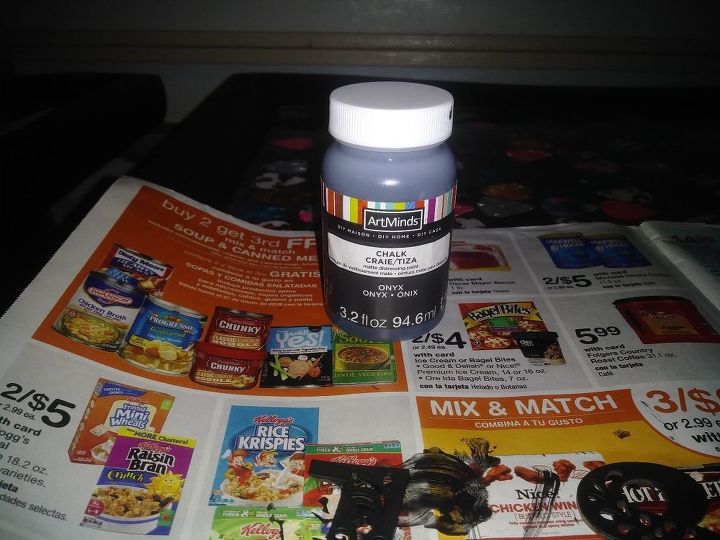
I used Art Minds black chalk paint for the numbers, as seen here.
I affixed the numbers to the mail box with some epoxy.
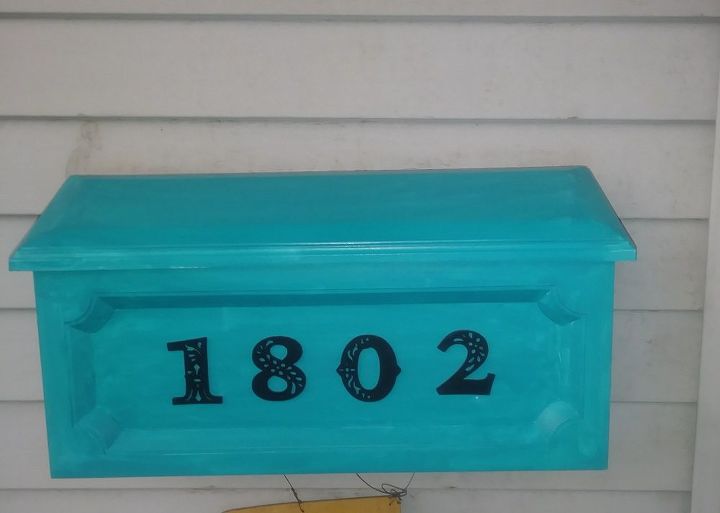
My finished project- all hung up outside. What do you think?


Frequently asked questions
Have a question about this project?