


Easy Storage Shelving For Less Than $70!
3 Materials
$70
3 Hours
Easy
Hi, it’s Brittany from Our Home Made Easy! I am passionate about sharing easy DIY projects around the house for other busy families.
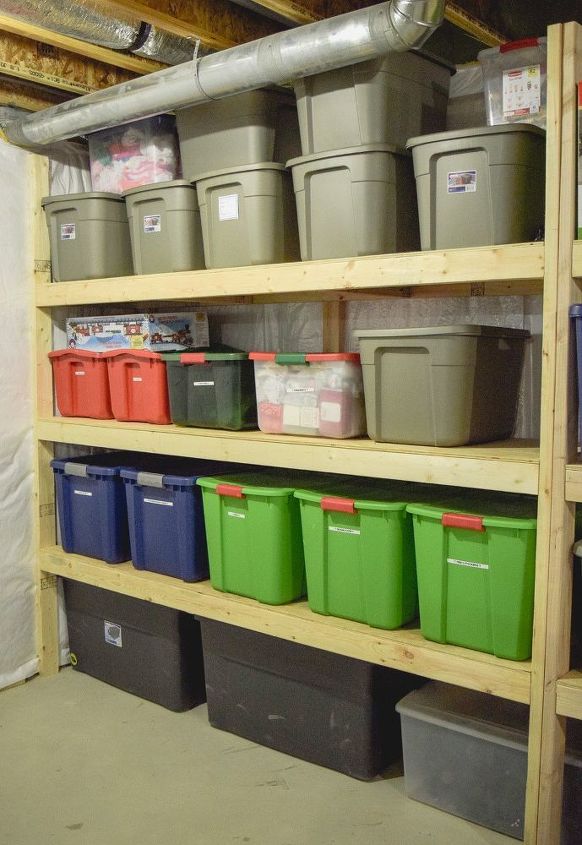
Today I wanted to share how we built easy shelving to store our totes.
You can see the full storage shelving tutorial here.
When it comes to organizing, I like to store everything in plastic totes. While they aren’t all the same color or size, I love the feeling of packing away we don’t need right now in exchange for freeing up some space around the house.
However, the totes need some organization themselves! And that led us to this super easy DIY storage shelving that we built for less than $70!
While picking up your lumber at Home Depot, have a team member cut your plywood in half long ways, so you have 4 ea 96” x 24”. Get your supplies home and get ready to organize.
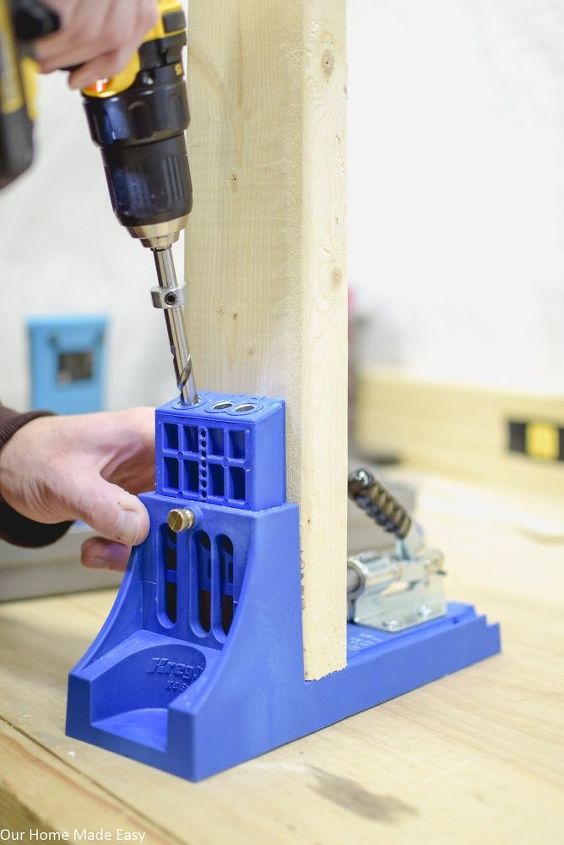
Take 4 of your 2” x 4” and cut them on your (affiliate link) miter saw to end up with 12 ea 21” pieces. After this, put two kreg pocket holes in each end of the 12 21” pieces.
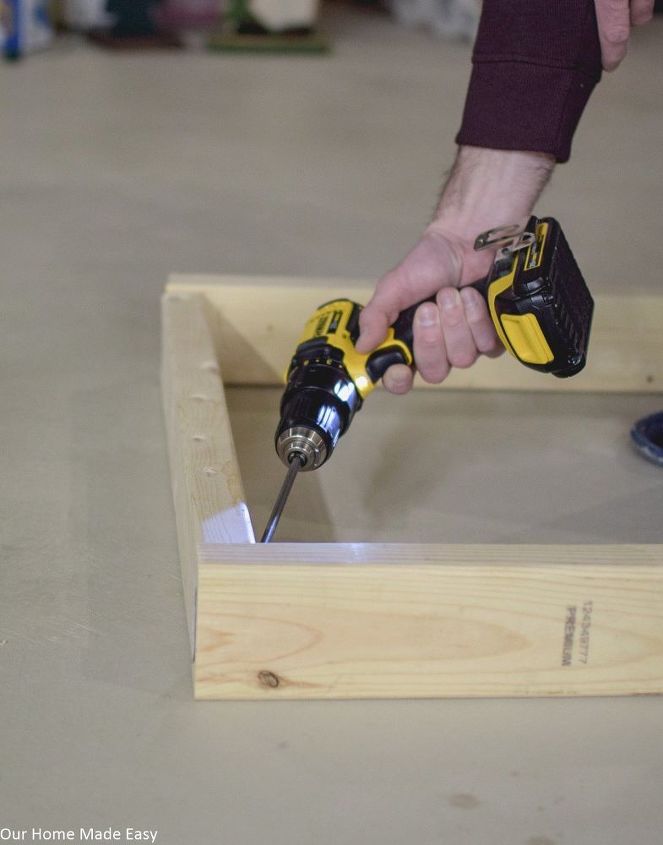
To build your three shelves, stand two of your 8’ long 2”x4” and four of your 21” pieces on their side. Place two 21” pieces on both ends and two more 32” from each end. Attach the 21” pieces to the 8’ boards with 2.5” kreg screws.
Mark the front of your 8’ boards with a pencil where the supports are. This will help you when nailing the plywood to the top.
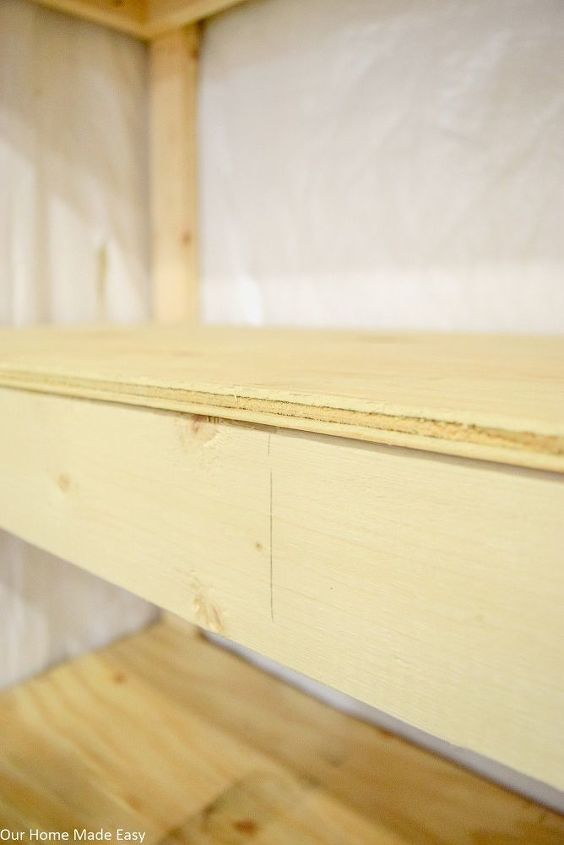
Apply some wood glue to all of the tops of the 2”x4” pieces. Place the plywood on top of the shelf supports.
For the next part, I used my air nailer, but if you don’t have one, you can use a few general purpose nails to attach the plywood to the supports. Repeat 2 more times.
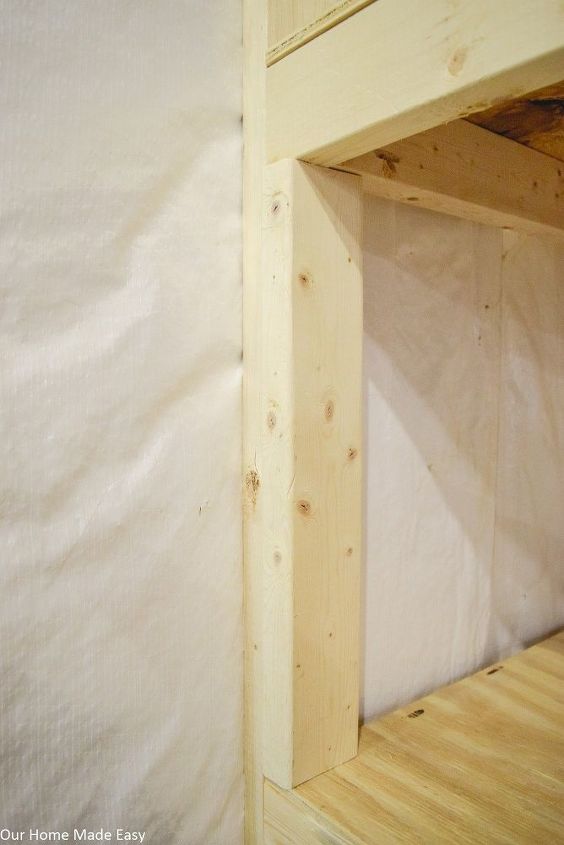
After your shelves are made, its time to add your legs. We determined which totes/items we wanted on the floor. Then I placed a few 2”x 4”s on their side on top of the totes.
This was to allow for spacing to pull the totes in and out. Place your first shelf on top of the 2”x 4”s. Then, take your legs and clamp them in place; this will allow you to ensure that the legs are all touching the floor, plumb, and flush with the shelves and the shelves are level.
Once the fit is correct, attach the legs with 4-5 wood screws.
Thank you so much for checking out how we store our totes in the basement!
Follow me on Facebook at 'Our Home Made Easy' so that you can see our latest projects! www.facebook.com/ourhomemadeeasy

Want more details about this and other DIY projects? Check out my blog post!


Frequently asked questions
Have a question about this project?