


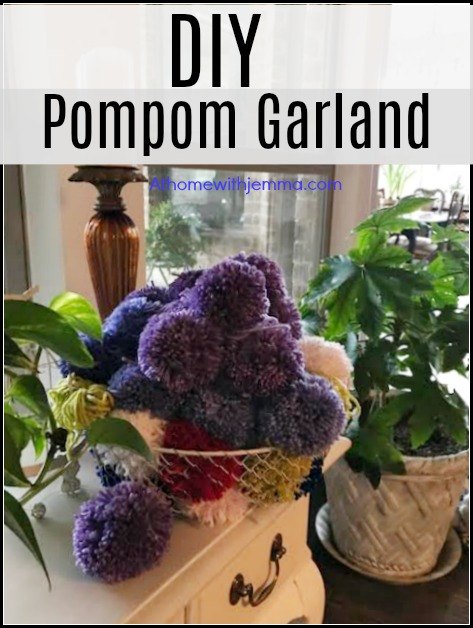
DIY POMPOM GARLAND

by
Jemma
3 Materials
$10
2 Hours
Easy
Do you love yarn? Do you have a pompom maker? Would you like to save some dollars? Well I did and here is how. My middle daughter had asked me to get some pompom garland for her daughters bedroom. So I began looking a various retailers and I was a bit shocked with the price of garland and how skimpy it was. So rather than buy it, I made it and you can too.
Using the medium size pompom maker I made 18 pompoms for my pompom garland to give to my granddaughter. I like making pompoms when I am watching T.V. in the evenings. I have made a ton of pompoms for many projects this year.
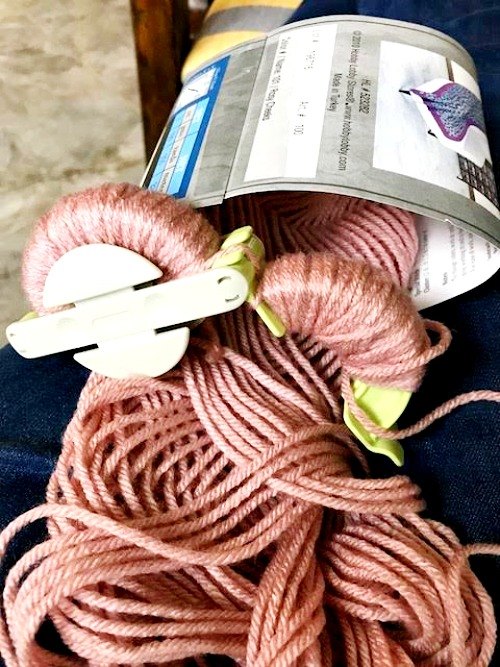
The pompom maker is a very reasonably priced gadget and comes with a set of instructions too. I am going to give you a brief overview right here.
INSTRUCTIONS
1. Remove pompom maker from package.
2. Flip open the pompom maker and wrap yarn around one of the arcs one at a time as demonstrated in the above photo. (One arc is formed of two arms)
3. Continue to wrap the yarn around the arc until it is completely covered. (The more yarn you wrap around the arc the fuller your pompom will be)
4. Close the arc and repeat the process on the other side of arc.
5. Repeat.
6. Insert your scissors and slit on the side of the pompom maker and cut all the way around both arcs.
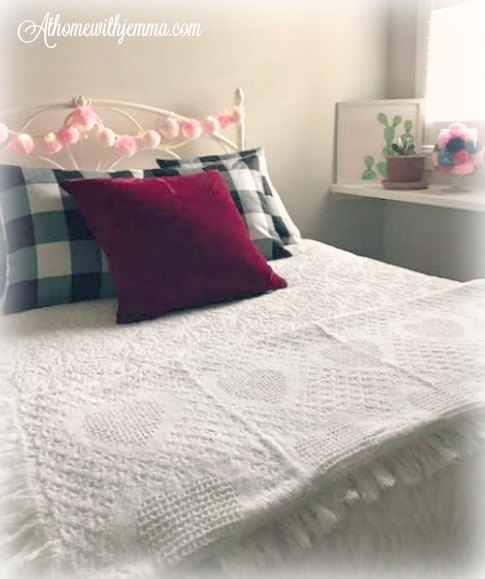
After all of the pompoms were made I tied them on a crocheted line I had made. If you don' t crochet you can easily attach the pompoms to yarn, twine, or jute.
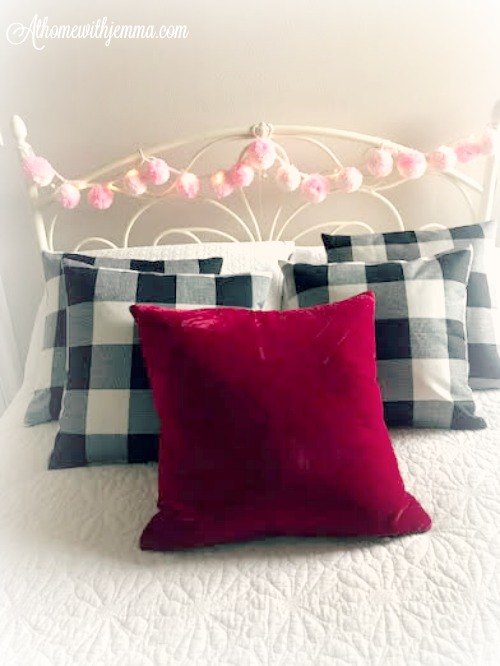
You will find a list of simple supplies below. Thank you for joining me today and enjoy making pompoms!
Want more details about this and other DIY projects? Check out my blog post!


Frequently asked questions
Have a question about this project?