


Fast Frame Redo in Red

4 Materials
$4
2 Hours
Easy
Every Thrifting, Garage Sale, or Flea Market blog or list of tips for them says to buy picture frames any time they're available. But they don't tell you what to do with them! I found the cutest Cafe' Latte picture at a garage sale for 50 cents, but it didn't have a frame! However, I have a large collection of frames.
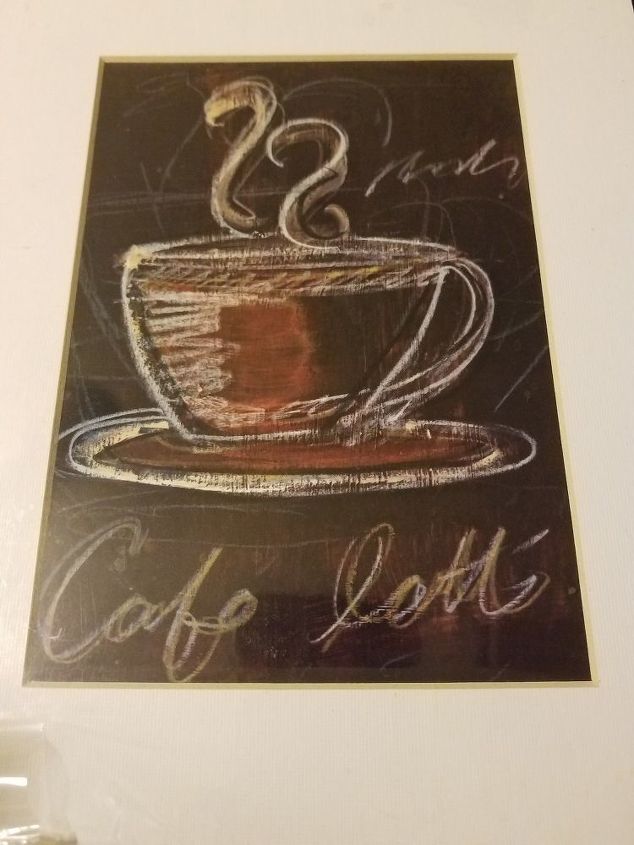
Picture with mat from World Market
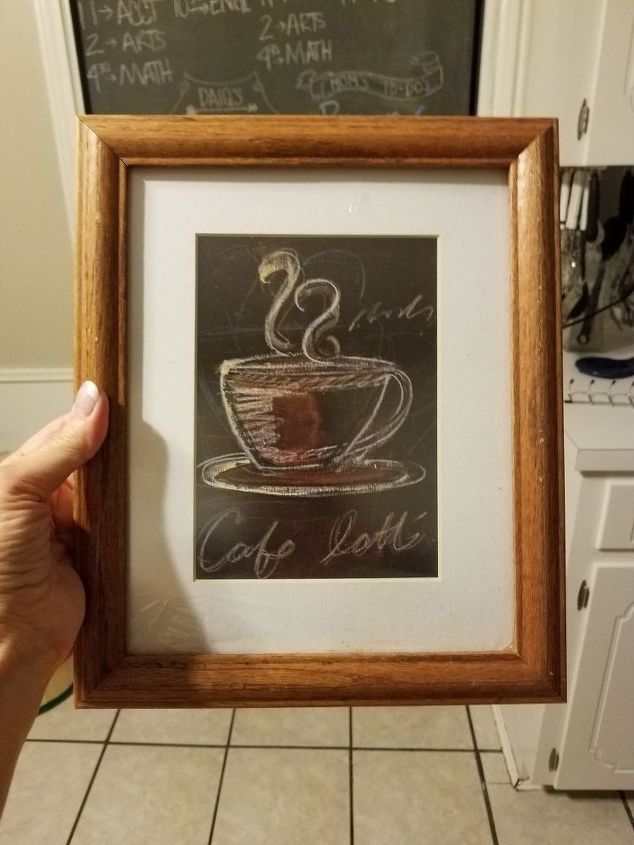
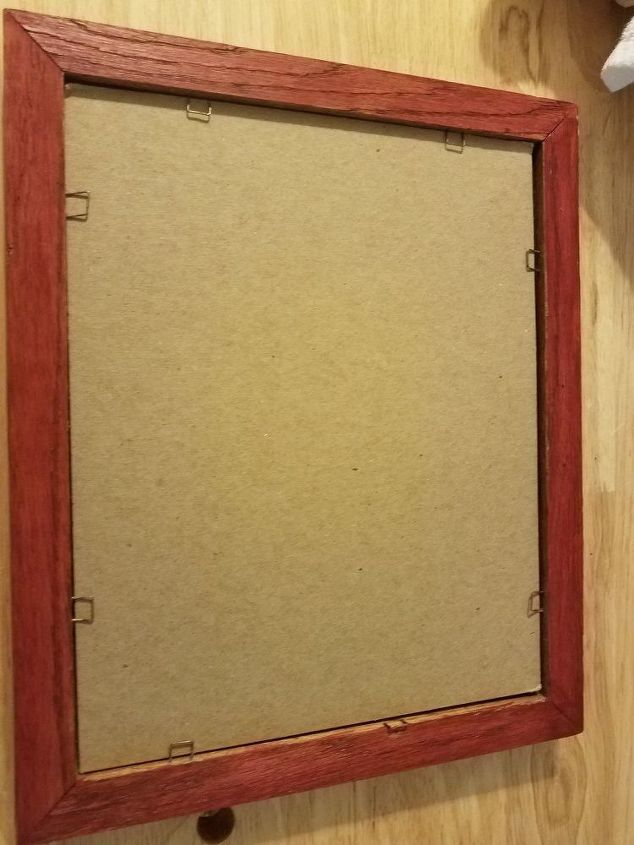
After digging through my stash of picture frames, I found one that fit perfectly but did nothing to enhance the picture. It was an oak picture frame with non-glare glass from the 1980's. I decided to strip that frame and then paint it in a coordinating color.
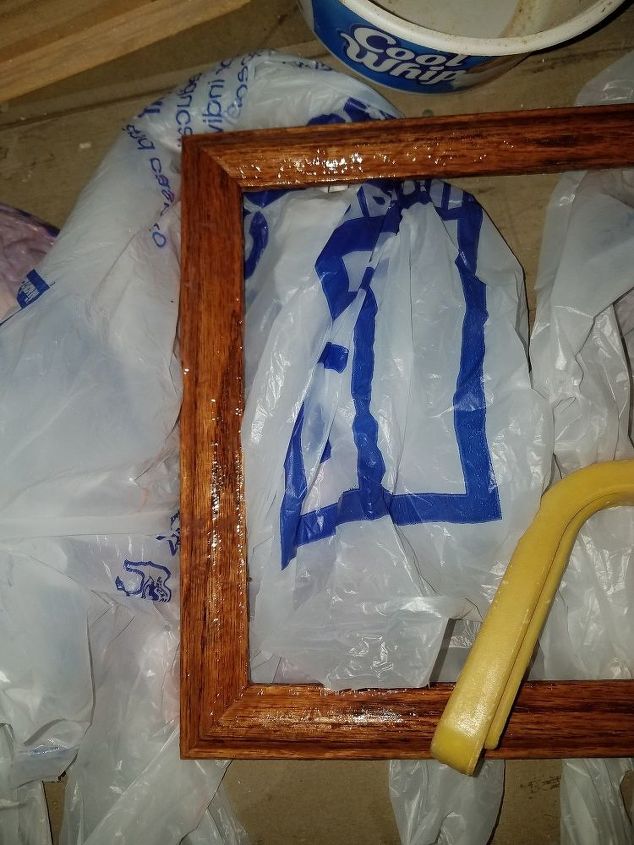
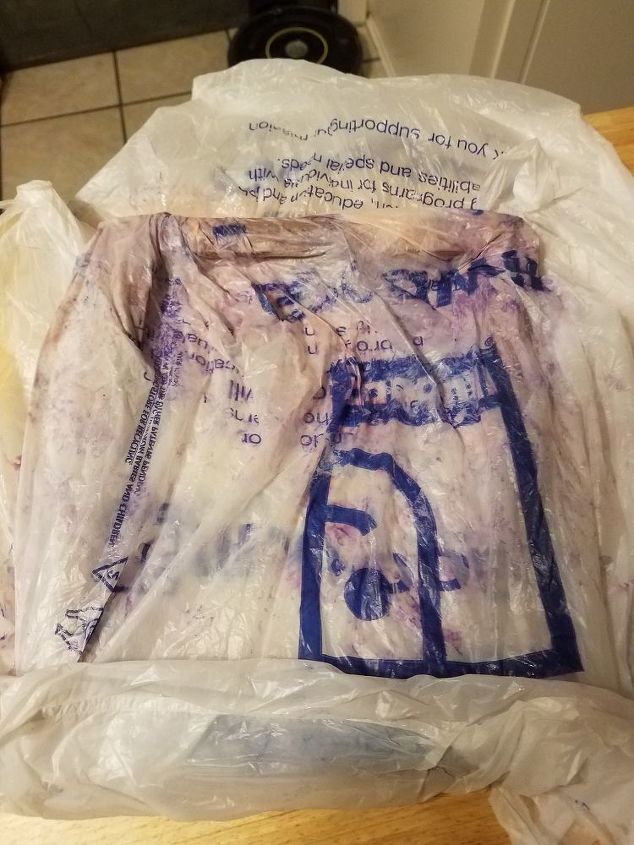
First, I laid out plastic bags to cover my workspace. Then I used another grocery bag to coat the frame in Citristrip. ***Note*** If you do this using grocery bags, be sure to turn them inside out or use the blank sides, as the ink will run!
Once the whole frame was generously coated, I wrapped it in plastic bags and let it sit for over an hour. This kept the Citristrip from drying out and let it penetrate the finish on the frame.
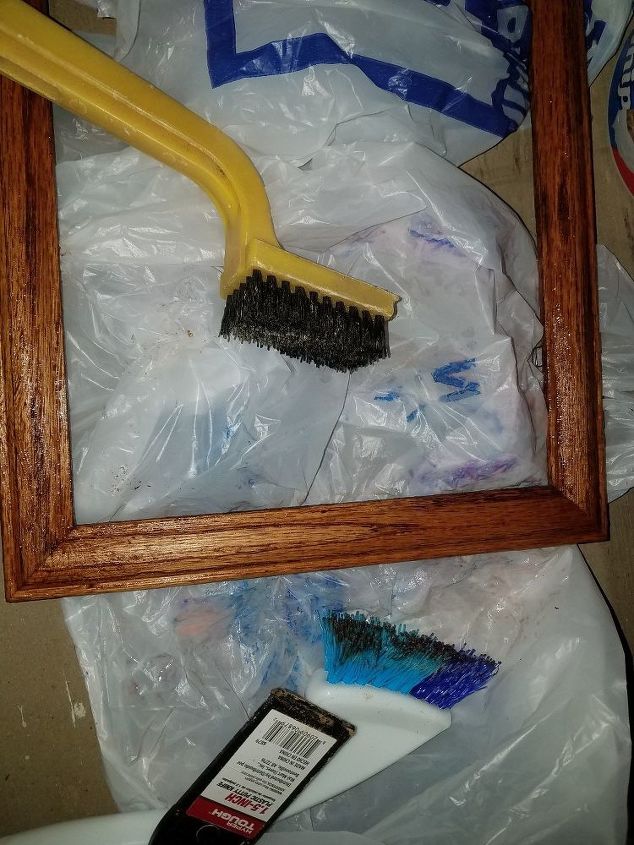
Then, using some stiff brushes, I brushed off the powdery substance left from using the stripper.
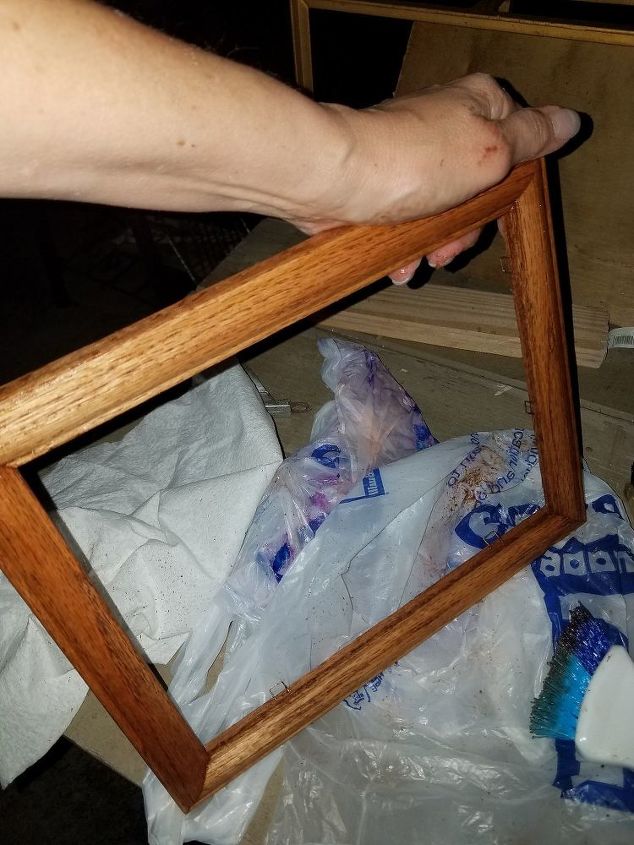
Next, I wiped the frame clean with paper towels. I let it sit until I had time to paint it the next day. This allowed the frame time to dry thoroughly.
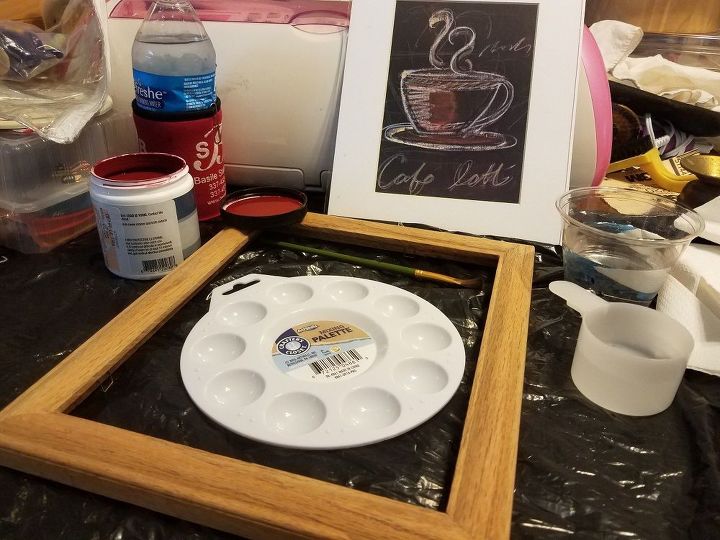
Then, I gathered my materials to paint the frame. I had a sample of Chipotle Paste by Behr, and decided it would complement the color of the picture perfectly. I decided to do a wash, rather than paint full coverage of the frame. This allowed the wood grain to show through. In addition, I could always paint over the wash if I didn't like the way it turned out.
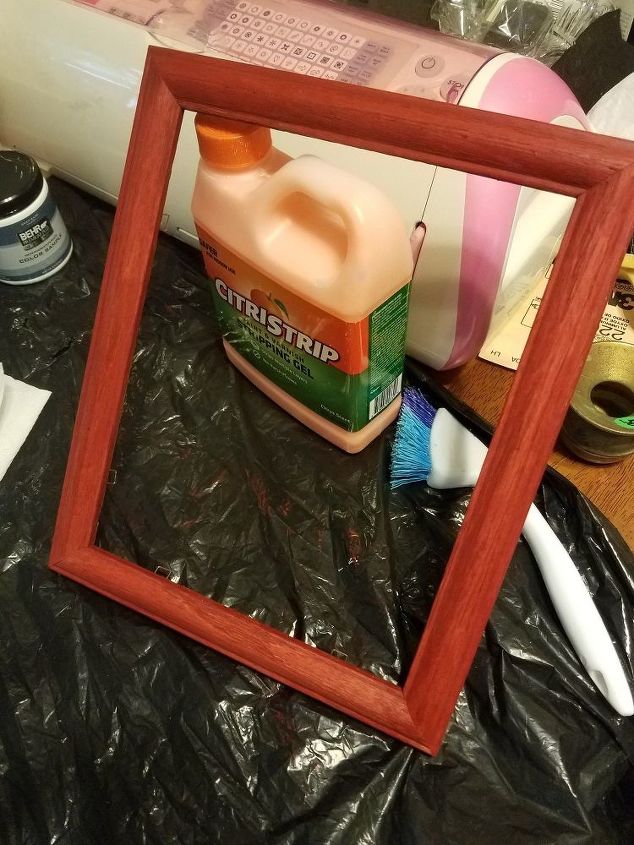
I don't have an exact mix for the wash, but basically I used a 1:1 ratio of paint and water. I put paint in one dip in the palette, then water in another one. I then dipped the brush in paint on one side, and water on the other. I applied the water side to the frame first, then went back over it with the paint side. I kept a wet edge, and kept alternating paint and water until I was satisfied with the result. Since I was painting raw wood, it didn't take long for the frame to dry. I let it sit about 20 minutes, but it probably didn't even need that long.
Once the frame was dry, I put the glass, picture and mat in the frame.
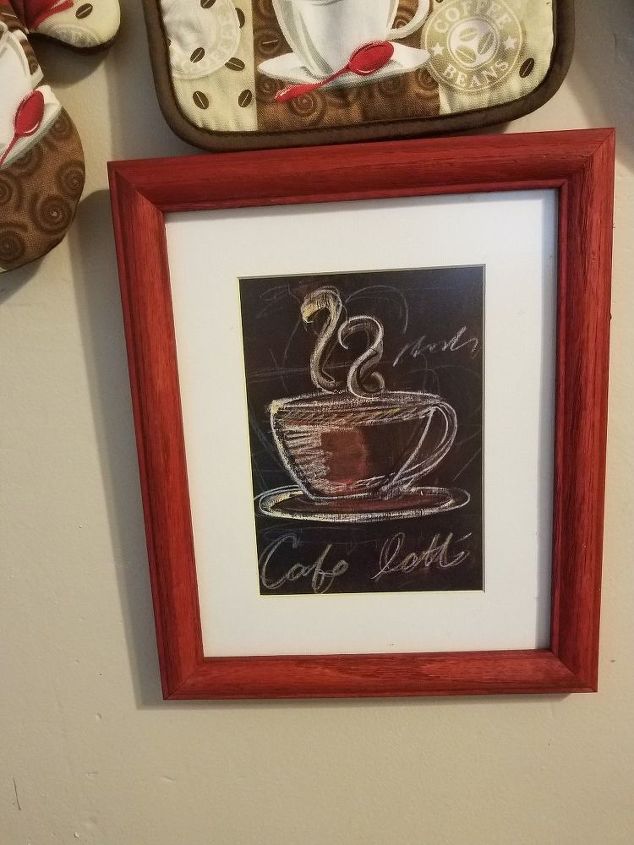
Matches decor in kitchen.
Then, all I had to do was hang it on the wall and admire my work.
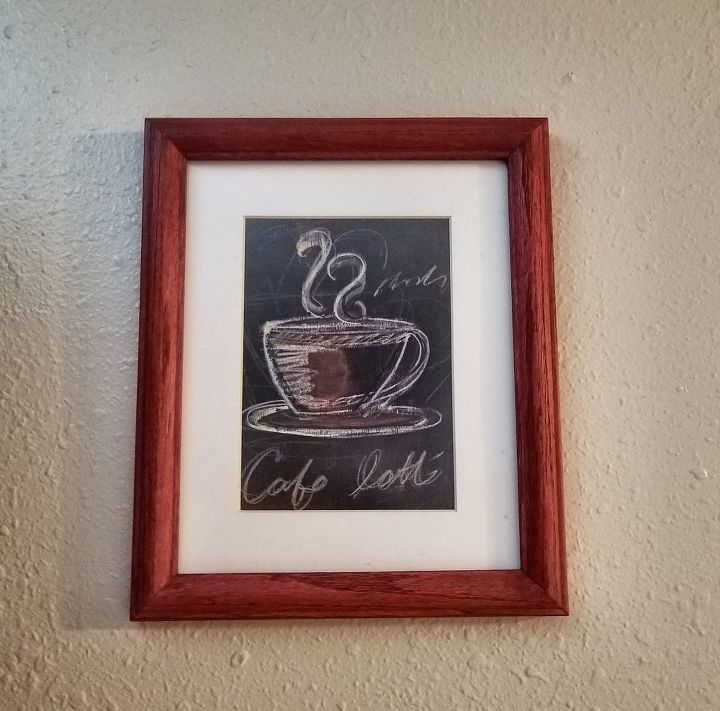
Finished product!
Close up of the framed picture. The red brings out the color in the picture.
Resources for this project:
See all materials


Any price and availability information displayed on [relevant Amazon Site(s), as applicable] at the time of purchase will apply to the purchase of this product.
Hometalk may collect a small share of sales from the links on this page.More info
Comments
Join the conversation
4 of 16 comments
-
I’ve repainted frames many times to match different decors and never stripped them first but your end result is brilliant! Will rethink the next frame redo. Thanks for sharing.
-
Great beginner project to launch people into larger stain and paint projects!


Frequently asked questions
Have a question about this project?