


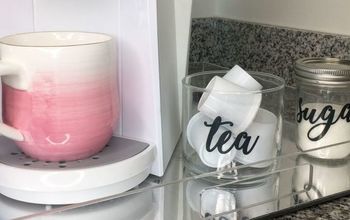
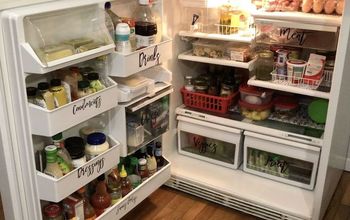
Make Anything a Label or Sticker!

5 Materials
$5
8 Hours
Easy
Organization makes me happy and I adore me some labels and stickers. But typical label makers are as boring as you can get. What about a Cricut, you say? Yesssssss - I could watch that little box of amazingness work its magic all day long. But did I mention I'm also frugal? So when you need a cute label or sticker (out of any picture!) and have only a printer and some shipping tape to work with, you're in luck!
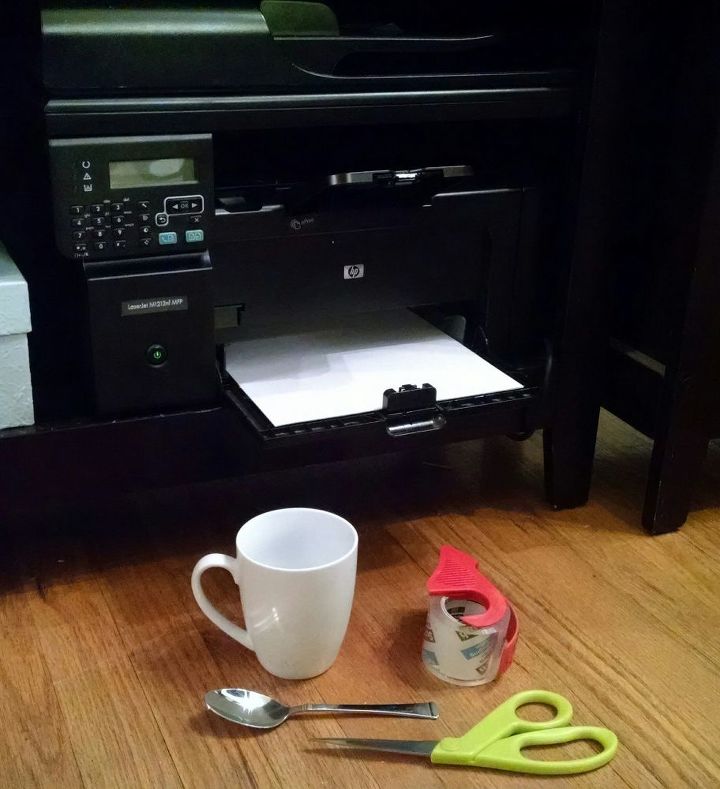
You'll need:
* Printer and paper
* Clear shipping tape
* Mug/glass/basin with water, enough to cover the size of your label
* Scissors
* Spoon or other hard implement
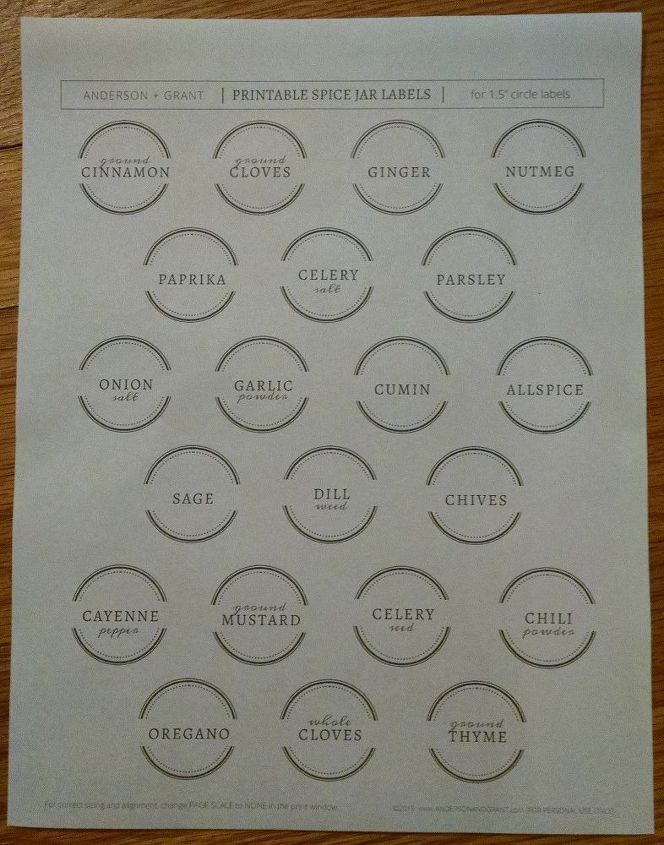
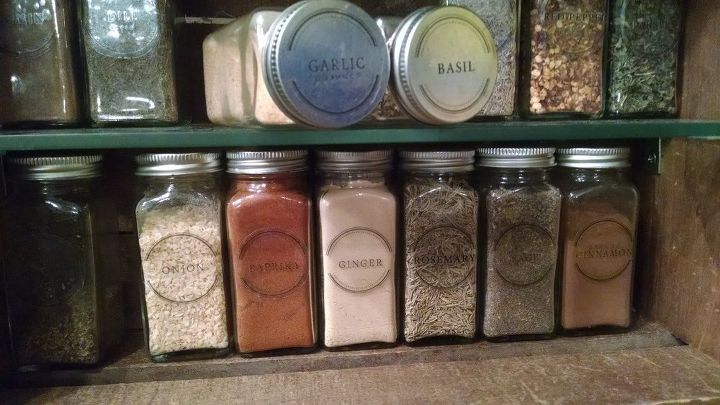
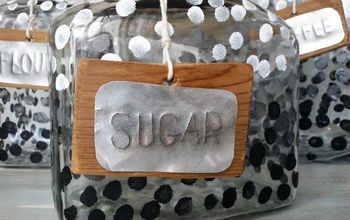
First, create (or find) your label or sticker design and print it out. Black and white or color - it works either way. I found these GORGEOUS free printable labels at andersonandgrant.com via Pinterest.
Next, fully cover the printed design with shipping tape. If the design will fit within the width of the tape, great! If not, carefully line up the edges of the tape so they don't overlap.
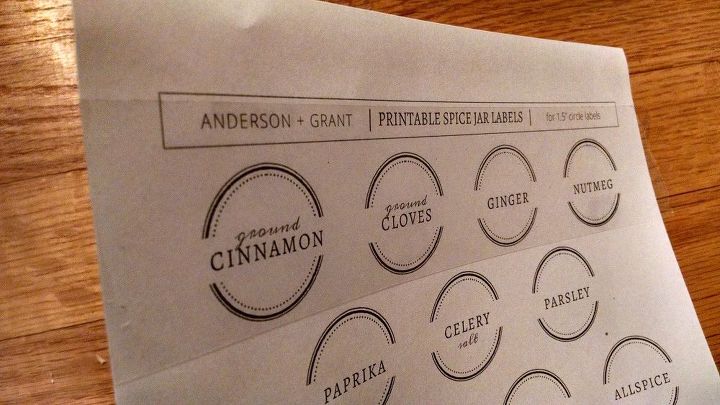
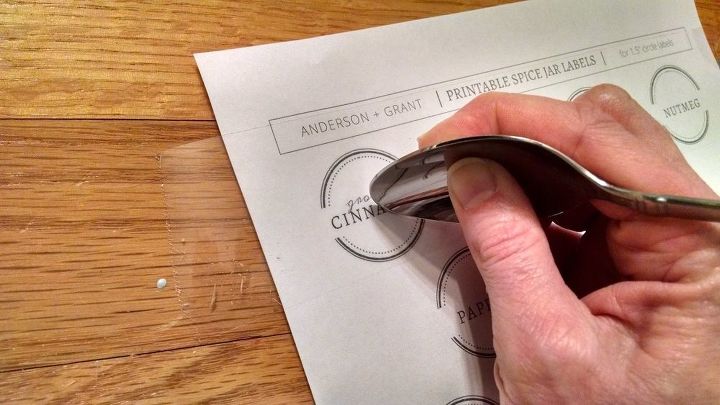
Use a spoon or other hard implement to rub over the top of the tape. Pressure is the key here - if you want the toner to transfer from the paper to the tape, push down hard and scratch back and forth along every bit of your design.
Use scissors to cut the design out into the exact shape and size of the label.
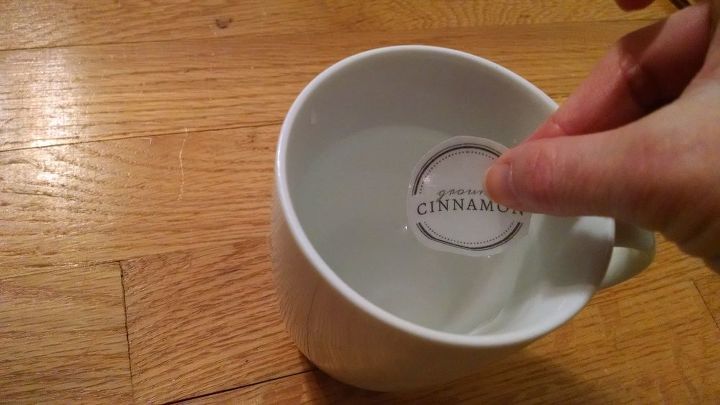
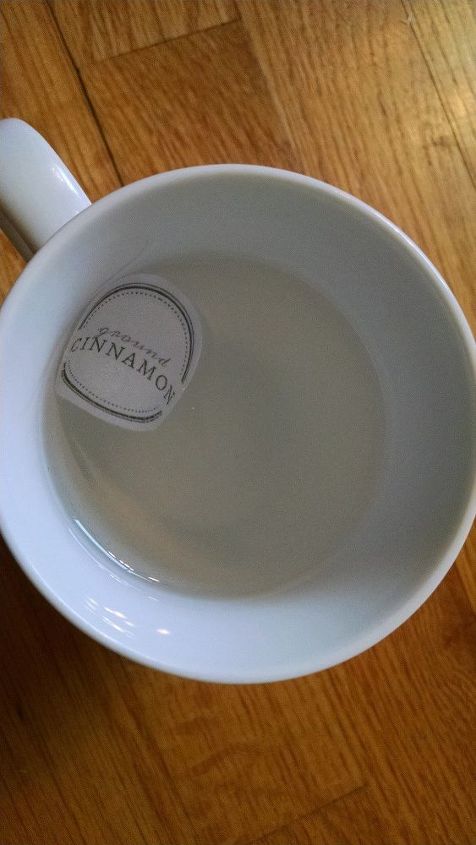
Time to soak! Place your label-to-be in a mug or glass of water and let it soak. Leave it alone for hours. HOURS. One hour isn't enough. Neither is two. My best labels have soaked overnight so get it in water and find another project to work on. :)
Did you leave it alone long enough?
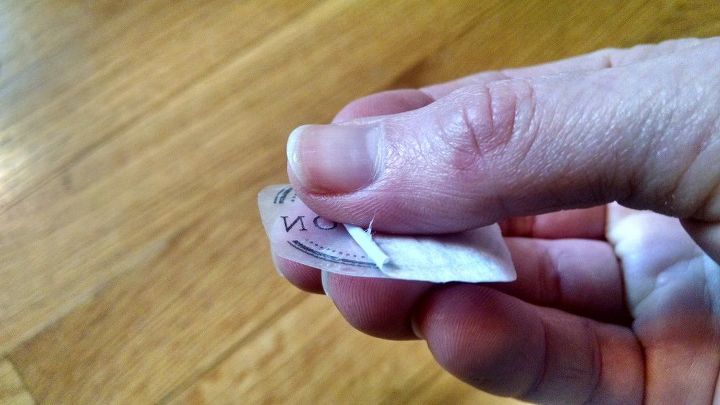
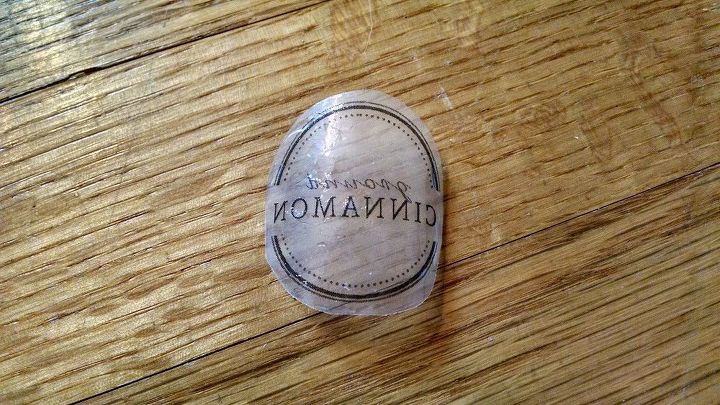
Using your thumb, carefully roll the paper off the back of the tape. You'll get most of it off but keep carefully going over any spots with remaining paper. Rewet the tape if it starts drying. Continue until there are no more paper fibers and only the toner remains.
Turn the tape sticky side up and allow the dry. Magically, the stickiness comes back!
Apply and enjoy!
Resources for this project:
See all materials


Any price and availability information displayed on [relevant Amazon Site(s), as applicable] at the time of purchase will apply to the purchase of this product.
Hometalk may collect a small share of sales from the links on this page.More info
Comments
Join the conversation
2 of 13 comments
-
@ OnTheFly Found on amazon uk. Thanks for your help. It is shipped from USA but I don`t mind waiting. :)
-
Thank you for posting this idea. It's so neat and will be helpful to many


Frequently asked questions
Have a question about this project?
Can you use a laser printer or does it have to be inkjet?
Can this be applied to wood or any surface?
Did you use an inkjet printer or a laser printer? It seems most of these “transfer” projects require one or the other.