


UP-grading a Nightstand

by
Jim Cox
3 Materials
$23
2 Hours
Easy
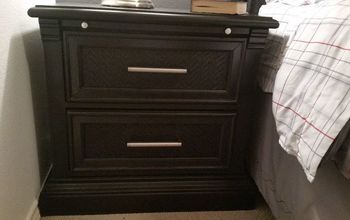
A local remodeler needed two different nightstands to be the same height
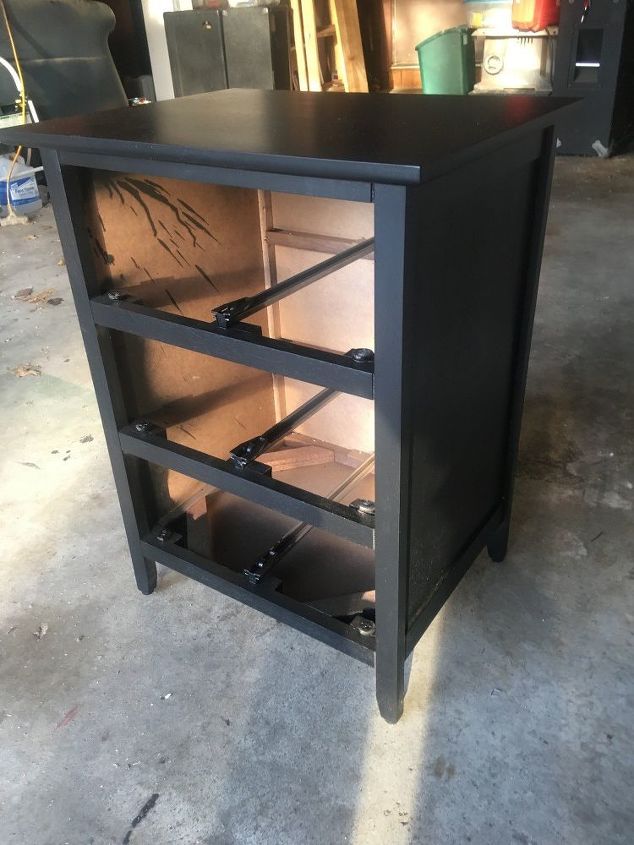
A friend recently remodeled an executive suite downtown which required two different nightstands for the sake of space (width). Sadly they were two different heights as well. She needed both of them to be 34" high. This one was 30", including the 4" legs.
(Drawers removed for transportation to my house)
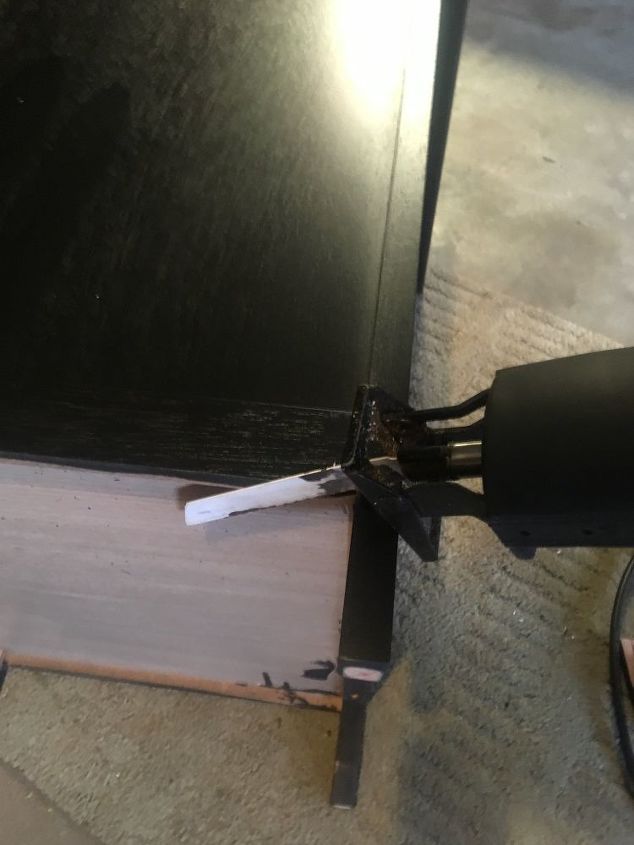
I cut off the legs ALMOST flush. This left me room to sand down even without going to far. NOTE: I made a mistake of not taping off the cut first, and the wood splintered once the saw began. This gave me unnecessary repairs to do.
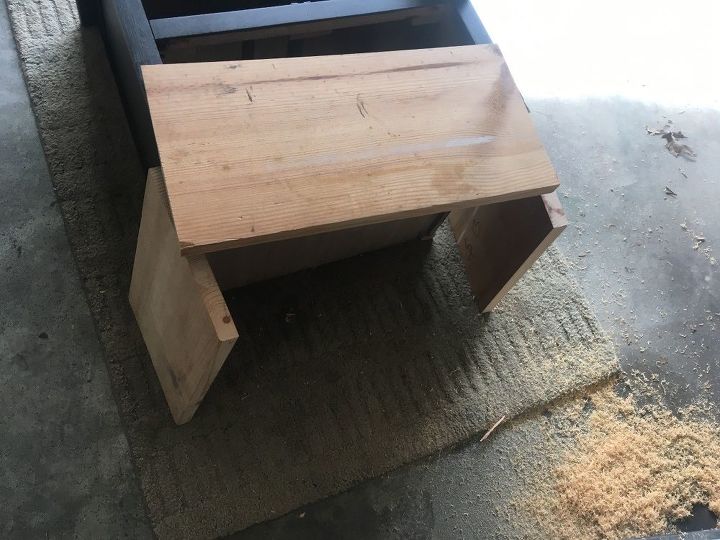
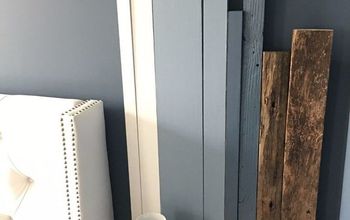
I ripped a 2x10 on my table saw to 8" wide. The 4" I cut off with the legs would be made up, with another 4" this way. Here are the front and side boards mocked up into a 3-sided box which will become the new base in place of the legs.
The old bathroom rug on the garage floor keeps things from getting chipped up
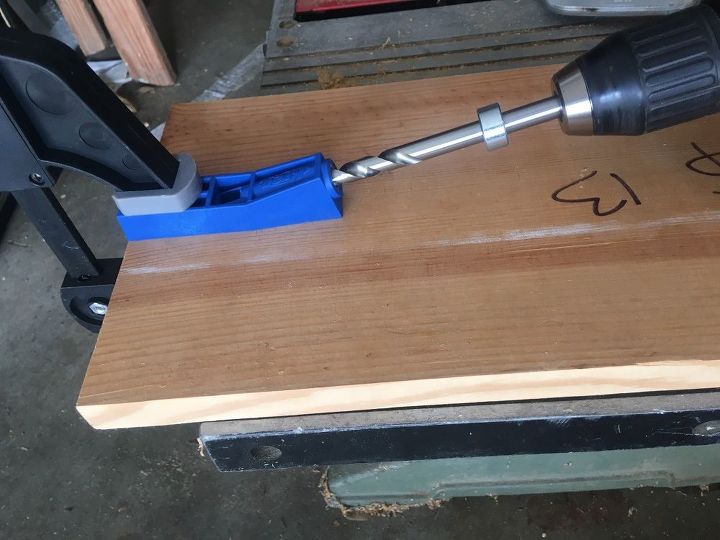
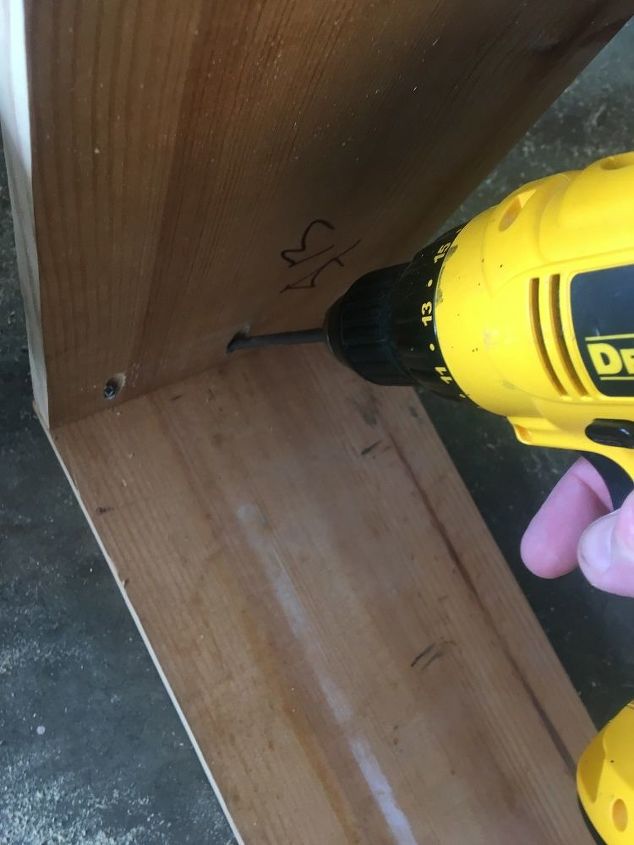
I decided this would be a good project to learn how to use a Kreg jig. Here I am drilling the sides towards the front for attaching later.
Here's me attaching the sides to the rear of the front plate - from inside the box so that no screws will be showing on the finished base.
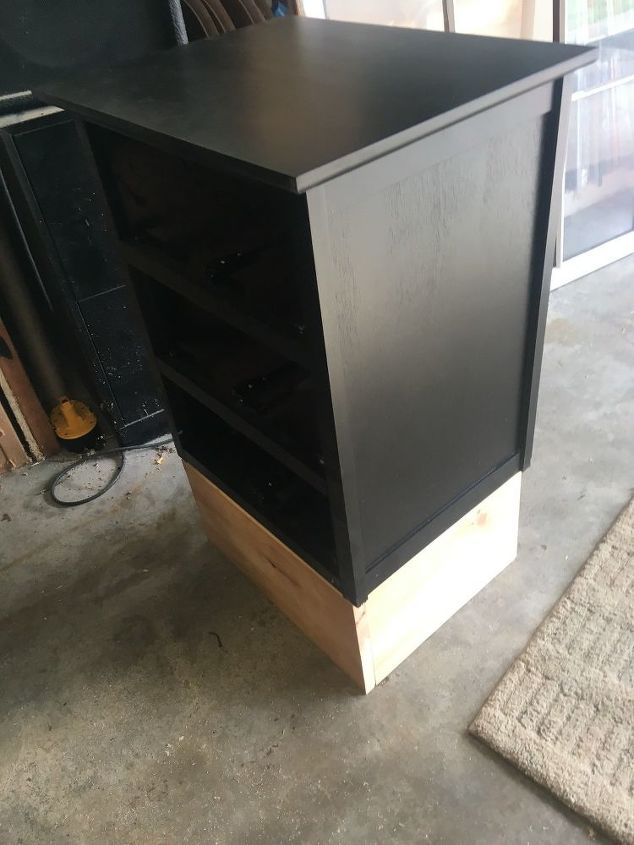
Here's the legless nightstand perched on top of the 3-sided base.
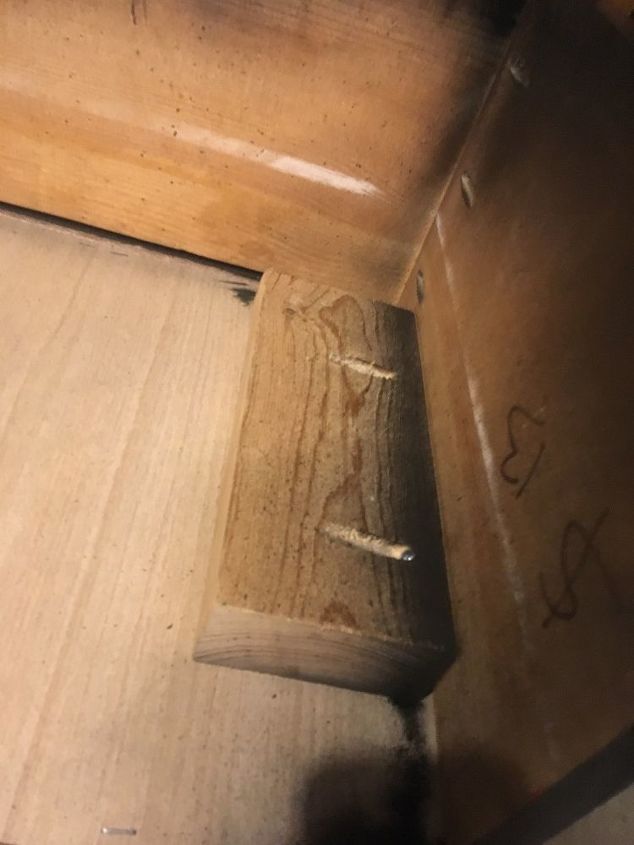
Viewed upside down: Here's a scrap of 2x4 about 10" long, drilled with the kreg jig and attached to the side with 1-1/4" screws.

The other side with a scrap of 2x4 attached to the base.
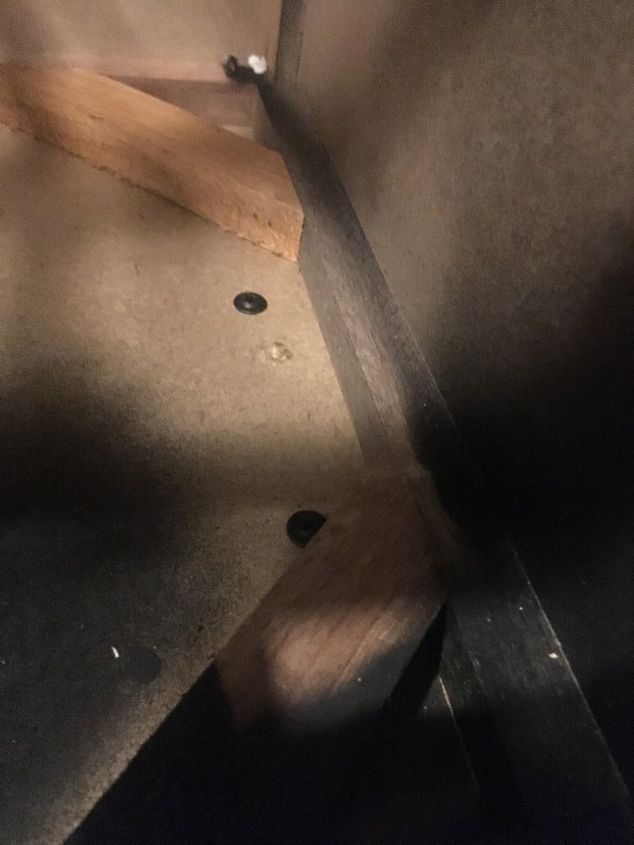
Looking down from the front (with the drawers missing) here's a few short screws going into the 2x4 scraps to hold the base to the bottom of the night stand.
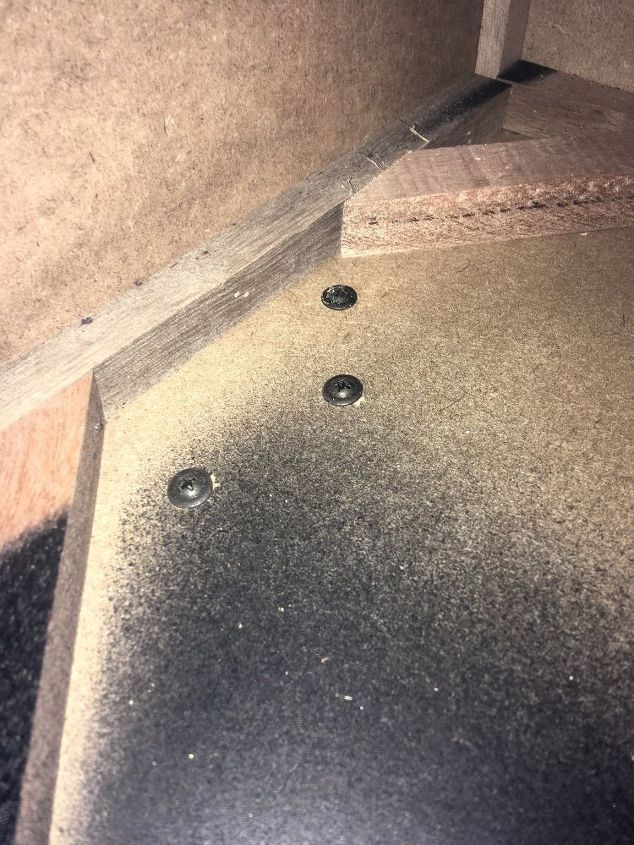
Same with the other side. The screws are basically going thru the 'floor' of the nighstand into the 2x4 scraps.
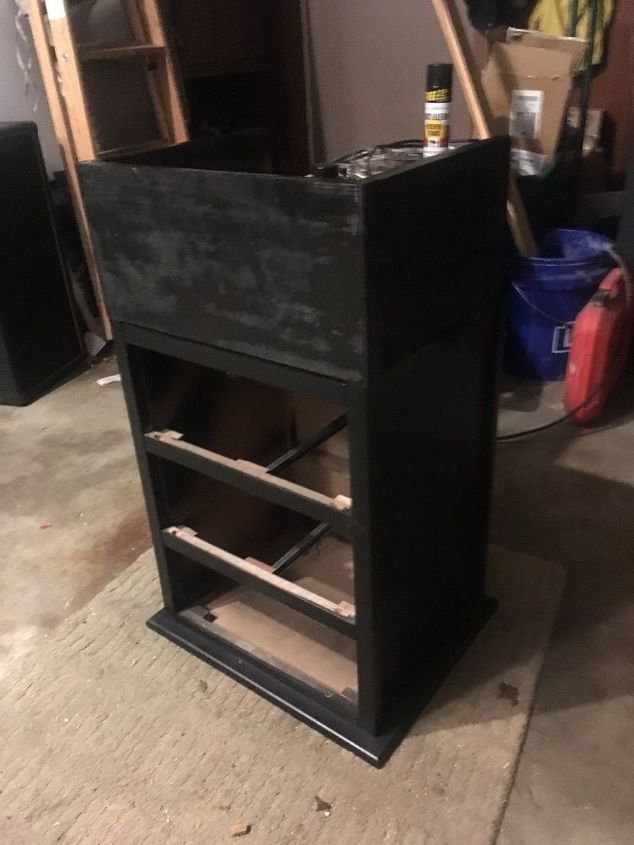
Here's the nightstand upside down in my garage, wth a quick coat of black paint to see how it looks. I ended up giving it a few coats of high build red primer and then semi-gloss black to match the existing paint. I blended the new paint in by painting up about halfway on each side
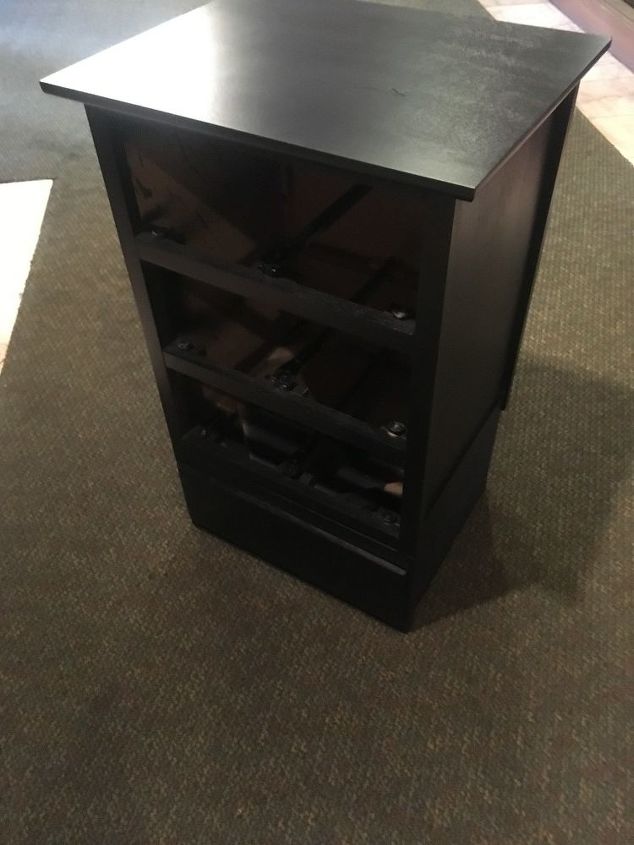
The base looked too plain below the drawers, so I added a 'plate' made of some scrap 1/2" thickx6" wide (I used this same stuff on my window shelf in a previous project) I rounded the ends with a power sander, primed and painted, and then using my upholstery glue, simply attached to the front. Once it was dry, I took it downtown to deliver
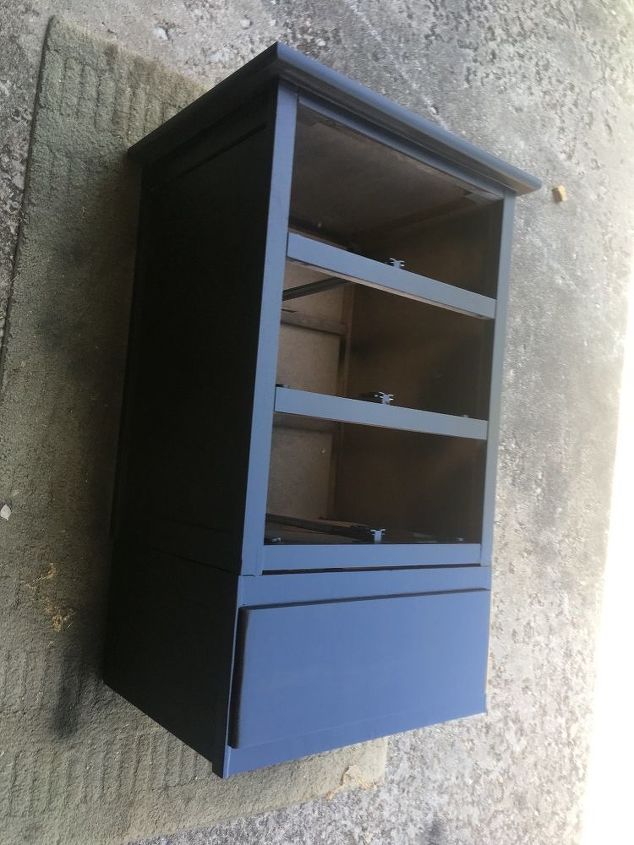
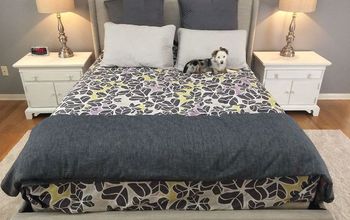
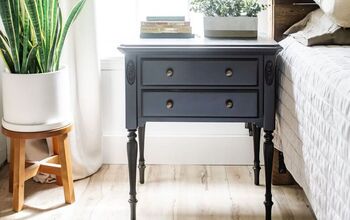
Here's the new taller version of the nightstand with fresh paint, waiting for drawers
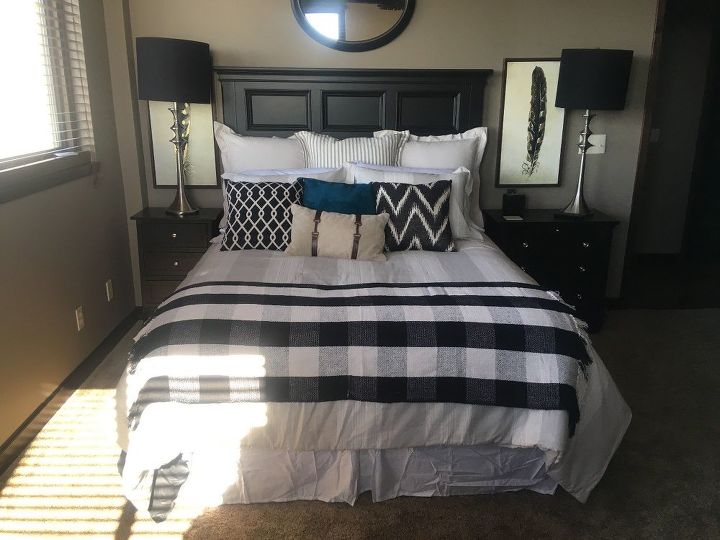
Here is the newly 'raised' nightstand on the left. The lamps/headboard combination highlighted the difference in the height, which is why the interior decorator asked me to come up with something for this. My apologies for not getting a 'before' photo of the two pieces of furniture.
Now that the lamps are in place the pictures will come off the wall.
Comments
Join the conversation
3 of 4 comments
-
Very nicely done!
-
I’m doing a similar project and this is super helpful info - thank you for sharing!


Frequently asked questions
Have a question about this project?