


Capiz Shell and Bead Ornamental Hanging

3 Materials
$35
2 Days
Easy
Many times, when I make something, I like it and enjoy making it so much, that I ...make another! Such is the case with the chimes/wall hangings. If you saw my last post, you know I made one for my daughter to replicate one I made for myself last year. But...what you don't know is that I made a seashell one for my nautical bathroom last weekend! And now, this one!
They really are fun and easy (though time-consuming). I knew I wanted to make this one, and ordered the shells I needed. Hubs was a little aggravated since we live in Florida and I have thousands of shells! But not the kind I needed. eBay is a wonderful place!

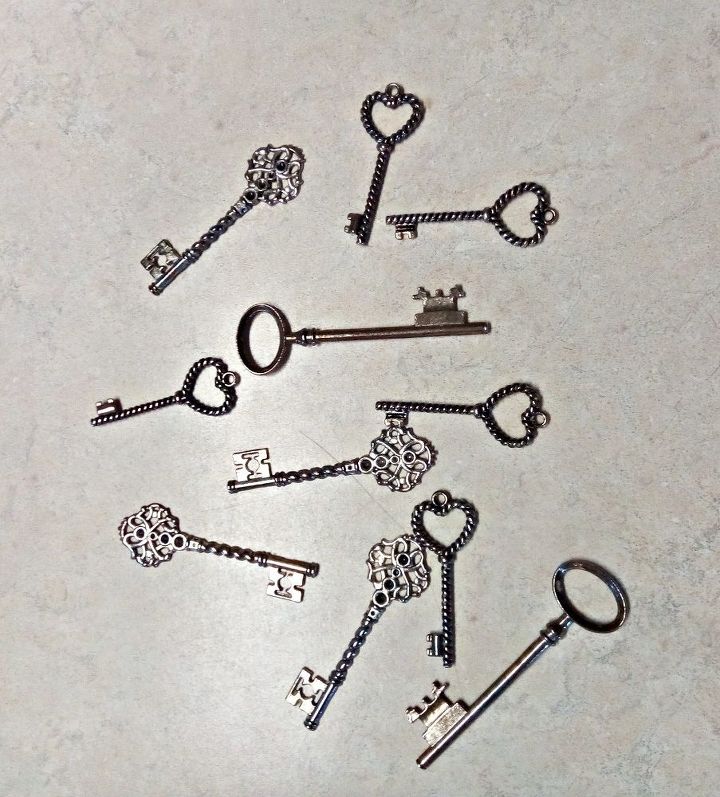
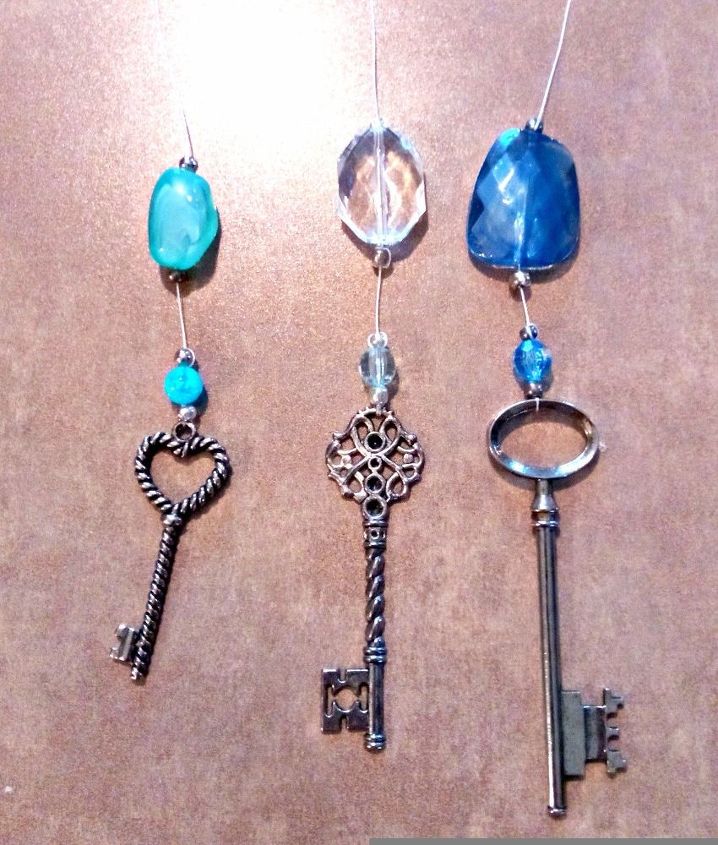
Shiny silver key charms
Since I hadn't received my shells, but am impatient, I started on other pieces. I planned this one out more than I usually do.
I started with these key charms. They are beautiful, but blindingly bright and silver. Not really what I wanted. I'm going to show/tell you something odd. Odd and fabulous.
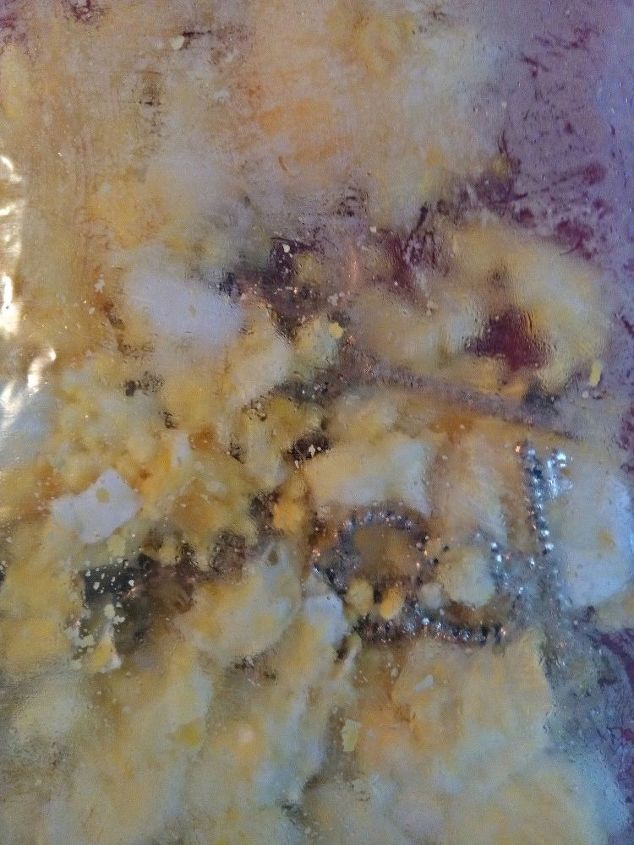
Eww gross
Pretty gross looking. I put 2 hard-boiled eggs (shell and all) and the keys in a zip lock bag. Then I mashed the eggs and mixed it all together, keeping the bag zipped the whole time. The pic is hard to see because the eggs were still hot and the steam makes it difficult to see clearly. The eggs do not have to be hot. Remember... I'm impatient.
So I let the keys sit in the egg bag for a couple of hours, then took them out and washed them with hot, soapy water.
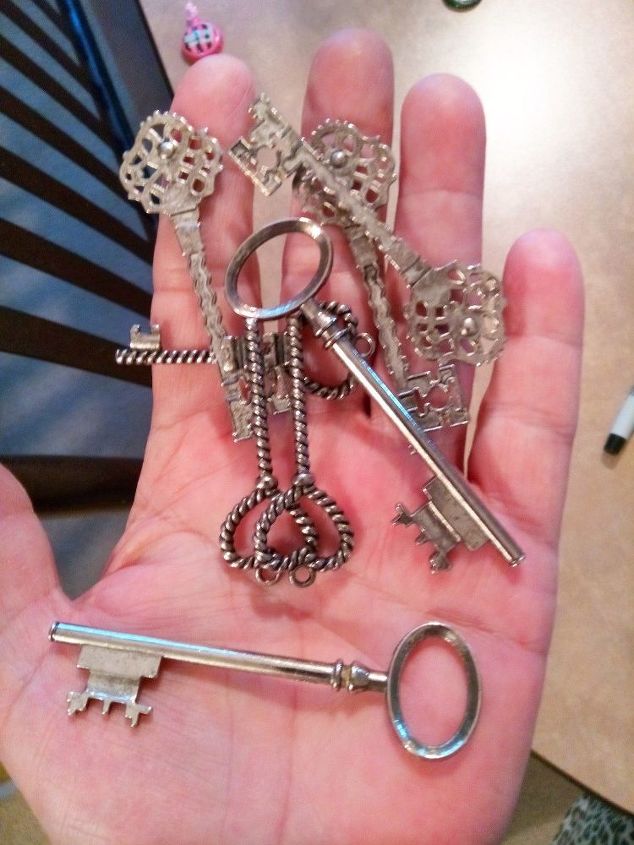
It worked! I wasn't sure if it would since they are only silver colored and not silver, but it worked. The screaming, bright silver dulled and in many spots, was beautifully tarnished. Why? Sulfur. Sulfur causes oxidation on silver and eggs contain sulfur. And it obviously works on silver plate and silver color. Good to know!
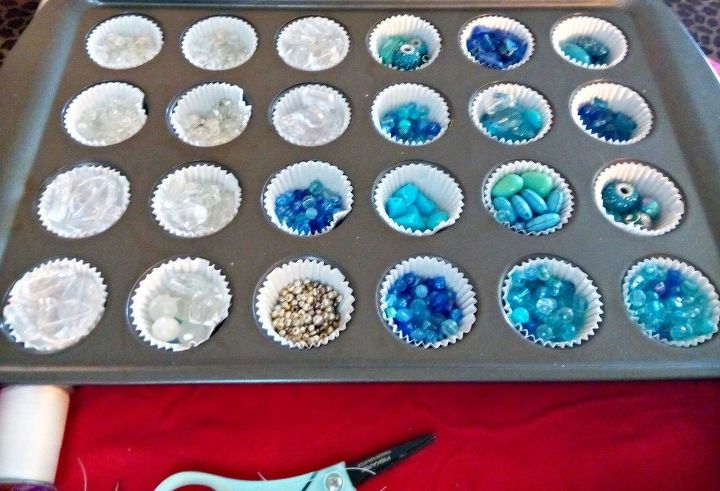
I knew where this piece was going to go, so I knew I wanted certain bead colors. I'm using blue and clear beads. Again, no crimp beads, so I'll make do with the silver seed beads and tie the sections off.
I started at the bottom. I tied each of 11 keys and added a few beads. I'm using small amounts of beads between each capiz.
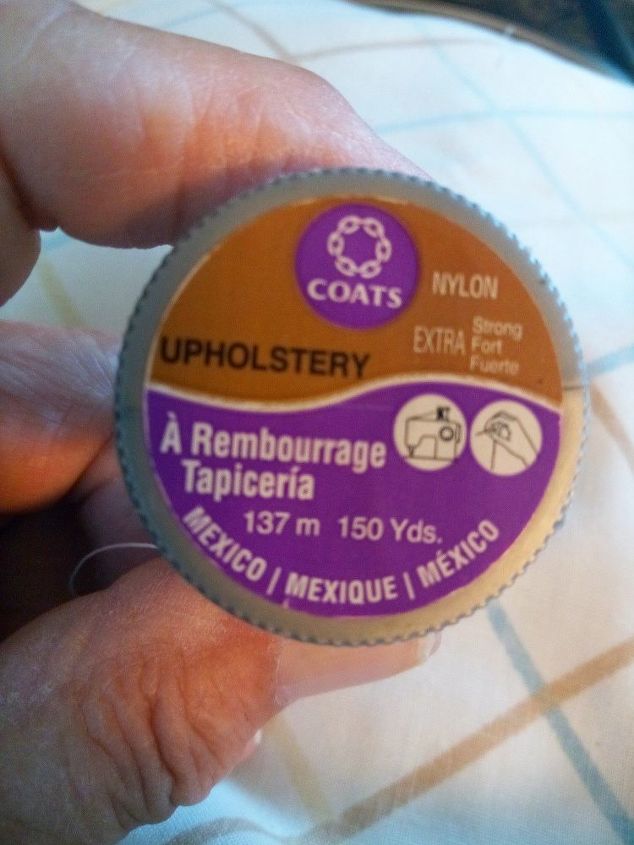
I used Coats Extra Strong upholstery nylon thread. It's very strong, and is great with beads.
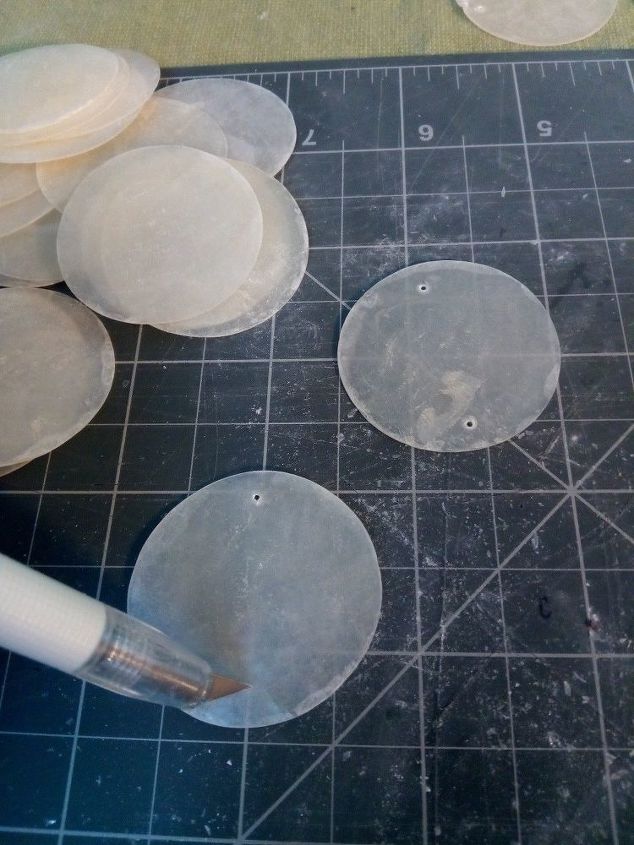
When my shells got here, I put 2 holes in each one. I used the tip of a razor knife, and pushed and scraped. It's not difficult and the shells are not as fragile as they look. You can also buy them pre-drilled, but they cost more, and I can do it myself, so why would I do that?
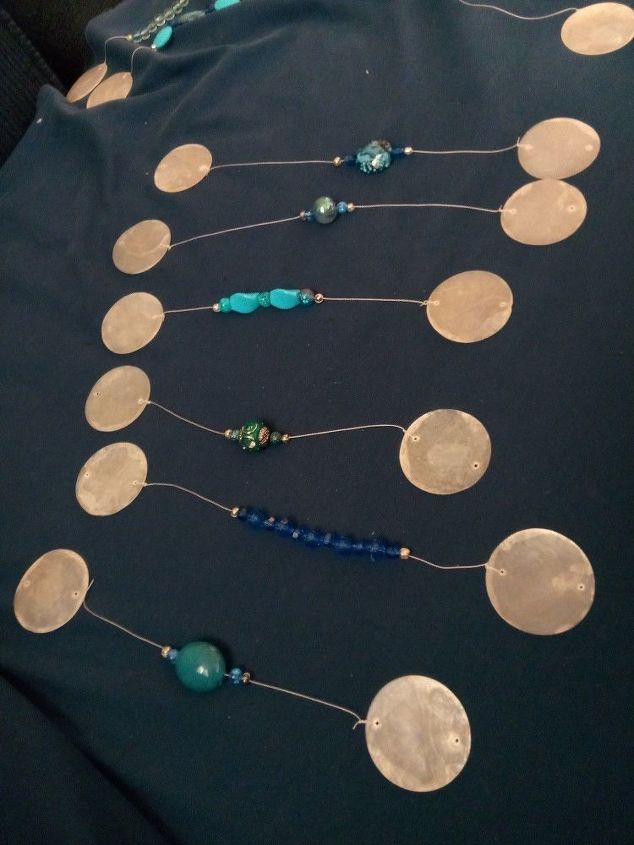
I used small segments, and then joined them all together.
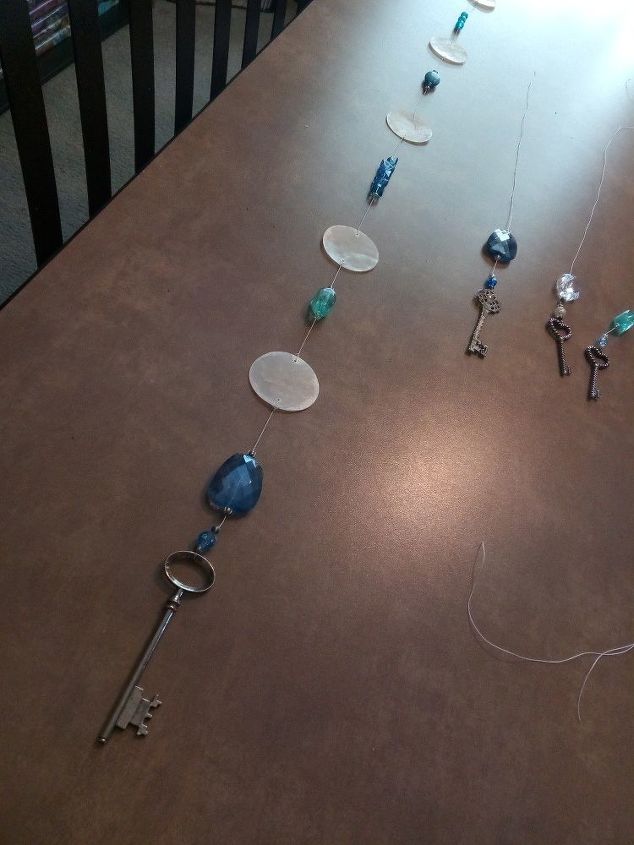
The top piece should be a shell with a top hole, and a key on the bottom.
String the top hole with about a foot of thread, and wrap around the base. I used an old table leg, marking at 1 1/2 inch intervals. I also screwed an eyelet hook in each end of the table leg, to string it for hanging.
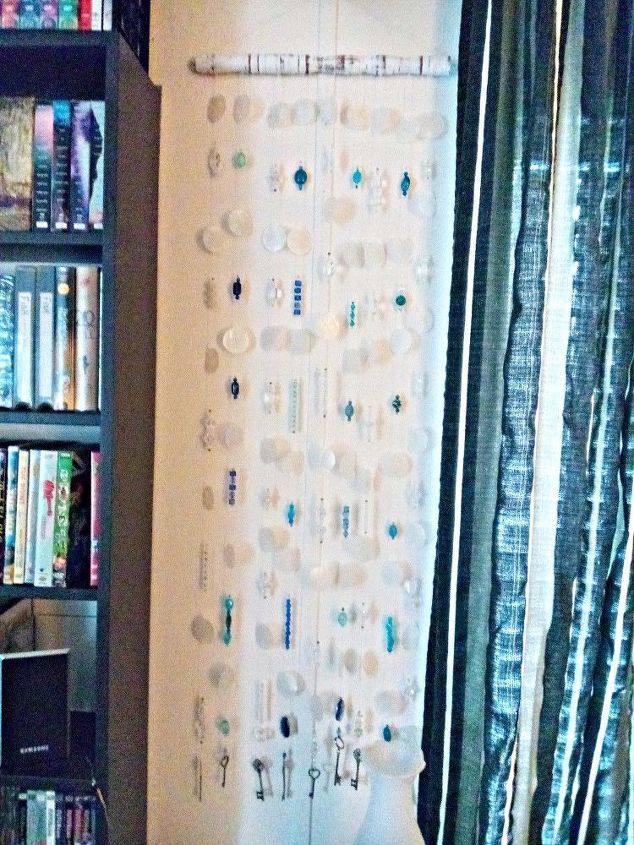
Finished project
So I think it turned out very nice, and am quite pleased with it. Thanks for looking.


Any price and availability information displayed on [relevant Amazon Site(s), as applicable] at the time of purchase will apply to the purchase of this product.
Hometalk may collect a small share of sales from the links on this page.More info


Frequently asked questions
Have a question about this project?