


Industrial Look Barn Door

by
Jim Cox
7 Materials
$190
12 Hours
Easy
A friend asked me to make an industrial looking closet door for an upscale condo she was renovating. Here's how I did it using all new materials.
NOTE - I am not discussing the rolling hardware or the door install here, just the door construction. FYI the hardware instructions were incomplete.
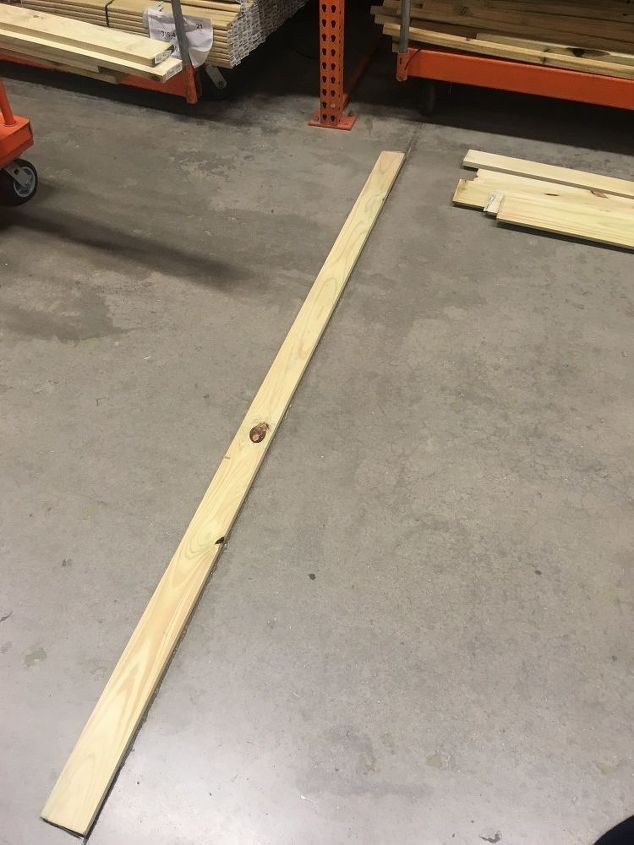
Check for straightness with a floor seam
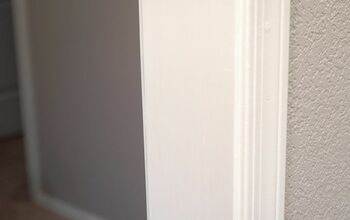
My friend wanted a 36x82 sliding barn door. My target size was 37.5" wide so the door would hide the existing trim, and not have to be perfectly centered each time it was moved. I bought 5 pcs 1x6x8' cedar (actual width 5.5"), and 4 pcs 1x4x8' I would cut down to get the desired width. I cut the length down to 80" to allow for adjustment. I bought an additional piece of 1x6x10' cedar for my horizontal pieces
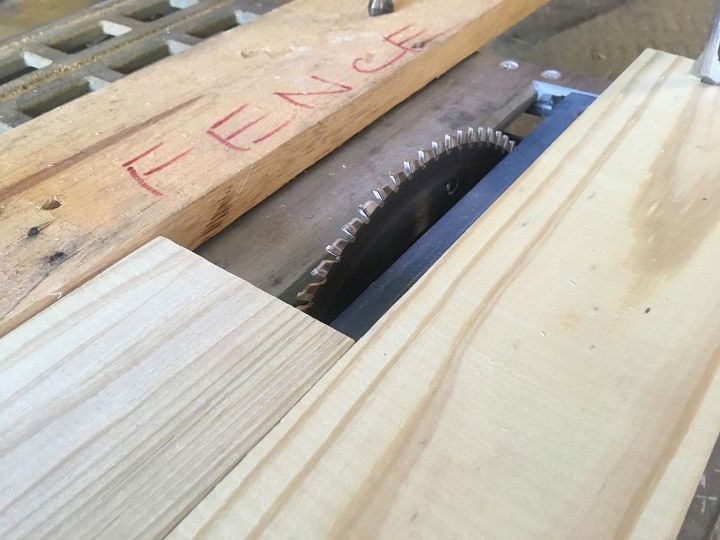
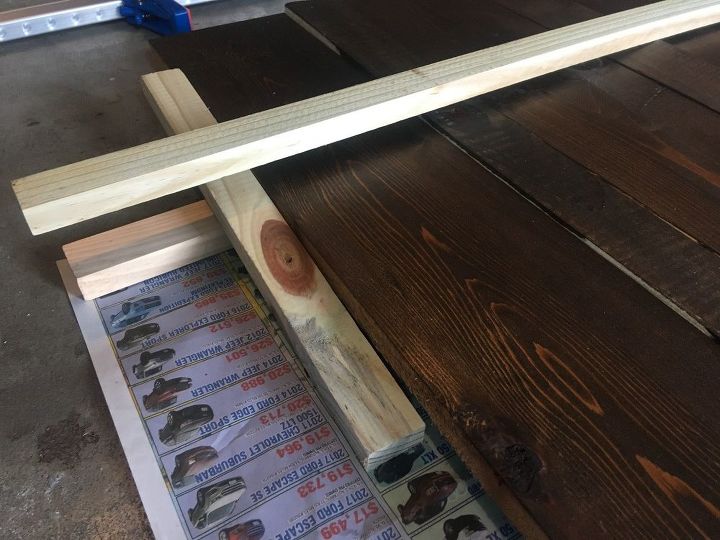
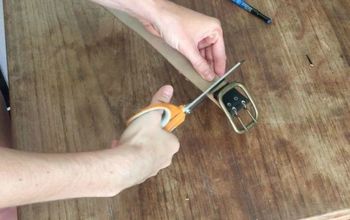
I clamped two boards to my bench saw, and measured from the blade to the left wooden 'FENCE'. I don't use the original saw guide, they aren't long enough, and not accurate most of the time (Something I learned when making guitars). I usually make a trial cut with a scrap to verify I have proper settings. Here's a 1x4 about to be trimmed down to 2.25"
Here is the wood for the door laying in my garage. Most lumberyard/Home Depot boards aren't completely straight, so I have to flip and flop to get them to fit, and then clamp them together and leave them for a few days. (This was a common step when I was building guitars, works here too) You can see the 5 pcs cedar, and the 4 pcs of pine I just cut on the bench saw. The cedar was rough on one side, so that became the inside. The pine was about the same each side, so I tried to use the side with the most character. I used two leftover scraps from the 1x4 on the outside so the clamps wouldn't mark anything up. DO NOT use too much pressure here, you'll end up with something that looks like an accordian. Read on down for a trick I came up with to prevent this from happening.
Once you're happy with the fit, number the end of the boards so you can correctly re-assemble them later.
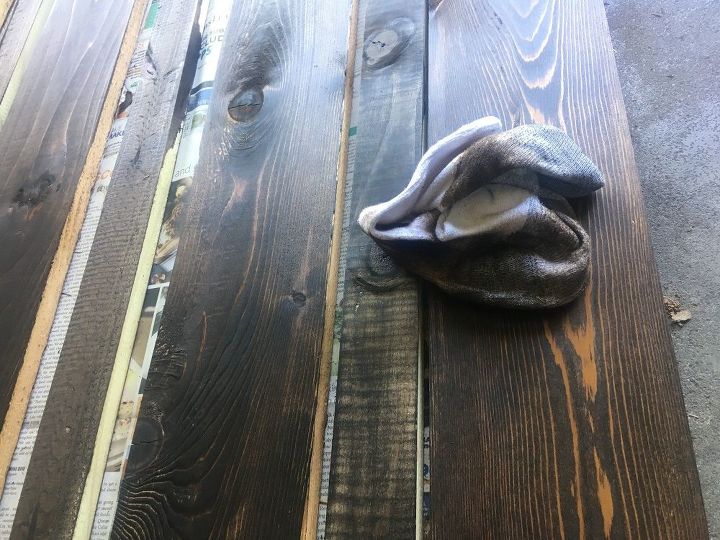
After the boards had sat clamped for a few days I took the clamps off and stained them with Minwax Espresso (my fave color lately, see my light fixture project). I don't use a brush, I use old socks: one to apply, and one to rub away the excess. Saves a bunch of drying time and I have more control over how dark it gets.
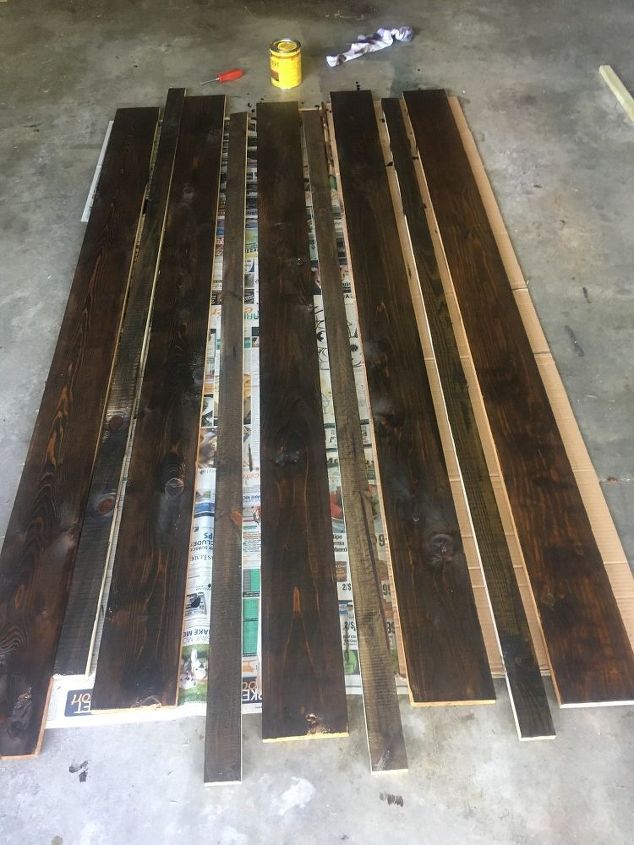
Here are the finished boards ready to be assembled
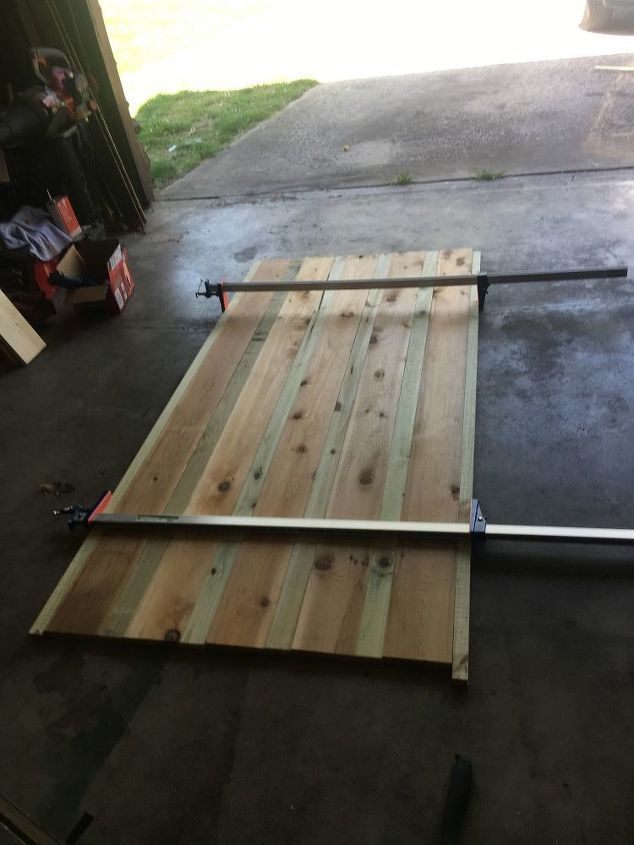
I used more scrap from the 1x4s under and over the boards, and some on the ends to help clamp them together. This is to avoid the previous accordion-type accident from happening again
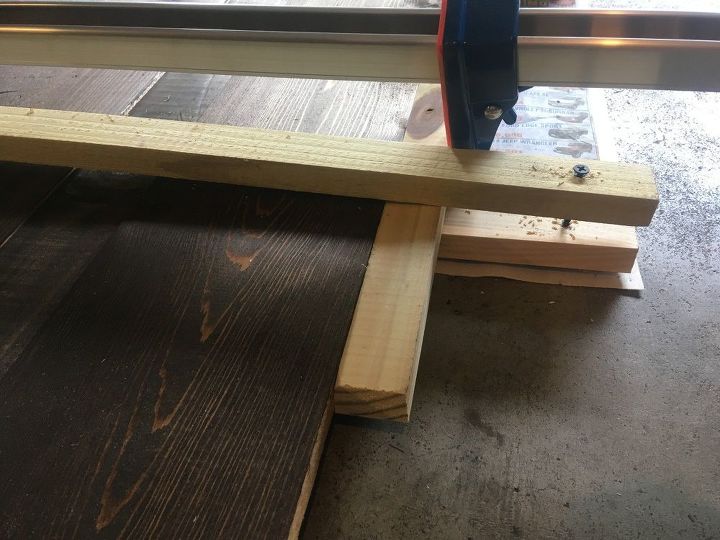
I screwed the scraps together with some 2-1/2" drywall screws, and then clamped the boards together again. Measure diagonally from corner to corner, and then across the other two corners to make sure your boards are clamped together squarely.
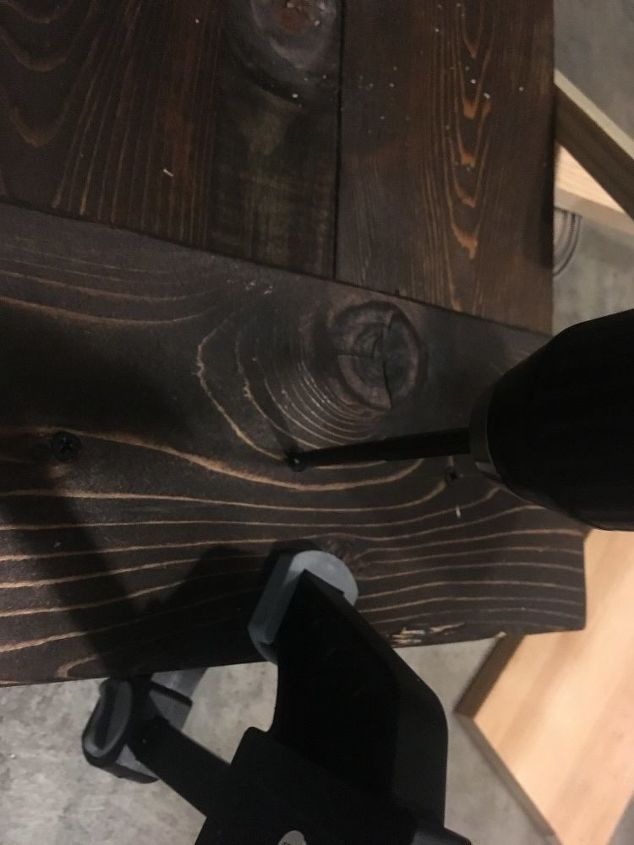
Here is 1/3 the additional cedar 1x6 I used as my horizontal piece. I clamped it to the long boards and attached with No. 6x1-1/4 fine thread drywall screws
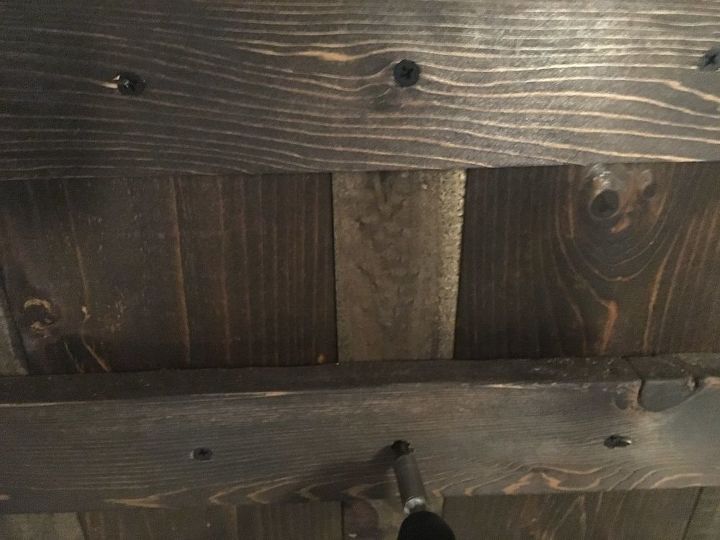
Here is the door with top and bottom horizontal pieces. Note the gap between the first and second vertical board. We will get rid of this with a clamp, and the two narrow horizontal boards about to be installed.
(I do not have a cluttered garage, I have a workshop where I also park two cars - says my renovator friend  )
)
)
I took the last of the 1x6 cedar and ripped it longways, then sanded to remove splinters, and screwed it to the door across the middle. The height dimensions are up to you. This handle is about 4" higher than most of my doorknobs. Again I used the No 6 fine thread drywall screws
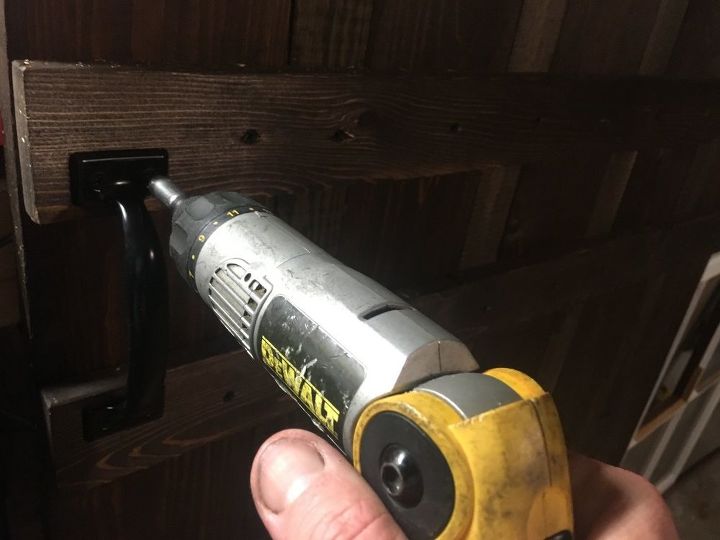
Splitting the 1x6 was to:
A- fit the width of the handle, and
B- to allow space behind it for easier access for your hands.
To repeat: I am not going into detail on the hanging part of the sliding hardware due to the difficult instructions. They would be specific to each hardware kit, so I skipped that part for this post, as it required much trial and error. There are other great tutorials on Hometalk that cover this portion of similar projects.
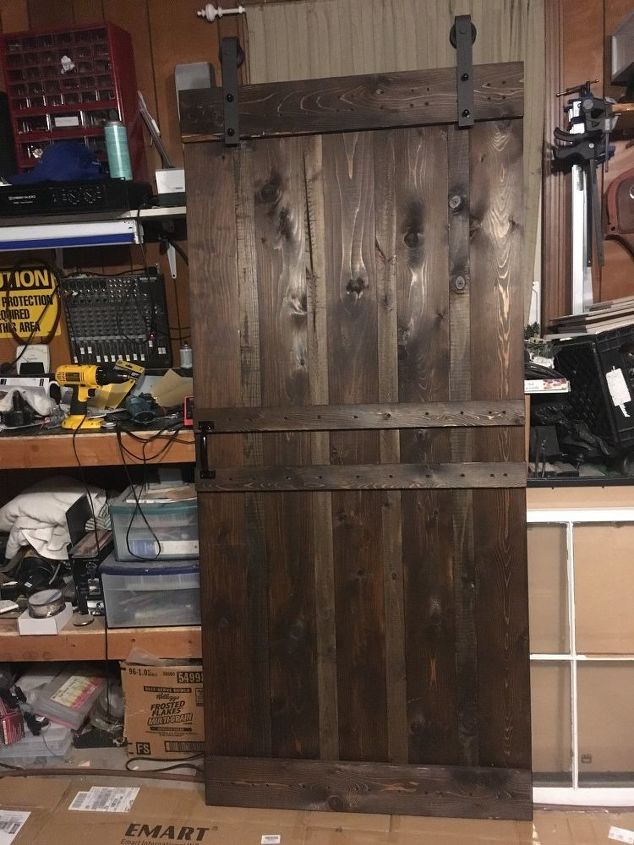
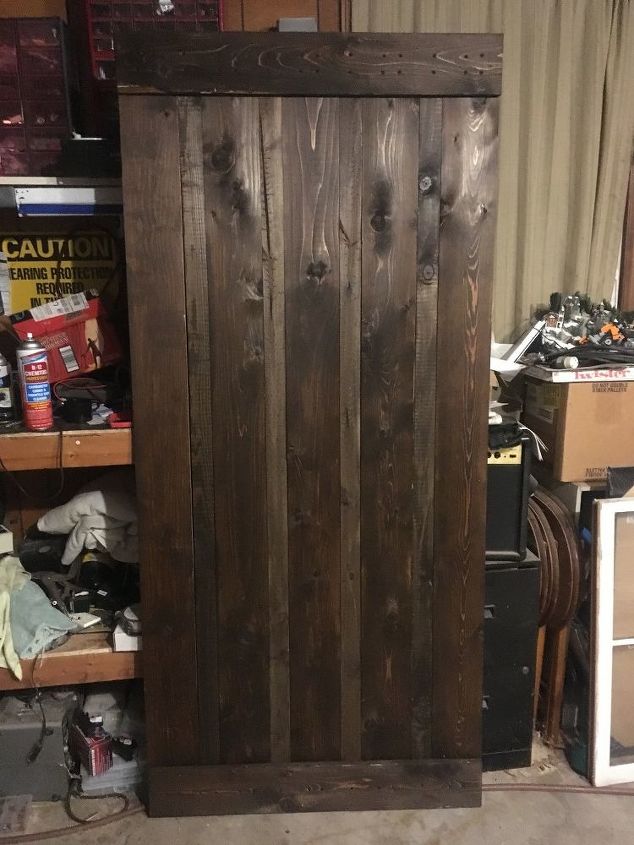
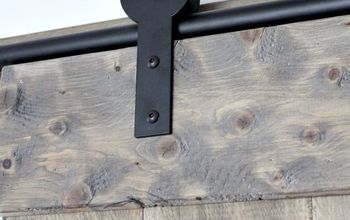
Here's the whole door with the handle & hardware ready to go downtown.
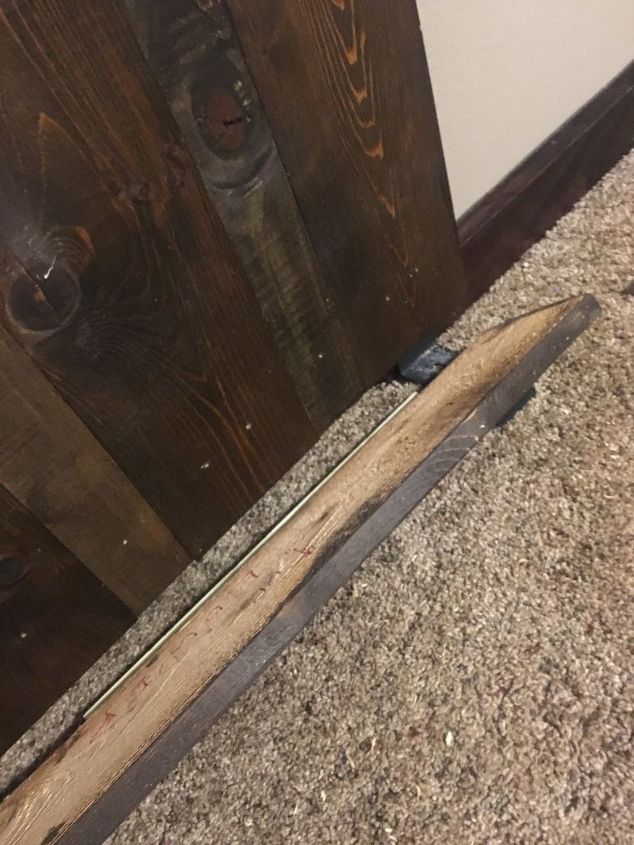
Once the door was hung, I took off the bottom cross plate, and adjusted it down about 1" or so, to best fit the look of the doorway and the carpet. Here it is resting on two scraps from the 1x4s (recycling!) I then re-attached using the same No. 6 screws.
The metal piece to the right is the lower roller/guide, attached with the included screws to the baseboard.
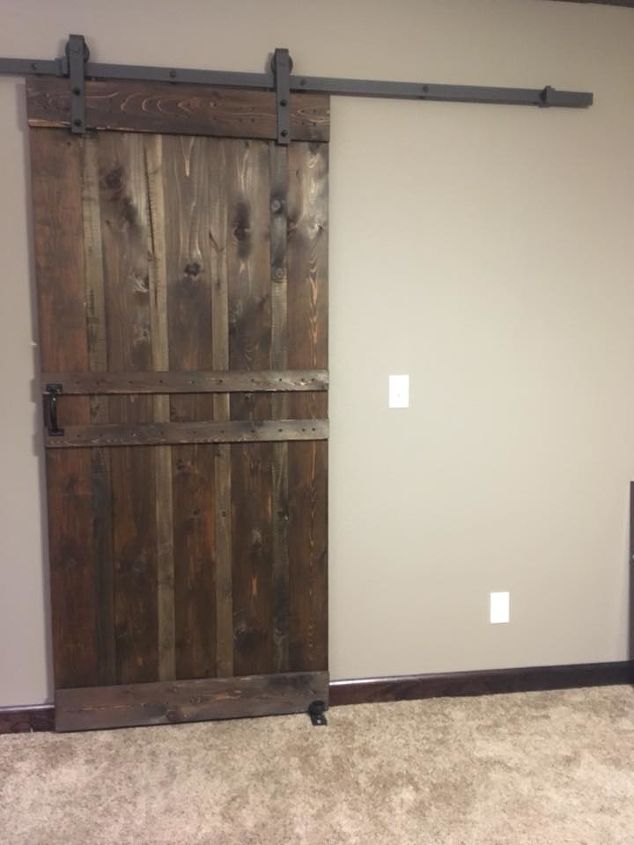
Here is the finished door installed and closed. The differences in the pine and cedar are subtle, but enough to add some character to the look. ( I prefer using pine etc and giving it my own aged look to using oak pallets. Hardwoods can make for a lot of extra work )
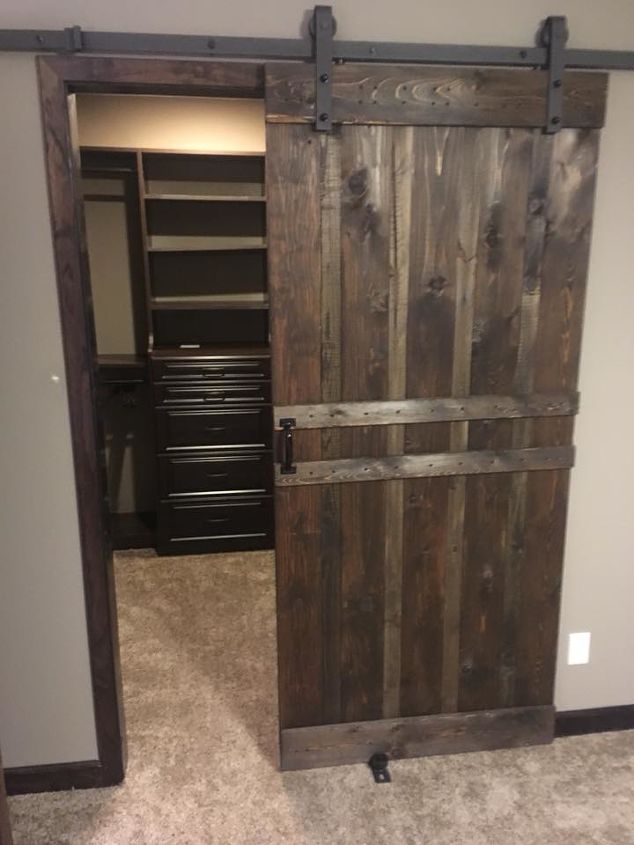
And here is the closet door open. I'm happy with how it looks, but spent a lot of time working around the instructions for the sliding hardware. Next time I would build the whole thing on the ground, and see where things line up.
Feel free to comment and ask questions.


Any price and availability information displayed on [relevant Amazon Site(s), as applicable] at the time of purchase will apply to the purchase of this product.
Hometalk may collect a small share of sales from the links on this page.More info
Comments
Join the conversation
4 of 36 comments
-
Love the design of your door!! Great job!!
-
I love your projects Jim...so well done and perfect concise instructions. Bravo !


Frequently asked questions
Have a question about this project?
This is a general Q on sliding barn doors in general. Where is the handle placed on the other side of the door? LoL I am trying to figure out how the "interior" handle does not hit the door jam when open/closed? Is it a pocket handle on the door itself not the end like a pocket door. I am sure there is a simple answer but it is eluding me! Thanks in advance.
I’ve been wanting to do this project. I’m a little confused once you stained and clamped boards back did you use glue ?
Beautiful! But I'm concerned about the weight. Is there a way to make one lighter?