


Corner Wooden Shelf

by
Monika O
4 Materials
$50
4 Days
Easy
It started with my daughter who got a new desk for her birthday. She loves doing art. Since the table didn't come with a chair I went for a hunt. I have found this cute, cool ,comfortable chair at Marshalls on sale.
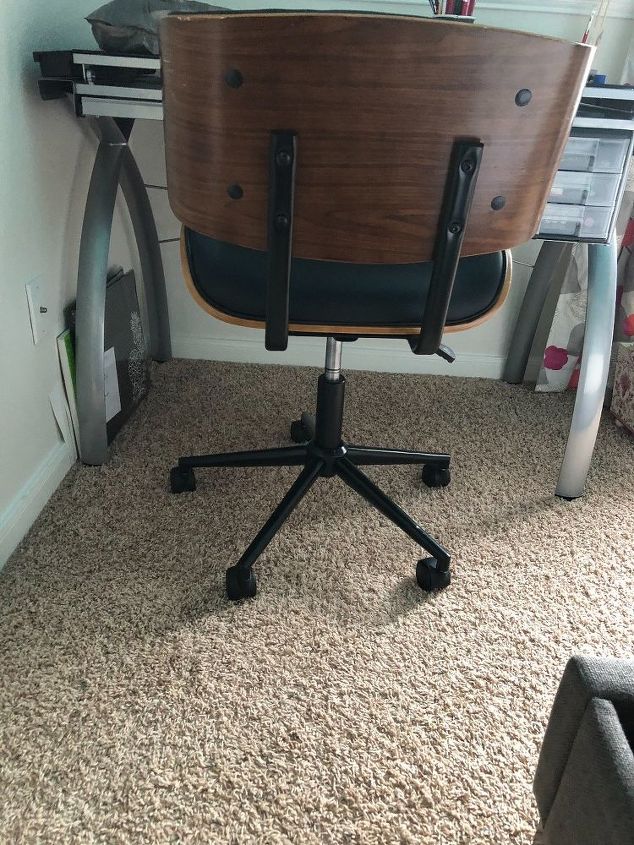
Loved the wood design in the back of the chair. This was my inspiration piece for the project.
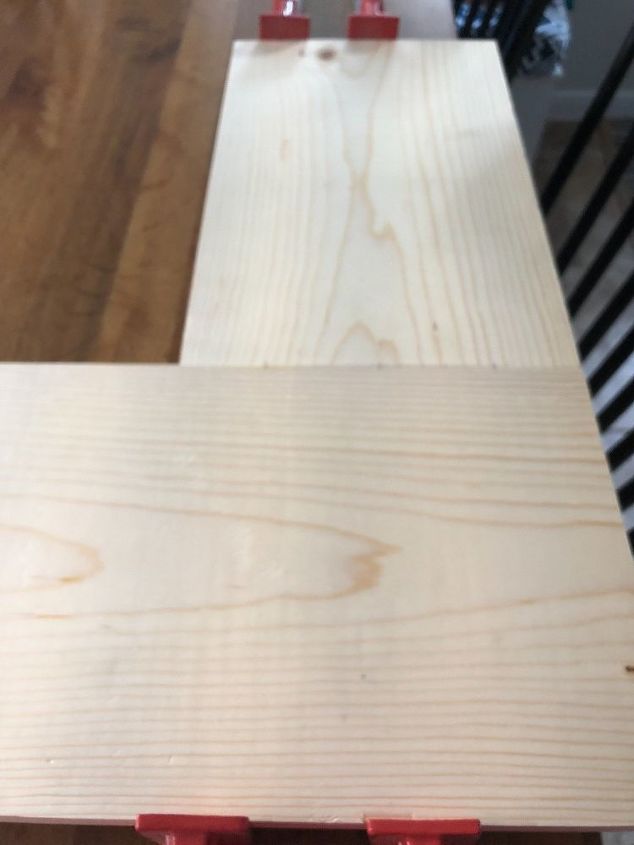
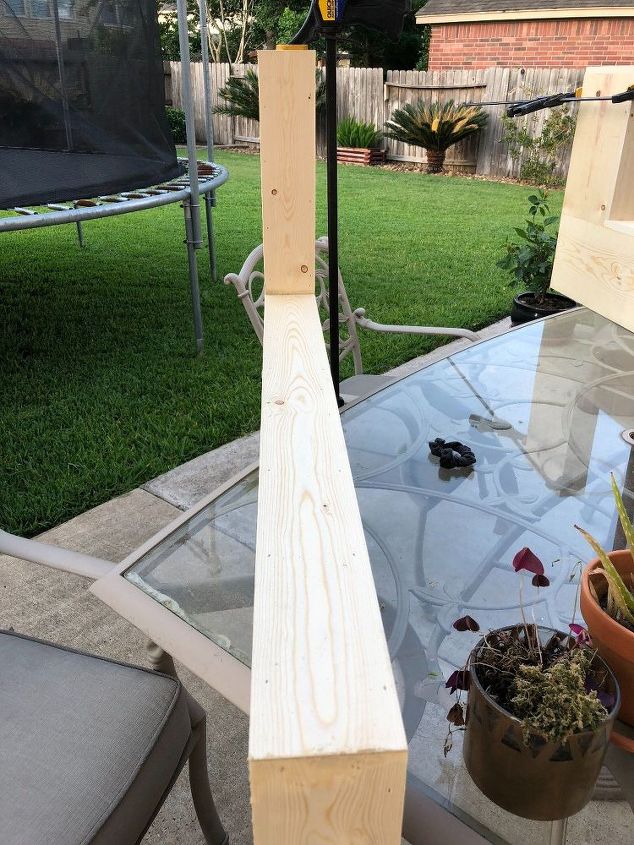
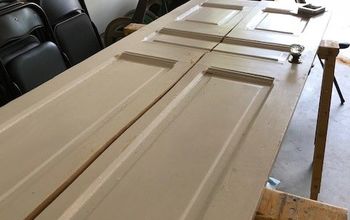
Here's the L-shaped wooden shelf glued together. At this point, it's just 2 planks glued end-to-end.
Two L-shapes would make one shelf. You connect them with boards in between and leave them hollow.
I made 2 shelves to fit in the space above the desk.
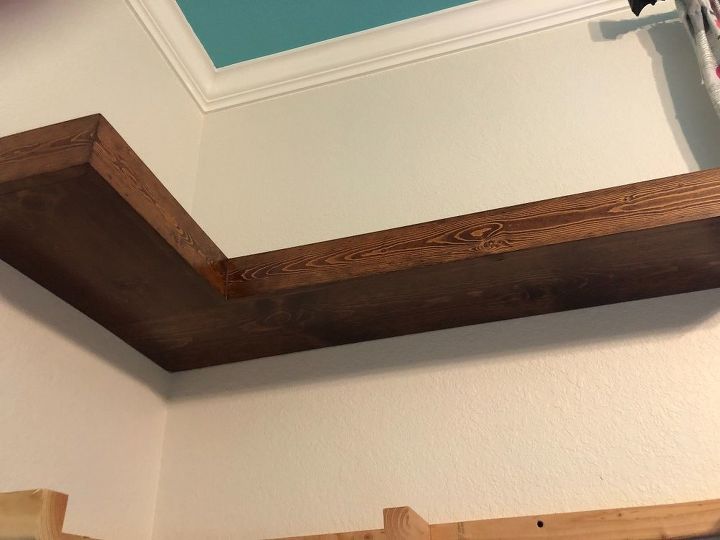
Here's how it looks from the front after it's all put together.
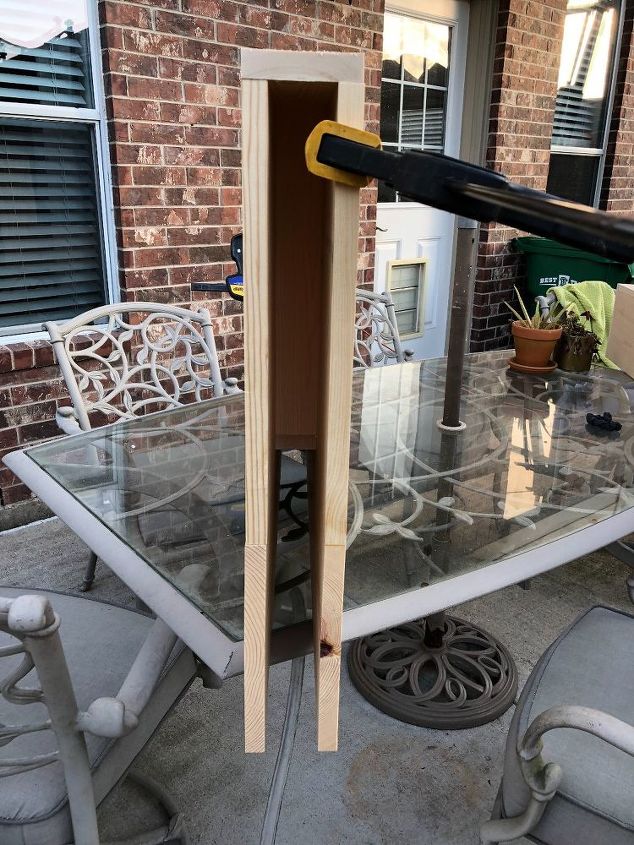
From the back, or the inside, you can tell that it's hollow. This is important for the hanging method.
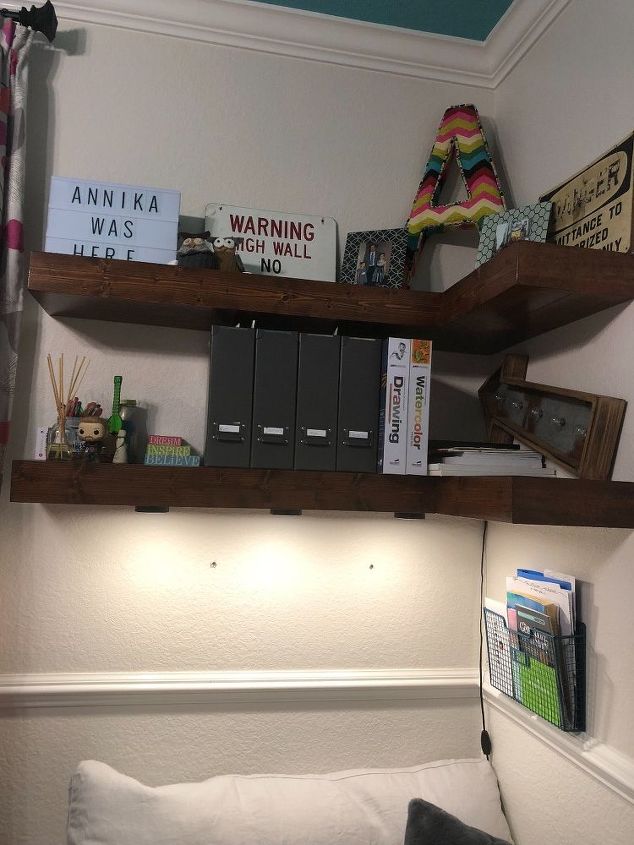
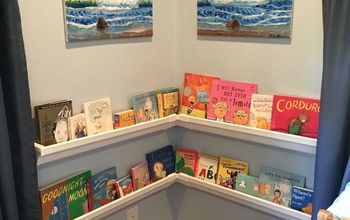
Here they are on the wall and loaded up with stuff. I made 2 sets of 2 shelves since she is short on storage and she has too many books.
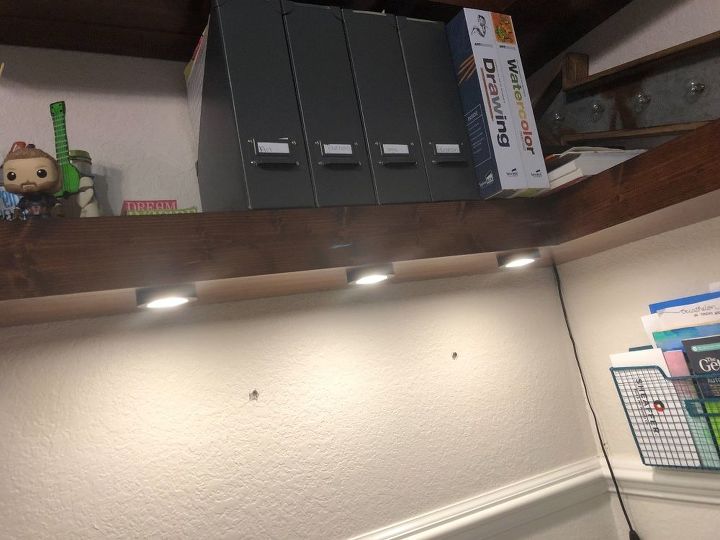
I put some lights under the shelves so that she can read on her chair at the desk.
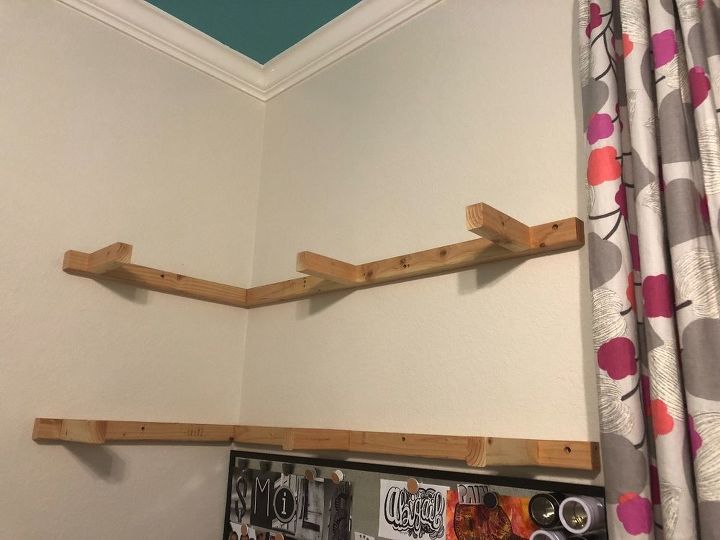
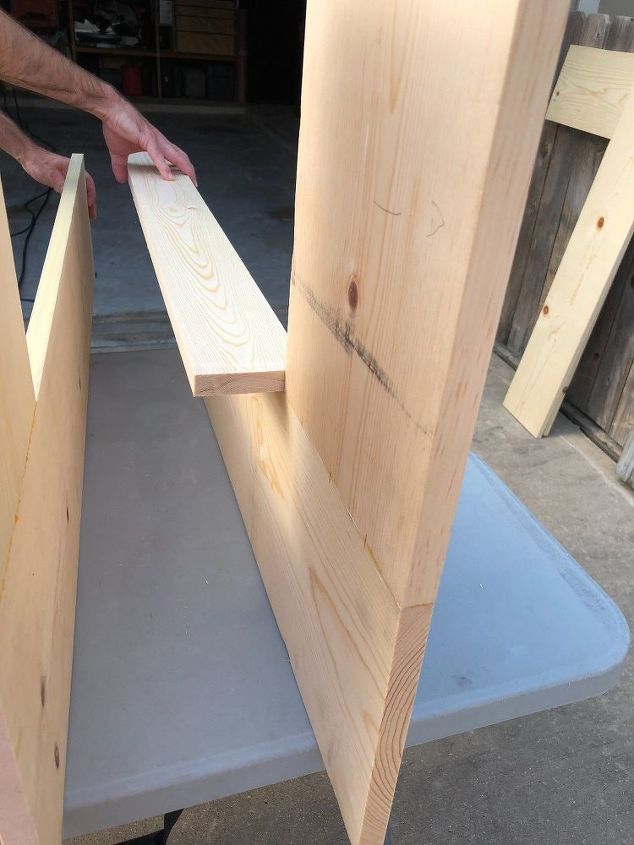
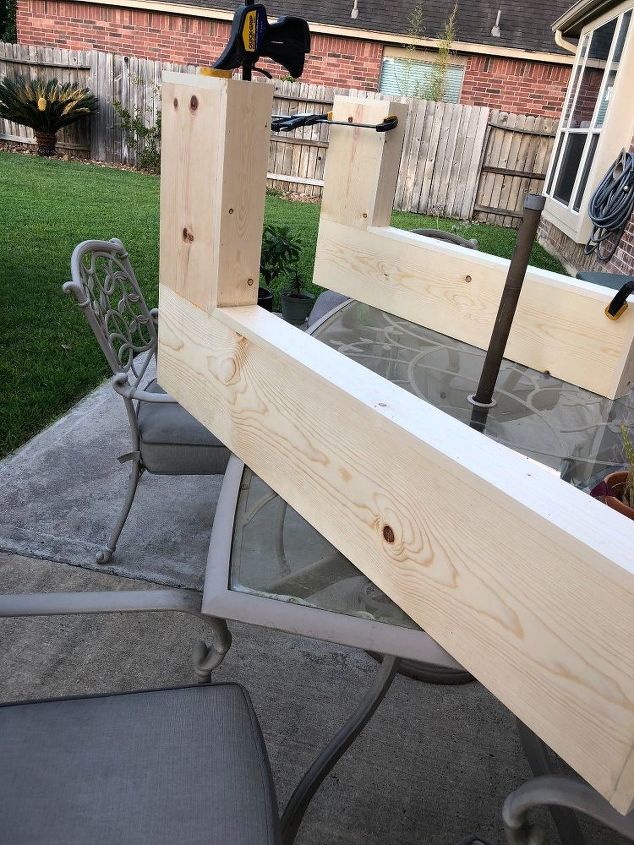
Remember I said the shelves were hollow? This is the whole support that holds the shelves up. This structure is very sturdy for these light shelves.
Installing them is easy -- just push each shelf on securely. Fits like glove!
Resources for this project:
See all materials


Any price and availability information displayed on [relevant Amazon Site(s), as applicable] at the time of purchase will apply to the purchase of this product.
Hometalk may collect a small share of sales from the links on this page.More info
Comments
Join the conversation
3 of 30 comments
-
Nicely done! The shelves match the chair perfectly.
-
We used 3/8 inch lag screws and glue as well. I’ll put the pdf on about the whole table ( measurements, cuts..) for the support


Frequently asked questions
Have a question about this project?
Did I miss the construction of the support process? They look like 2 x 2's to me. Have I guessed correctly?
How did you connect the wood that slides,into the shelf. Did you use screws and wood glue
Where did you get the lights?