


How To DIY A Headboard In 15 Minutes
3 Materials
$350
15 Minutes
Easy
You seriously can DIY this headboard in 15 minutes! If you have small children or grandchildren, it might be a great time to get them to help out with a fun project to build their confidence in DIY projects for the home. All you need is a Phillips screwdriver and a drill.
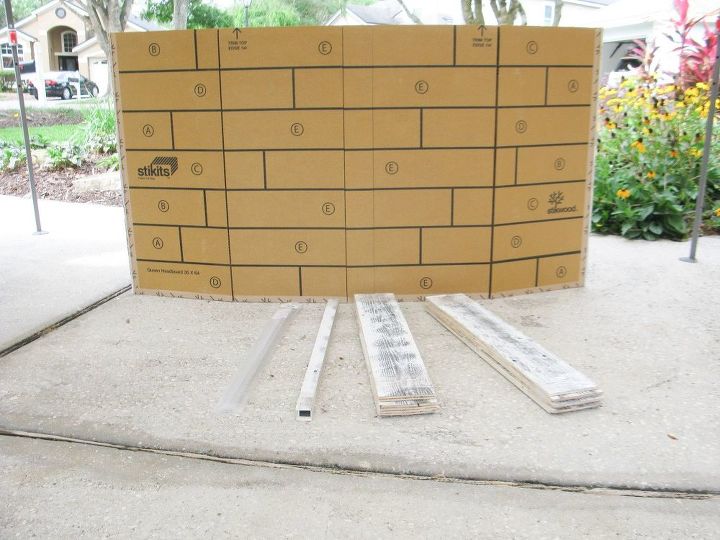
We decided to try a DIY headboard kit from Stikwood. They manufacture peel and stick reclaimed wood planks. Honestly, we have had so much going on lately, the box remained unopened in our garage for weeks. We thought that this headboard project was going to require a lot of our time to construct, so we wanted to make sure we had an entire day cleared before we started.
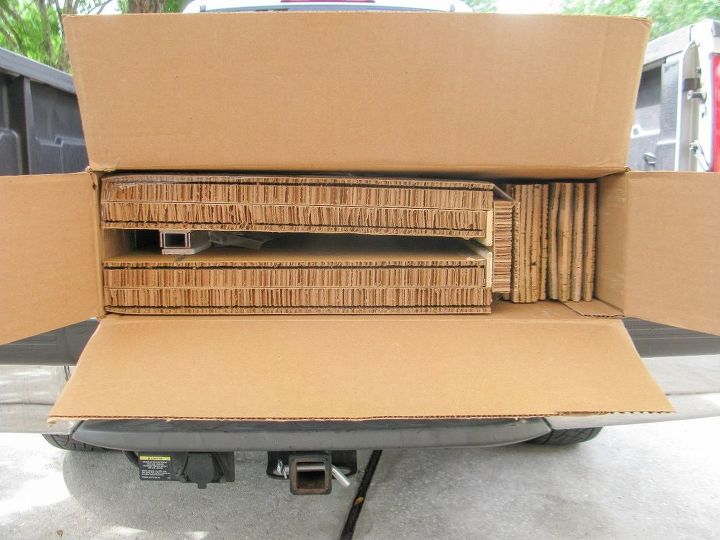
When we opened the box and saw the contents we were both so surprised that not only was everything nicely organized and labeled for us, we immediately knew this wasn’t going to be another DIY project that would consume our entire day to build. Yay! I love projects like this!
To tell you the truth, when we first saw the reinforced cardboard, we were a little concerned about quality. After all, DIY’ers like us are used to working with a lot of sturdy and reliable wood, using hammers, nails and drills to construct and build projects. However, we were truly amazed how strong and firm the reinforced cardboard was and thought “Why didn’t we think of that?”
Let us walk you through the quick steps to show you how we finished this DIY headboard in 15 minutes.
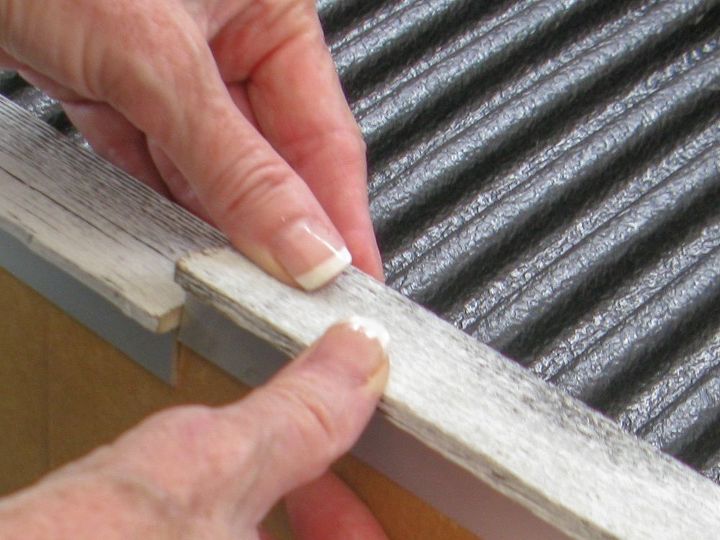
STEP 1
Press on the the two pieces of wood trim that are provided in the kit. The side trim was already installed.
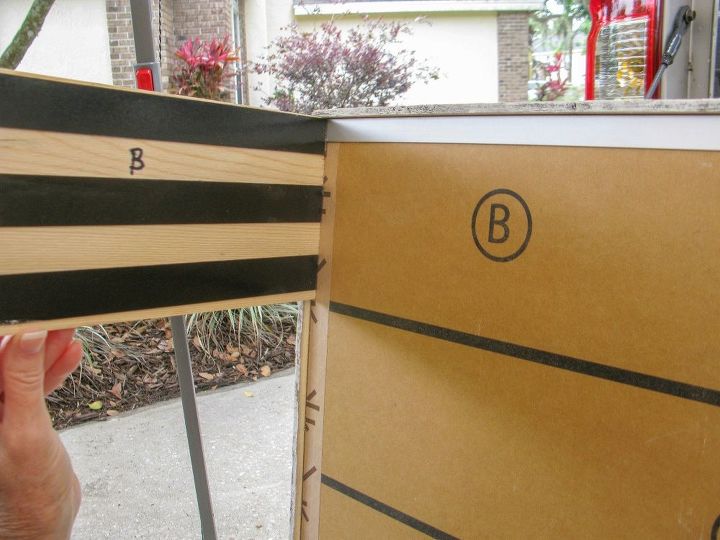
STEP 2
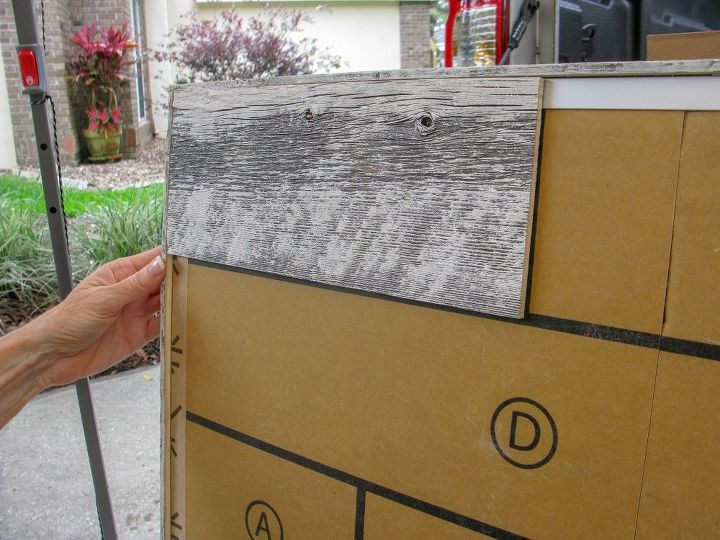
Starting in top left corner, take the corresponding labeled reclaimed wood plank and peel off the 3 strips of paper.
Firmly place plank on the corresponding labeled letter on the headboard. We ended up laying the headboard on the ground to stick all the other planks on. This way we could put more weight on the planks to ensure that they adhered well. Although the reinforced cardboard is strong, we wouldn’t advise standing on or putting your entire body weight on it. Simply continue the process until all the planks have been applied.
Voila! You have now learned how to make a headboard in 15 minutes! Now, all we need to do is hang it on the wall. Visit our blog post to see step by step instructions to hang the headboard.
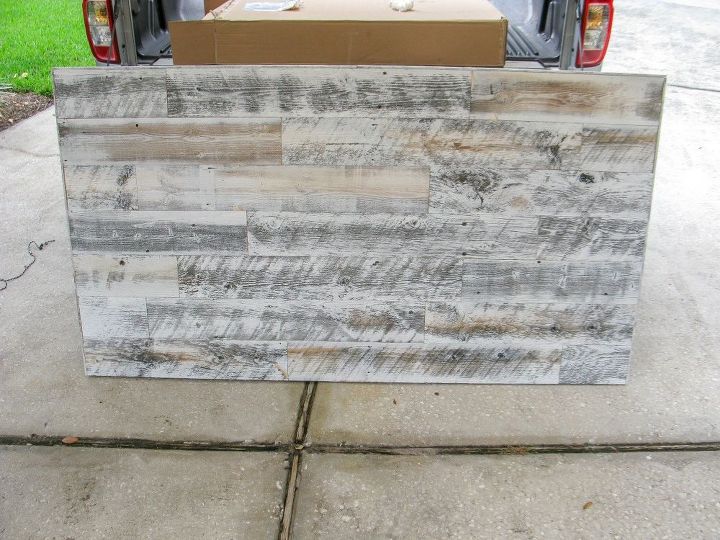
These kits come in weathered wood, white wood, gray and Sierra Silver. They will even send you samples if you can’t decide.
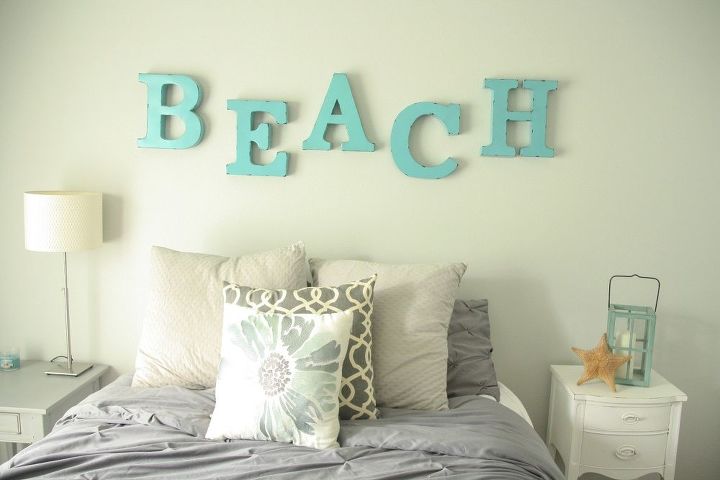
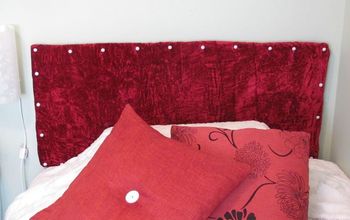
Here is the before photo without our reclaimed weathered wood headboard.
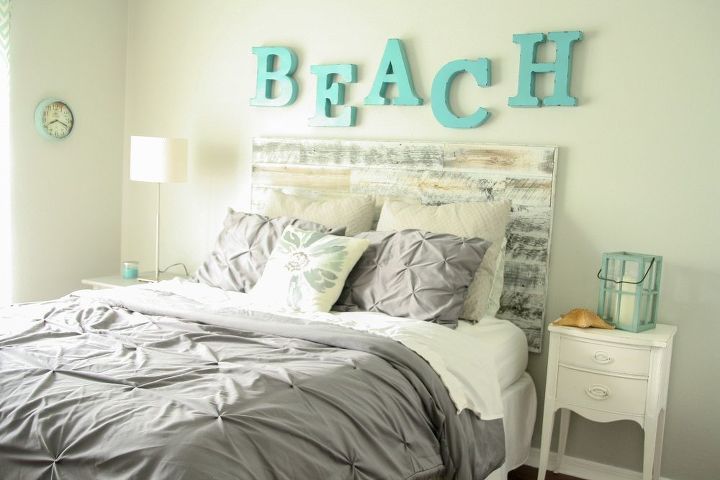
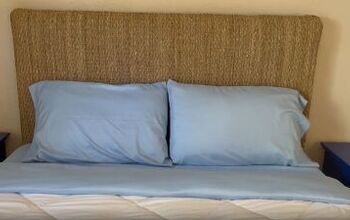
Here is the after photo. We absolutely love it and feel that we have added a dreamy rustic element to our coastal guest bedroom.

If you visit Stikwood's website and find that you aren't up for paying for convenience. Why not try the same thing with MDF board and peel and stick wood planks you can pick up at your local home improvement store? We would love to hear other ideas of how you can DIY this yourself using other materials.
Resources for this project:


Any price and availability information displayed on [relevant Amazon Site(s), as applicable] at the time of purchase will apply to the purchase of this product.
Hometalk may collect a small share of sales from the links on this page.More info

Want more details about this and other DIY projects? Check out my blog post!
Comments
Join the conversation
2 of 22 comments
-
Wow! Finally a project anyone could do, and it looks great!
-
I was going to try it but the cost is way out of my price range. I did a large wall in my master bedroom with reclaimed shiplap lap for that price.


Frequently asked questions
Have a question about this project?
How thick was it when finished?
very nice but pricey? $350.00? Looks very good though!
Looks good, but $399.00 for cardboard and peel and stick? You can buy a real wood bed frame and headboard.