


DIY Shiplap-Staircase Organization Bench (VIDEO)

10 Materials
$400
5 Days
Medium
How to build an organization bench with a shiplap wall!
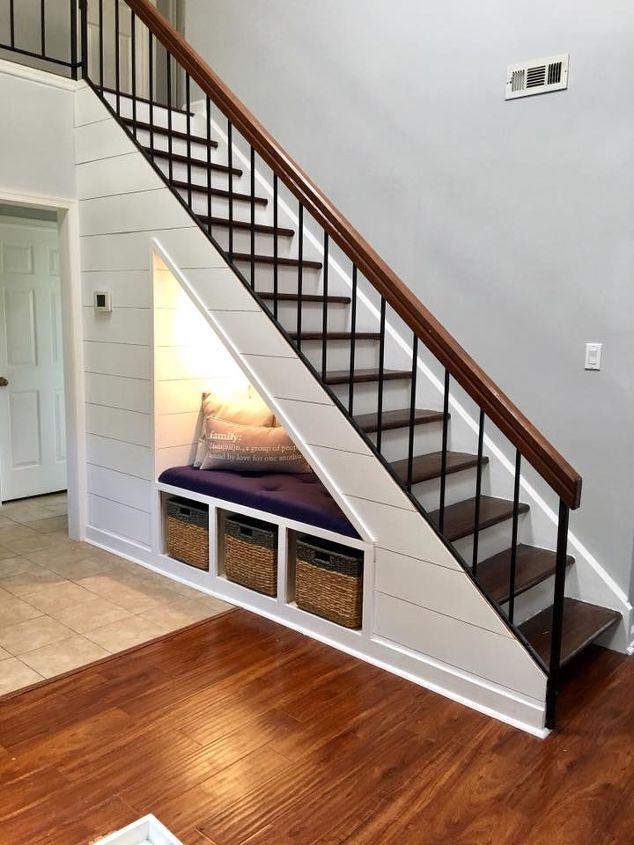
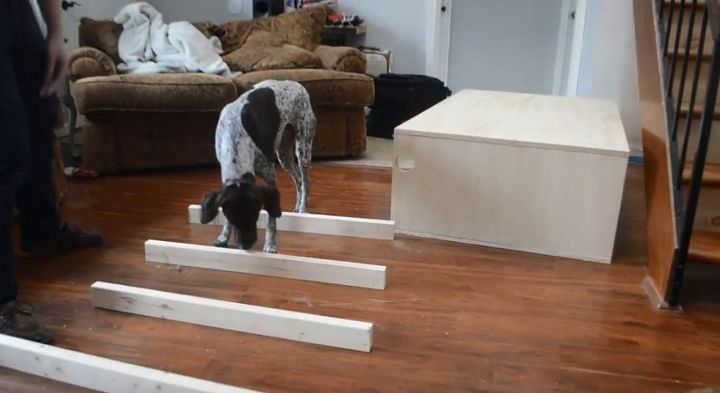
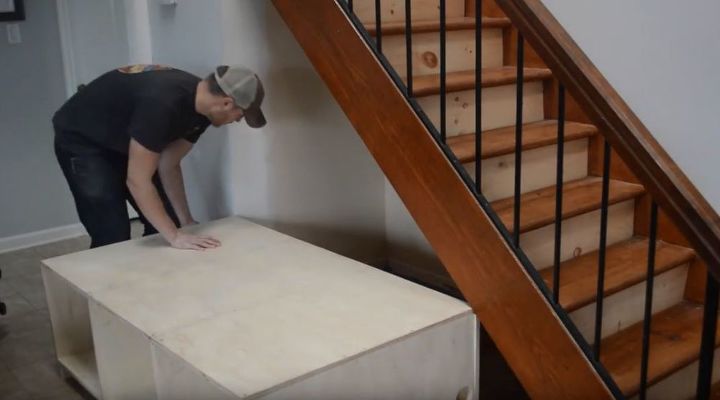
I took a negative space under my stair case that had no real purpose besides collecting dust and unwanted boxes. We needed a place to sit down to take our shoes off/ organize and random dog stuff. Thus this plan was born!
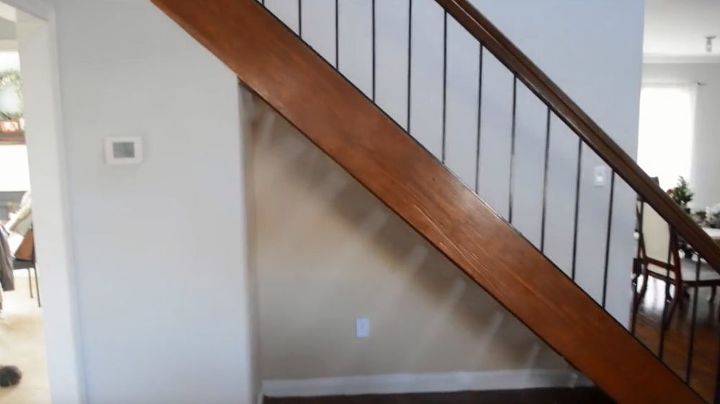
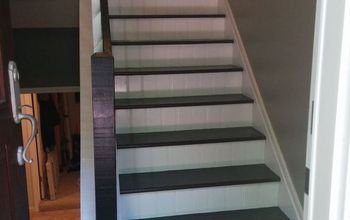
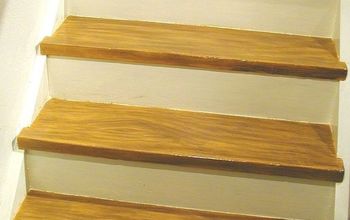
Before:
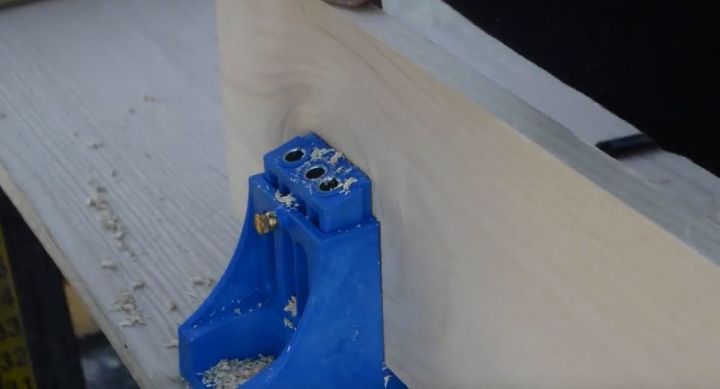
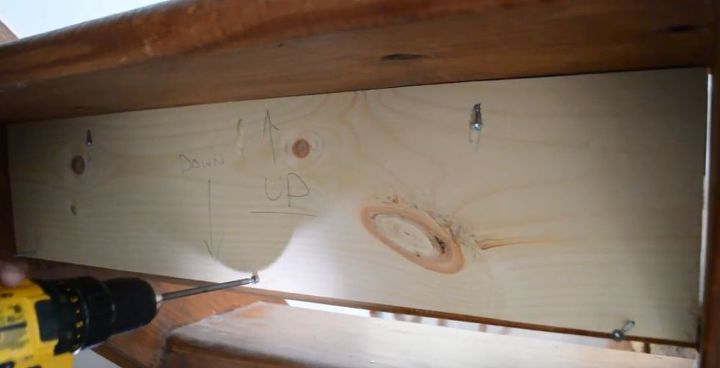
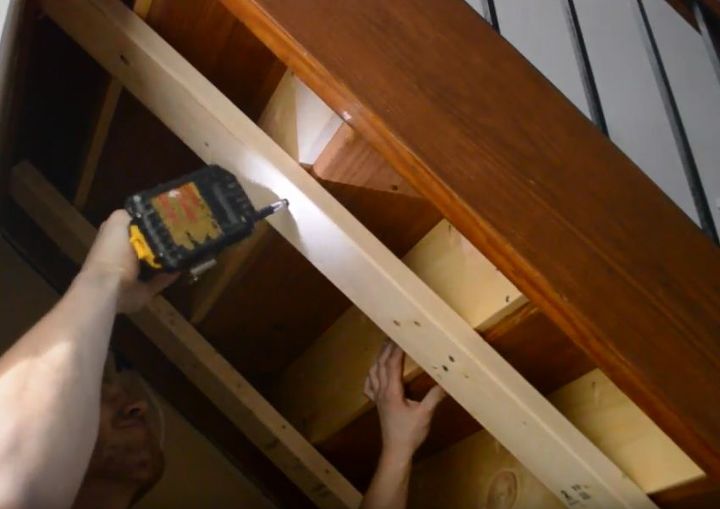
Getting started I bought some 1"x8" select pine at the local hardware store. using the kreg jig to cut slots for my screws to sit in for the treads of the stairs (this closes the staircase up)
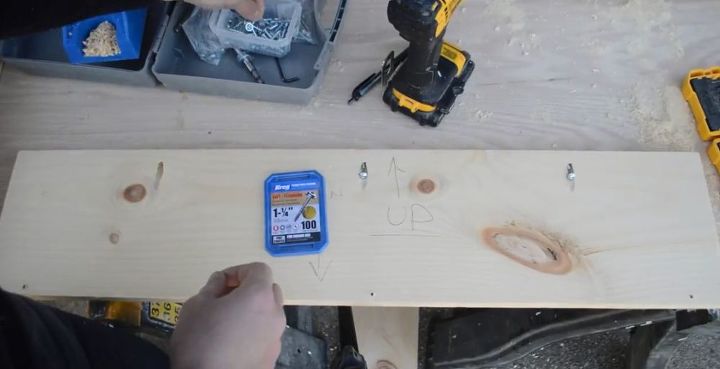
Drill 3 kreg inserts and 3 regular screw inserts this will hold tightly to the stairs
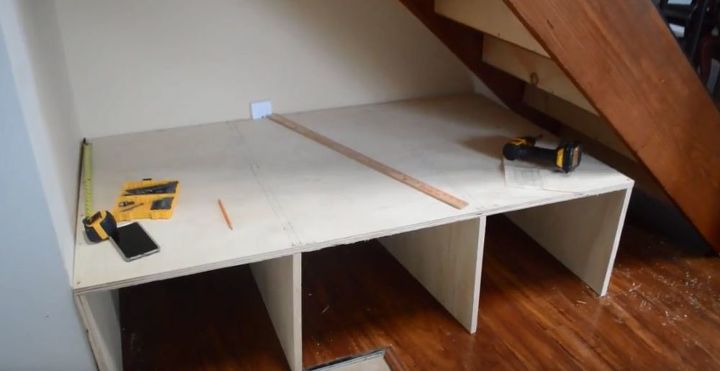
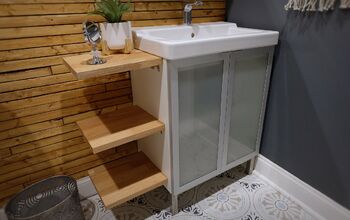
Using 2 pieces of 4'x8'x3/4" ply wood, I cut everything there at the store using my plans I drew up. The two sheets cost around $45 a sheet. I laid out 4 vertical pieces that will serve as dividers for the baskets. I figured this bench will sit approximately 20" off the ground
Once I screwed all the boards in I cut a 2" hole on the backside so I can accommodate any extension cord from the outlet behind the bench. This will come in handy if you want to string up lights on your railing
here's a picture of how it snakes through the bench
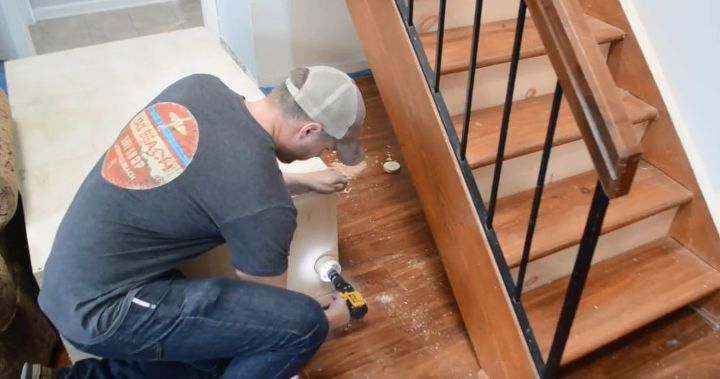
the base board is approximately 3.5" so I needed to lift the bench up to accommodate the baseboard using 2x4's
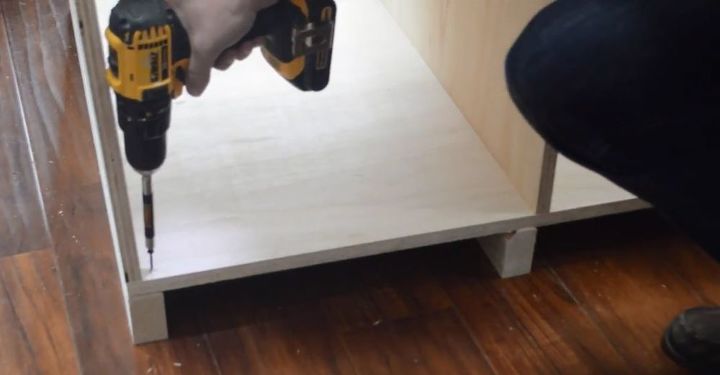
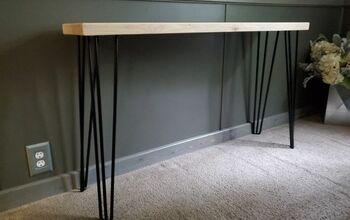
Now that the 2x4's are screwed in I was now able to slide the bench into its final resting spot. The bench will get trimmed out with select pine ripped down to 1.5" to cover any rough edges
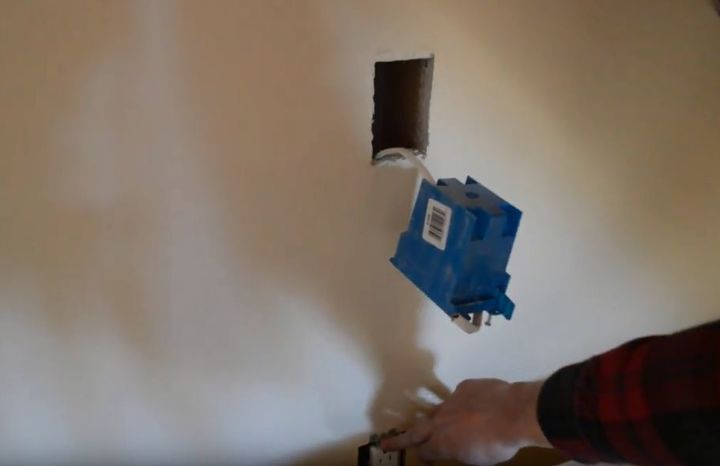
To add a light under the stairs I worked off the existing outlet I mentioned earlier to add a paddle switch
Screwing in studs, this is where the recessed light housing and drywall will attach too.
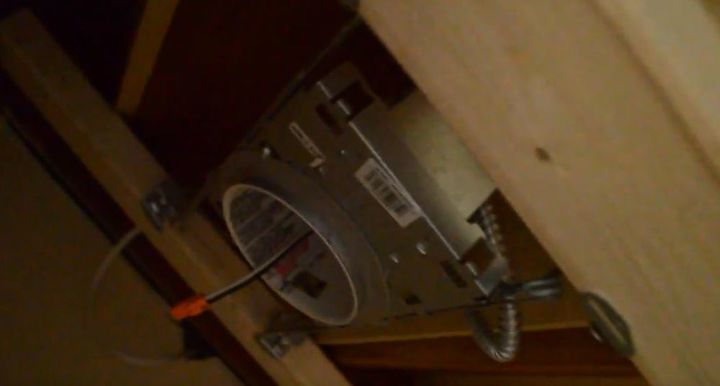
Recessed housing will be wired up coming from the paddle switch on the wall snaked through the 2x4 studs
Once the housing is in place the dry wall call be screwed in to the studs. Being careful not to lose where the housing is located, cut a hole to insert the light
Adding the base board and trim using the select pine will cover up the rough edges of the ply wood
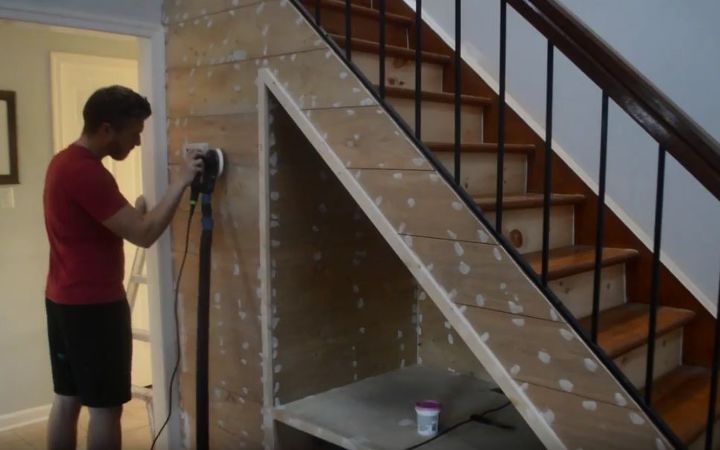
The final step is to add all the 1.5" trim and base to the bench. This will clean up all the rough edges and gaps between the bench and the nook. The ship lap is 4'x8'x1/8" ply ripped down to 7.5" strips (the size of real shiplap). These pieces are leveled and nailed to the wall patching with spakle in a later step (WATCH VIDEO FOR MORE DETAILED INSTRUCTION)
{
"id": "4842049",
"alt": "",
"title": "",
"video_link": "https://www.youtube.com/embed/H6SXz8GnvZg",
"youtube_video_id": "H6SXz8GnvZg"
}
{
"width": 634,
"height": 357,
"showRelated": true
}


Any price and availability information displayed on [relevant Amazon Site(s), as applicable] at the time of purchase will apply to the purchase of this product.
Hometalk may collect a small share of sales from the links on this page.More info
Comments
Join the conversation
2 of 56 comments
-
BEAUTIFUL!!!!!!
-
Love that! I wish a had that!


Frequently asked questions
Have a question about this project?
Amazing project! Hope you post some more here! Love the GSP logo, do you have a storefront?
How small does a person have to be to park in there and read a book?
Will you come and live at my house for a couple of weeks and do a bunch of projects for me? LOL Your idea under your stairs is brilliant! Great job!