


Something Old, Now Something New

6 Materials
$15
6 Hours
Easy
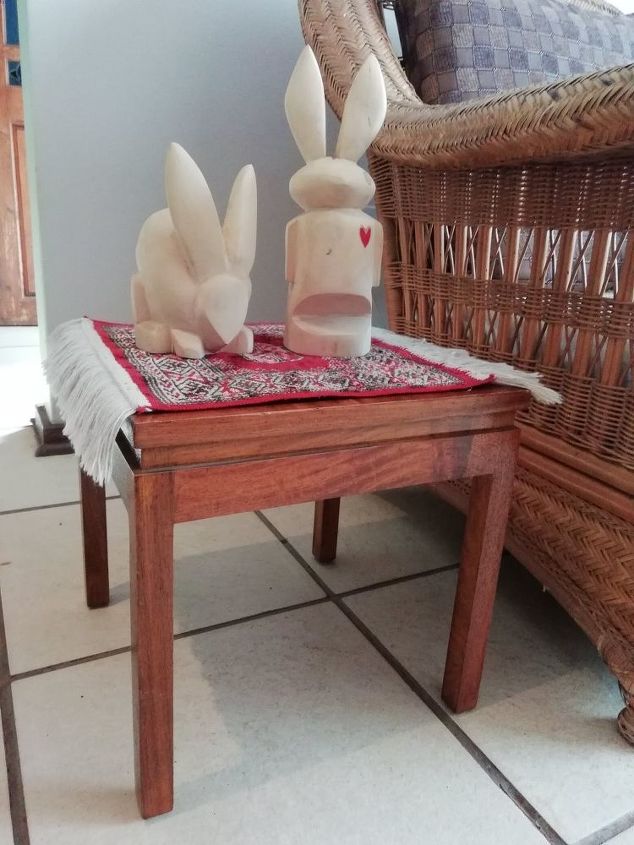
My daughter has been on the look out for a new stool for her dressing table. However, finding one with the correct height, look and price is not so easy. So I got an idea...convert this little occasional table I have - origin long forgotten - that really is just there - well, because it's there and it gets moved around the house a lot.
First thing, bounce the idea off her, she's enthusiastic and asks for the colour of it to be grey and it must have a fluffy cushion...Secondly, she had to sit on it in front of her dressing table so that I could see how high the foam seat needed to be - more or less, approximately, a relatively accurate estimation...
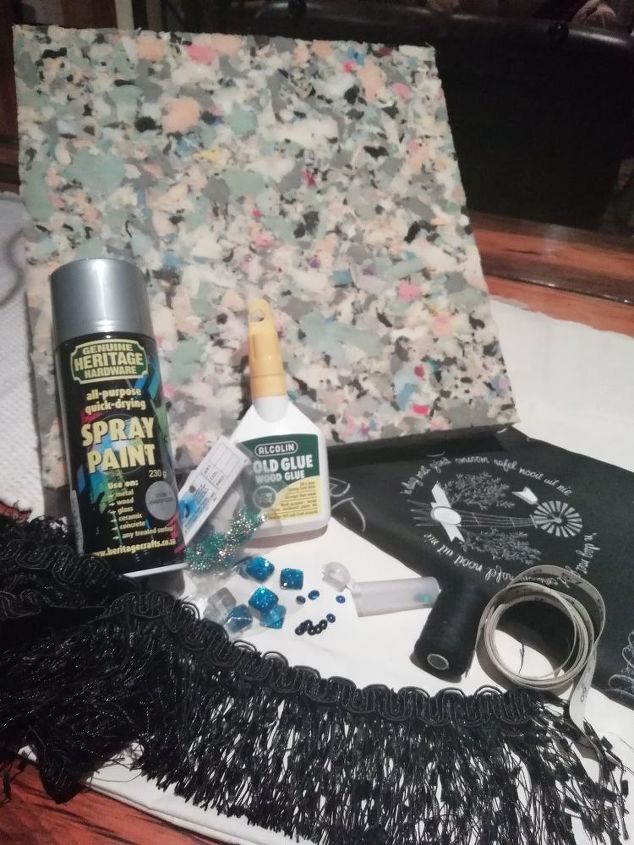
At a local material shop I was able to get recycled high density foam and had it cut to size.
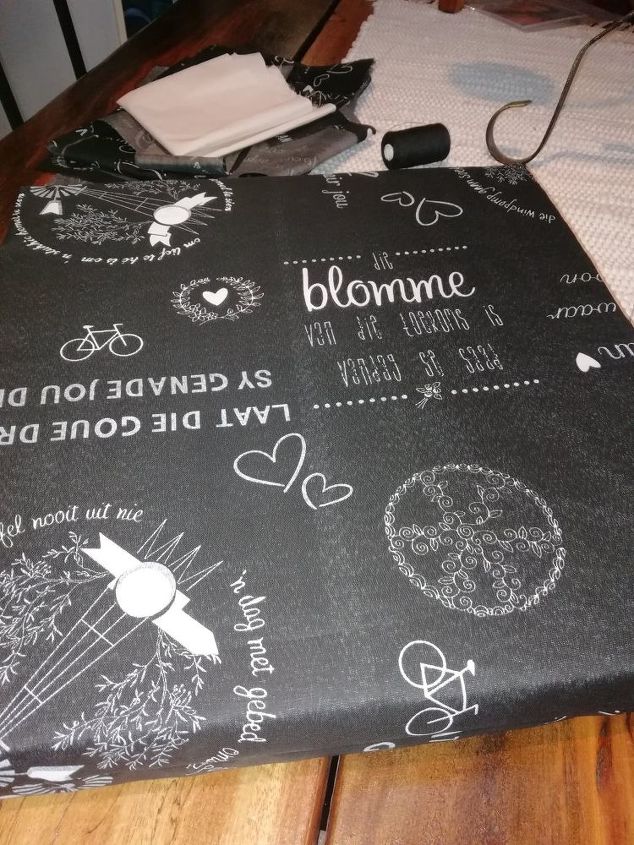
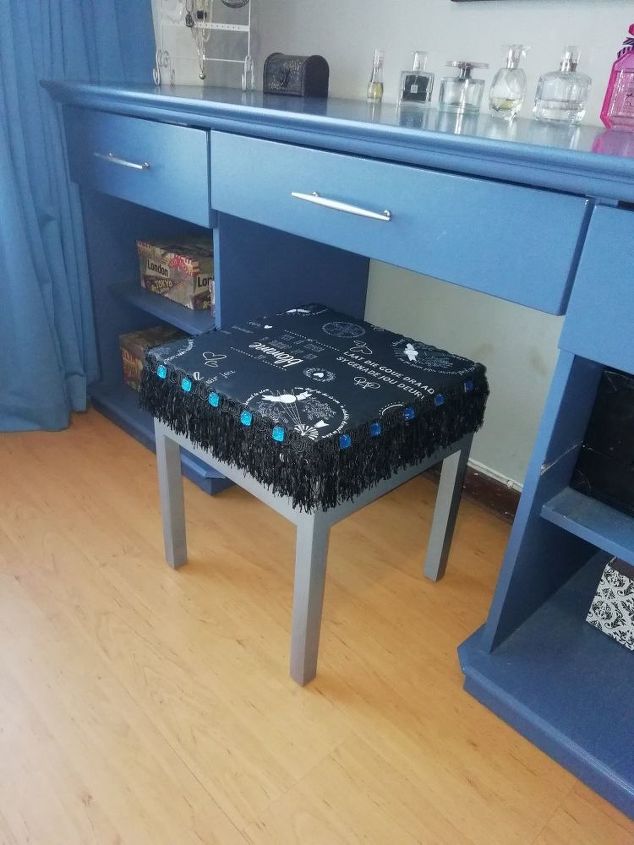
We bought 40 inches of black printed poly cotton (which was on sale) some fringe and blue, shiny beading. The fluffy material faux fur she was after, was way to expensive so she settled on this black material with white inspirational wording in our native Afrikaans language.
Next stop was the hardware shop for grey spray paint, but again, the plan changed into silver, which has a 'hammered' effect when dry.
Scrap material to cover the foam, cotton, glue, sandpaper etcetera I already had at home.
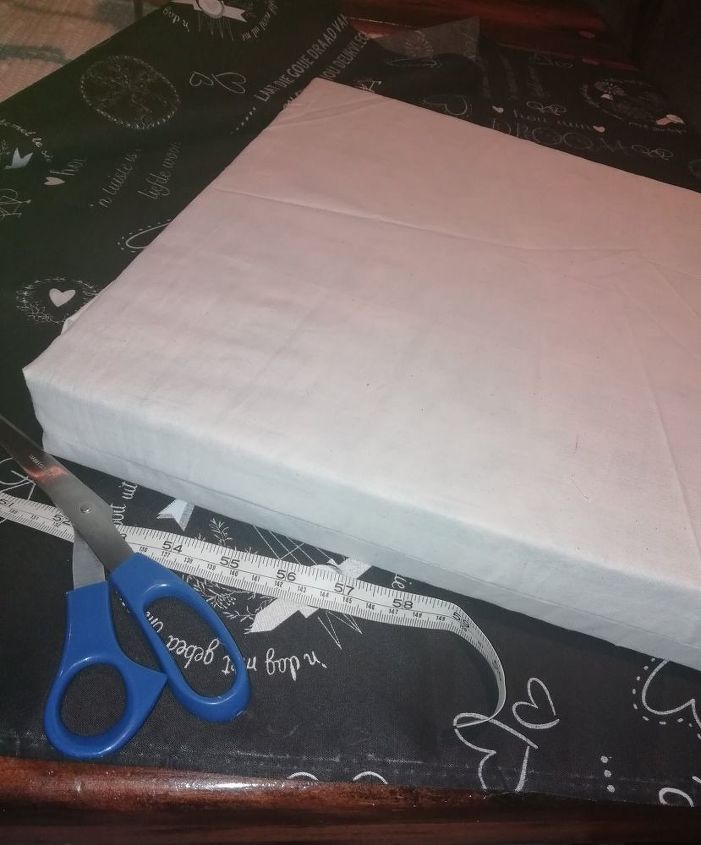
There was enough scrap material to cover the foam. I preferred to do this as this recycled foam tends to be a bit rough to the touch and can break apart easily, so why not give it a double layer of material for a smoother seat.
It was like wrapping a present, getting the ends to meet - half of the seams were done by sewing machine, and the rest by hand.
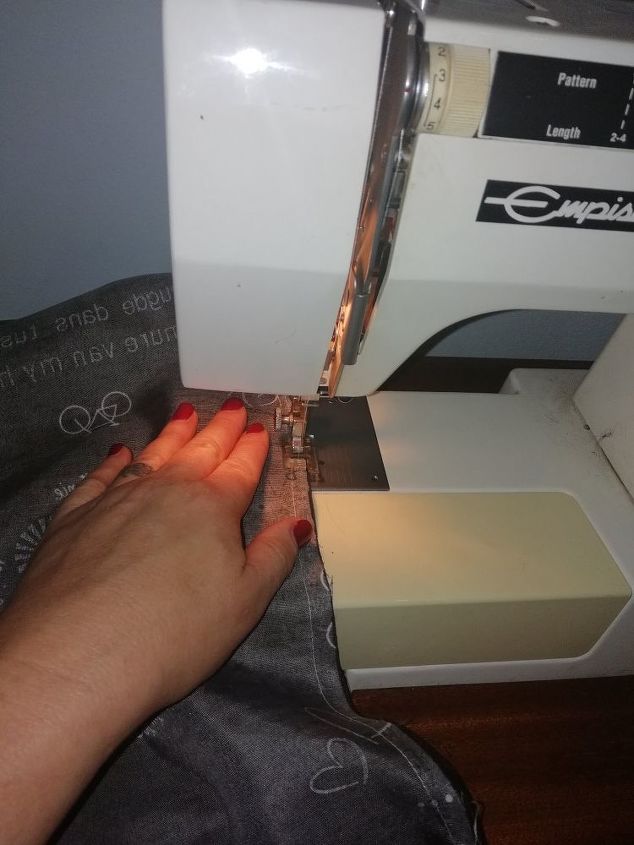
I decided to make the outer cover in the same way - not doing it the proper upholstery way - with tacks and all that. This cushion was going to be loose, sitting on top of the stool so that it can be re-covered or disposed of at any time and also the stool can turn in back to a little table.
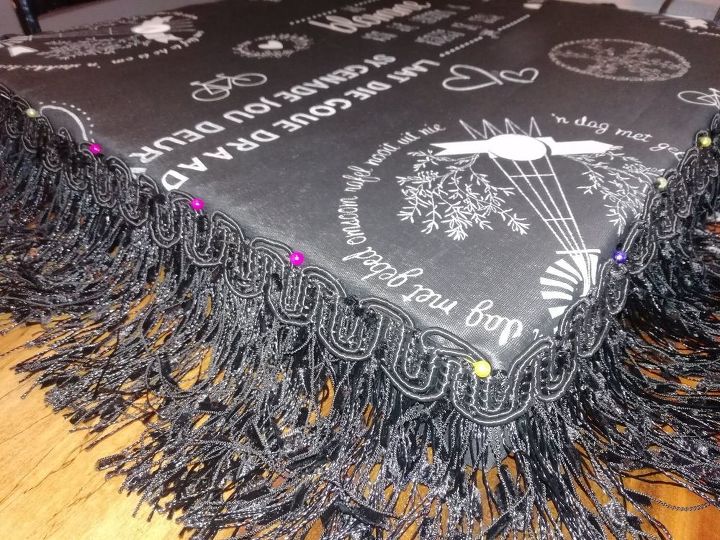
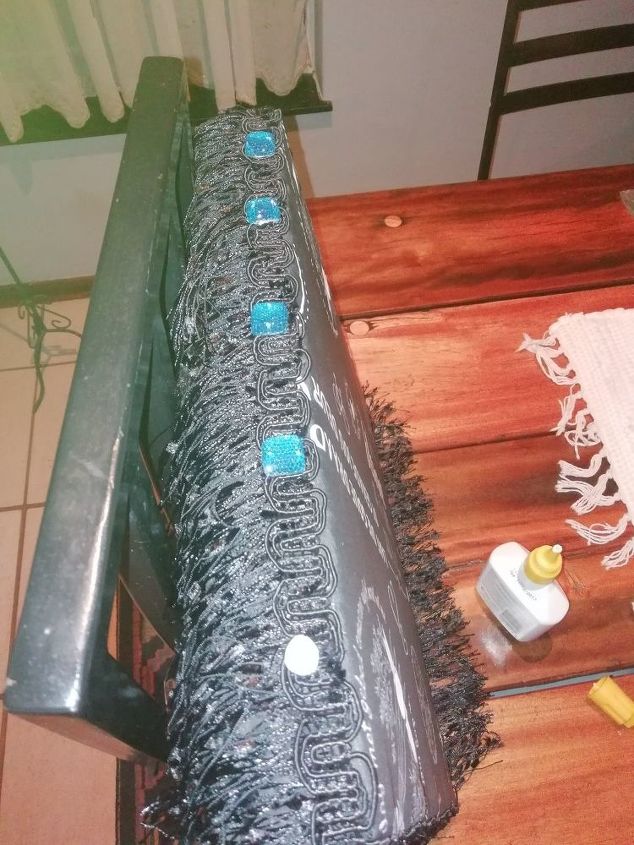
Cover done, the fringe was pinned to the top edge and hand sewn. The beading however, had to be glued on as the surface is now tight and in place. I used wood glue - I find it is less visible and works better on material than a hot glue gun. Only drawback is that wood glue takes longer to dry.
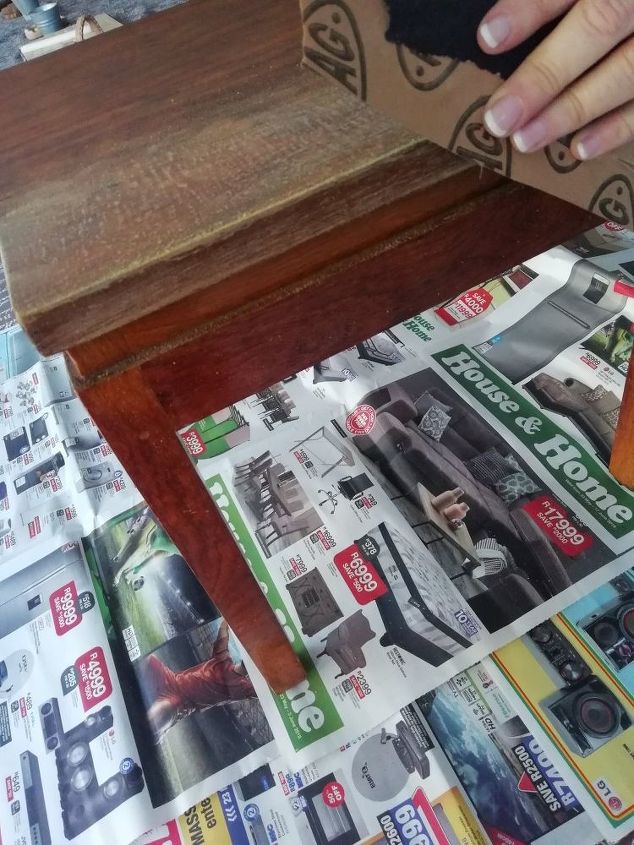
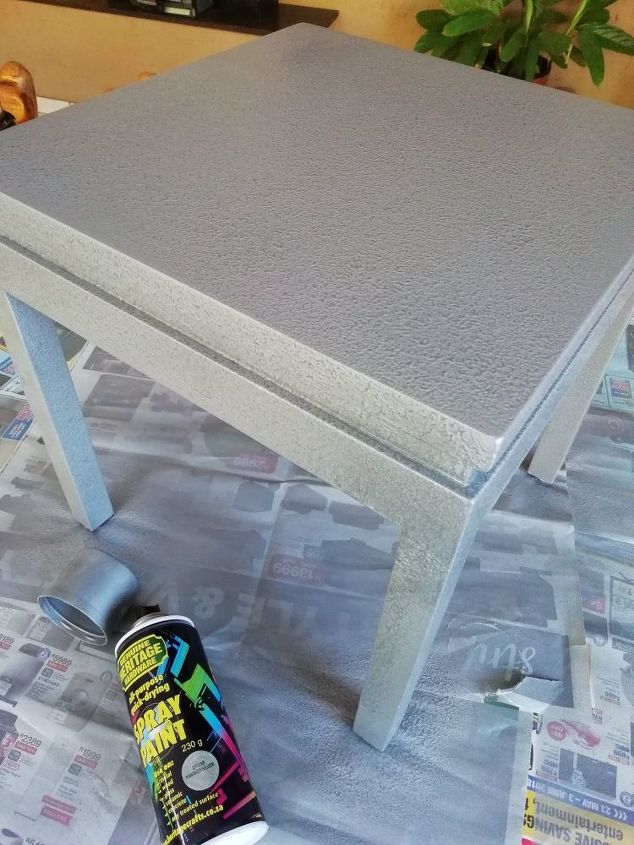
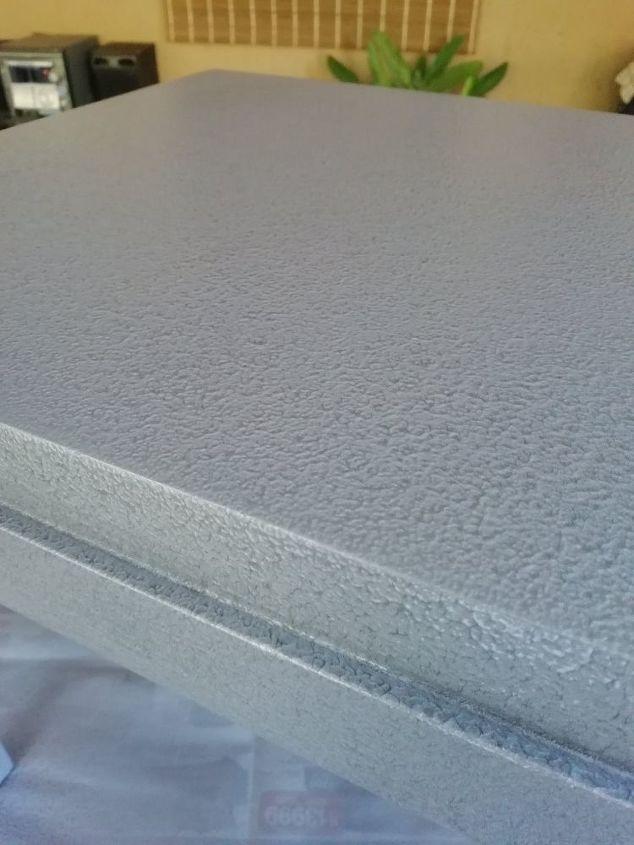
The table was then sanded lightly and spray painted. This was a quick process, maybe 30 minutes in total. When dry, it looks like hammered metal.
And there we have it...a perfect fit for the dressing table, without spending a fortune.

Resources for this project:
See all materials


Any price and availability information displayed on [relevant Amazon Site(s), as applicable] at the time of purchase will apply to the purchase of this product.
Hometalk may collect a small share of sales from the links on this page.More info
Comments
Join the conversation
2 of 17 comments
-
what an awesome job! That hammered paint was perfect for this and I really love the fabric and fringe. The 'jewels' connect the whole thing. Thanks so much for sharing this!
-
Well done and if she decides later she wants a table or simpler cushion you can do a different top....you will still have the hammered table.


Frequently asked questions
Have a question about this project?
I like that hammered look paint.....where to buy it??? I might try it. My Moms had hammered pots and pans.
I also would like to know where to get this paint and what exactly is is called. Great idea and the material and fringe are perfect. Beautiful!