


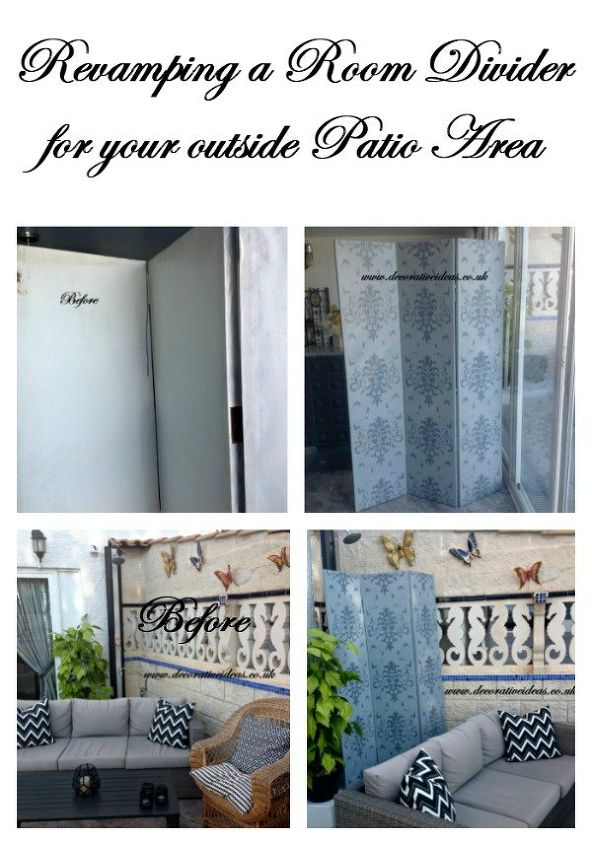
Room Divider Makeover

by
Denise Hardy
6 Materials
$38
2 Days
Easy
A Room Divider - you have heard of these, but perhaps you have never considered them to be an alternative when it comes to using them outside?
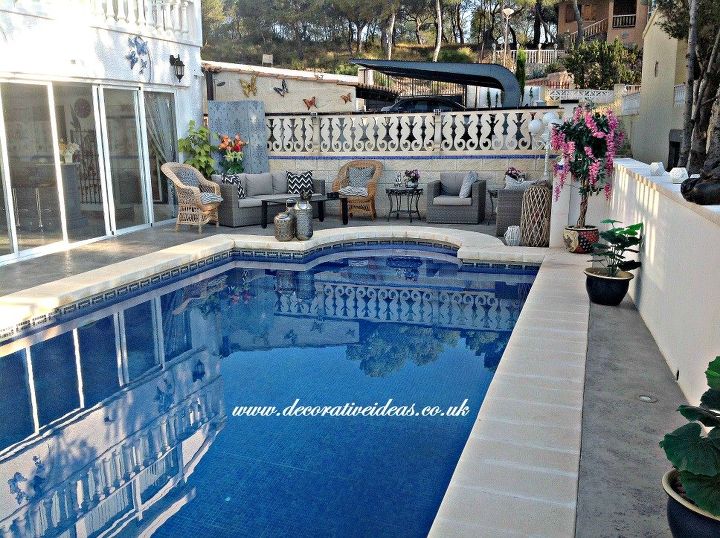
We live in a villa in Spain and have a swimming pool and an outside shower, but we don't want to look at the shower all the time when we are chilling. So, I was wondering what we could use to hide it as and when we want. I then came up with the idea of using a Room Divider, but didn't want to pay a fortune for it. In Spain we have lots of Chinese shops and everything they sell is quite cheap. I went to have a look for one and they had one with a nice print on it for 49.99 euros. But..... unfortunately we had a lot of rain one day and we forgot to bring it inside and it didn't have a protection coat on it, i.e. varnish.
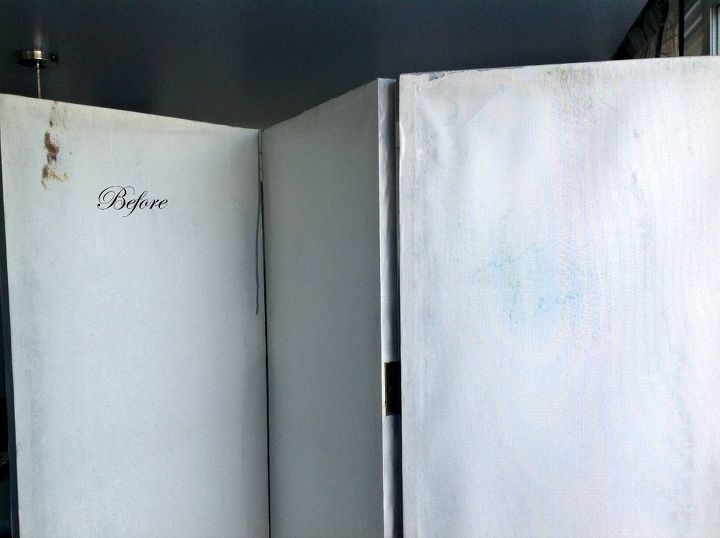

Anyway, needless to say, it got damaged in the fact that the rain washed away all of the print!. I decided to re-paint it in Rustoleum Winter Grey. First of all I cleaned the Room Divider with water and washing liquid and let it dry (approx. 1 hour).
I already had some of this paint leftover from another job so it cost me nothing. I put two coats on and left overnight.
I have a large table and placed a piece of 'oil cloth' on the table to protect it and placed the Divider on it. I then placed the stencil on the Divider and taped it with some Blue Masking Tape, which I already had from previous jobs
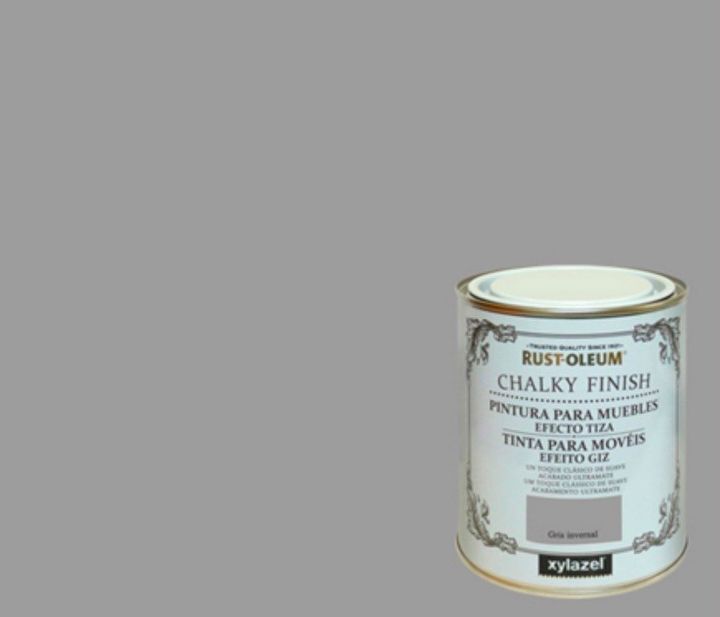
Rustoleum Chalk Paint Winter Grey
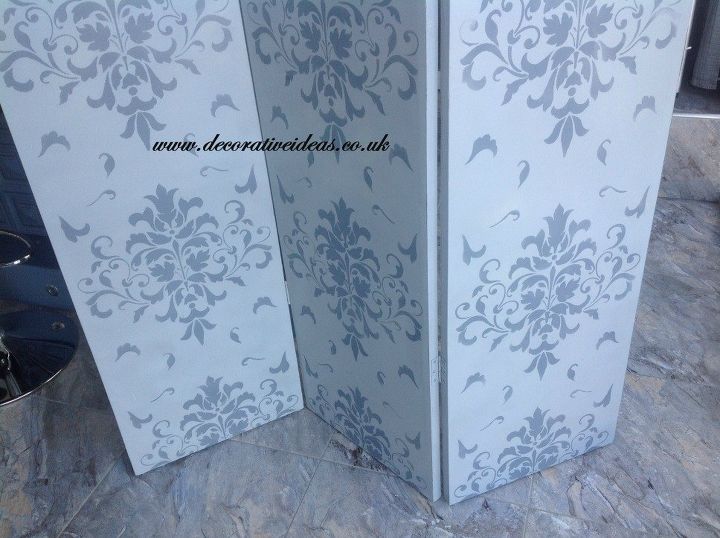
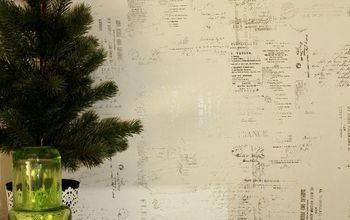
The next day I completed the stencilling which I purchased The Foliate Damask Wall Stencil from the Royal Design Studio - Standard Size which is 18.75" x 18.75" and put that on the Divider. It was very easy to do.
I used a paper plate and put some Kitchen Roll on it and put small amounts of paint at a time on top of the kitchen roll to enable me to keep dabbing in the paint and then dab some off on the kitchen roll - you don't want to have too much paint on your stencilling brush as it might leak underneath and spoil your stencilling. I used a darker grey for the stencilling which was an Artist's Acrylic Paint, which you can purchase at most craft stores or art shops. Again, I already had this in my 'stash'.
I would always recommend proper stencil brushes - see below
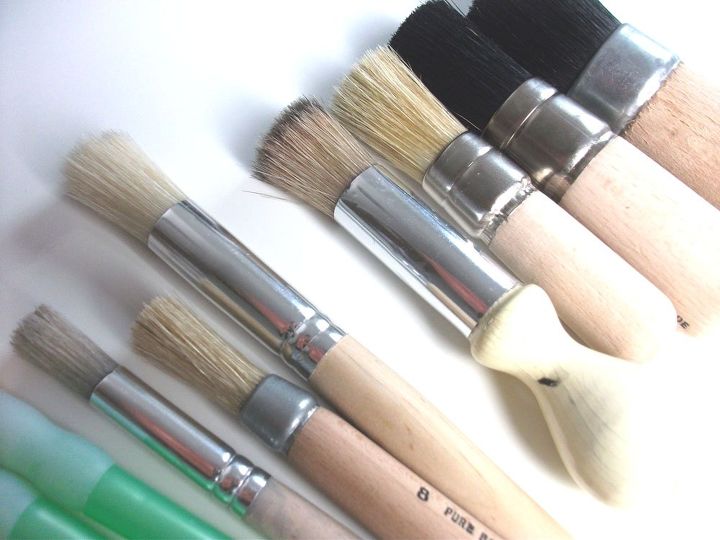
You could also use a 'pouncer', a roller or a sponge if you prefer

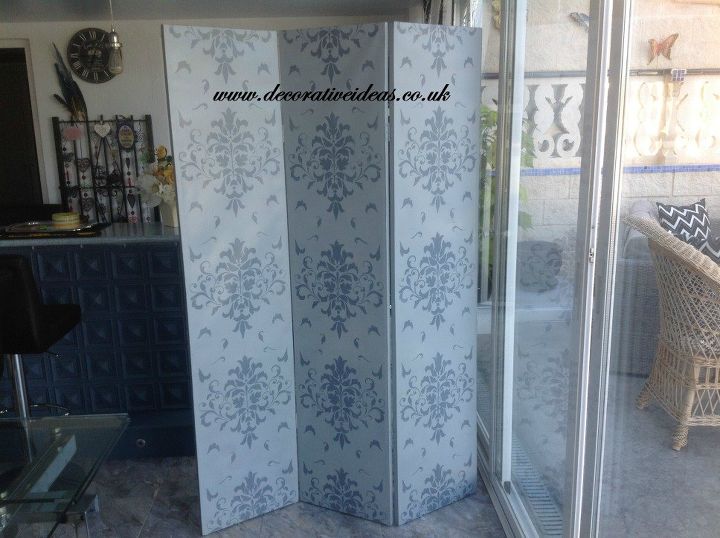
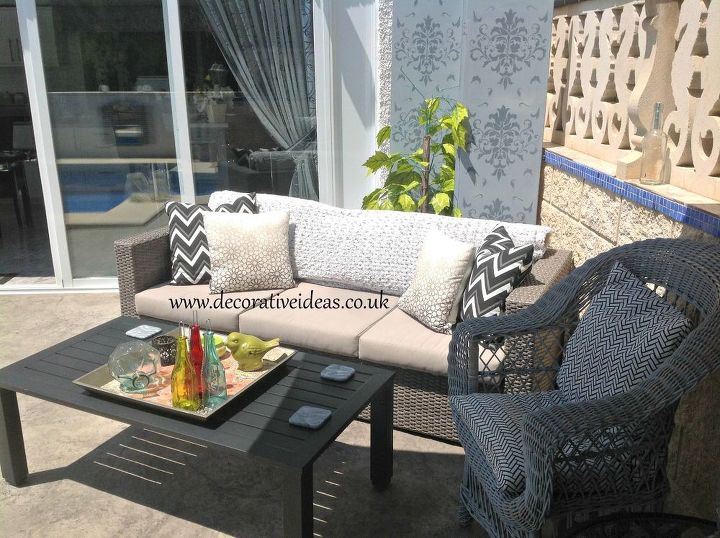
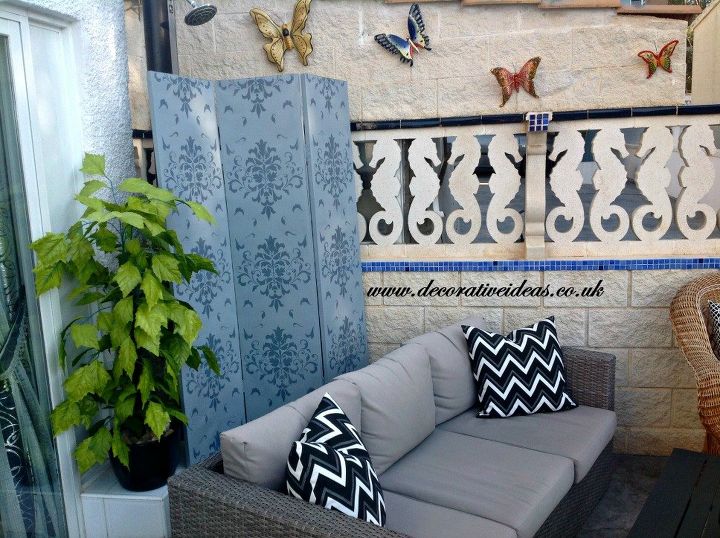
A few photos of the 'Before' and 'After' of the Room Divider in place around the shower/pool area.
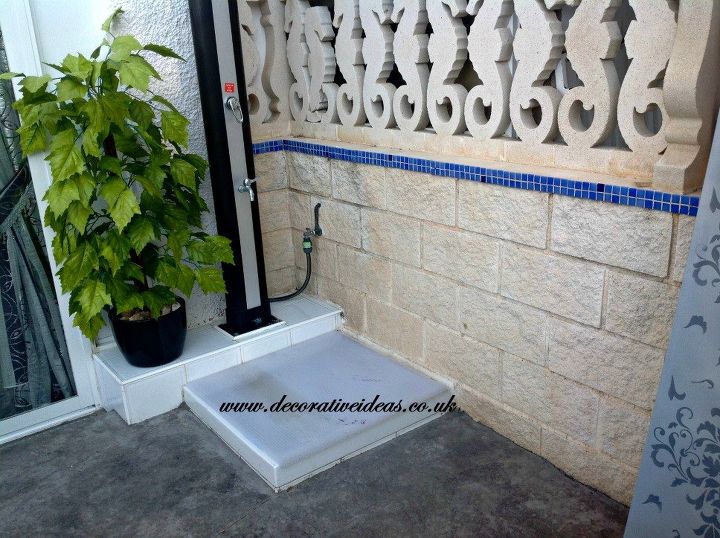
Before
Before
I Thought you might also like to see the pool lit up at night. A couple of more photos - one in the evening and one in the day. We had three lights put into the ground when we had the new pool wall constructed and a couple of weeks ago I purchased 3 'window like' mirrors and we placed them above each light. The lights come on with different colours and shine on each 'window' (mirror) - I think it looks very effective. I hope you do too?
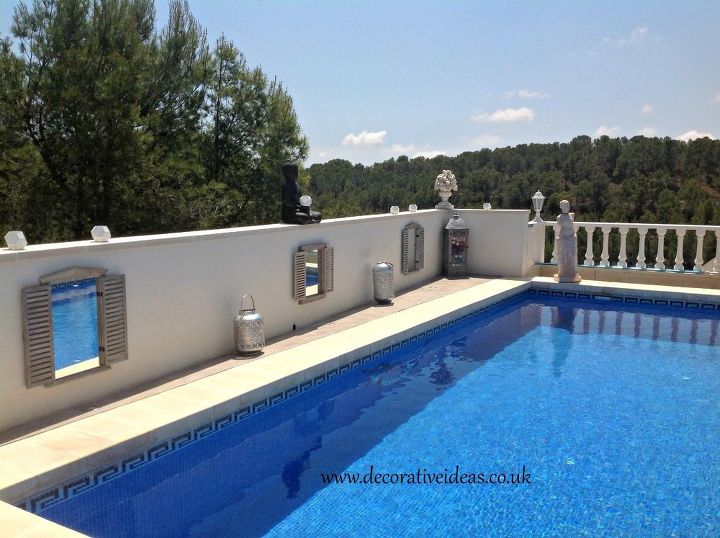
Pool Area in the Day

Pool Area at Night


Any price and availability information displayed on [relevant Amazon Site(s), as applicable] at the time of purchase will apply to the purchase of this product.
Hometalk may collect a small share of sales from the links on this page.More info
Comments
Join the conversation
2 of 11 comments
-
OMW, that looks incredible Denise. Beautifully done
-
Thank you Michelle :)


Frequently asked questions
Have a question about this project?