


DIY Birdcage Light Tutorial *BUDGET FRIENDLY!*
I love good design...I just don't typically love the designer price tags. I've been crushing big time on birdcage lights but some are selling for $400! What?! So I created a $40 budget friendly alternative!
Hi! I'm Jenn. I buy old, ugly, and neglected houses & flip them all by myself. It's a crazy, DIY life, but I chronicle all the shenanigans at my blog, The Bachelorette Pad Flip. I hope you'll follow along!
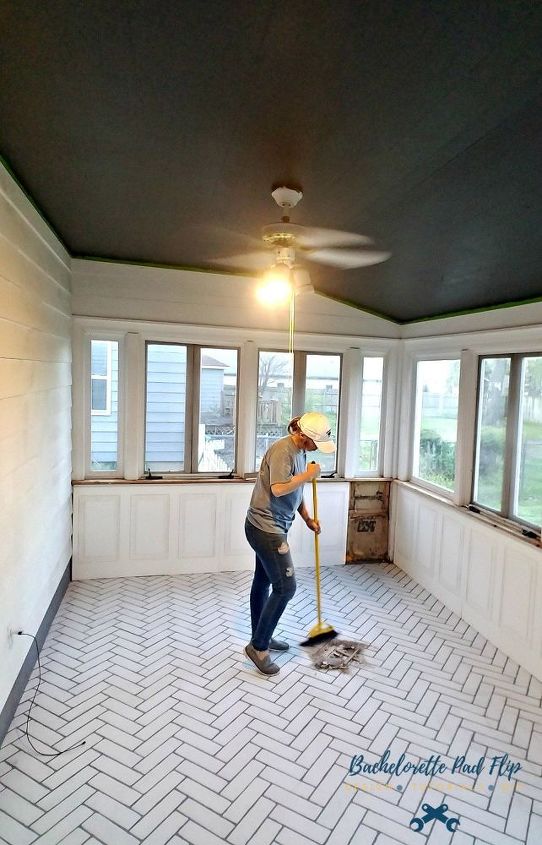
As part of my One Room Makeover makeover (check my blog to see the full reveal!), I wanted the dated brass ceiling fan to go. It wasn't bringing any design features to the room. I knew a birdcage light would be the perfect accent!
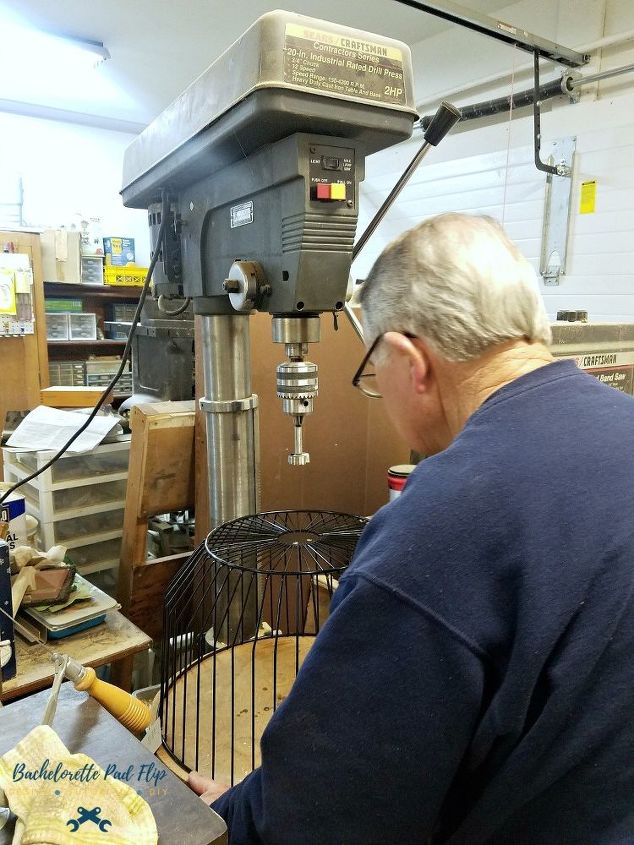
I ended up finding the perfect metal basket (be sure to read my full blog post to find out where!), and I enlisted my uncle to help. He was able to drill out a hole in the bottom of the metal basket...just big enough for a light kit to fit through.
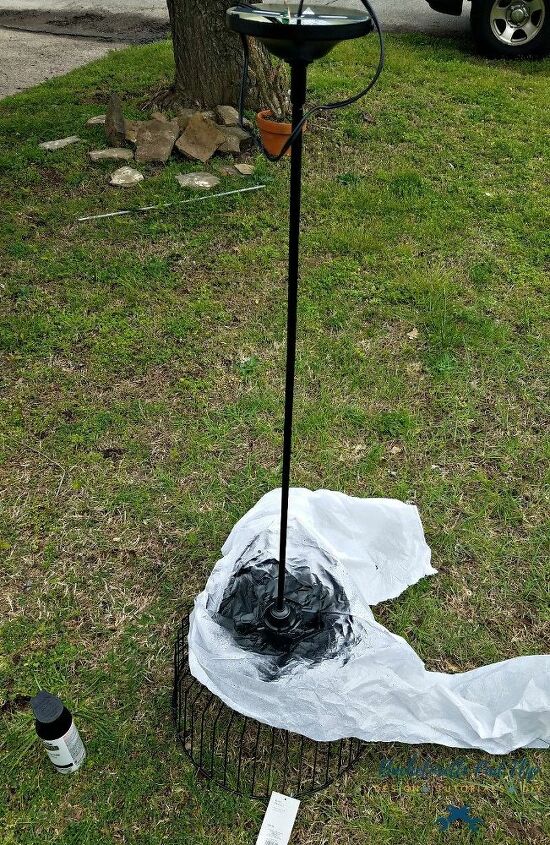
The next step was the spray paint the entire light kit flat black to match the black basket. The light pole ended up being too long, so I removed a few sections to make it the perfect length.
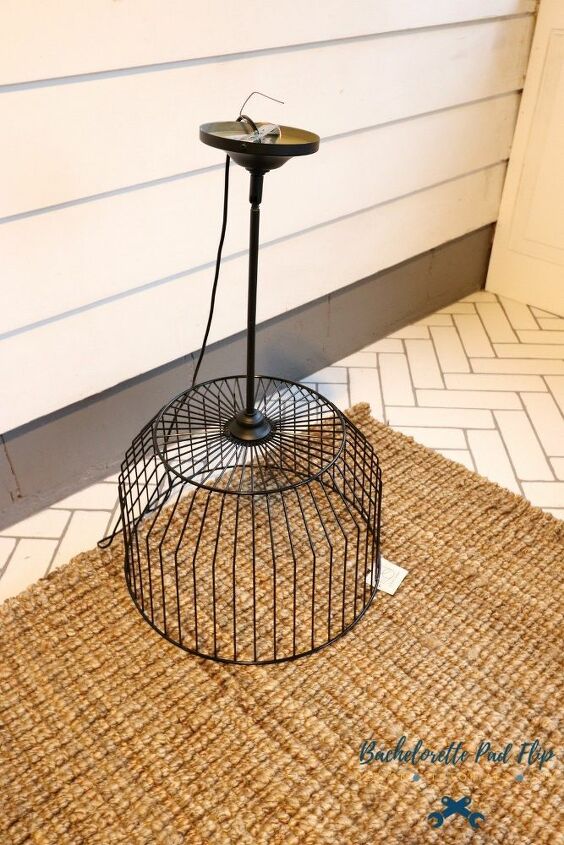
After a couple days of prepping, my DIY light was ready to hang in my newly transformed room! Want to see the final product in the renovated room? Be sure to check out my blog, The Bachelorette Pad Flip!


Frequently asked questions
Have a question about this project?