


Camouflaging a Dated Bathroom Light Fixture
4 Materials
$15
4 Hours
Easy
I needed a quick inexpensive way to update a very dated lighting fixture that also happened to be off-center over the vanity. Since replacing it wasn't in the budget, I opted for camouflaging the fixture with a DIY light cover that cost less than $15 to make, all without using any power tools!

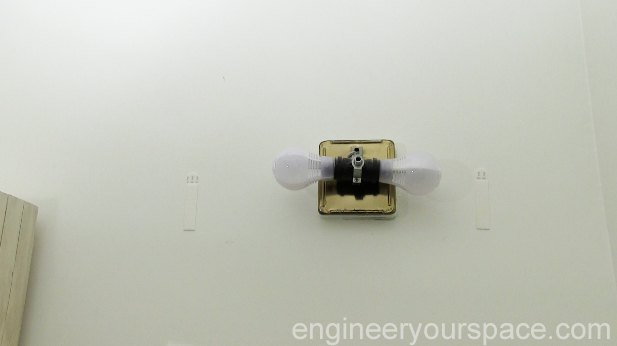
This is what the fixture looked like before. I removed the cover and this left the light bulbs exposed.
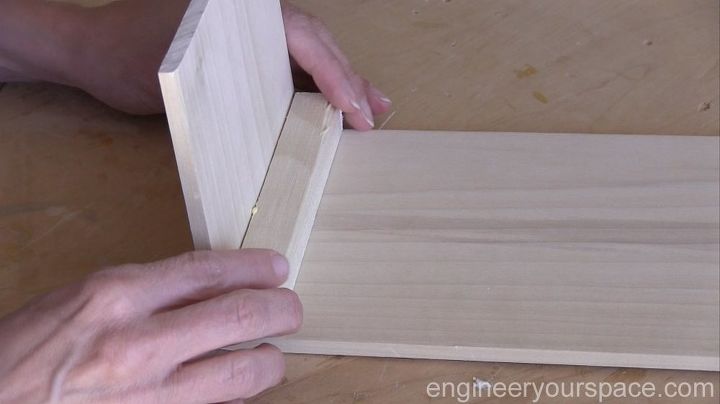
I used 1/4" x 6" poplar boards and 3/4" thick square wood dowels to make the cover. I cut the boards into 3 sections (2 x 4.5" and 1 x18") and cut the dowels into 4 pieces (4 x 5.5") using a hand saw. I used wood glue to attach the square dowels to join the front to the sides (Painter's tape helps to hold the pieces together while the glue dries).
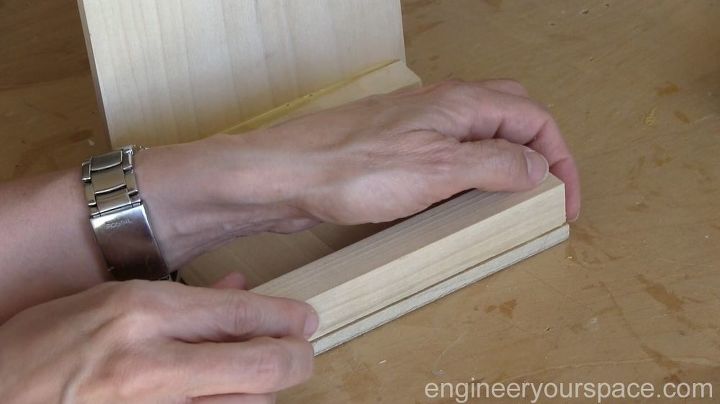
Then I glued the other 2 dowel pieces to the back of the sides.
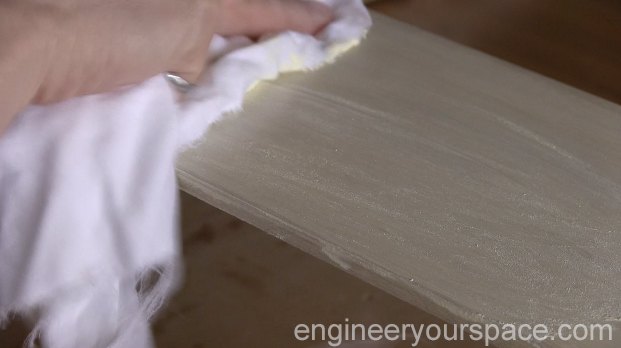
I did a paint treatment using chalk paint, wood tint and white wax from Folk Art Home Decor.
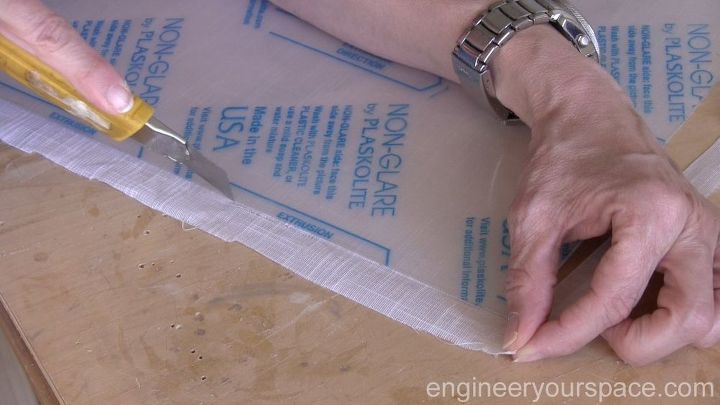
I used a piece of 1/8" thick plexiglass that I covered with fabric (I used Mod Podge to glue the fabric to the plexiglass).
I removed the old cover and placed 3M command strips on either side of it to hang the new cover so that it would be centered over the vanity. The new cover is very light so the strips are fine to hold it (I put the strips on the wood dowels on the sides). This avoids having to make holes in the wall, but you could also use brackets to attach it to the wall. I didn't have a level handy so I ended up using an app on my smart phone to make sure the fixture was level!
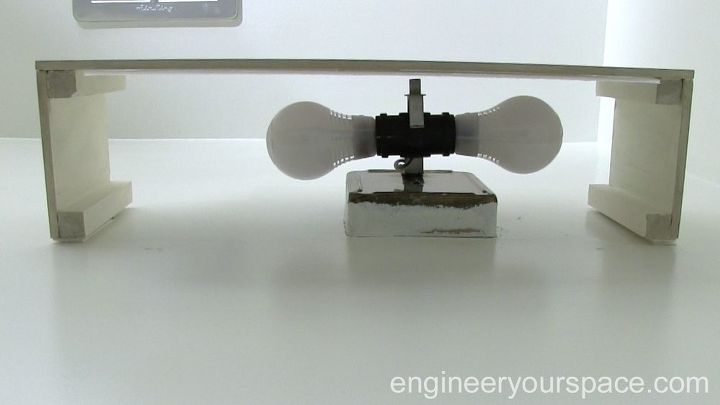
I also replaced the incandescent light bulbs with LED bulbs to make sure there's no heat next to the cover.
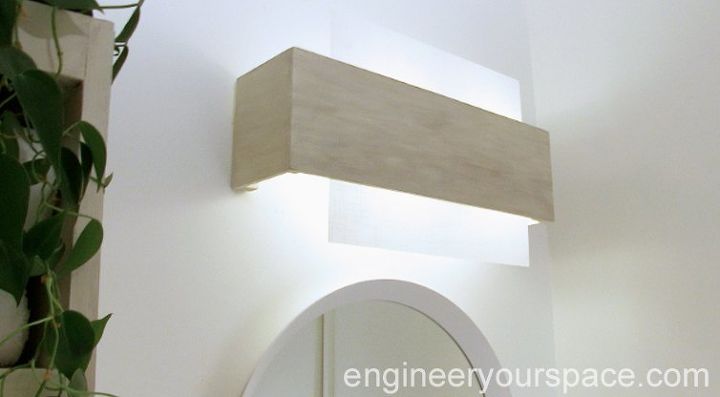
The new cover completely hides the existing fixture and it's now perfectly centered.
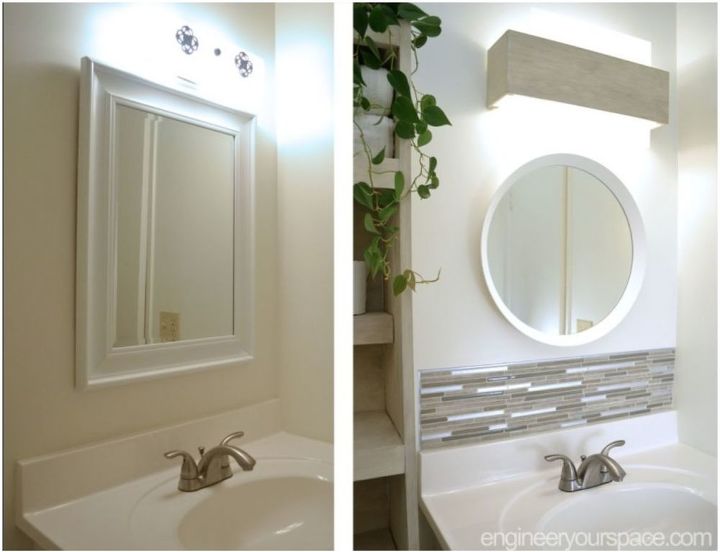
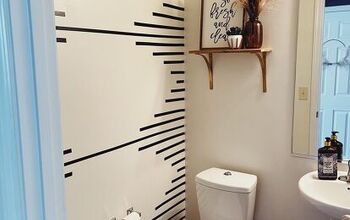
It was just what was needed to complete this bathroom makeover, which started with a new backsplash that I made with peel and stick Smart Tiles, and also included a DIY over the toilet storage cabinet.
{
"id": "4904263",
"alt": "",
"title": "",
"video_link": "https://www.youtube.com/embed/72pr_g9TRXQ",
"youtube_video_id": "72pr_g9TRXQ"
}
{
"width": 634,
"height": 357,
"showRelated": true
}
You can watch the entire makeover in this video here.

Want more details about this and other DIY projects? Check out my blog post!
Comments
Join the conversation
2 of 49 comments
-
So much brighter. A very clever fix.
-
Very nice! I’ll have to try this, since I have an older bathroom also.


Frequently asked questions
Have a question about this project?
What type of fabric did you use.? I wonder if you could also could spray the plexiglass with frosted spray paint.
How and where is the plexiglass attached. I see it in the picture - is it glued onto the wood?
Saving Money & Creative...
Very nice and looks elegant ... < $ 15. People spend fortunes on bathroom repairs & you did backsplash yourself !!! Whoa I have huge diy bath for house refinance and pulling my hair out. Have you done drywall cuz I need to tackle this urgently. Any info you have will appreciate.
🌹Eliza