


In-the-wall Shelves for a Tiny Half Bath

Our half bath is by far the most used bathroom in our house, mostly by our young children and anyone who comes to visit. When we moved in, it had a pedestal sink and one small cabinet above the toilet. Although the cabinet offered a little storage, it also made the room seem even smaller and kept the area around the toilet in shadow. So, it had to come down.
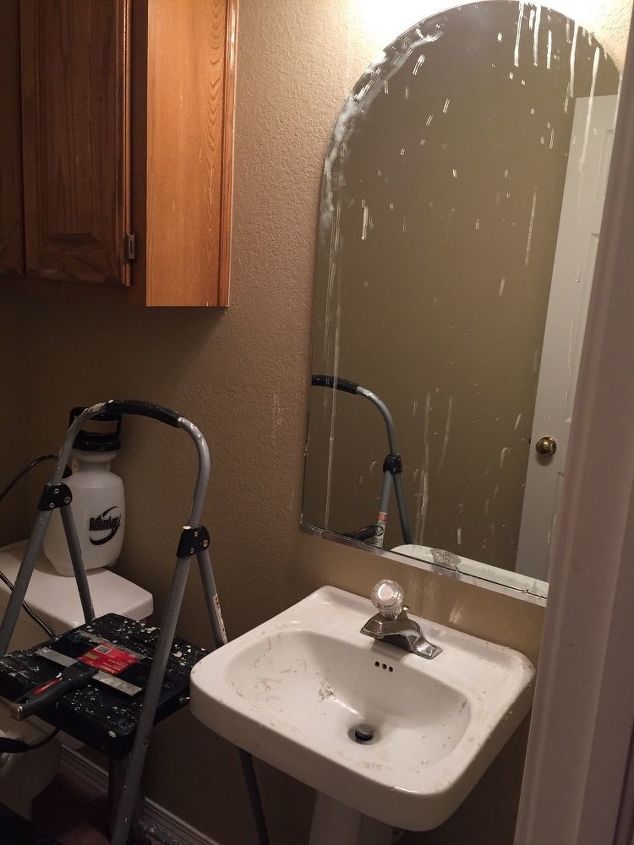
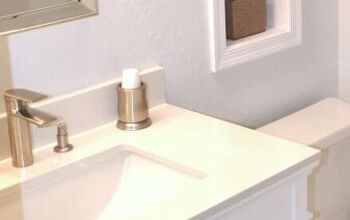
We switched out the pedestal sink for a small vanity, but I still wanted to add some shelves that would keep the room open and not block any light. (Please ignore the mess... I didn’t take a before photo, so I was already removing the popcorn ceiling when this photo was taken.)
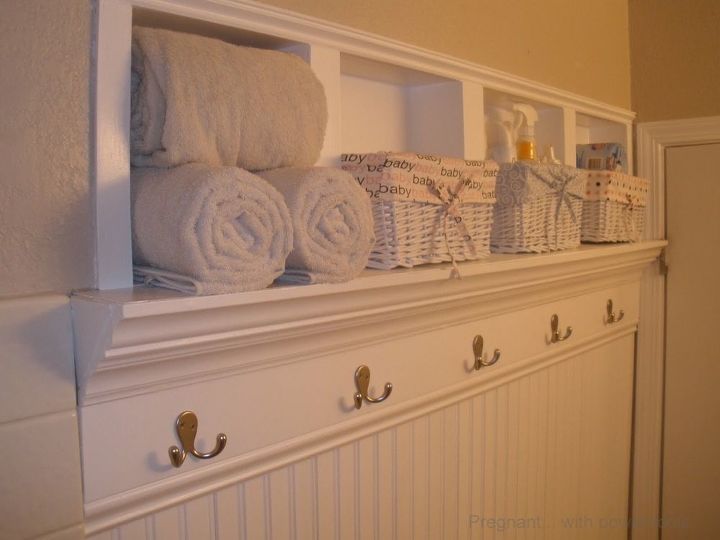
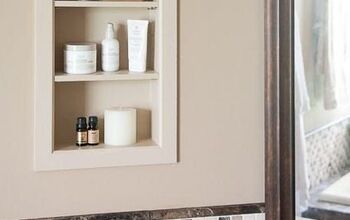
I found this picture on Pinterest and loved the idea, but being our half bath, we didn’t need all the hooks or space for large towels. Instead, I came up with a smaller version to suit our needs.
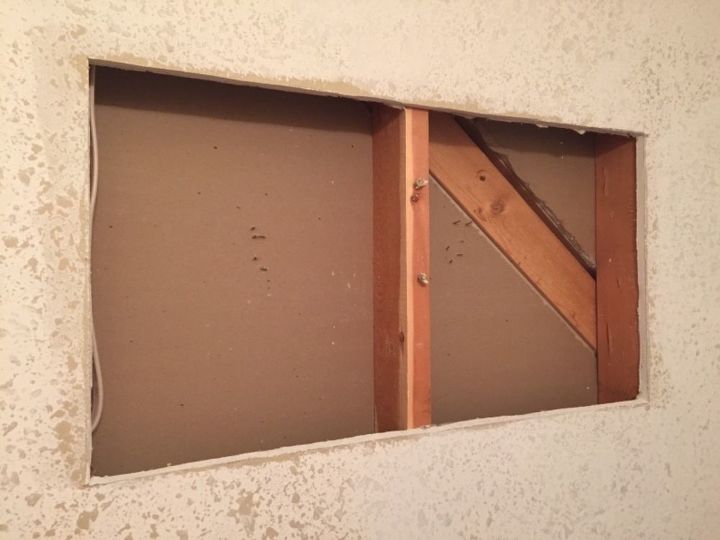
First, I found the studs and decided the location and size, then cut out the drywall. Our stairs are on the other side of this wall, which is why there is a diagonal 2x4 there. I also found the electrical wire that runs to the light under the stairs, so be extra careful when cutting into your walls! You never know what you might find!
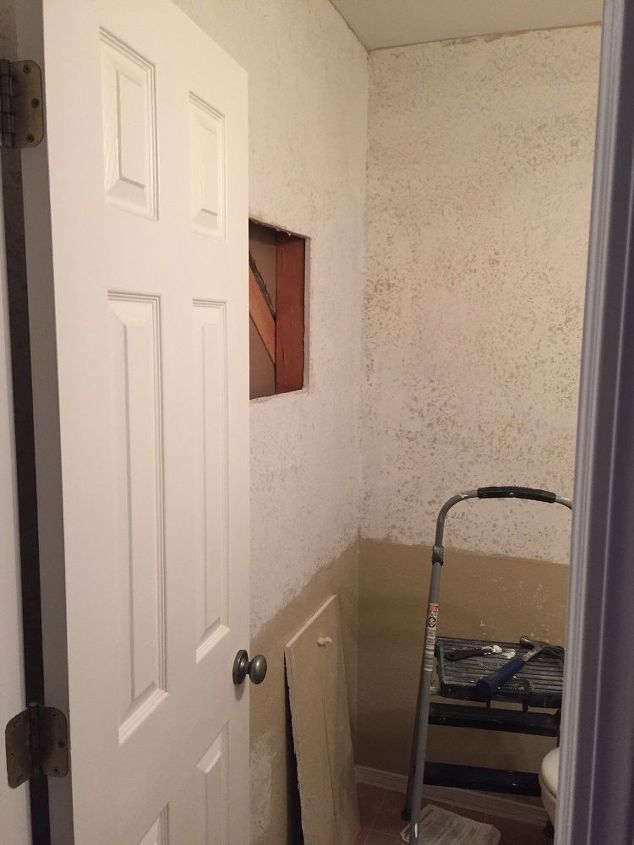
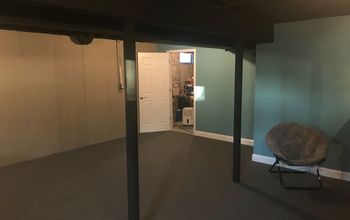
Here is the view from the hallway. I was also skim coating the walls to cover the knockdown texture, and adding beadboard to the bottom section.
Sorry, I don’t have photos of making the box and putting it together.
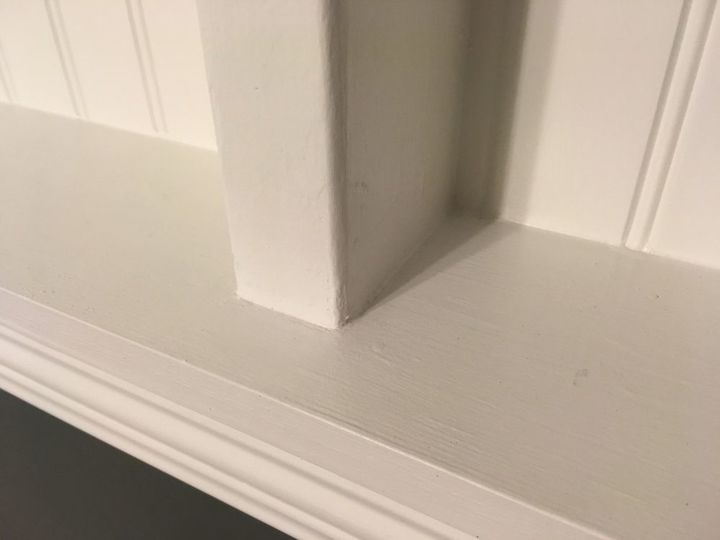
We made the frame for the box from 1x6 boards, and cut notches in the top and bottom boards to fit around the existing stud. *Make sure you test fit everything before you continue so the notches are tight, but you can still take the box out.*
Then we cut two pieces of left over beadboard to fit at the back on either side of the stud. So far all of our screws were to the outside of the box where they will not be seen. Test fit again, and measure for your shelves.

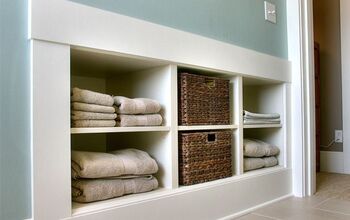
To make the middle shelves, we cut a 1x4 to fit between the frame and either side of the stud. (You could also use a 1x6 here if you have some left over from your frame. We were using left over boards from other projects.) We removed the box from the wall and attached screws from the side frame into the outside ends of the shelf, then put the box back in the wall and used pocket holes to attach the middle section to the stud. For the finishing touches, we put trim around the edges, filled and sanded the pocket holes, caulked around all seams, and painted with a glossy trim paint.
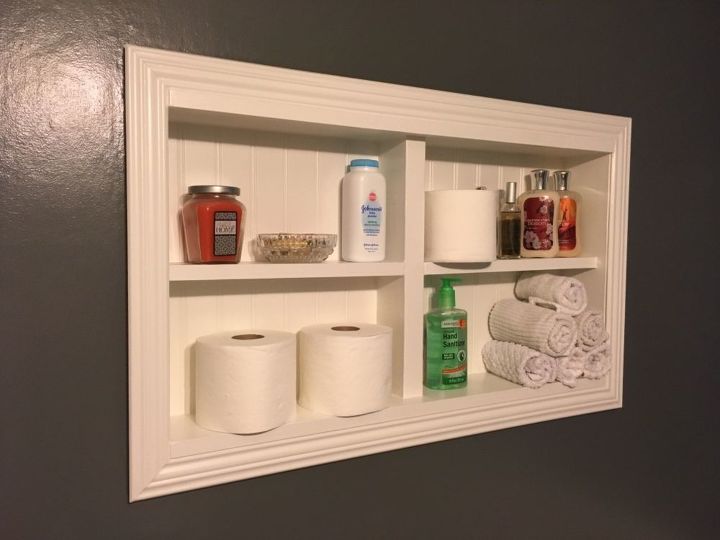
After the paint dries, you can enjoy a shelf that doesn’t take any space away from the room!
We already had most of the supplies, so I don’t know how much this would cost from scratch. Probably around $15-$20.
Resources for this project:
See all materials


Comments
Join the conversation
-
Very very nice!
-
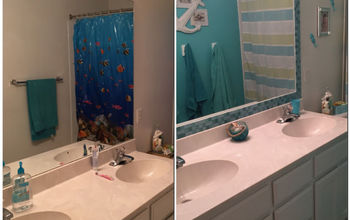
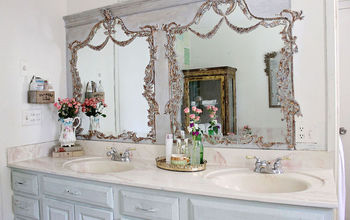
Putting unused space from in-between the wall studs for additional bathroom storage is a smart and practical move. Here are a few more examples:


Frequently asked questions
Have a question about this project?
Where if any does the mirror go
What power tools were used in this project?
what color of grey paint did you use on walls?