


Faux Wood & White Wash

Faux Wood & White Wash
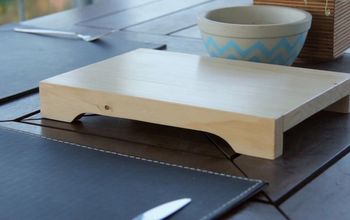
I was offered a nice coffee table with details I really liked. I was excited to get my hands on it, strip the top and give the whole table a lightening and brightening. Once a got it to the studio and took a close look I realized the top was not solid wood but MDF (medium density fibreboard). I decided to go after the look I wanted regardless and create my own faux wood top. I had seen it done on a show probably 20 years ago with a special tool to create a grain look. I can do this!!! So here is what I did and here is the coffee table before I started.

Let’s start with a list of things you would need for this project
- 220 and 600 grit sand paper
- . Bucket and water
- several clean lint free rags/cloths
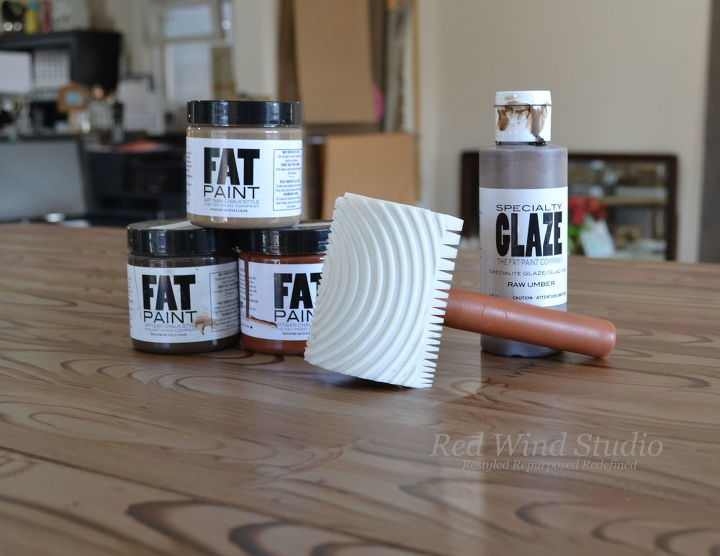
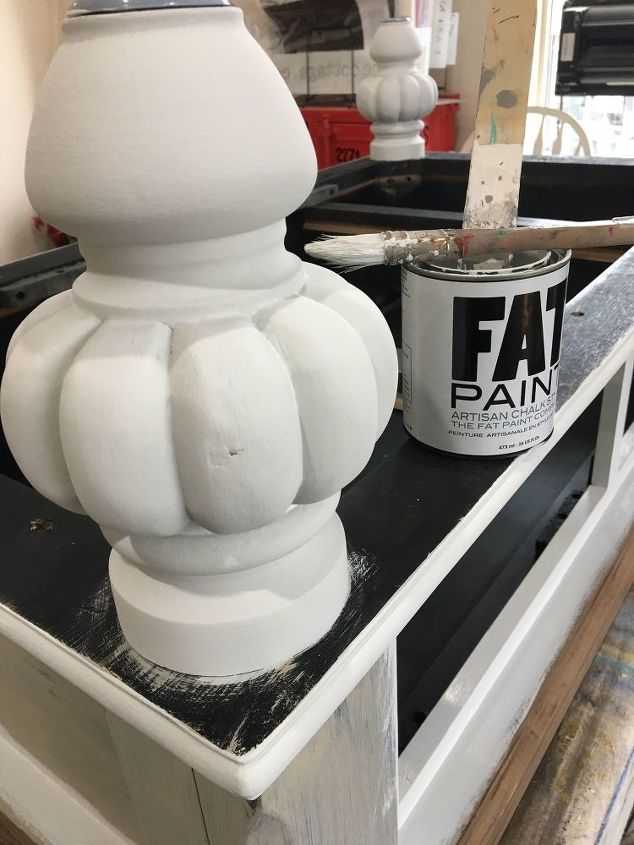
- Pint of Dove, Pint or sample of Coconut (depending on the size of your top) , sample of Bitter Chocolate & sample of Chestnut FAT Paint colours
- A can of Clear Top Coat & Raw Umber Glaze from the FAT Paint Company
- Good quality paint brushes and wide foam brush
- Natural FAT Wax
I am not going to go into details for prepping and painting. So after I had cleaned and prepped the table I painted the top in Coconut (2 coats) and gave it a light sanding once dry. I then dry brushed sporadically some Bitter Chocolate and Chestnut colours over the top and again sanded very lightly.
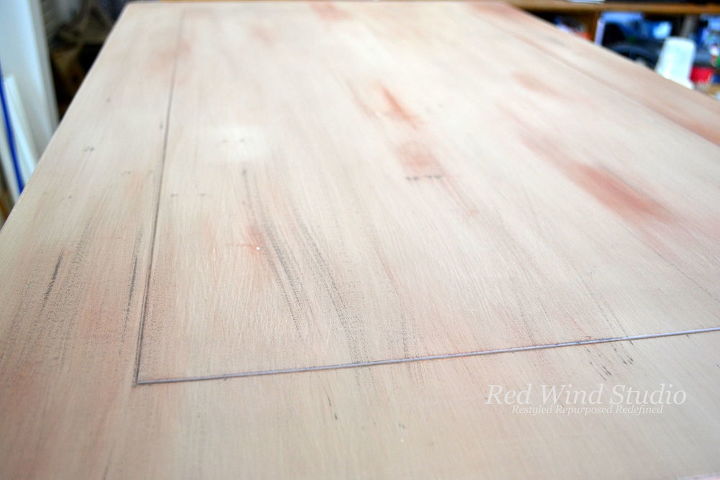
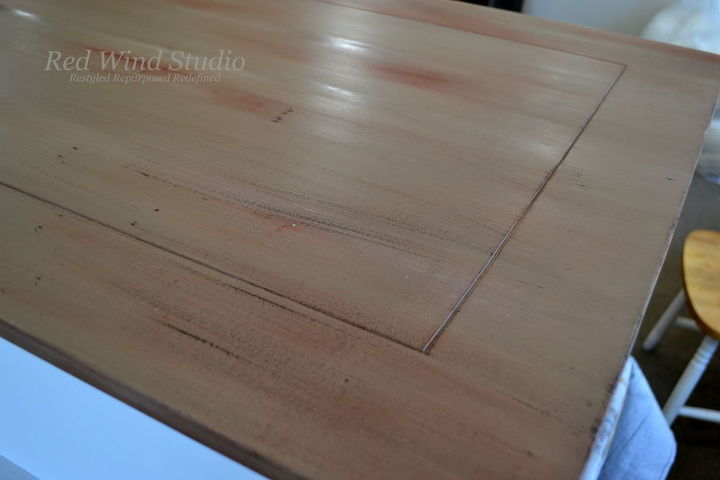
Next up was to apply a coat of Clear Top Coat over the top and edges using a wide foam brush. Work quickly from one side to the other overlapping as you go using long strokes from one end to the other. If you missed any spots you’ll need to do another coat. The picture above is after giving it a light sanding and before the Clear Top Coat. Below is with the Clear Top Coat
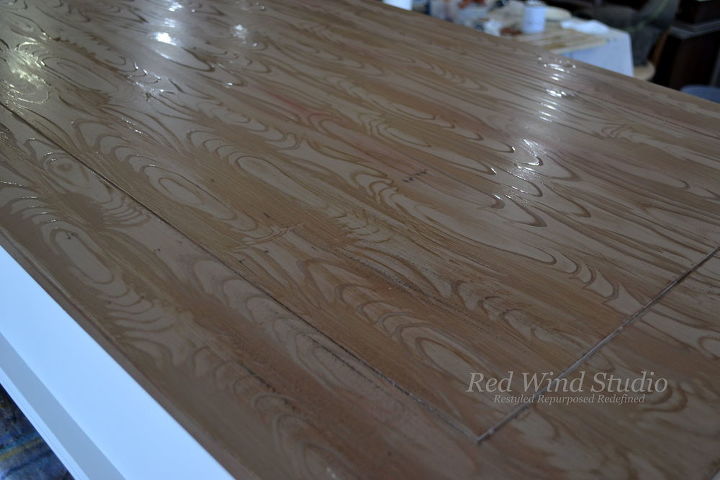
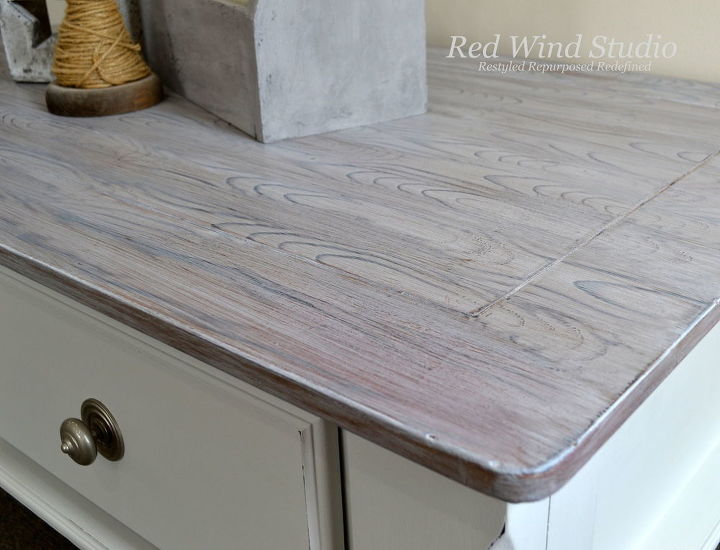
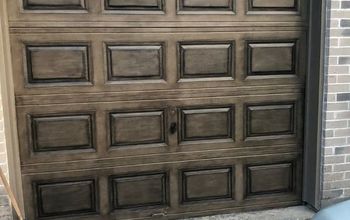
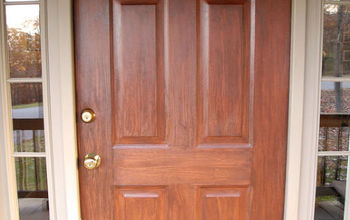
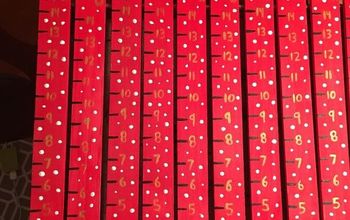
Next up is the fun part, using the graining tool. I added a little wee bit of water to my glaze to extend the drying time. I worked from one end to the other in sections working quickly and over lapping slightly. I would pour enough glaze in a line from one end to the other then using a paint brush spread it out roughly the width of the graining tool. I would then drag the rock the tool forward and back while dragging it the length of the table. I repeated this until I reached the other side of the table.
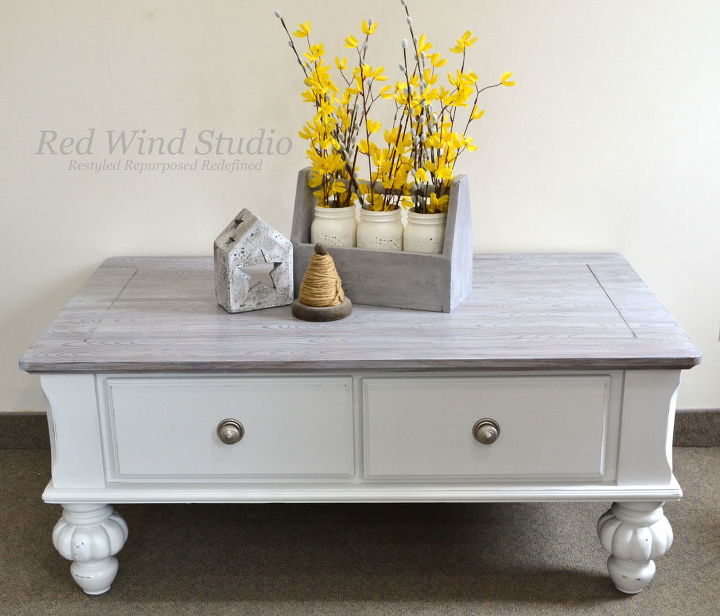
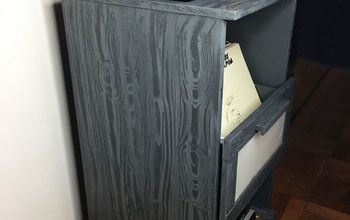
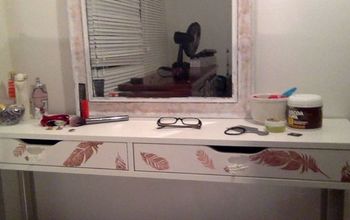
I let the glaze thoroughly dry. While the glaze was drying I painted the body and drawer fronts with the colour Dove from the FAT Paint Company. Once the glaze was dry I applied one coat of Clear Top Coat, and while it was drying I made my own glaze for the white washed look. Since the body was so light I was concerned that using a premade white glaze may clash with the Dove so I poured a little Clear Top Coat into a plastic container and a little Dove. I never measure so my guess is it was close to a 3:1 ratio glaze to paint and a couple drops of water to thin it. Mixed it thoroughly and brushed it evenly over the top and edges.

It is showing a little dark in the above picture. Once the Dove glaze was dry I lightly sanded with 220 grit sand paper and cleaned off the dust. I applied 2 coats of Clear Top Coat and wet sanded after the 2nd coat with 600 grit wet/dry sand paper. One last coat of Clear Top Coat to finish it off. The body I did a light sanding with a little over sanding /distressing here and there then applied Natural FAT Wax and buffed it up to a subtle soft shine.
Resources for this project:
See all materials


Comments
Join the conversation
-
I absolutely LOVE this! It's beautiful. Very versatile....classical yet beachy. Great job. Thanks for sharing your wonderful project with all the tips.
-
Absolutely love this! Thanks for the tutorial!


Frequently asked questions
Have a question about this project?
What did we do before paint???