


Upfitting Our Old Backyard Shed Into a Garage
Until we moved into our cottage, there was a tiny outdoor shed that served as a makeshift catch-all for us. While we were living there as renters, we didn’t have too much control over the use of the space. My landlord, who was the granddaughter of the man and woman who owned the home for 50 years, kept some of their stuff on the right-hand side.
That left us just a little bit of space on the left, which we quickly filled with storage containers, bicycles and tools. When we decided to buy the property, we realized that it only made sense to convert the shed into a garage. We had parked our vehicles in the driveway under the pin oaks and maples for so long that we knew how much their debis wrecked them. So, we needed somewhere to park our cars indoors and this was a great way to build one. Here is how we did it.
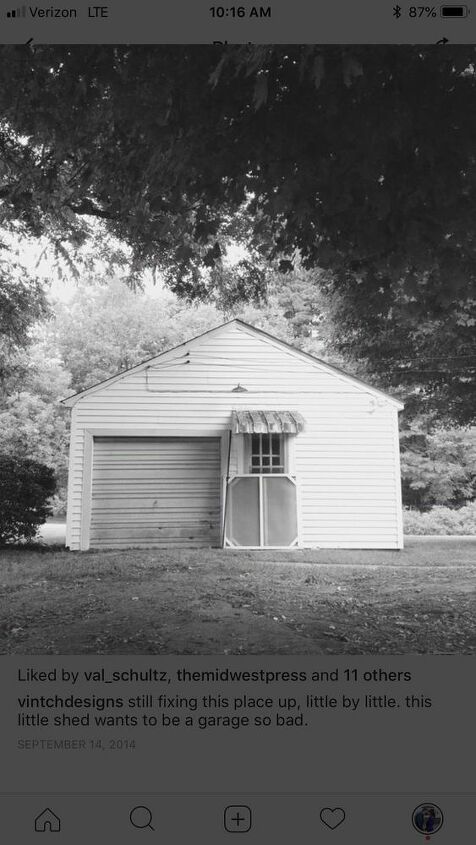
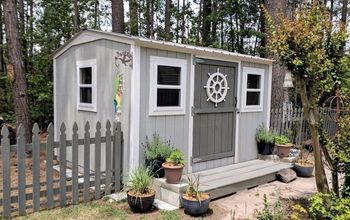
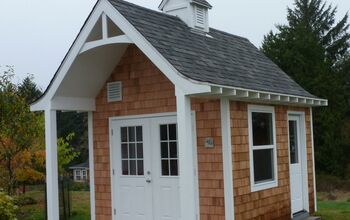
Here is a picture of what the shed looked like before we began our conversion project. The former owners actually lived in this little shed while their brick home was being built! I was told they had a little bedroom in the back, a tiny kitchen and even space for a television room. Seeing that makes me so thankful for what we have now, but I bet it was a really sweet and special time for them.
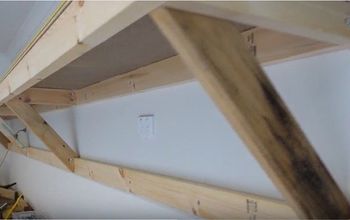
We started by gutting the shed and taking it down to its studs. Our contractor worked to remove two major interior walls. One wall split the shed down the middle and another separated off a back section, where the original bedroom used to be. Once those walls were removed, he also took off the ceiling, which was concealing a tiny upstairs storage loft. Now, we use those rafters to hold flat items, such as our oversized Christmas wreath, boogie boards for the beach, extra window screens and more.
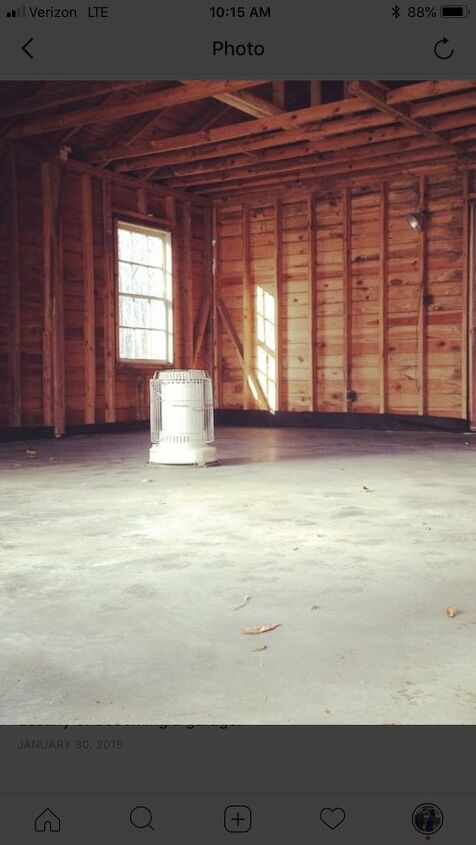
Then, we poured new concrete in the floor and let it cure so we could have a smooth, flat surface for both playing and parking. This would have been such a great space even if we didn’t turn it into a garage. For instance, we could have used it as a leisure building, a space for my crafts and hobbies, or just a tool shed for my husband. Yet, in the end, practicality won out and I’m glad we don’t have to park along the dirt driveway anymore.
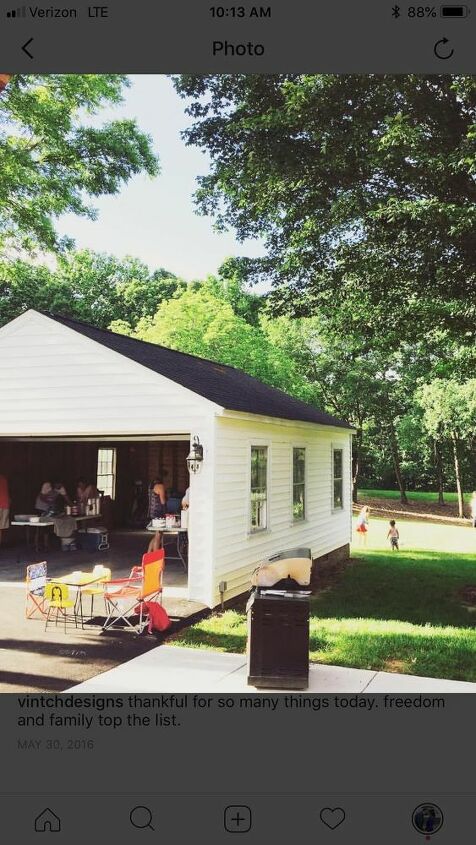
We also installed six recessed lights in the ceiling so we could use the garage as an entertainment facility when we need to, as you can see in this picture of my entire family enjoying a meal there last Memorial Day. I love that now, the space feels so much more clean and open and there is room enough for everyone to spread out.
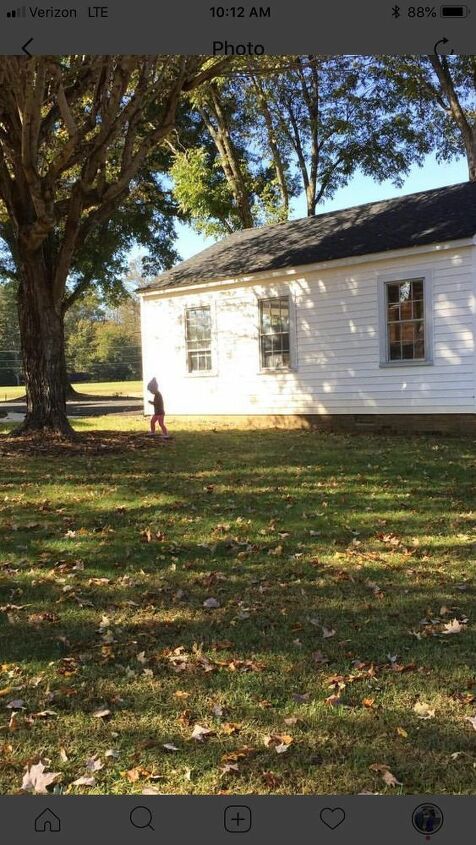
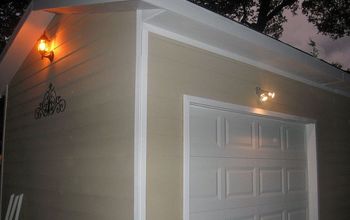
When we were finished with the interior of the garage, we replaced the vinyl siding that goes all the way around it. Our contractor removed all of the original siding, which was warped and cracking, and used materials that match the vinyl he put on the dormers of our main house. It’s a gorgeous complement and looks so bright and happy! We also had a new roof put on the shed at the same time that we replaced the original roof on the house.
Now, this is such a special and enjoyable space for our family! One day soon, we hope to add a covered walkway leading from the garage door to our side porch so we can bring groceries and babies in from the rain without getting soaked!


Frequently asked questions
Have a question about this project?