


Paint Stained Cabinets Without Sanding!
- Painter's Plastic
- Frog Tape
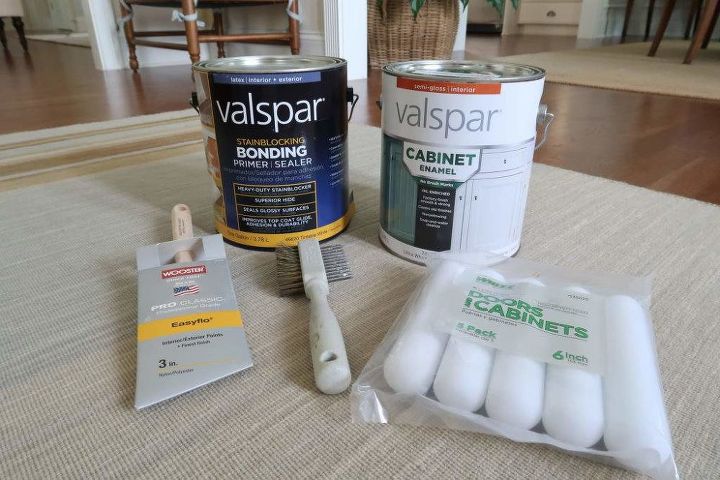
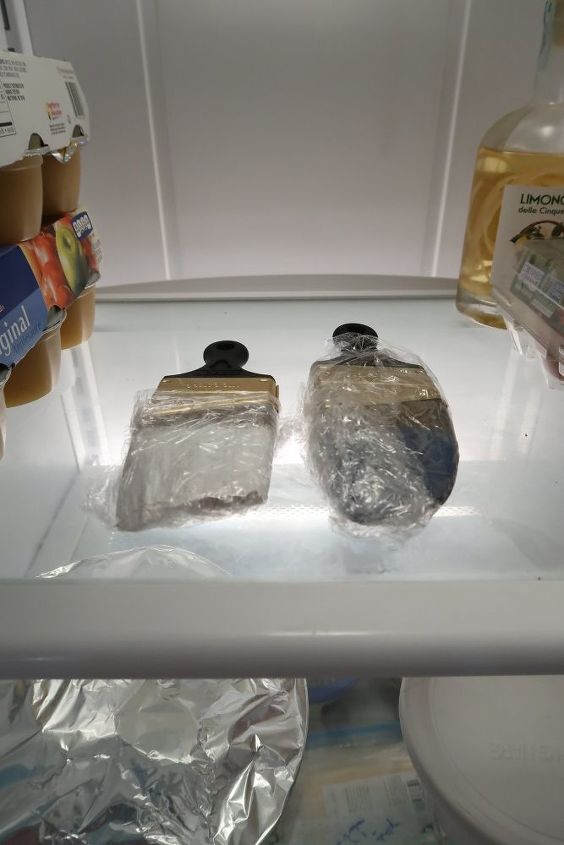
- Wooster Pro Classic Brush
- Brush Cleaner
- Foam Roller Multi-Pack
- Valspar Bonding Primer from Lowe's
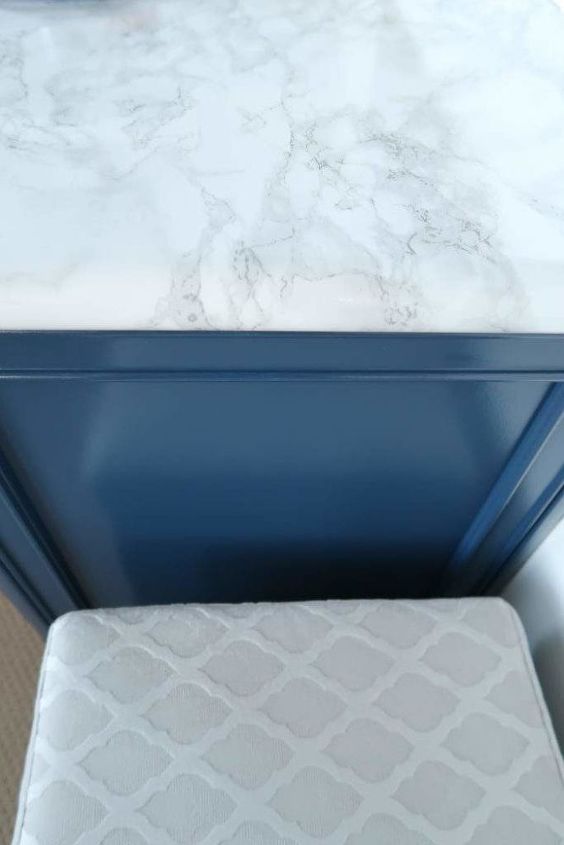
- Valspar Cabinet Enamel from Lowe's
- 4 Pieces of long and narrow trim pieces of wood. Usually in the trim aisle at Lowe's.
- Remove the drawers and doors from the base cabinets.
- Remove the cabinet hardware. Store each drawer and door in separate labeled small snack bags.
- Clean the cabinet surface and dust.
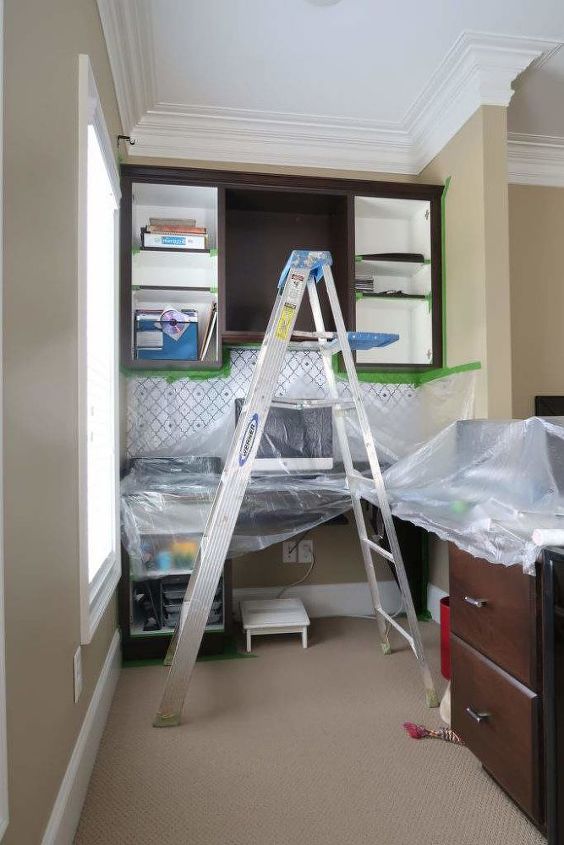
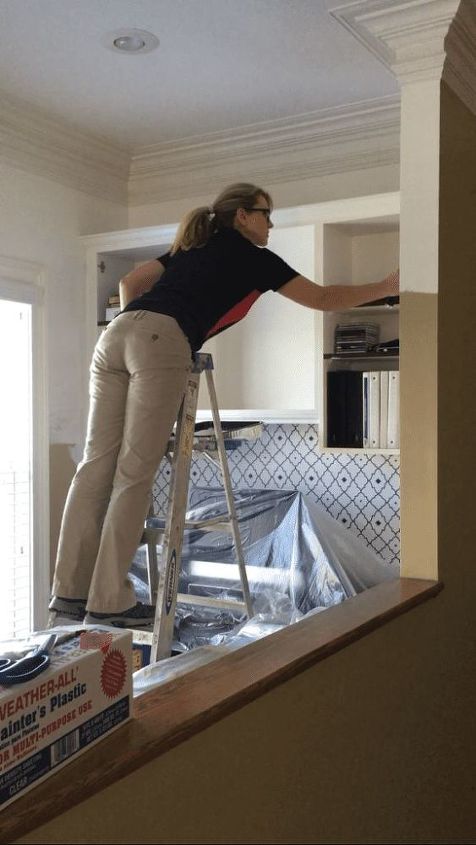
- Apply tape to adjacent surfaces you are not painting. Make sure you aren't taping on the cabinets!
- Lay drop cloths to protect surfaces.
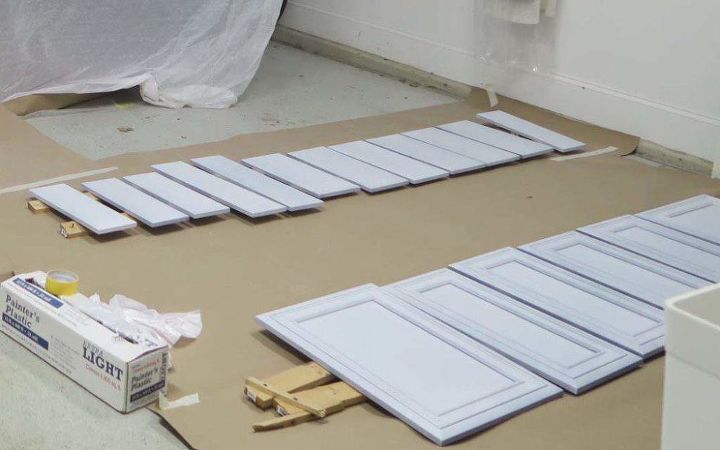
- Place trim wood in an area that is safe and protected from dogs, cats, dust, and kids so your cabinet drawers and doors can dry in peace.
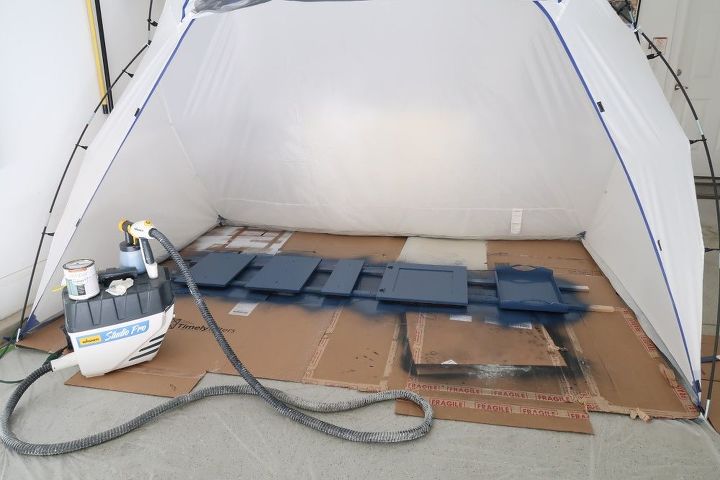
- Your drawers and doors will be painted while they are on the trim boards.
- While on the trim boards, using the foam roller prime only one side of drawers and doors.
- Make sure to coat the edges and corners thoroughly because they take the most abuse.
- Bonding primer is NOT meant to cover and some of the surface will show through. What you are doing is "roughing up" the surface so the paint adheres.
- Try to limit brush marks by painting with the grain of the wood.
- Next, using the same brush and foam roller prime ALL base cabinet surfaces.
- Flip over your now dried drawers and doors and gently place them primed side down on the trim boards. DON'T scratch off the bonding primer, if you do touch up!
- Apply with your brush and foam roller a coat of bonding primer to the other side of your drawers and doors.
- Next, using the same brush and foam roller you should only need to touch up areas you missed with primer on the base cabinets.
- DRY OVERNIGHT! Yes, annoying but you want really good results remember!
- Try to limit brush marks by painting with the grain of the wood.
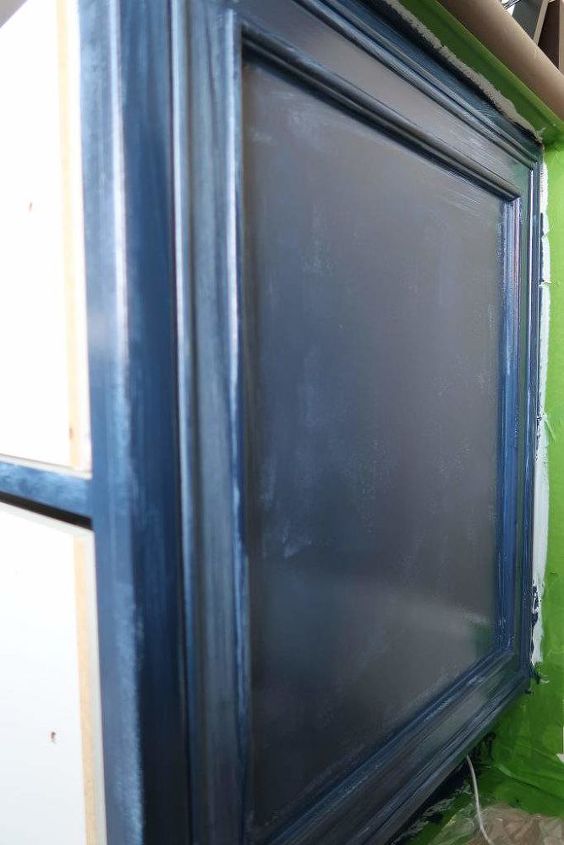
- While on the trim boards, using the foam roller and brush paint only one side of drawers and doors.
- Next, using the same brush and foam roller apply a coat of Cabinet Enamel to the base cabinets.
- DRY OVERNIGHT and clean your brush. Toss the foam roller.
- Flip over your now dried drawers and doors and gently place them painted side down on the trim boards. DON'T scratch off the paint, if you do touch up!
- While on the trim boards, using the foam roller and brush paint the other side of drawers and doors.
- Next, using the same brush and foam roller apply 2nd coat of Cabinet Enamel to the base cabinets.
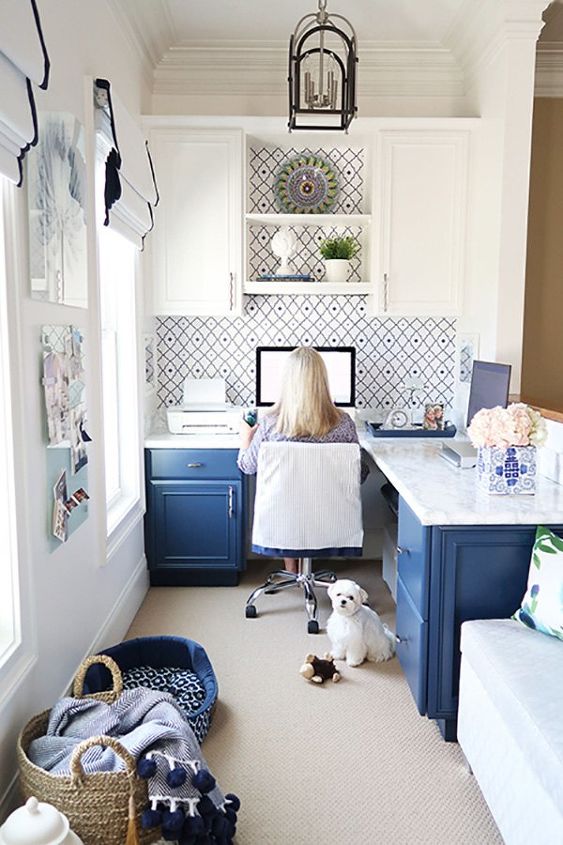
- Re-attach doors and drawers to base cabinets.
- Attach cabinet knobs and pulls.
Resources for this project:
See all materials


Comments
Join the conversation
-
Wow that is gorgeous!!! And cute fur baby too! I have found some post that they used paint that needs no prep and no primer in most cases. I was shocked and went to Amazon and sure enough there are several brands. Have you or any of the other readers tried any of them? I purchased some samples of a few different brands and tried them on orange pumpkins, thinking that would be hard to cover. They all have worked well so far and they even say you don't need to sand unless you have huge scratched that require filling etc. I am going to give it a go on an old dresser, it has wheels and no draw hardware, so it is an antique. Anyway I have seen some projects here where they did that kind of dresser so that was my inspiration but when I saw someone paint a whole kitchen of cabinets with no prep I was super excited, now I just need to get brave enough to tackle it.
Again so beautiful!!!
-
Beautiful job!!! I need to paint kitchen cupboards in my apartment & was dreading the sanding prep—so thank you so much for all this info!!! You’re a lifesaver!!!


Frequently asked questions
Have a question about this project?
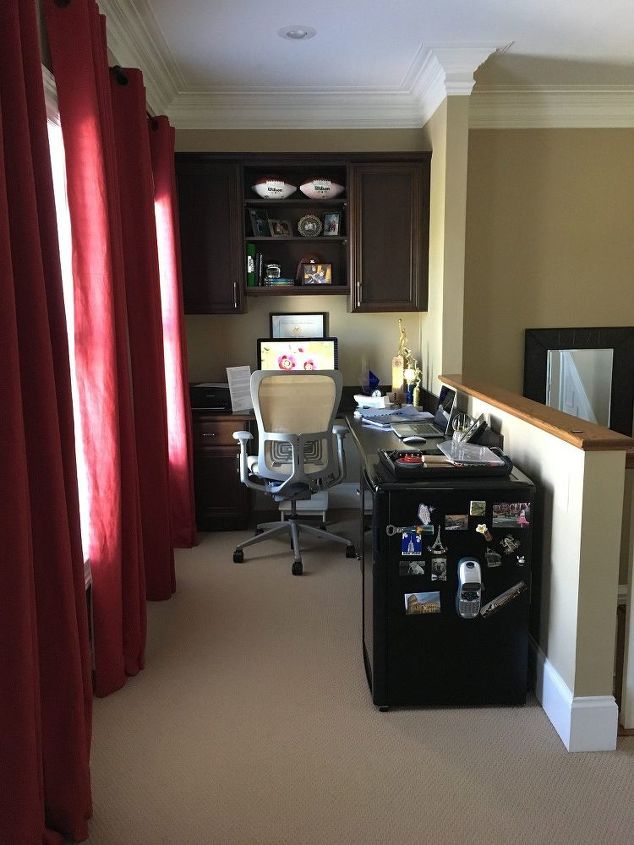
Your office turned out beautifully. Question. The room, ots odd with the half wall. Is it off the living room, os it supposed to be a dining area or like a sun ropm area?it's pretty cool spot. Was just curious as to how the rooms connect. I personally thinkn oi ts a great spot especially if you have kids that need an eye in them lol. Any way the shade if blue is very pretty. I also like how the area is brighter. I did notice to is the your childrens art on the wall by the window? It's very cute.
Would this process work on wall paneling?
Do you feel as though counter height is too high for a desk? You appear low in your chair. Or maybe you prefer it that way