


How-To Install Marble Contact Paper Counters
5 Materials
$50
3 Hours
Medium
Looking to replace your old counter tops, but can't afford to? Temporary marble contact paper may be a great solution in a rental or your own home.
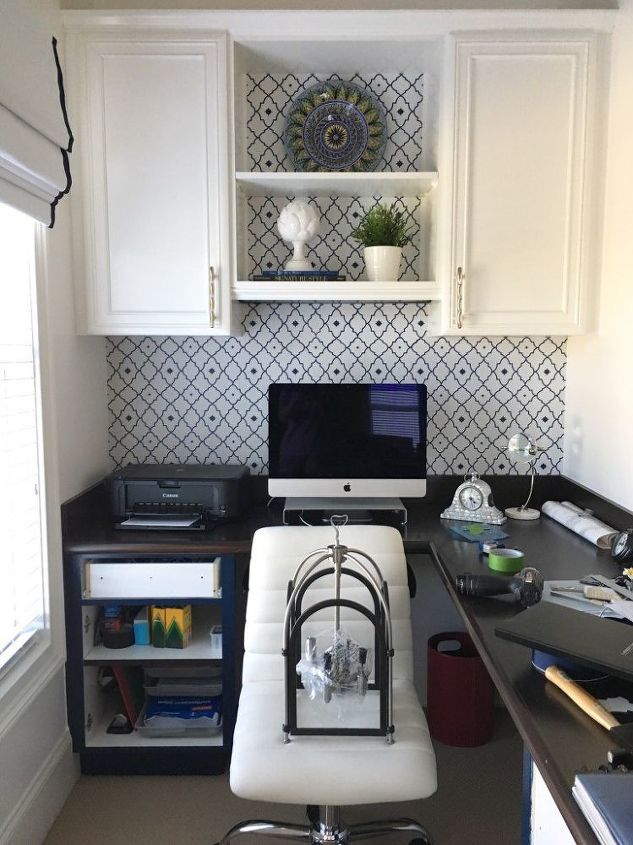
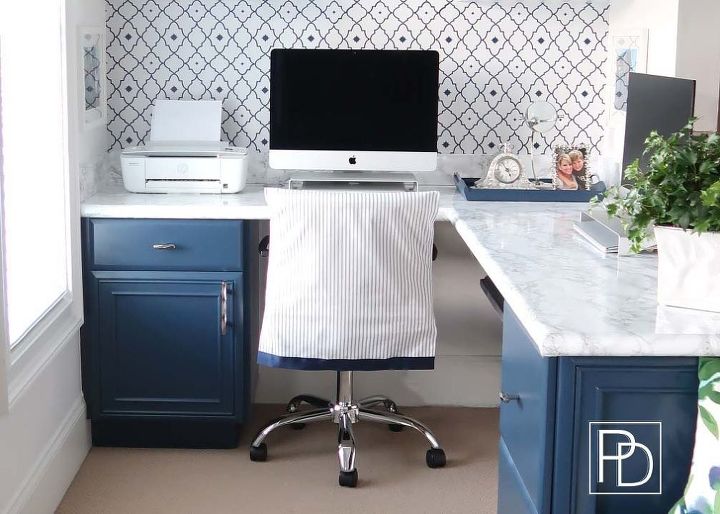
Here was my office in mid makeover, before marble contact paper counters being installed. Everything from the cabinets to the counters was a dark brown stain.
Before Considering Marble Contact Paper
Use painter's tape and test your surface in several areas to make sure it is SOUND and won't fail as you reposition contact paper. If it does fail, I don't recommend using the vinyl contact paper.
You don't want to run into the issues I had! One area of my desk has little particles where the laminate failed, but it's not noticeable so I'm living with it! I feel it more than see it.
Grab your confidence and let's go! CLEAN YOUR COUNTERS THOROUGHLY AND MAKE SURE ALL DUST IS REMOVED BY VACUUMING!
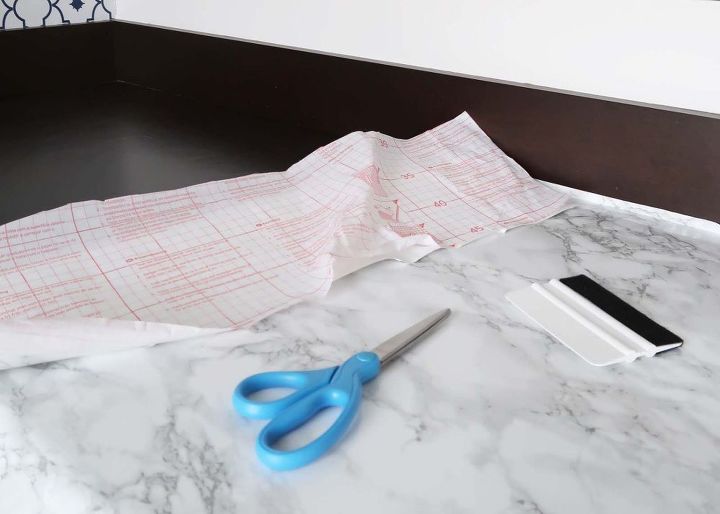
Supplies
- Marble Contact Paper - multiple rolls
- Dressmaker's Tape
- Metal Ruler
- Utility Knife
- Smoothing Tool
- Hair Dryer
- Cardboard
Step 1 - MEASURE AND MEASURE AGAIN!
Measure all aspects of the project, so you know how much to order.
- Don't forget the "back splash" area that is above a counter like I have. That adds a lot of linear footage. I added 2 inches for trimming to all measurements and that served me well.
- I used a dressmaker's tape because it could wrap around corners more easily and a small metal ruler as a secondary guide.
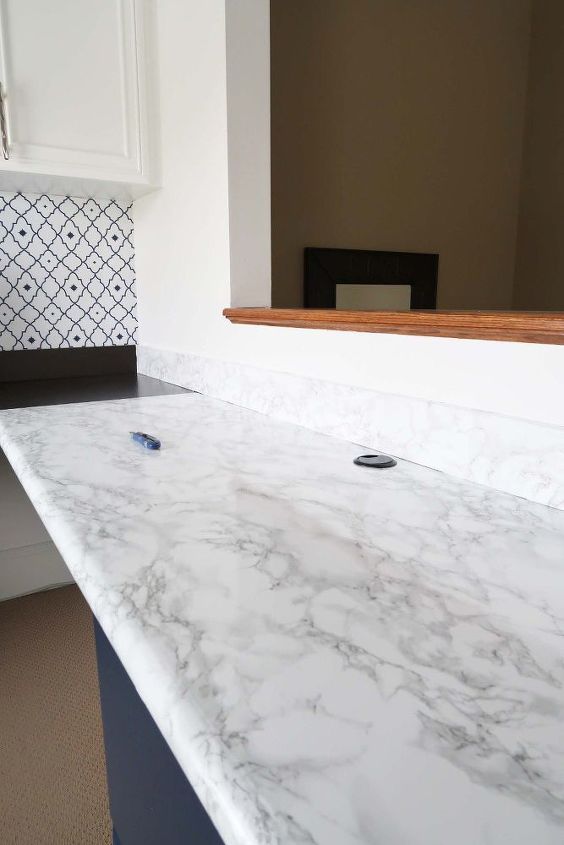
- Buy the LONGEST and WIDEST rolls they make to create as few seams as possible on your counter.
- Decide where the seams will be. I chose to meet the seams in the corner, where the metal ruler is shown below.
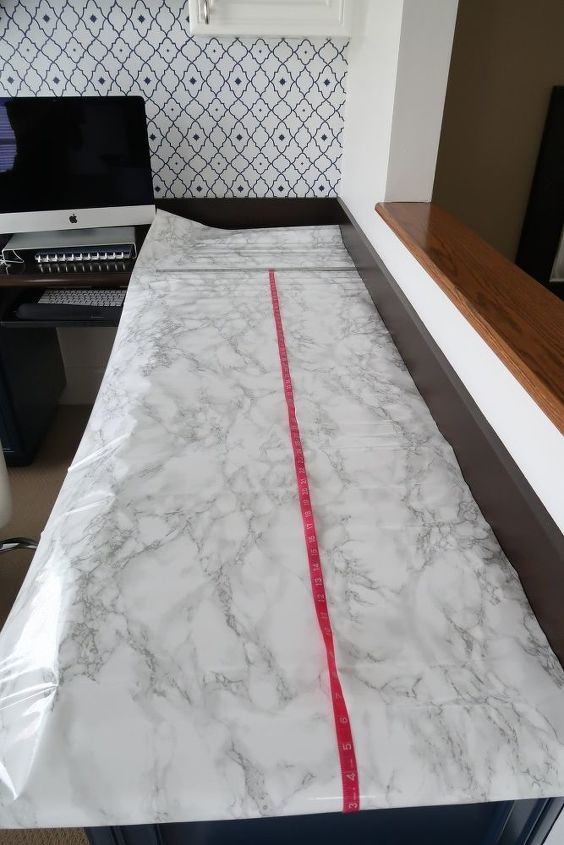
After lots of measuring, I decided to order the wider width they offer on Amazon to make installation as easy as possible.
My counter is 22 inches deep and with the wrap around the edges I factored 2 more inches, which was perfect.
Step 2 - Cut
Luckily, the back of the contact paper has a grid and measurements to help you in the cutting process! I made small pencil marks as it was laying on my desk above, on the underside with the grid and on the face of the contact paper.
- Make sure you cut with cardboard underneath! I worked on a table, which I found easy because I could spread out and get the contact paper flat. Plus I had the right leverage over the top of the table.
- You can cut with scissors, if you have a grid line to follow. At times when I wanted a section of marble to match another piece, I cut on top of the face of the contact paper.
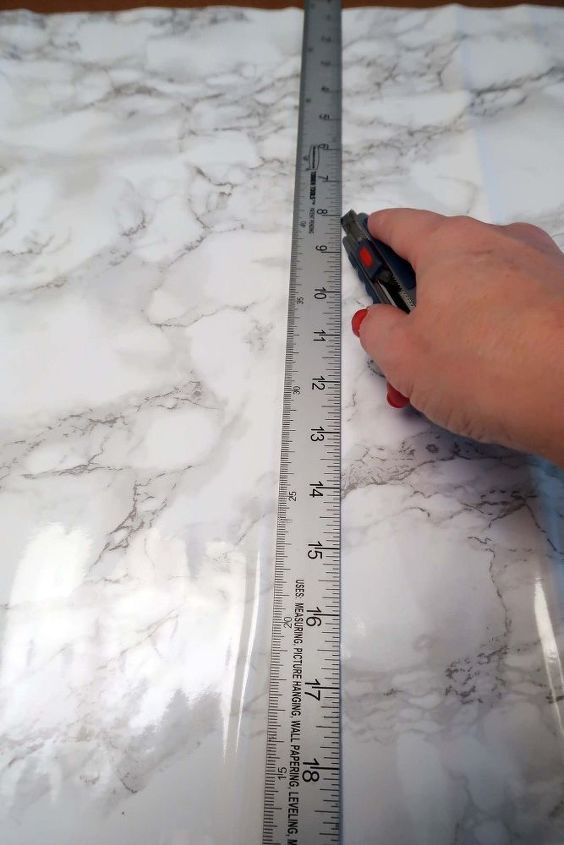
- Use a metal straight edge and line up with the grid or the pattern to make sure you are straight top to bottom. TAKE A DEEP BREATH! Seriously, I was so nervous I would mess up I noticed I was holding my breath.
- You MUST push down hard on the metal ruler so it doesn't move!
- Slice with confidence along the edge of the ruler. In the picture I have my hand turned out to show you what I am doing, but YOUR HAND should be rolled in straight over the utility knife.
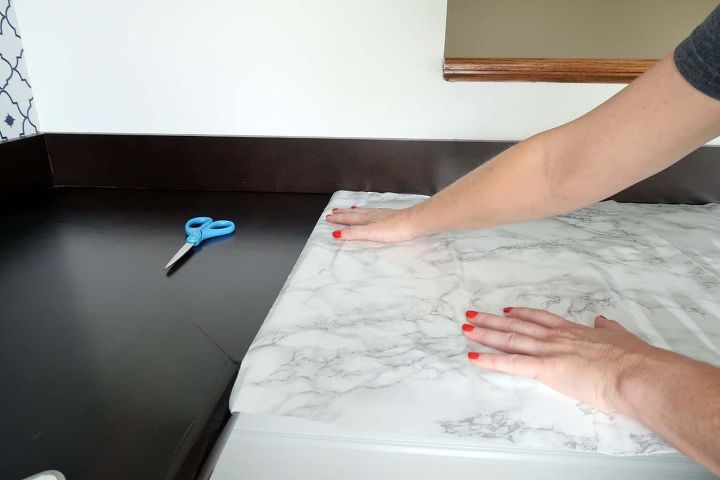
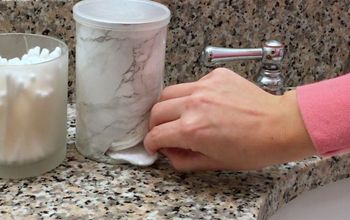
Step 3 - Place the Marble Contact Paper and Adhere
This takes some trial and error. The contact paper adhesive is VERY forgiving and is flexible so you can tug and pull it into position.
I found working along the edge where the counter and backsplash met was easiest because I had a straight line to follow.
Vinyl contact paper is VERY durable, so don't be shy about using the smoothing tool over the top. The hard edge vs. the soft felt edge smoothed out air bubbles more efficiently.
- Butt the contact paper up to the back splash area and overlap it by about a 1/4 to 1/2 inch which you will trim later.
- Peel back the grid backing to expose the adhesive. I found trimming off the paper to get it out of the way very helpful.
- Using the smoothing tool, work across and down, so you have it anchored on one end and then smooth down as you go.
- With your hand underneath, as you smooth, keep pulling back the grid backing to expose more adhesive.
Stop and reposition as needed. WORK OUT AS MANY AIR BUBBLES AS YOU CAN AS YOU GO!

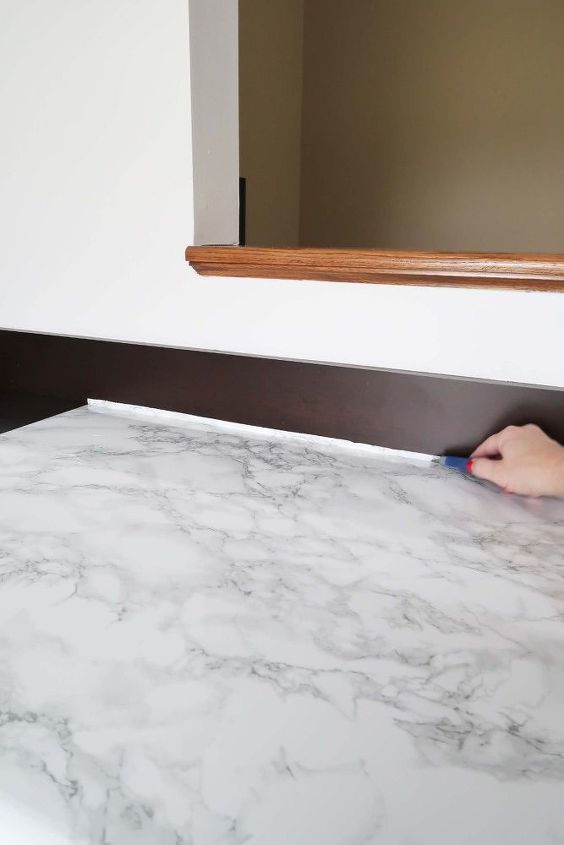
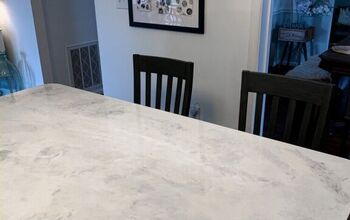
Step 4 - Trim Off Excess
This is where I was thankful that there was a gap between the backsplash and the counter. I literarily ran my utility blade in the seam for a straight cut.
Trim off any excess paper after wrapping the edge of the counter and up the sides.
The utility knife worked well in between the backsplash and counter.
The scissors were better on the edge of the counter, where I didn't have to be as exact because it was hidden underneath.
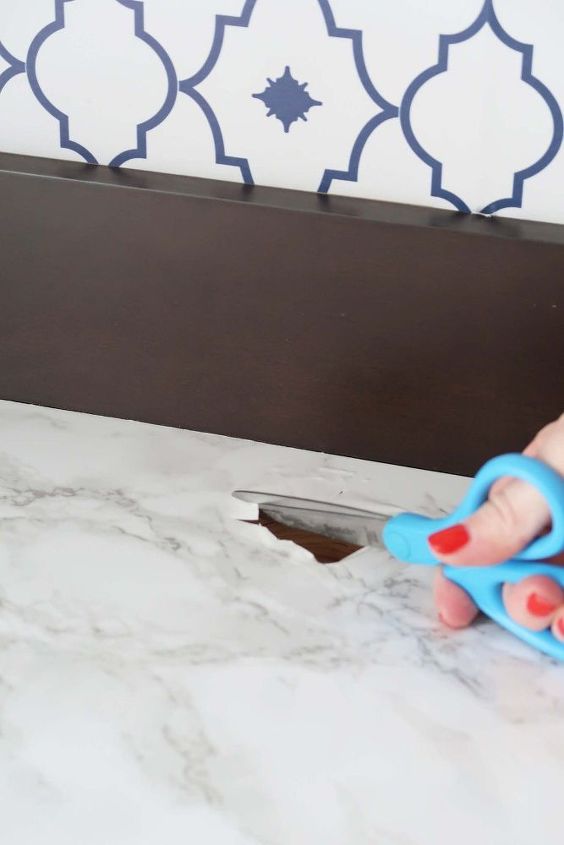
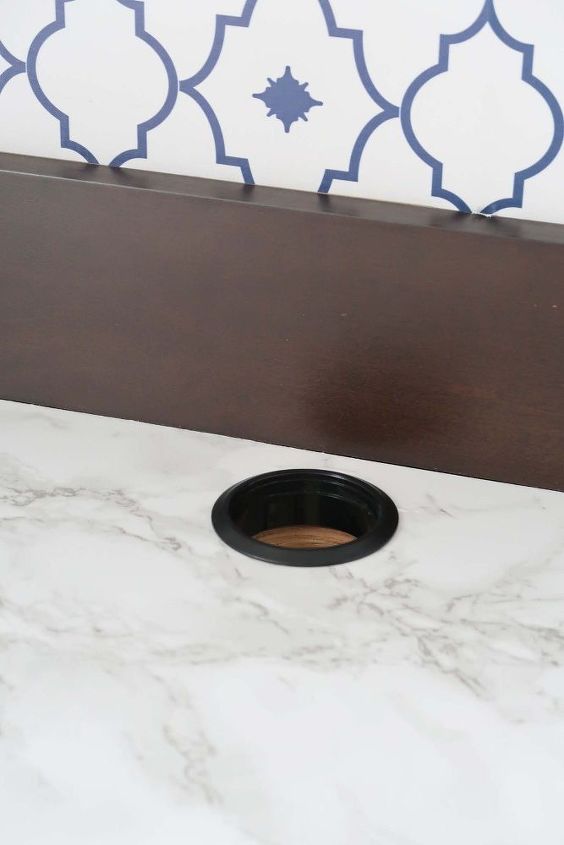
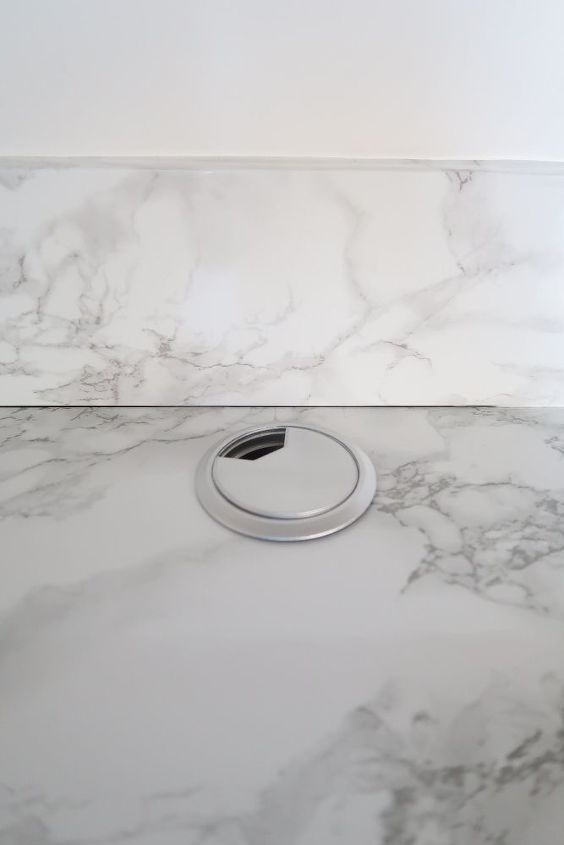
Step 5 - Trimming Around Cord Openings
This gets a little tricky, if you have this situation. I did find my methods worked well!
- Using the utility knife, cut a small hole out where the opening is.
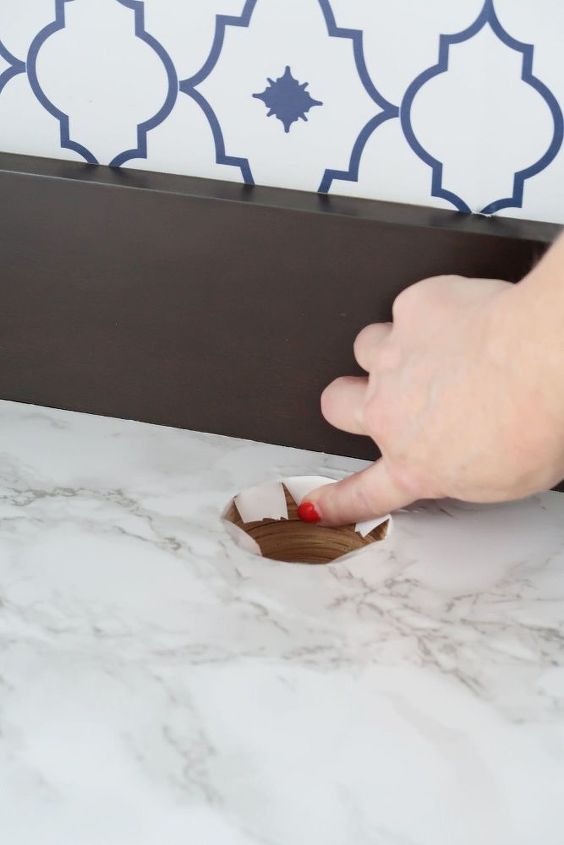
- Using scissors, cut small slits around not quite up to the edge.
With your fingers, push slits down into opening.
Step 6 - Detail Work
This is where it is more art than science! Applying the long expanses are really straight forward, including the back splash.
- For the back splash, measure and apply it so it slightly covers over the counter and the wall.
Use the utility blade to trim excess. Since the trimmed excess pieces are small, they are hard to get ahold of. Once you do, they come up very easily!
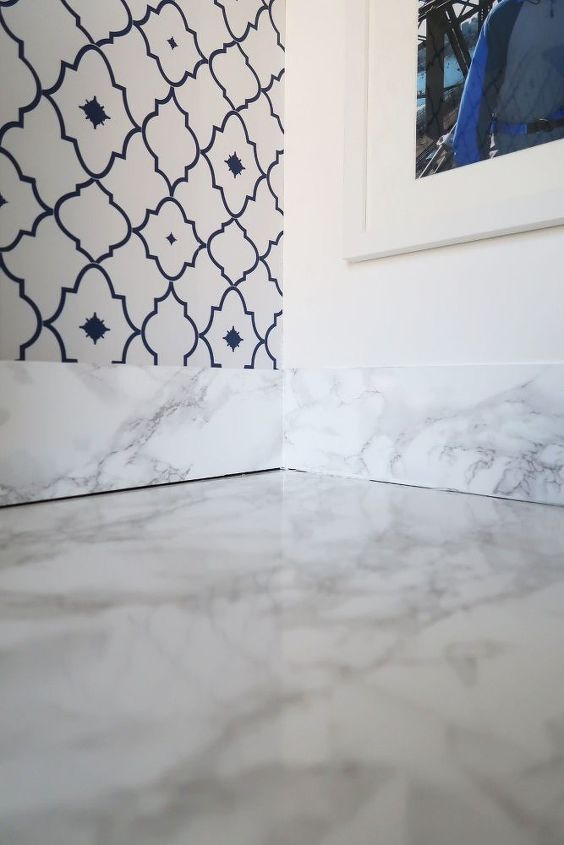
- You WILL have gaps that are going to require custom cuts and small pieces. My best advice is the cut them LARGER than the area you are covering and trim them down with the utility knife.
See that little space at the end of the counter and wall? I had to cut a TINY piece to fit.
PAY ATTENTION to the pattern in the marble and find a piece that follows closely, so it's not noticeable you patched it.
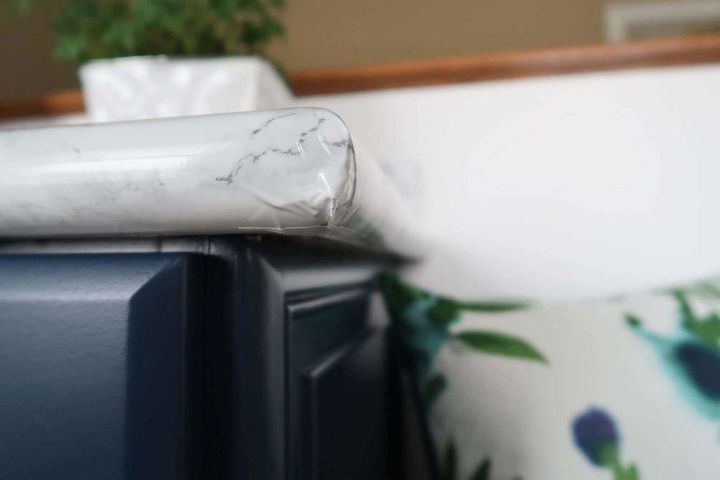
Step 7 - Corners, Edges, and Seams
This is where a HAIR DRYER comes in handy! I know weird right? Only use it at a low temp and speed because the vinyl will melt! Unfortunately, it became impossible to take pictures of this process so I am sorry for that lack of detail.
- The corners take a little work. I cut a slit at the corner (UNDERNEATH) and used the dryer to soften the contact paper.
- Wrap down one side and fold the other over the top. Here is a close up picture of it completed.
- Also, I cut a small piece and applied it to the underside to make sure it stayed flush.
The corners will never be perfect! So do the best you can :)
Step 8 - Finishing Touches
A couple of areas I had to "fuss with" were the corners and where the backsplash met the counter.
- Where my backsplash met the counter wasn't flush creating gaps. I jammed the edge of the smoothing tool between the space to force the contact paper back so it was smooth.
Real marble would be caulked in a gap like this, but since you may want to remove the contact paper later I'd live with the gap!
For the corner joints, I cut tiny little pieces to cover the seams so they blended.
If you have a cord cover, it can be spray painted to match. For the spray paint I used please visit my website for even more details around this project!
Link is at the bottom.

Want more details about this and other DIY projects? Check out my blog post!


Frequently asked questions
Have a question about this project?
I love the paper on the wall. Where did you purchase it? Is it, also, contact paper? I used the vinyl paper on my chest of drawers.