


DIY Inexpensive Cork Board With Tile Stencils

10 Materials
$20
2 Hours
Easy
Hey there! Have a plain cork board in desperate need of a makeover? Well have no fear, because we have an easy and inexpensive stencil project that will take your boring cork board to the next level. Using a tile stencil, we upcycled this ordinary office cork board into a stenciled treasure. Let’s get stenciling!
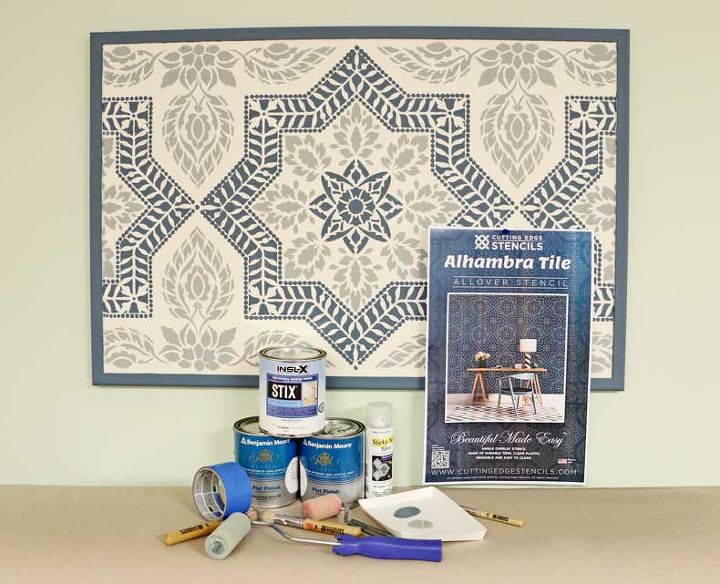
The stencil used for this DIY stencil project is the Alhambra Tile Stencil. The paints used were Benjamin Moore Navajo White, Philipsburg Blue and a custom Grey. Spray adhesive is optional and can help reduce paint seepage but, is not necessary. Painter’s tape is definitely an essential for this stencil project, to ensure crisp paint lines upon removal. Stencil rollers are great for the borders and the cork section of the cork board but, stencil brushes are ideal for the stencil itself. It may be intimidating to stencil on an odd surface such as cork but, it’s super easy and not so different from stenciling an accent wall or stenciling a floor!
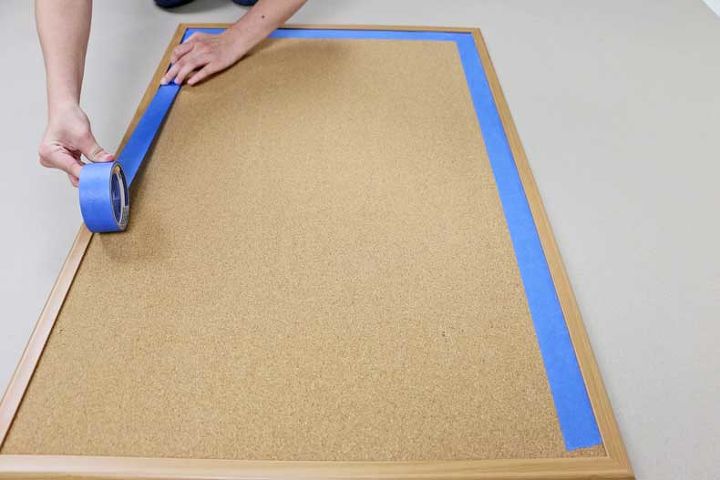
First, tape the inside edges of the cork board with blue painter’s tape. When you paint and prime the frame of your cork board, the tape will act as a barrier between the frame and the actual cork itself. Therefore, the chance of paint and primer seeping onto the board will be significantly less.
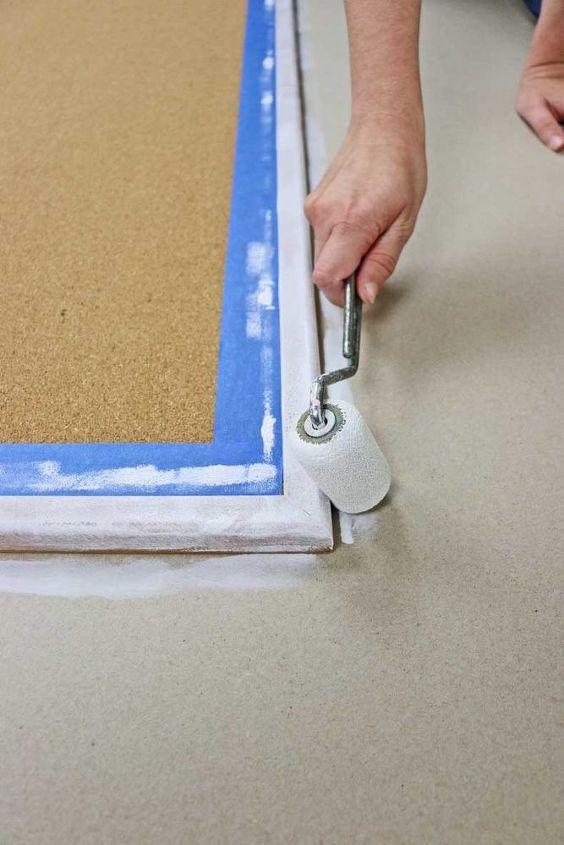
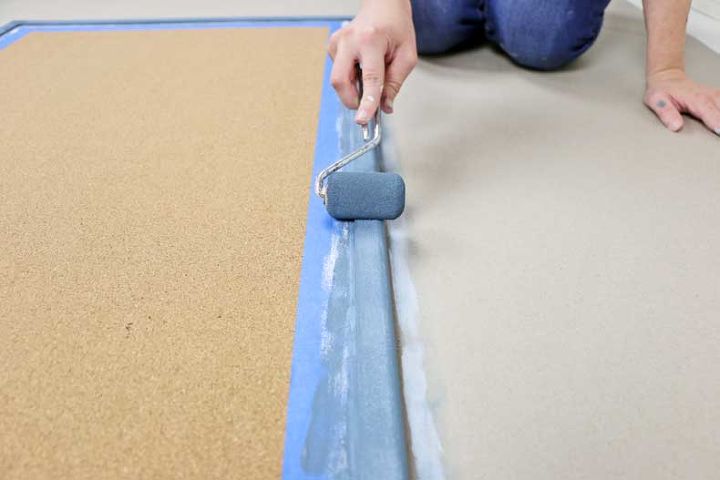
With a 2” dense foam stencil roller, apply two coats of primer to the frame of the cork board. Make sure you prime the sides of the frame too! Don’t be afraid to rotate the cork board to make reaching each side easier.
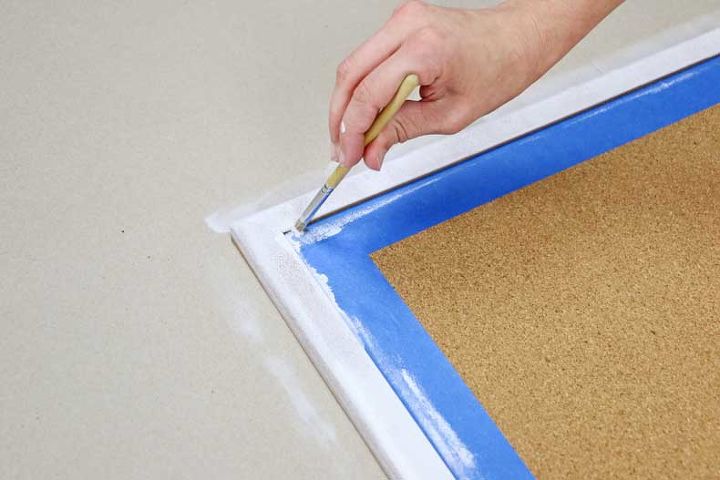
For the inner portion of the border, use a 1/4” professional stencil brush. This makes priming small spaces a lot easier.
Wait for the primer to dry and repeat the same process with your paint color!
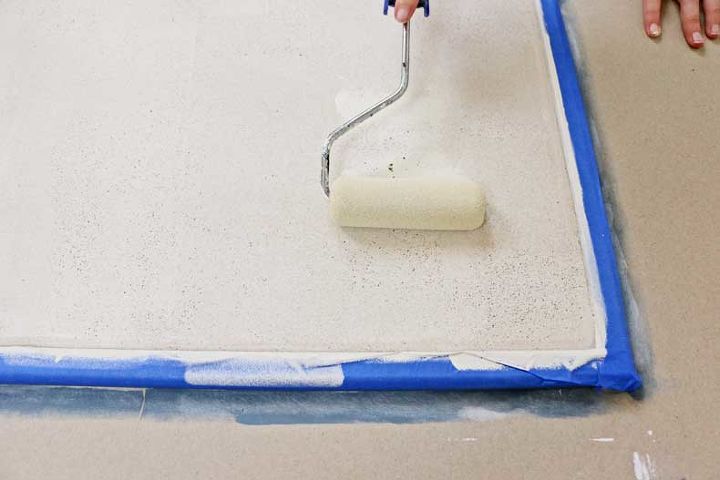
Once the paint has dried completely (over night is best), tape off the painted frame including the inside edges. With a 4” dense foam stencil roller, apply two coats of Navajo White paint to the cork portion of the cork board.
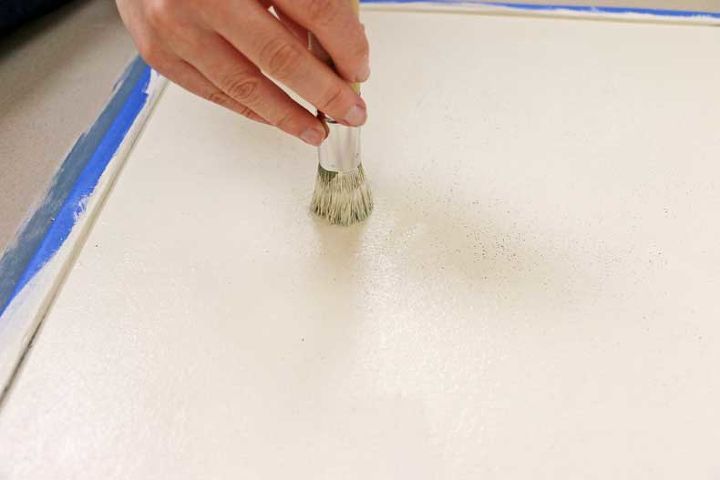
Because cork has a porous texture, it tends to absorb paint much like a sponge would. However, the solution is easy! Just take a 1” professional stencil brush and dab paint onto any areas that look sparse.
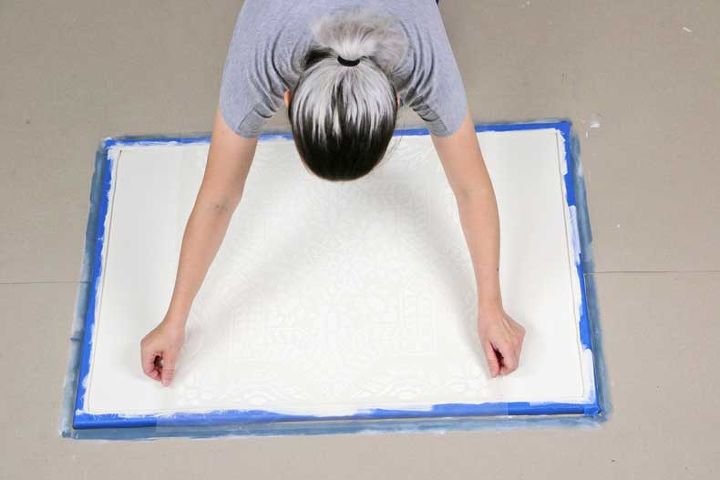
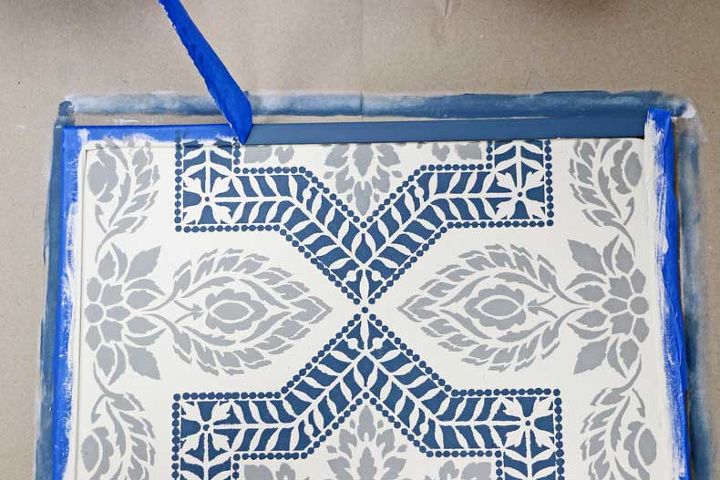
Wait for the paint to dry, then you’re ready to stencil! Place your stencil in the center of the cork board. To find the center of the cork board, simply take a tape measure and mark the midpoint of the tape measure horizontally and vertically. Place the center of the stencil at the midpoint.
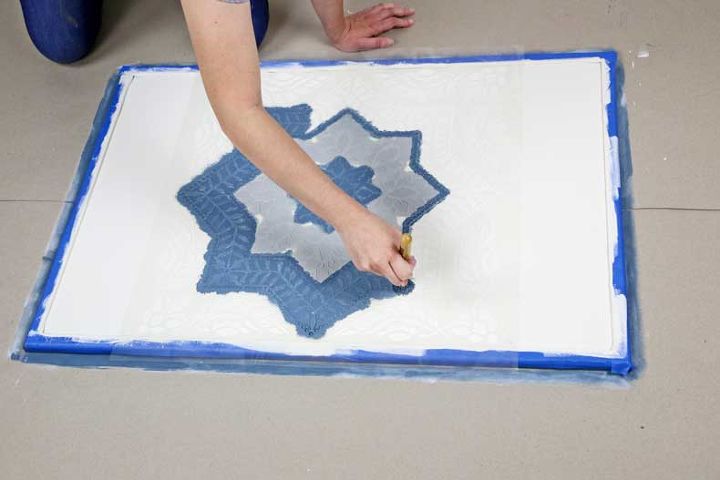
Use professional stencil brushes for each different color of the stencil so your colors don’t mix. Use dabbing motions instead of swiping motions so the paint gets into the texture to the cork board!
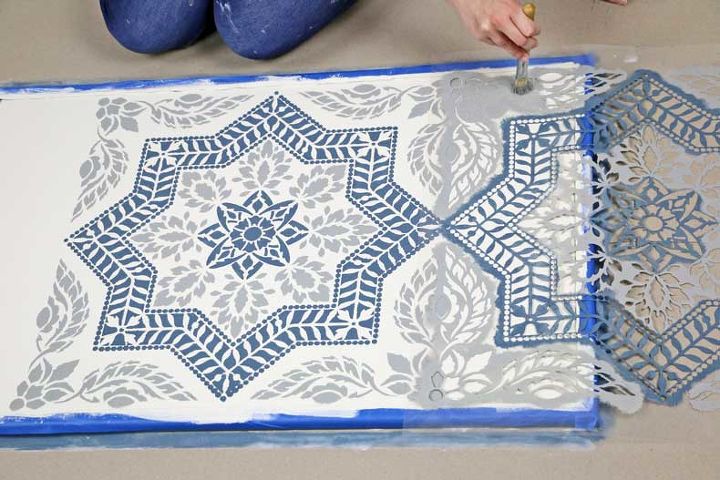
Align your stencil using the built-in registration marks and the previously stenciled parts. You can choose either side to stencil first! Simply repeat the same process as with the stencil in the middle. It’s just as easy!
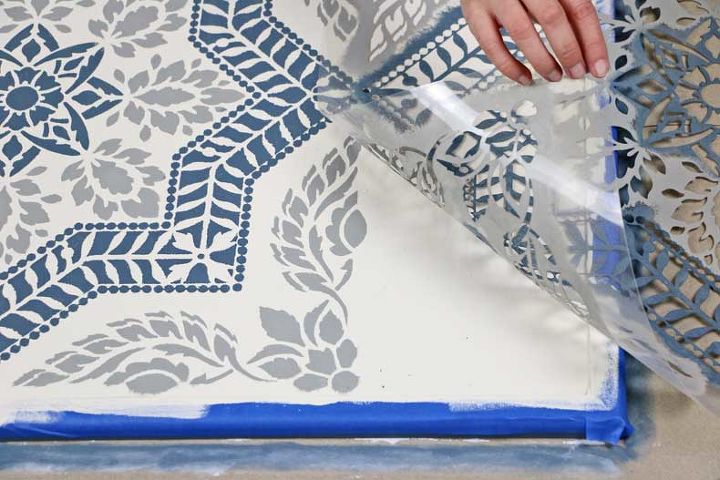
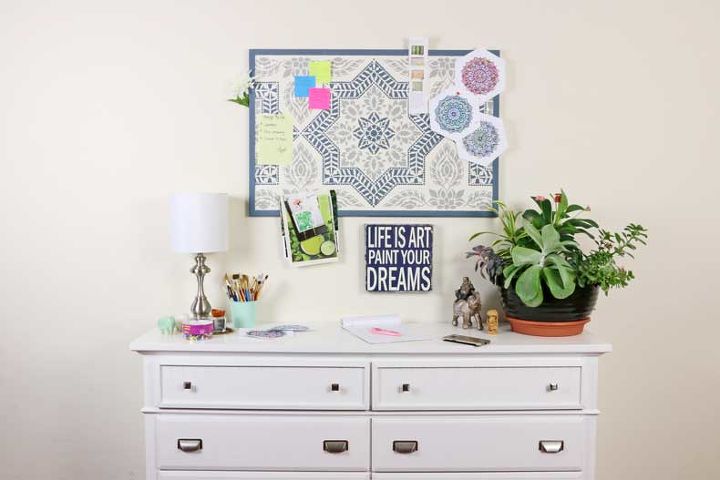
Finally, slowly peel the tape to reveal your beautiful stenciled masterpiece!
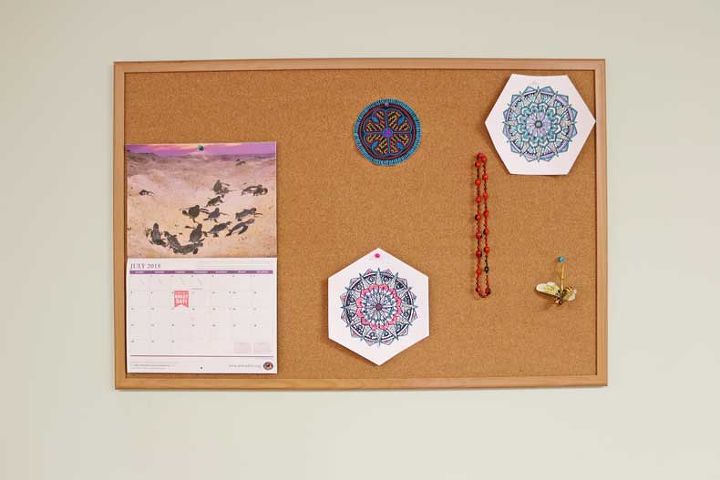
Now you have an elegant stenciled cork board that’s both useful and decorative. And it took no time at all! Hang it in your dorm room or office: the possibilities are endless!
Check out the video to see the steps in action!
{
"id": "5004519",
"alt": "",
"title": "",
"video_link": "https://www.youtube.com/embed/49K04rPPKTg",
"youtube_video_id": "49K04rPPKTg"
}
{
"width": 634,
"height": 357,
"showRelated": true
}
Resources for this project:
See all materials


Any price and availability information displayed on [relevant Amazon Site(s), as applicable] at the time of purchase will apply to the purchase of this product.
Hometalk may collect a small share of sales from the links on this page.More info
Comments
Join the conversation
2 of 32 comments
-
Well I sure never thought of painting it before. nice job
-
lovely, you did such a great job on this.


Frequently asked questions
Have a question about this project?
Maybe the Doyles can be use as same as the stencil. They becpme in beautiful desings. What do you think?🤣
Does the cork board show holes from pins because it is painted?
this is beautiful!! I absolutely love the colors u chose. the question above is a good one. Does the holes show up real bad when using the push pins after painting? Great job!!!