


How To Make a Wood Candy Dispenser!

10 Materials
$5
1 Hour
Easy
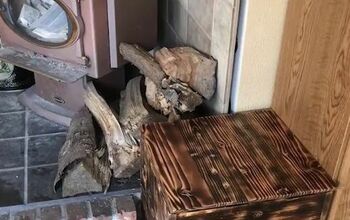
These things are the best! It looks like something Spongebob would have next to his bed!
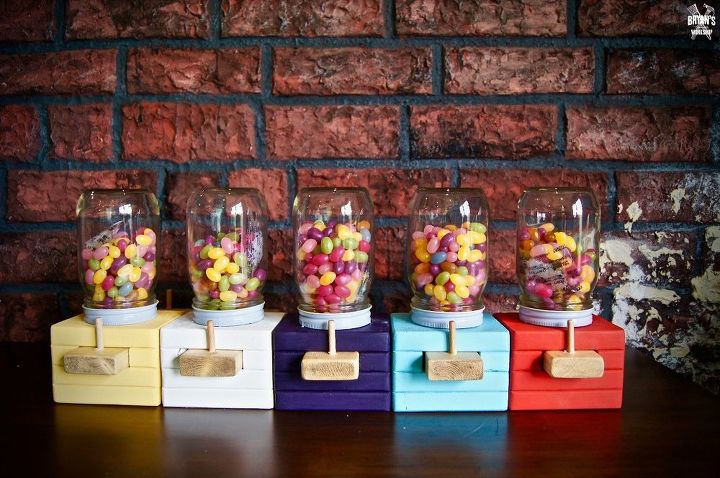
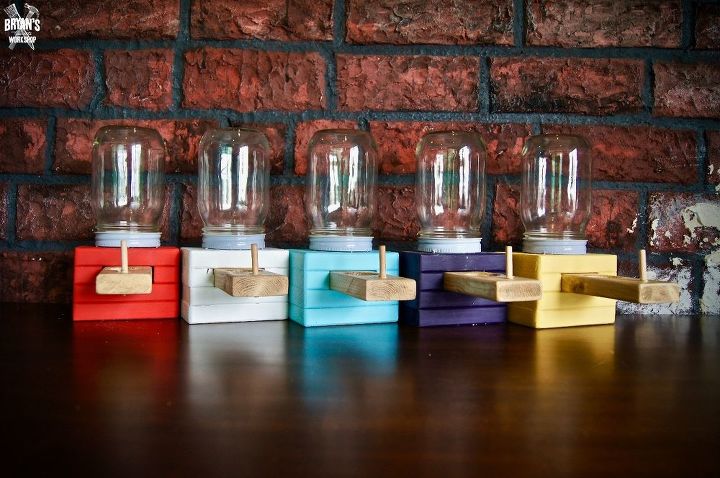
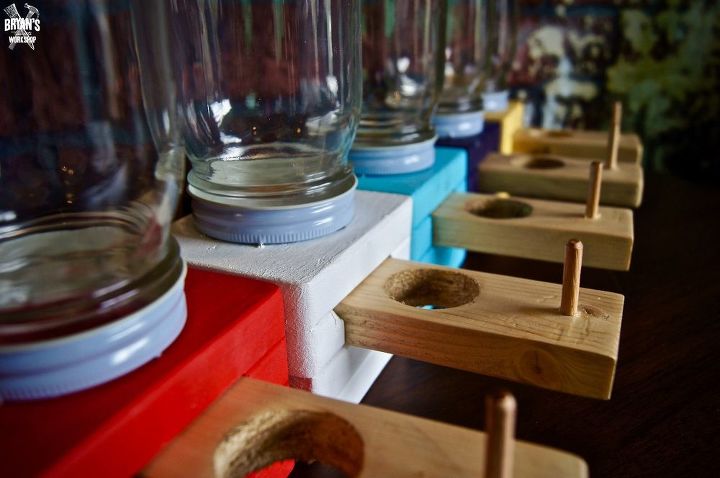
These are finished dispensers made by elementary school students in my workshop. I have a different 'how to' for children..anybody interested? Any elementary school aged Hometalkers out there? Get off the computer and finish your homework!
Get ready for a ton of pictures!
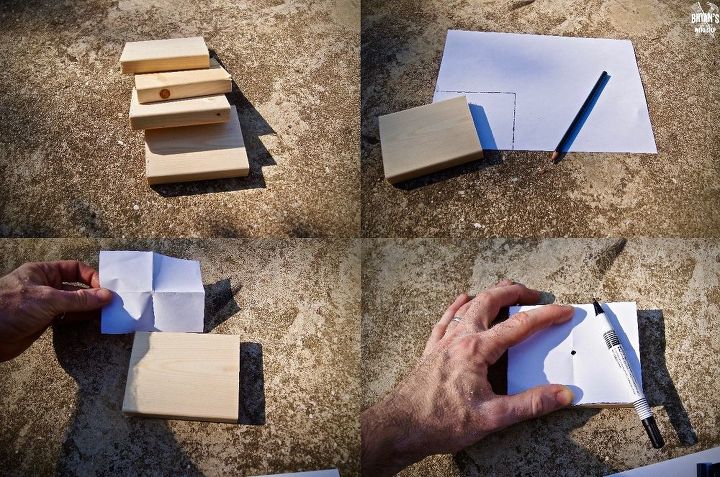
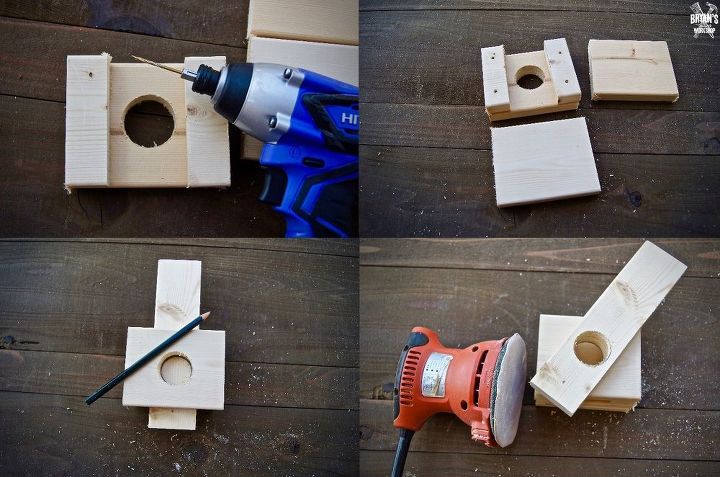
You'll need four pieces of 9cm X 11cm wood 2cm thick. I cut these pieces from a long pinewood board.
You'll need to cut a hole in the center of the top piece of wood. An easy way to find the center is trace the wood on some paper and cut it out.
Fold the paper in half twice.
Put the cutout over the top piece of wood and draw a dot with a permanent marker until it comes through on the wood.
...I totally took this from my kids workshop! It's awesome though right?! You can just get out that tape measure.
That's the dot, totally not dead center.
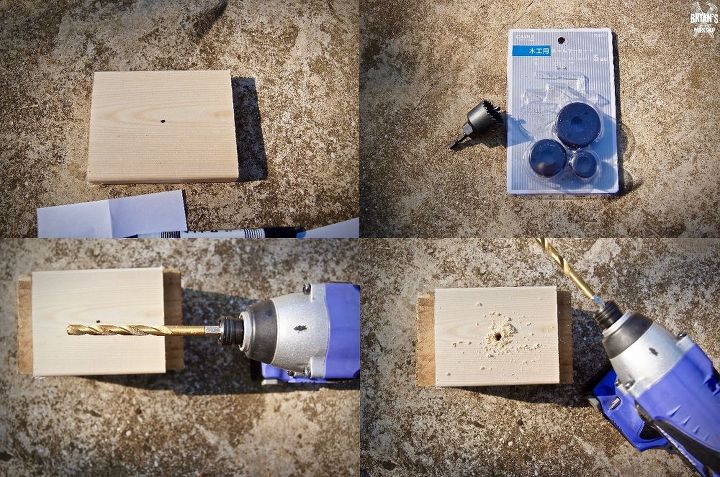
You'll need a wood boring drill bit. These bits gets expensive, but chances are you can find a set like this for cheap. There are better bits out there, but these will do the job in this project.
Get a fat scrap piece of wood to work on and make a pilot hole. Don't go all the way through the wood.
*Be aware of the surface you're drilling on.
If you're using this bit, drill until it makes a hole on the other side. Be careful because this drill bit gets as hot as the surface of the sun.
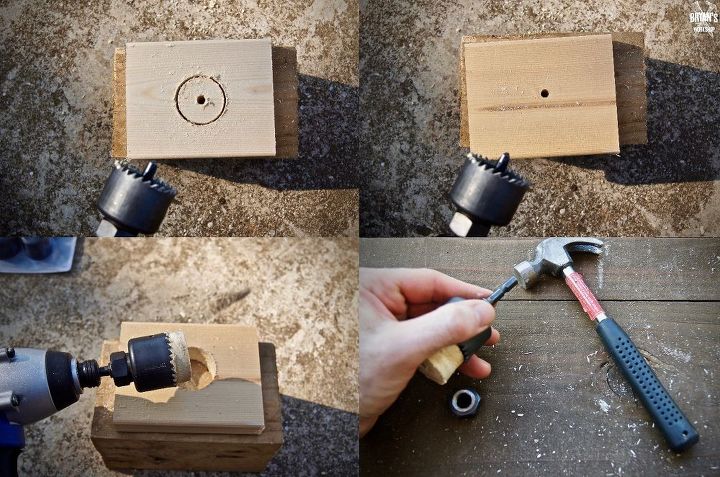
Turn the piece of wood over and finish making your hole.
The circle of wood will be stuck in the bit. You'll need to remove the nut on top of the bit and hit the top of the bit with a hammer while holding the bottom part still. This bit will feel like it was dipped in magma once you finished drilling, so be careful!

Now you'll need to cut the pull part...is there a name for that thing? The pull thing-a-mcdoodle..that's probably the name.
The thing-a-mcdoodle is 5cm wide. Your pieces of wood are 11cm wide, so measure 3cm on both sides of one of them.
Take the middle piece of wood and use it to draw out a 21cm long thing-a-mcdoodle.
Now you can assemble the candy dispenser with screws. Each piece of wood is 2cm thick, so I used 37mm long screws to secure two pieces of wood together.
Remember to make pilot holes first. Don't be a cowboy and just screw the screws in with no pilot holes.
Once the dispenser body is assembled, try to slide the thing-a-mcdoodle into the...thing-a-mcdoodle entry point..Geez.
Make a dot on the end for the pull peg and trace a circle through the hole. I hope some of this makes sense! If the 'Pull Part' (I know, it's not funny anymore) doesn't slide into the slot give it a good sanding.
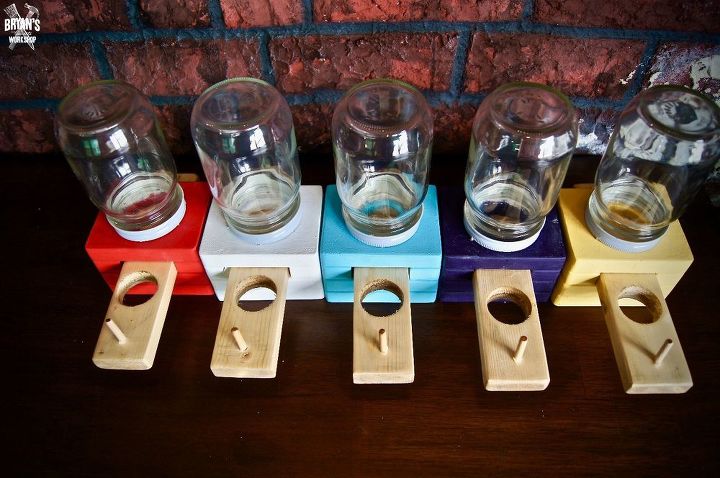
Cut out the hole on the pull part just like we did a couple pictures ago and sand your candy dispenser smooth.
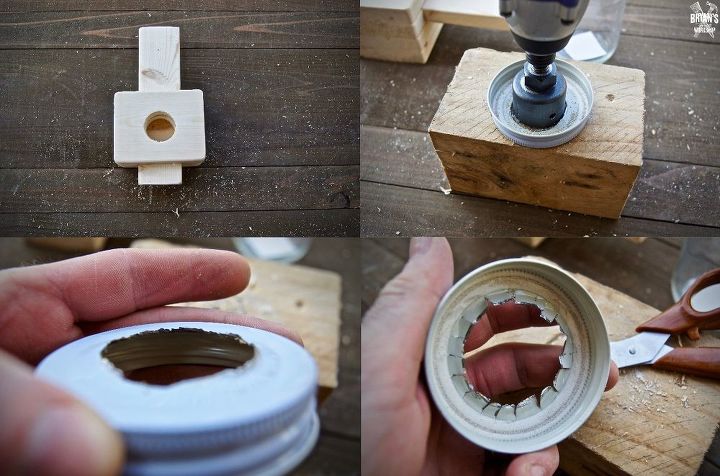
You'll need to drill a hole into your jar lid and please be careful.
Drill slowly while gently moving the drill in a circular motion on the back of the lid. Once you make a hole, the lid is basically a deadly weapon.
Use scissors and make cuts around the hole.
*The kids in my workshop didn't do this part.
Edit: You can totally use canning jar lids.
Edit 2: You should definitely use canning jar lids!
Edit 3: Stop what you're doing and go buy a truckload of canning jar lids.
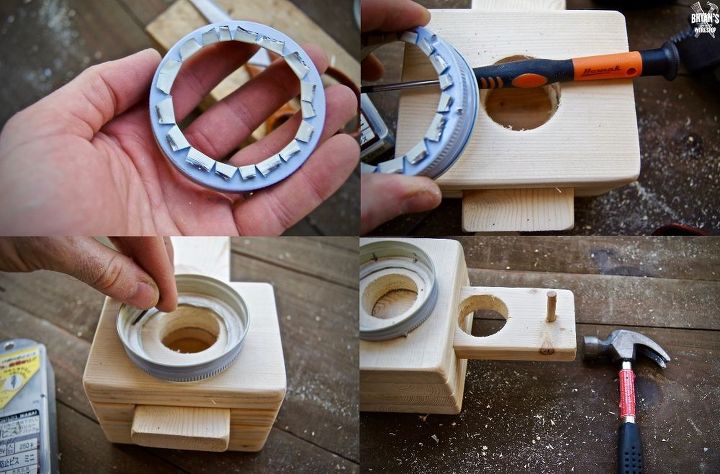
Use your fingers and pull the pieces of the lid back.
It's better to make pilot holes in the lid for your screws with a small screwdriver or a craft awl.
Drill the screws in at an angles keeping them away from the thing-a-mcdoodle...it's back!!
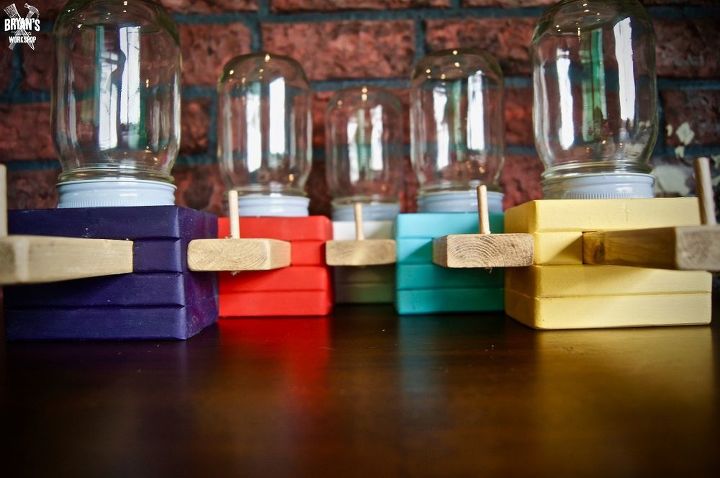
Drill a hole on the end of the...pull part the same size as the wood pegs. Use a hammer to hit in the pegs.
The hole on the pull part should be lined up with the hole under the jar when the candy dispenser is closed. Keep this in mind when measuring for the pegs. The peg on the other side is there to keep the pull part from pulling out of the dispenser.
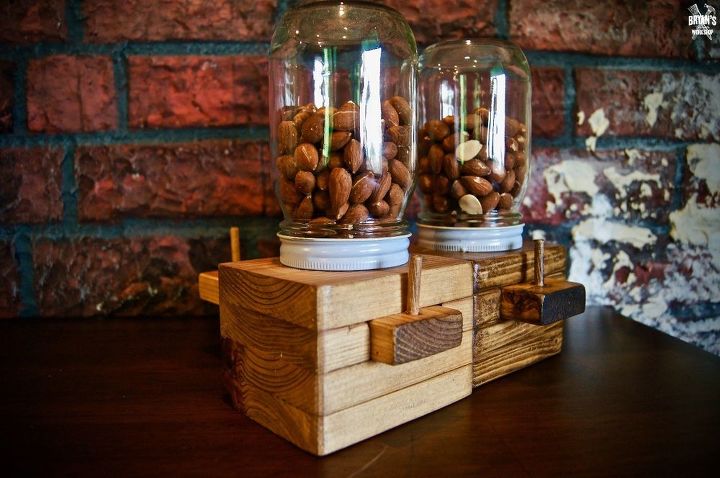
Almonds if you're fancy like me! You can put all kinds of stuff in your new candy dispenser.
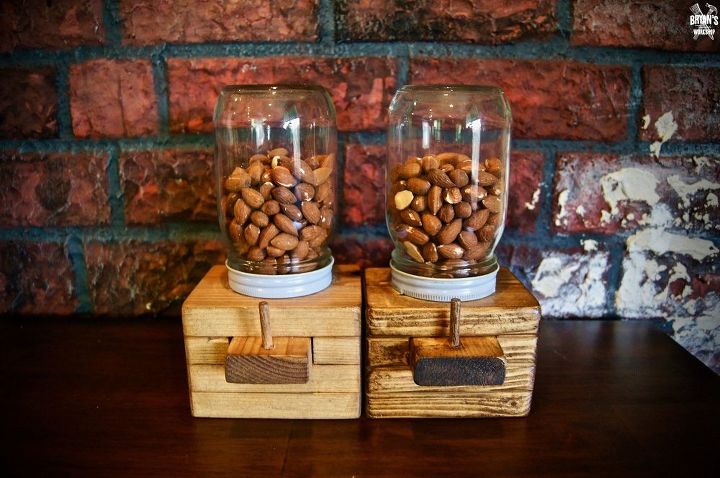
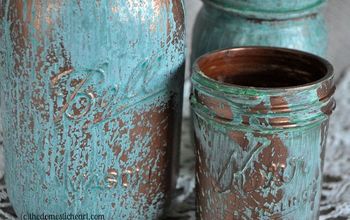
I waxed these badboys.
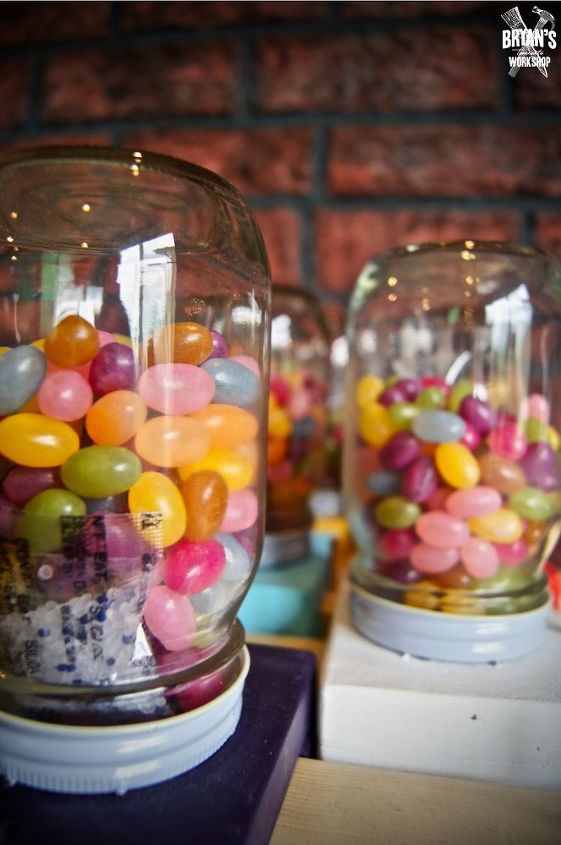
Throw some silica packs made for food into the jars too!
Thank you for reading!
Check out Bryan's Workshop on Facebook and Instagram!
Comments
Join the conversation
4 of 55 comments
-
Nice that way folks aren't fingering the nuts or candy . Great idea ! Thanks for sharing .
-
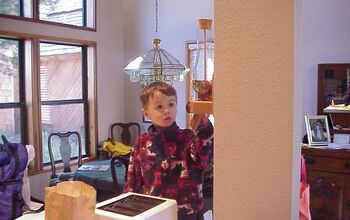
I am definitely going to try this! We stayed in a cabin at Lake Tahoe almost 20 years ago and there was something similar at the cabin and my kids LOVED it! I've always wanted one and now I can make one. Here is a picture of the one at the cabin... They had it mounted on the pillar and filled it with M&Ms. Thanks for sharing!


Frequently asked questions
Have a question about this project?
I've missed something. Where does the candy come out?
Can I buy this from you? How much?
What keeps the candies, etc. from falling through when you pull the dispenser out? Doesn't seem to be long enough to block the whole.