


Hutch With Diy Barn Doors

11 Materials
$40
5 Days
Easy
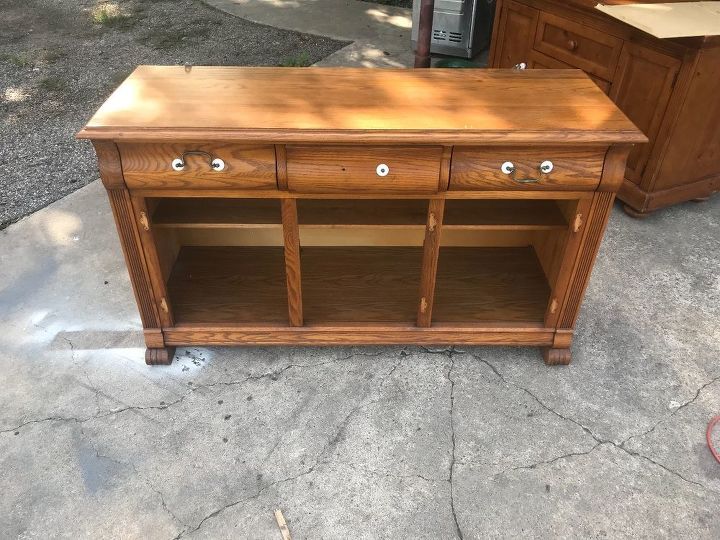
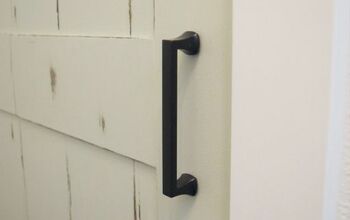
I received a text from my aunt that said ”hurry there are some nice things on the road, someone just sold the house and moved stuff to the road a few houses down from me”. I told my son come on let’s go look. I might need your help. Sure enough a nice hutch was just thrown out. It’s missing only one handle And all the doors. It was okay I knew exactly what I wanted to do with it. my son and I loaded this huge hutch into my Nissan Cube. A funny sight I’m sure. I was determined I wasn’t leaving without this piece. It fit but barely, we were riding with our seats Into the windshield almost. I Got it home and we unloaded it and I began to inspect it better. Wow what a find no issues anywhere except one handle missing And no doors. I wasn’t worried about either missing. Because I knew I wanted barn doors on it.
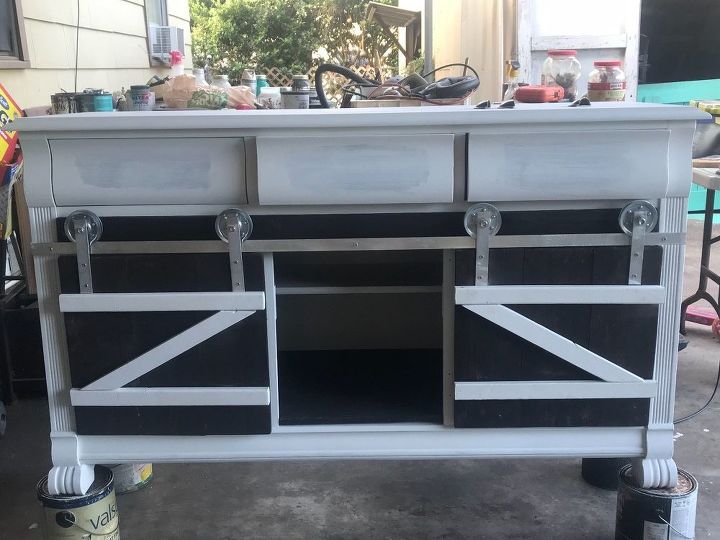
i began by cleaning it really well with tsp and left it to dry. It was so heavy I wasnt able to move it by myself. once it was clean I used bulleye water based primer and primed it really good. I used a couple of coats. I left it here for a couple of days to work on it. I covered it at night with a tarp.
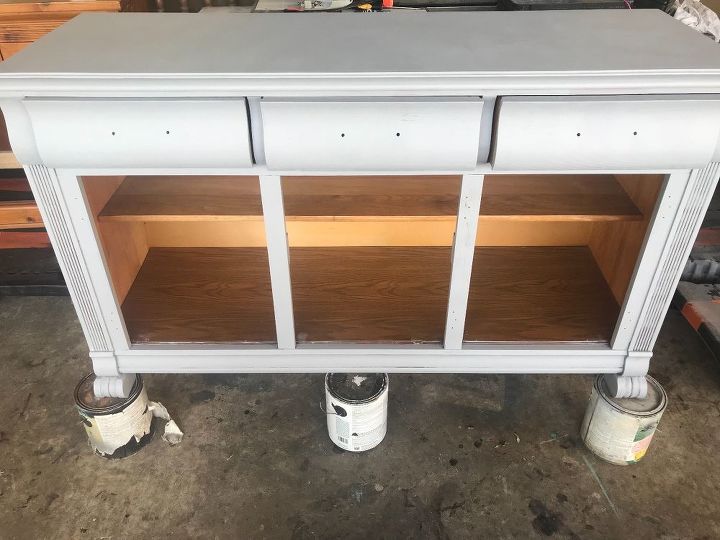
once the primer dried I started with rustoleum linen white chalk paint. I gave it 3 coats of paint sometimes it tries to thicken up on you. I just dip my brush in a little water and get back to smoothing it out. As I’m painting im thinking and decide I’m going to stain some fence boards for the bottom Of this.
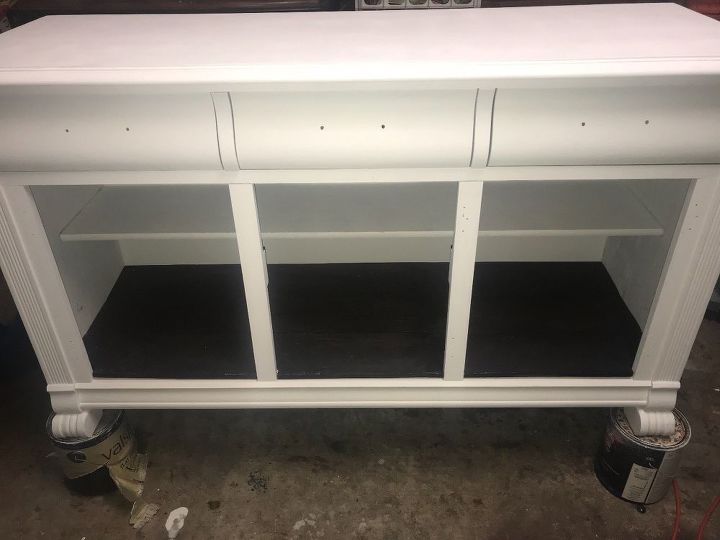
I got 3 brand new fence pickets from Home Depot and measured and cut the length. I had a very hard time trying to get them into the bottom of the cabinet. finally my husband comes to the rescue and helps me cut the first board around all the little pieces of the cabinet that were preventing it from fitting flush. Once he did that I stained them with min wax red mahogany stain.
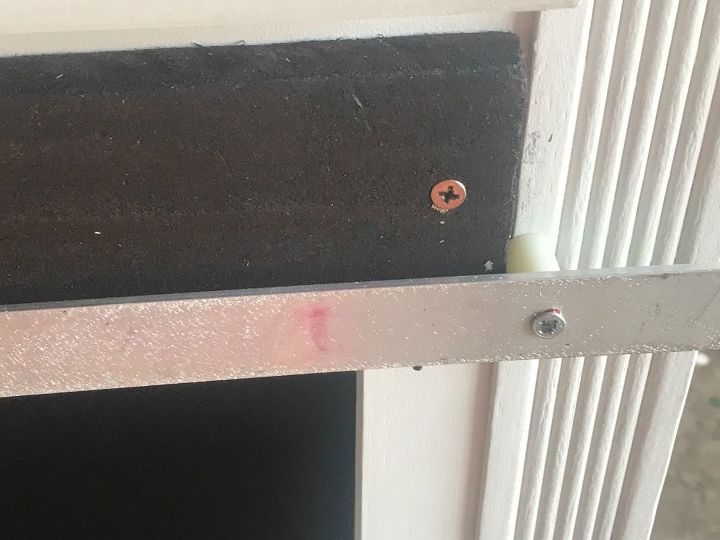
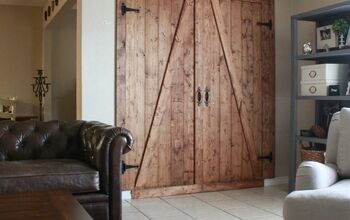
here is where I added a piece of pallet wood to hide a section and for the flat bar that the barn doors would slide on. I got the flat bar at Home Depot and wheels from amazon. You can see I used a 1” spacer to keep it from fitting flush off my cabinet. Oh and my red sharpie mark where I thought I needed to cut the flat bar in the beginning. I’m glad my husband said you better measure that bar again.
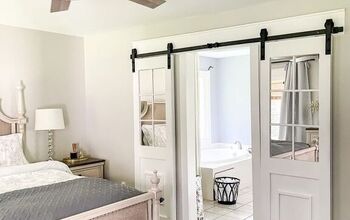
Here it is with the doors attached and the doors partially complete.i just used fence pickets to make the doors, I didnt like the pattern on the doors At all So we or I should say my husband helped me fit in between my wood on the doors to make an X. All we used for the “X” was furring Strips.
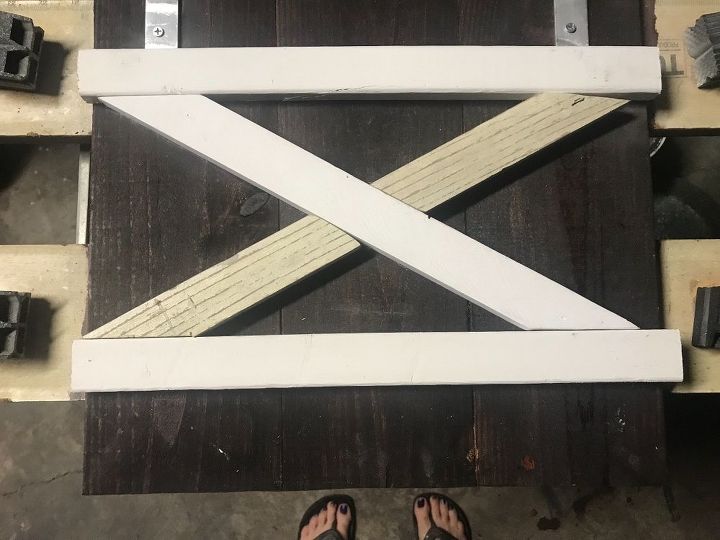
This is what I wanted so he fixed it. I then Glued those new cut strips to my doors and sanded the entire piece with a sanding block with 220 grit paper.

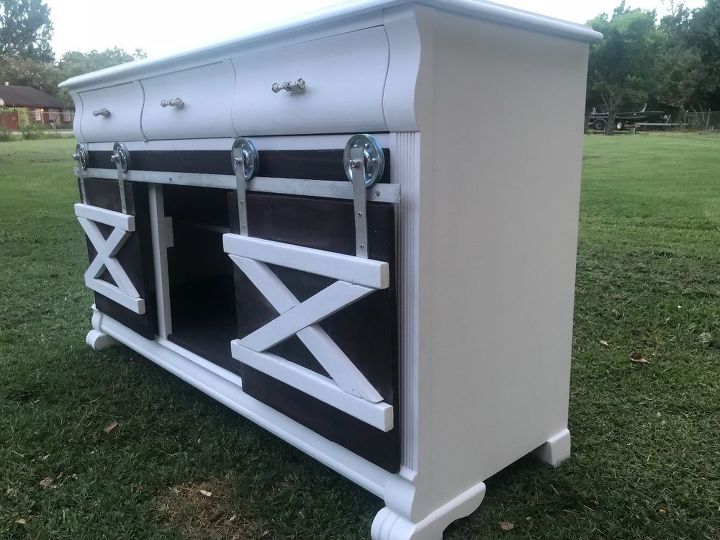
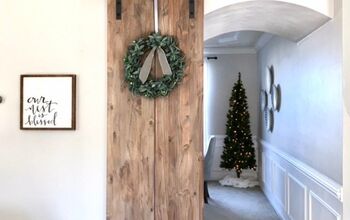
all complete and ready for a new home.
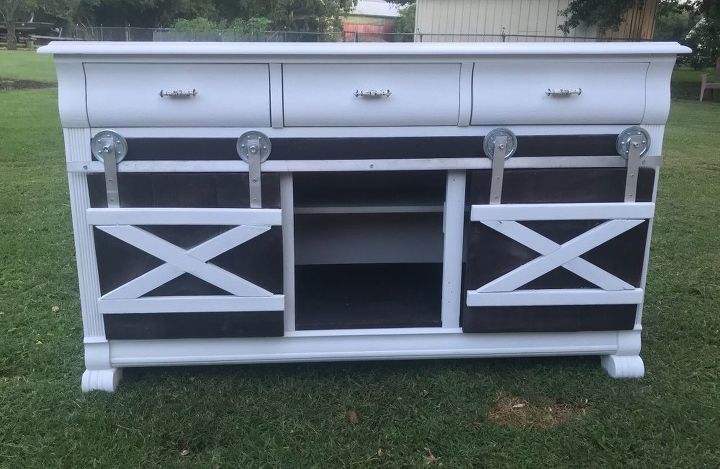
I think it turned out pretty


Any price and availability information displayed on [relevant Amazon Site(s), as applicable] at the time of purchase will apply to the purchase of this product.
Hometalk may collect a small share of sales from the links on this page.More info
Comments
Join the conversation
2 of 47 comments
-
Beautiful job on this buffet cabinet.
-
Should the people who put that out on the road see your re-do, they'll be sorry they didn't keep it. A beautiful job. Enjoy!!!


Frequently asked questions
Have a question about this project?
Your husband helps you with your projects? Lucky dog lol mine just points and laughs 😂
How did you attach the pulley wheels? And I don't see in the products the short bars are that attaches to pulley wheels.
What prevents the pulley from rolling of the end of the bar? Thanks.